Tomcat服务器的安装
安装
下载地址 https://tomcat.apache.org
进入tomcat首页我们可以看到9.0.xx的版本
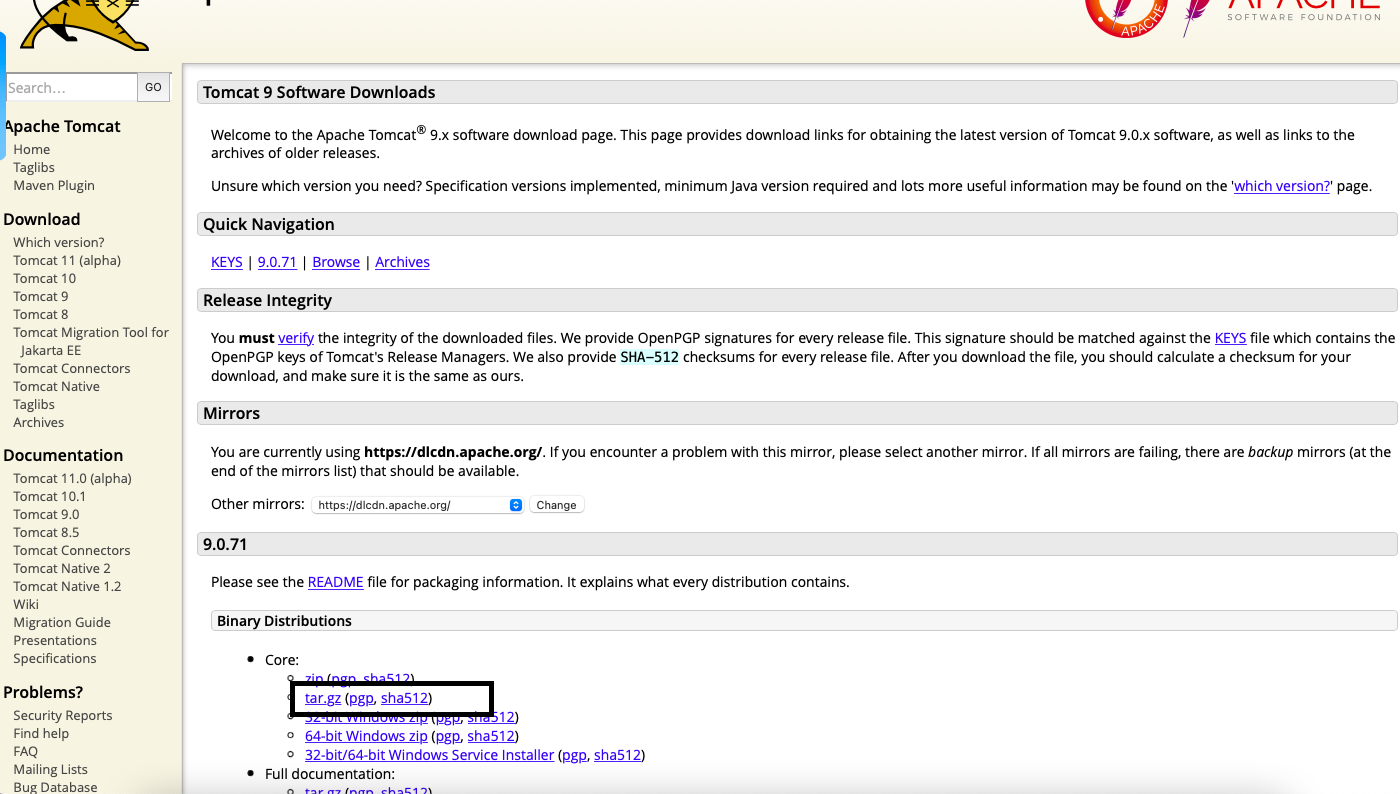
我们这边点tar.gz下载
下载完成之后双击解压然后
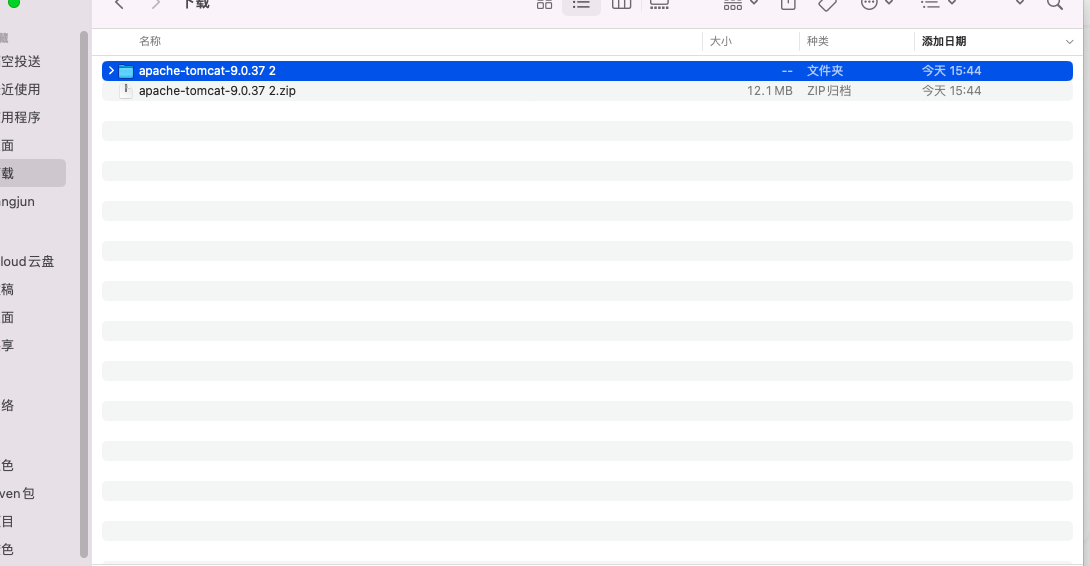
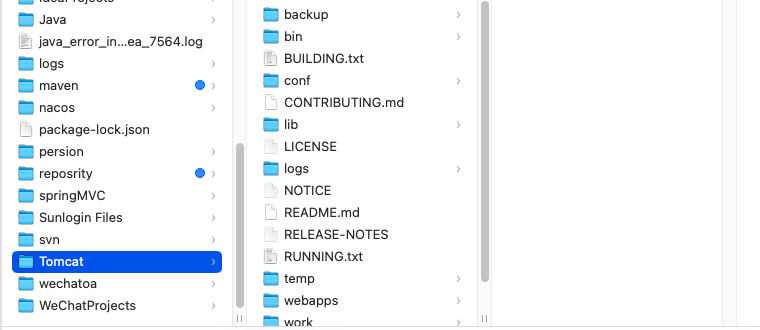
将下载好的,并解压完成的问价拷贝在根目录下面
将名字改为Tomcat,(这个是为了好分辨)
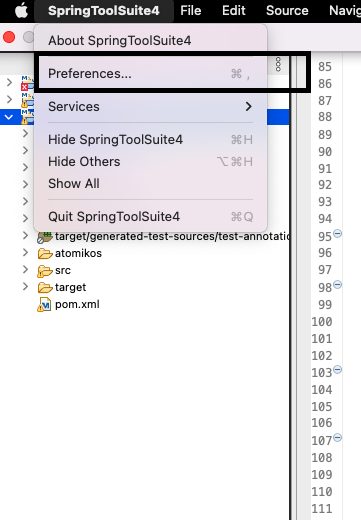
启动Eclipse
打开About Spring Tool Suite4,找到Preferences(设置)
打开Preferences(设置)找到Server>Server Runtime Environments

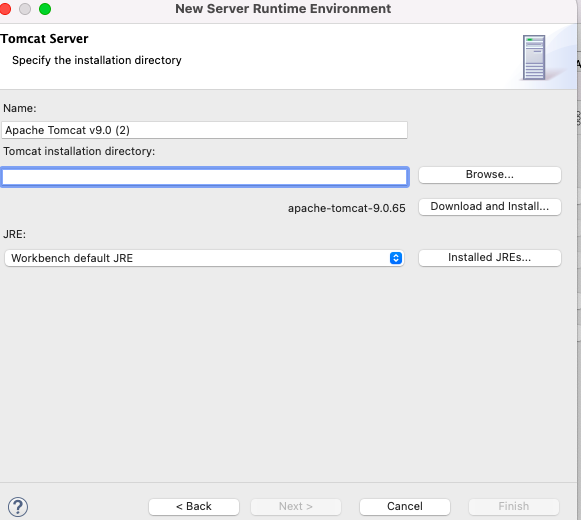
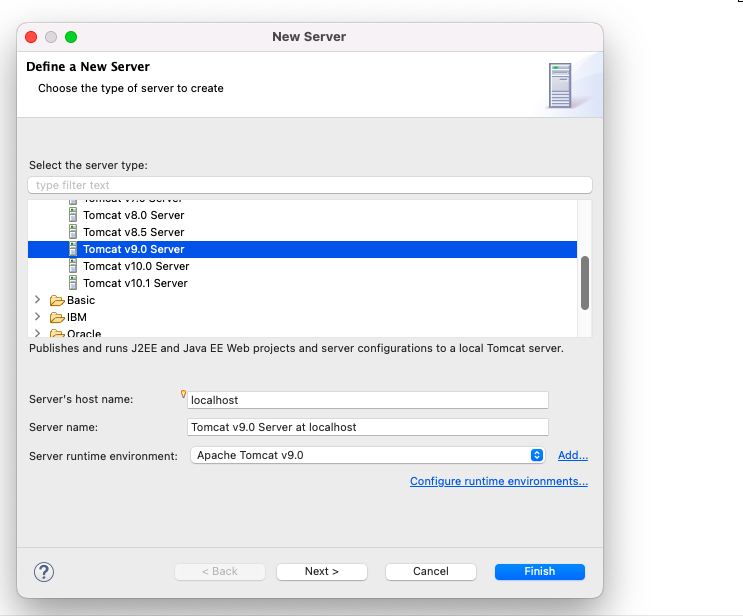
点解Add(添加)选择你下载的对于Tomcat的版本,我这里下的是9.0的版本,所以我选择的(Apache Tomact v9.0),最后Next

在(Tomcat installation directory)添加刚才下载的Tomcat包,最后Finish一下
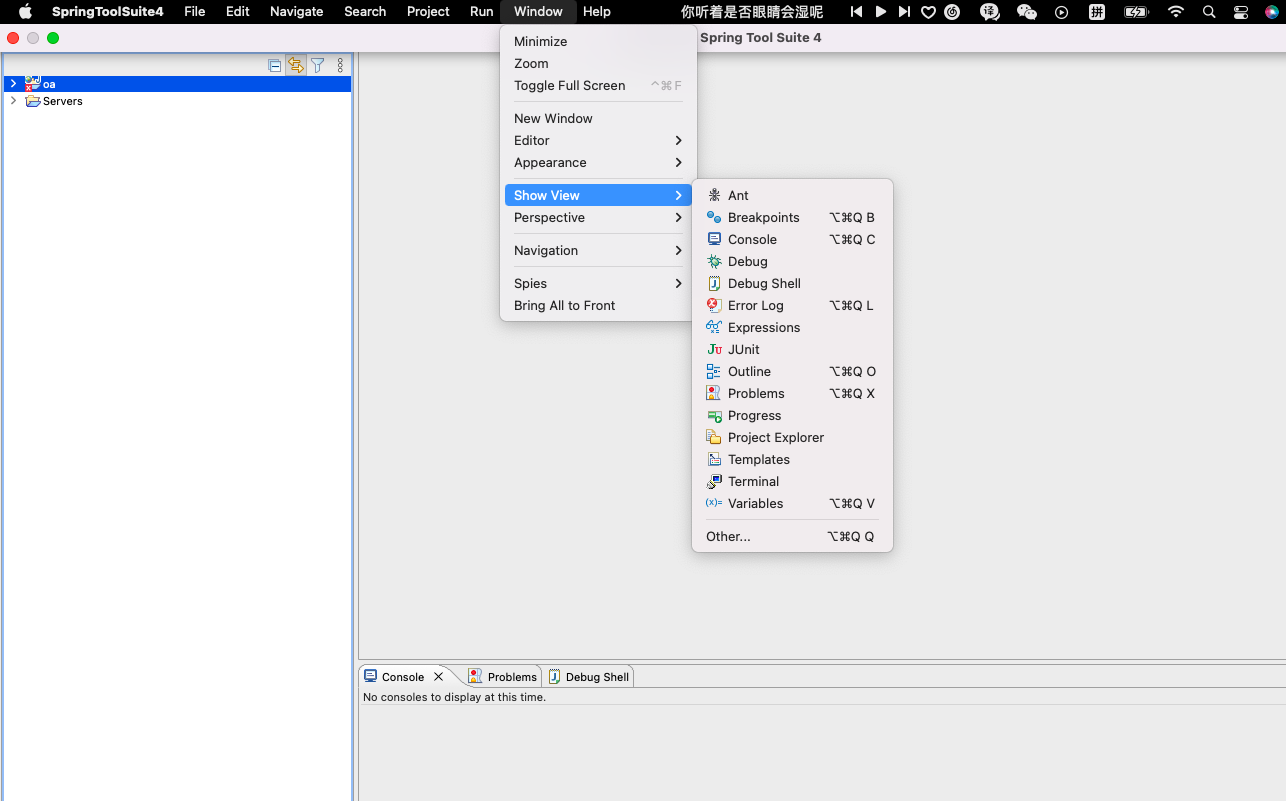
点解Window> Show View>Other
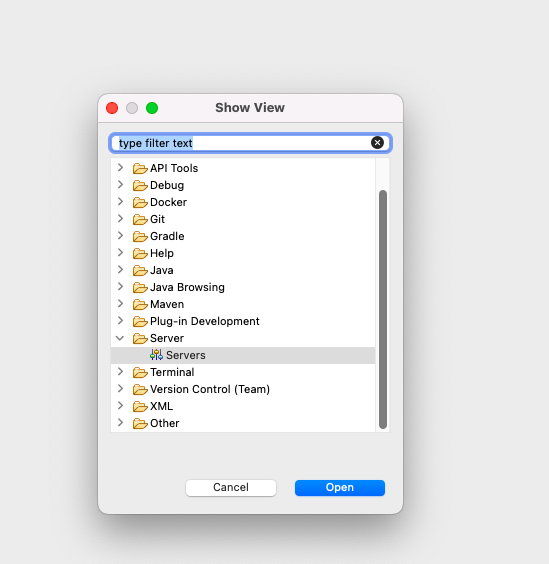
6.在输入框里面输入Server,会弹出一个页面
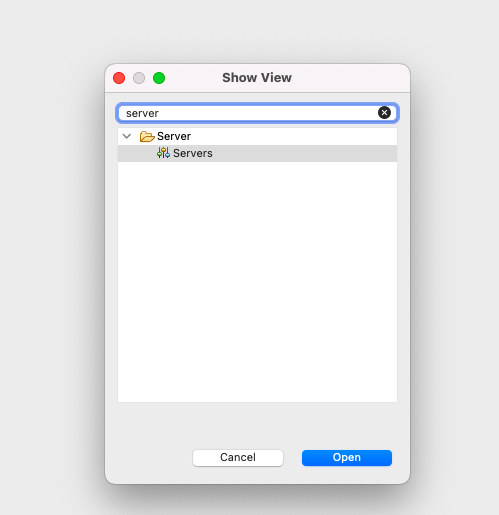
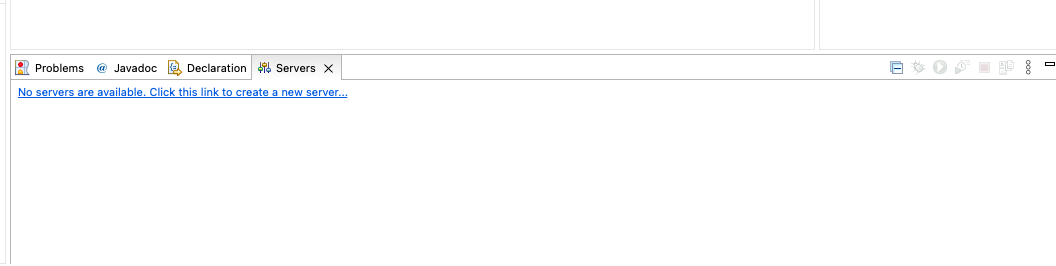
7.双击这个页面就会弹出下一个页面

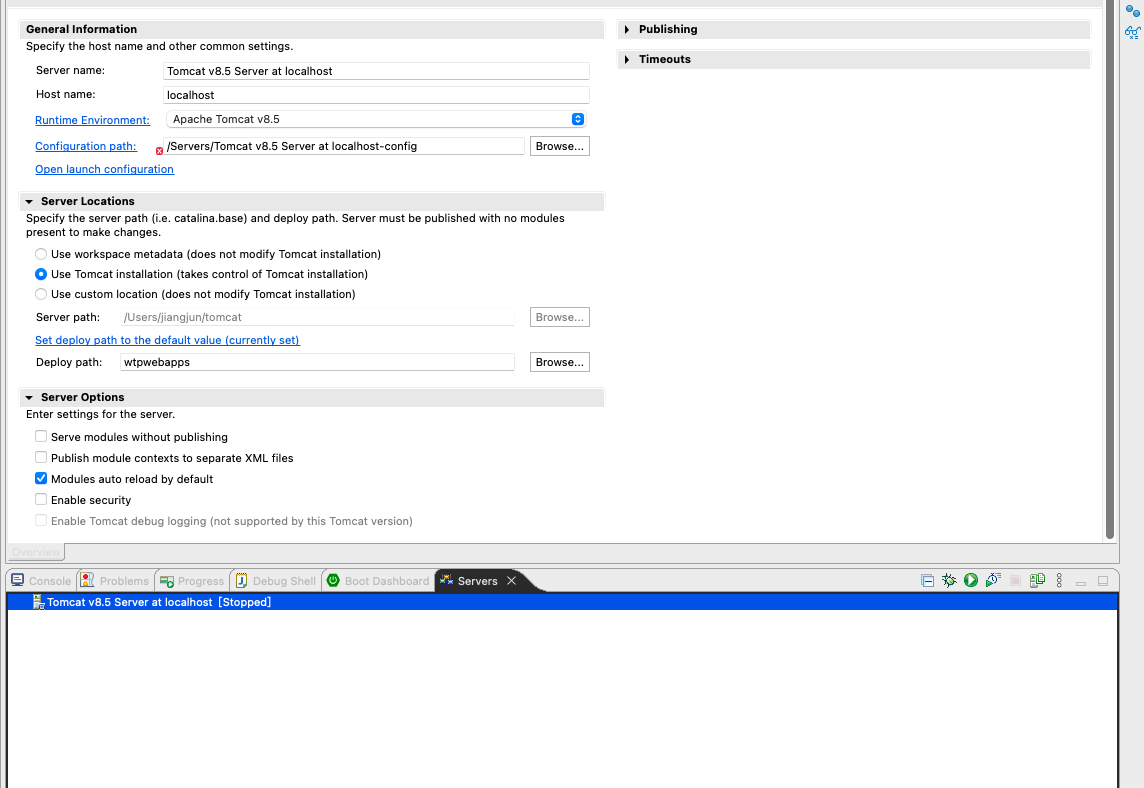
8.然后运行Debug
9.浏览器访问 localhost:8080 成功