1、任意目录下,输入下面,关闭mysql服务
systemctl stop mysqld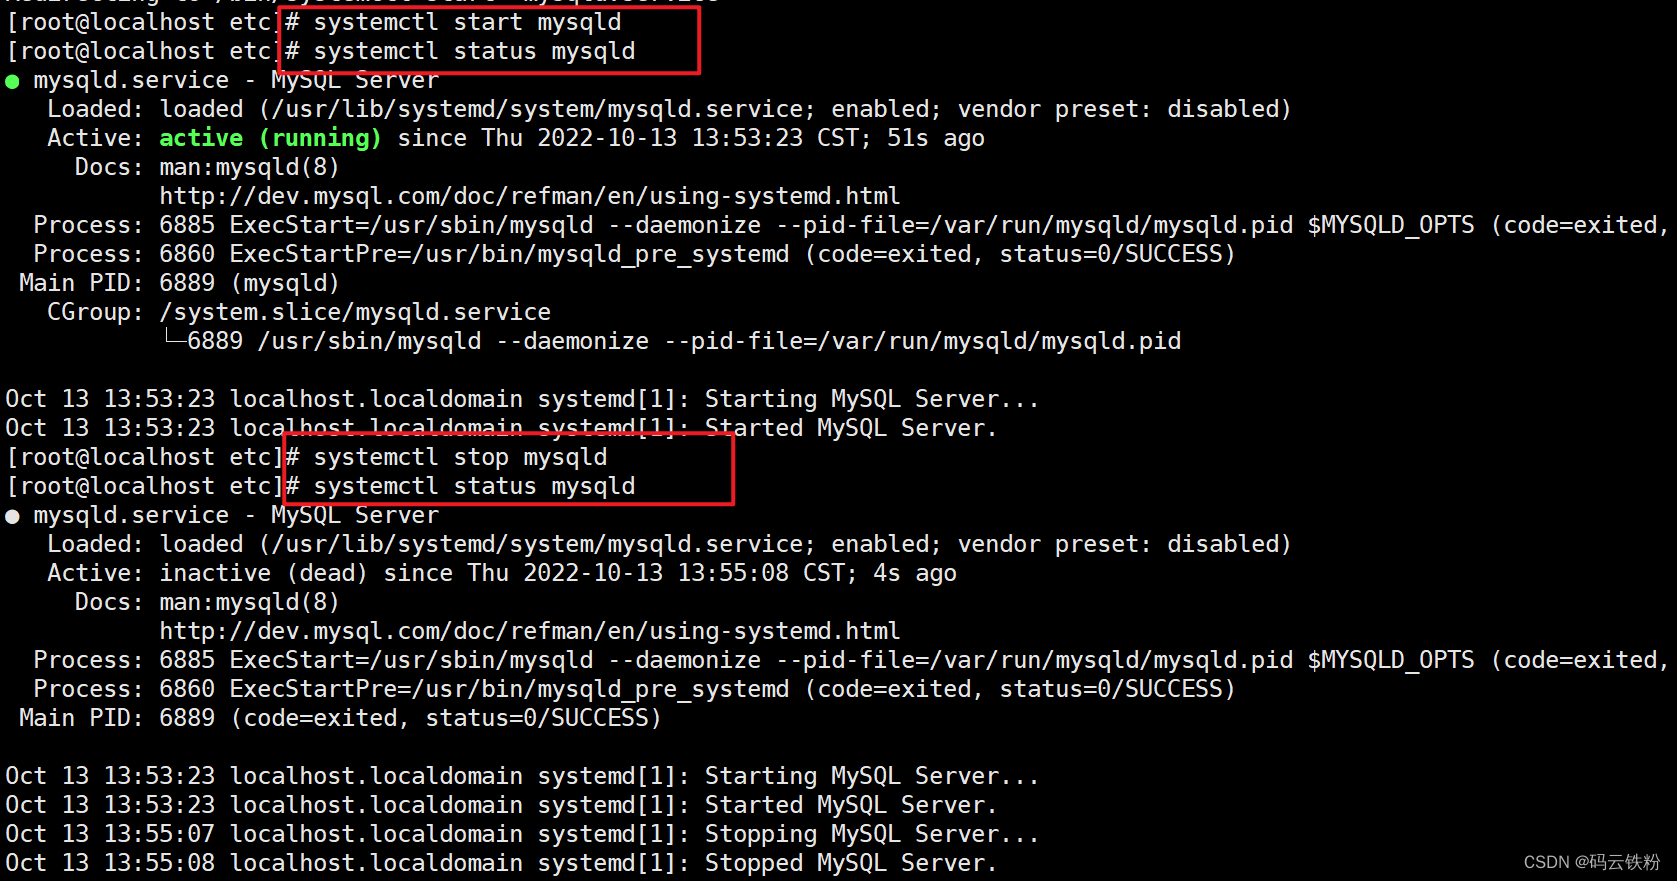
2、找到my.cnf配置文件
输入下面,进入目录
whereis my.cnf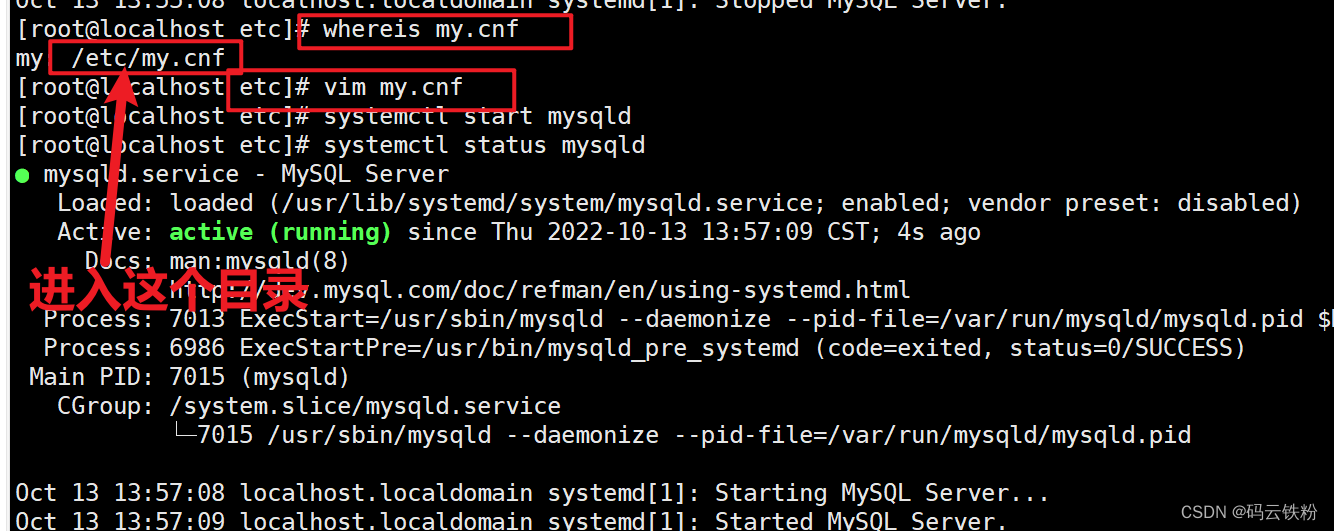
3、编辑my.cnf配置文件,并且在[mysqld]标签下添加:skip-grant-tables
vim /etc/my.cnf

然后点击 i 键

然后在[mysqld]标签下添加:skip-grant-tables,

然后点击 esc 键

然后 shift+: 两个键一起按

然后输入:wq

然后回车保存后退出
4、输入下面,启动mysql服务
systemctl start mysqld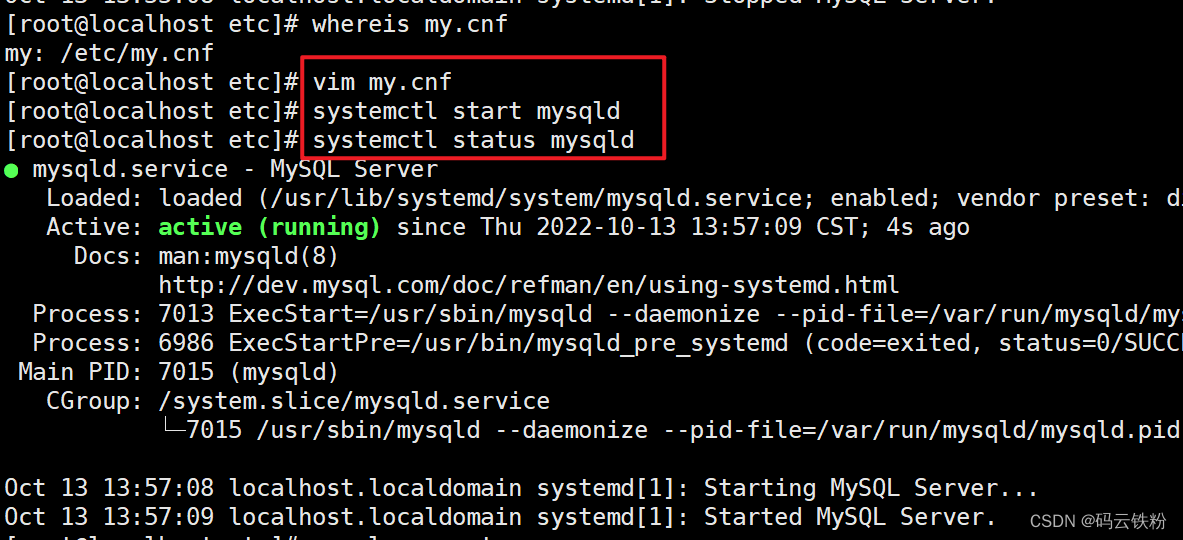
5、不用密码登录mysql,执行下面命令以后直接回车
mysql -u root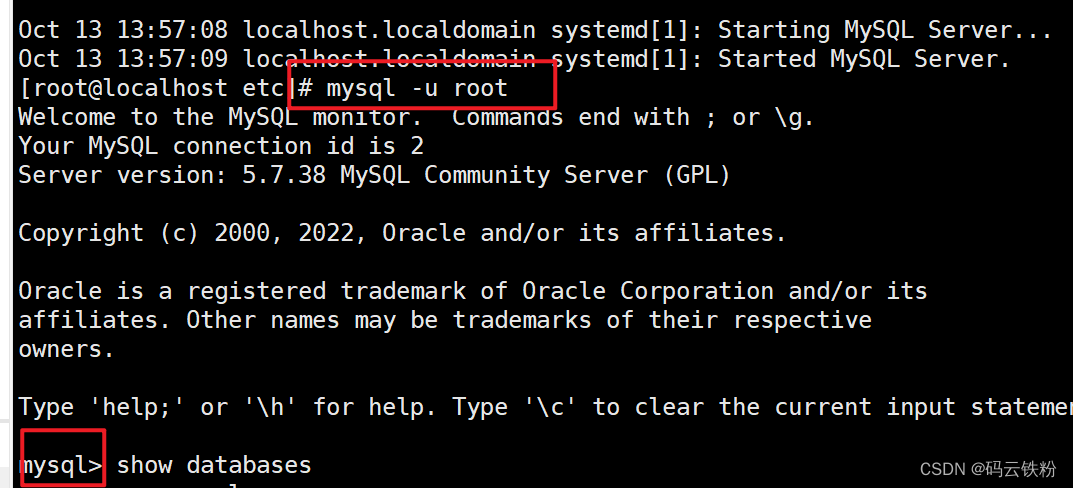
6、使用数据库中的mysql库,分号必须要写
use mysql;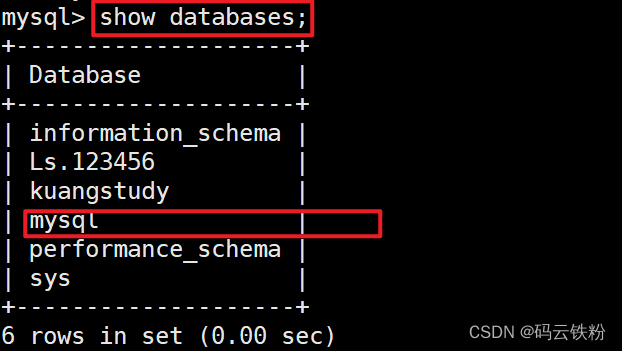
7、执行sql更新密码
update user set password=password('你的新密码') where user='root';注意点:如果上面执行报了没有password字段
那么执行这个,将password替换成authentication_string
update user set authentication_string=password('123456') where user='root';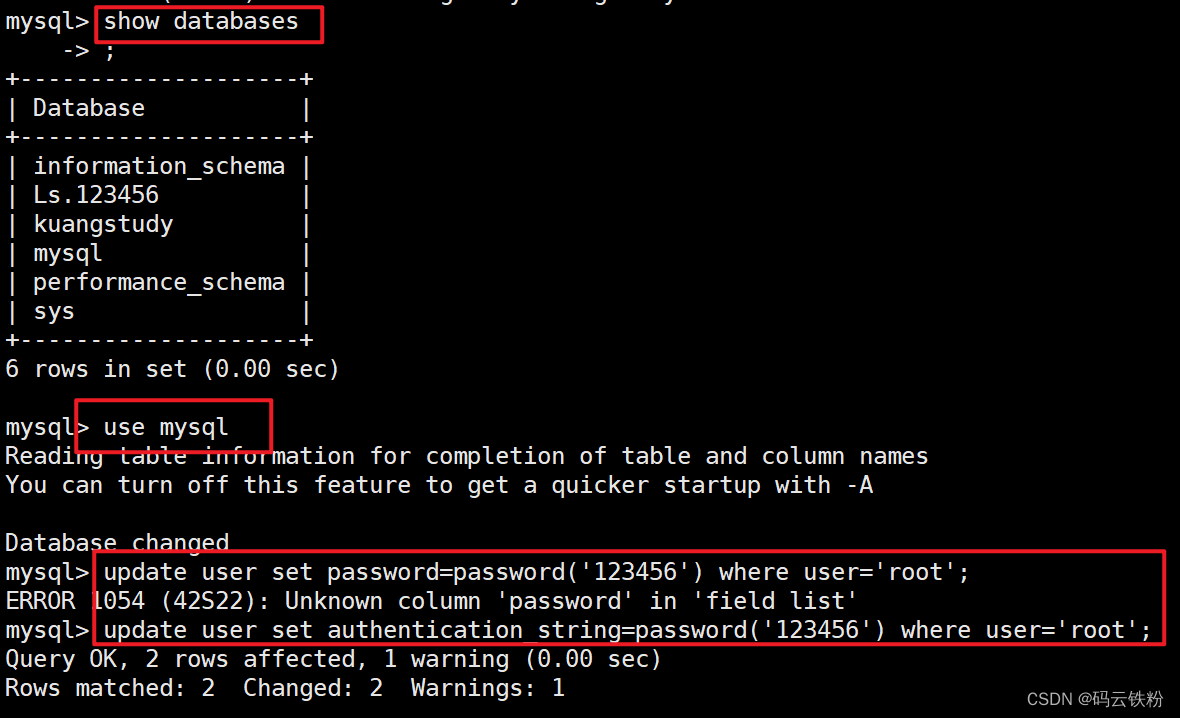
8、刷新
flush privileges;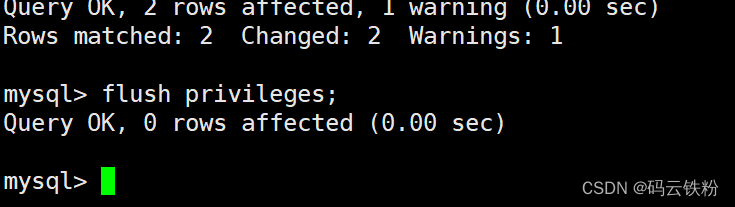
9、修改成功以后退出
exit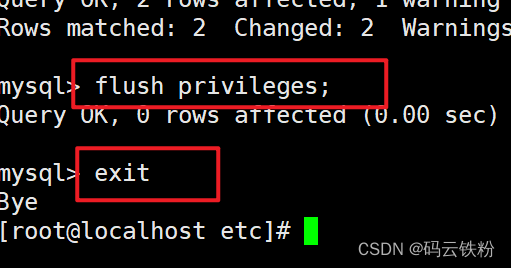
10、停止mysql服务
systemctl stop mysqld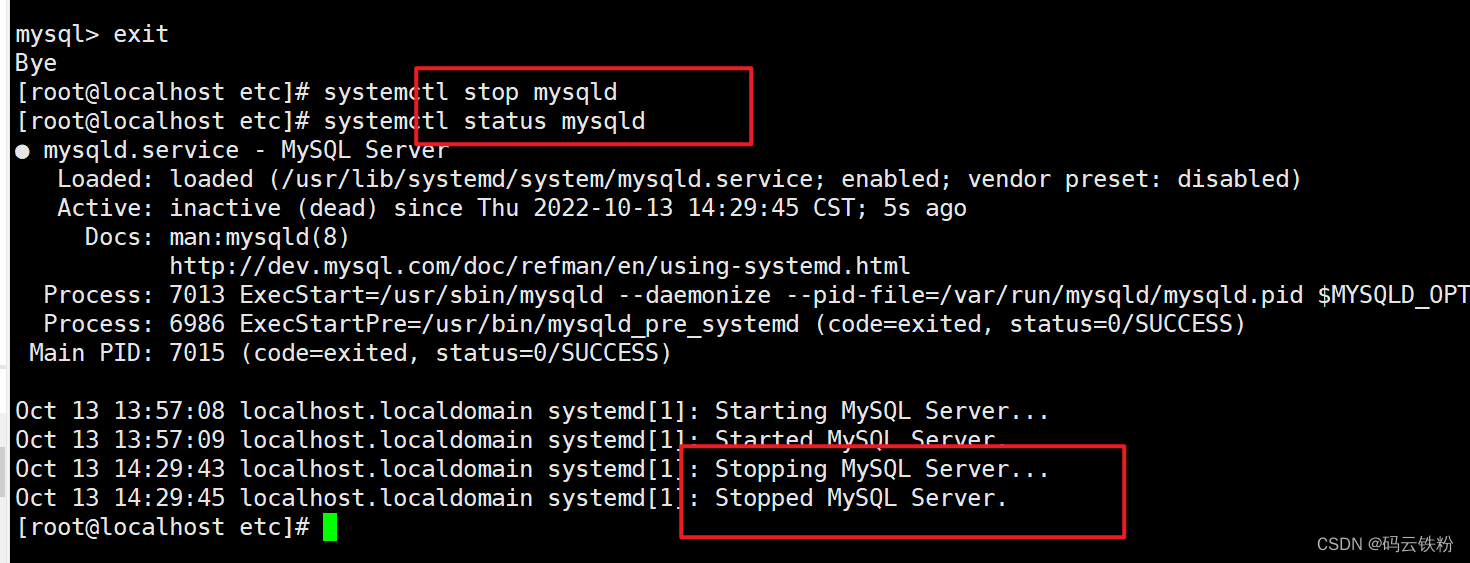
11、去掉my.cnf里面的skip-grant-tables内容
vim /etc/my.cnf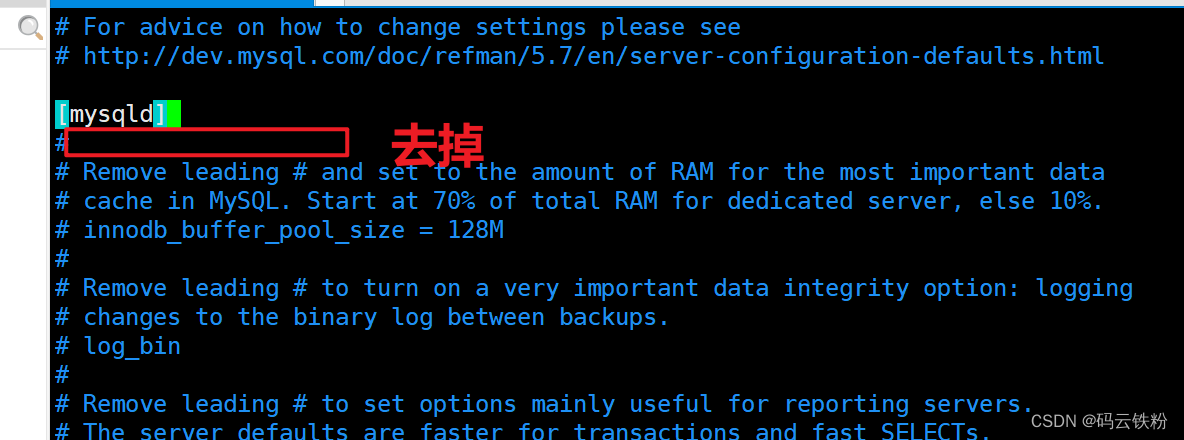
12、启动mysql服务
systemctl start mysqld 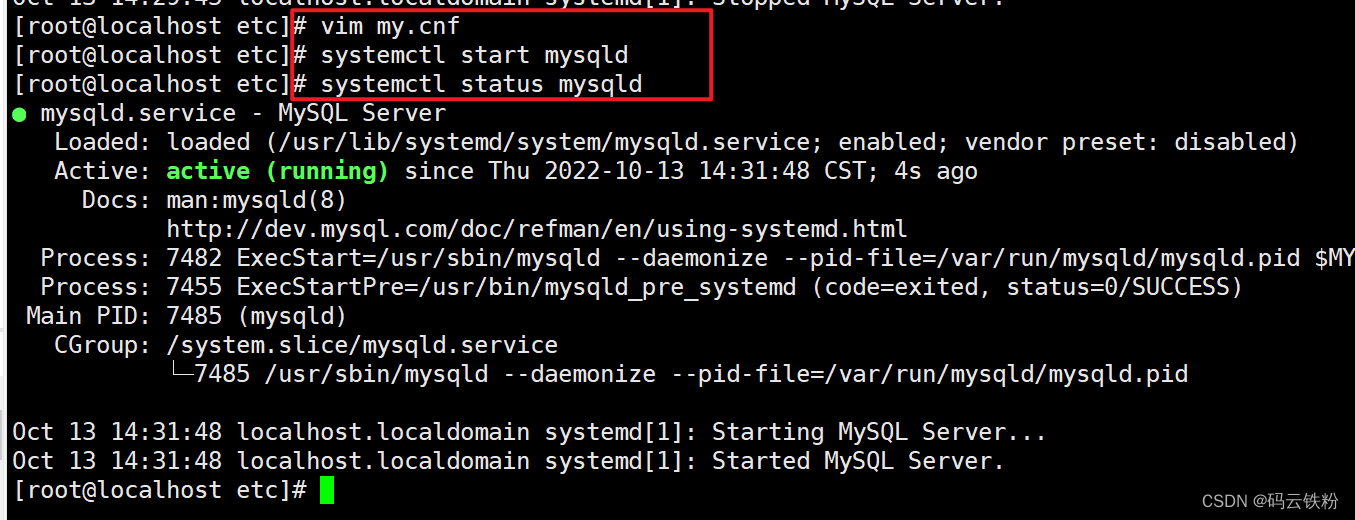
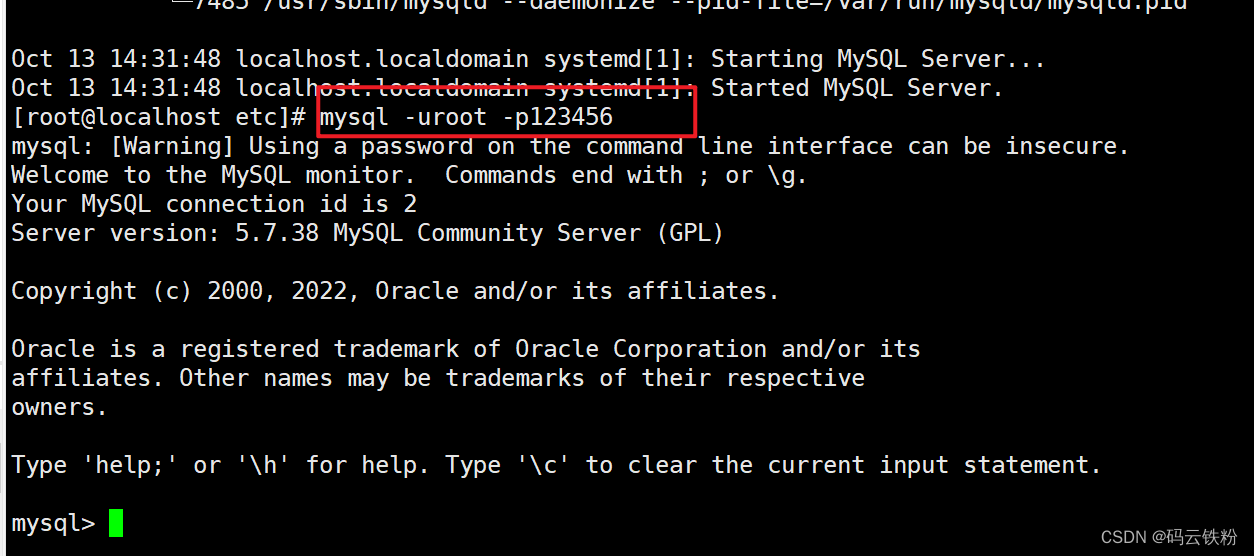
13、进行登录
mysql -u root -p123456