本篇内容主要是写接口
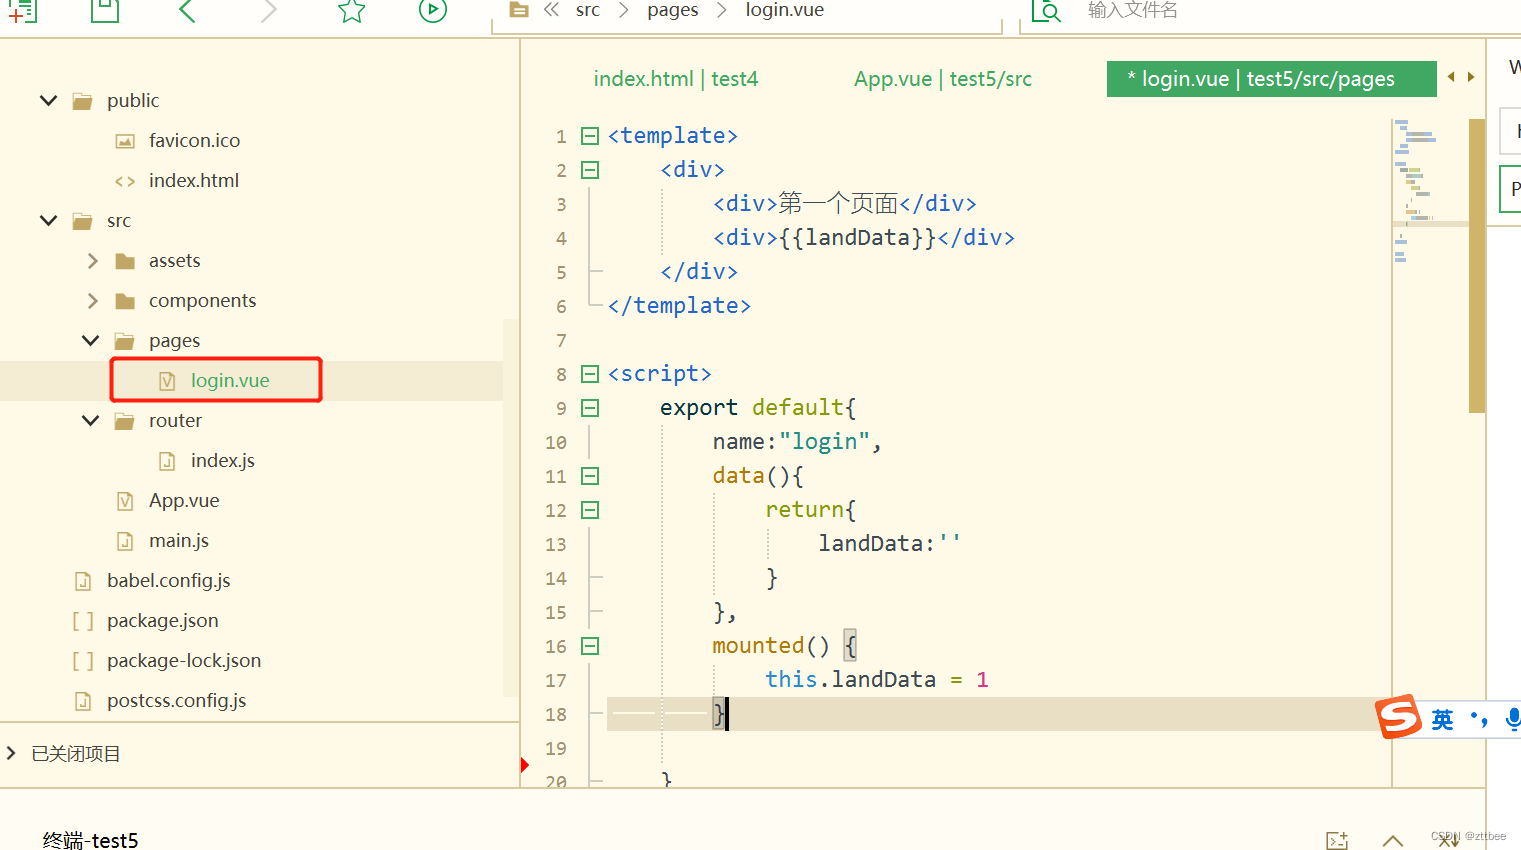
增加页面内容
增加变量与函数
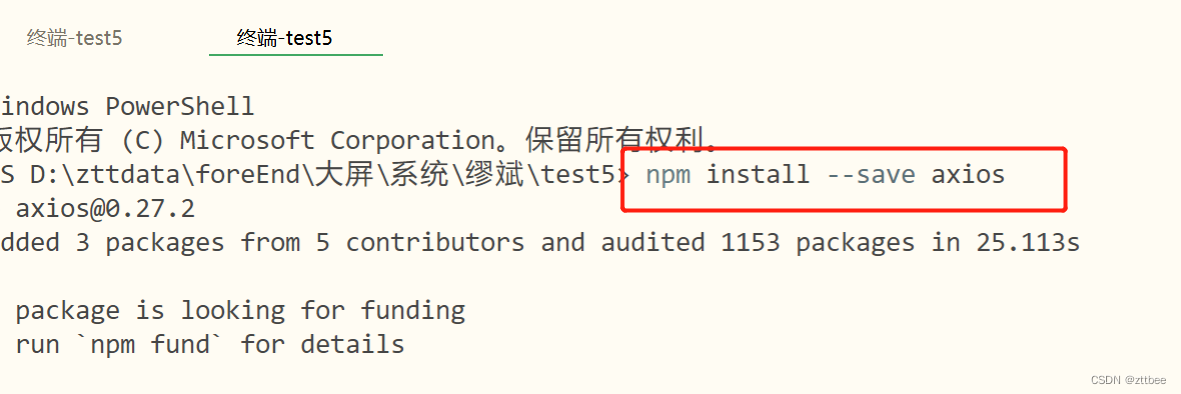
安装axios
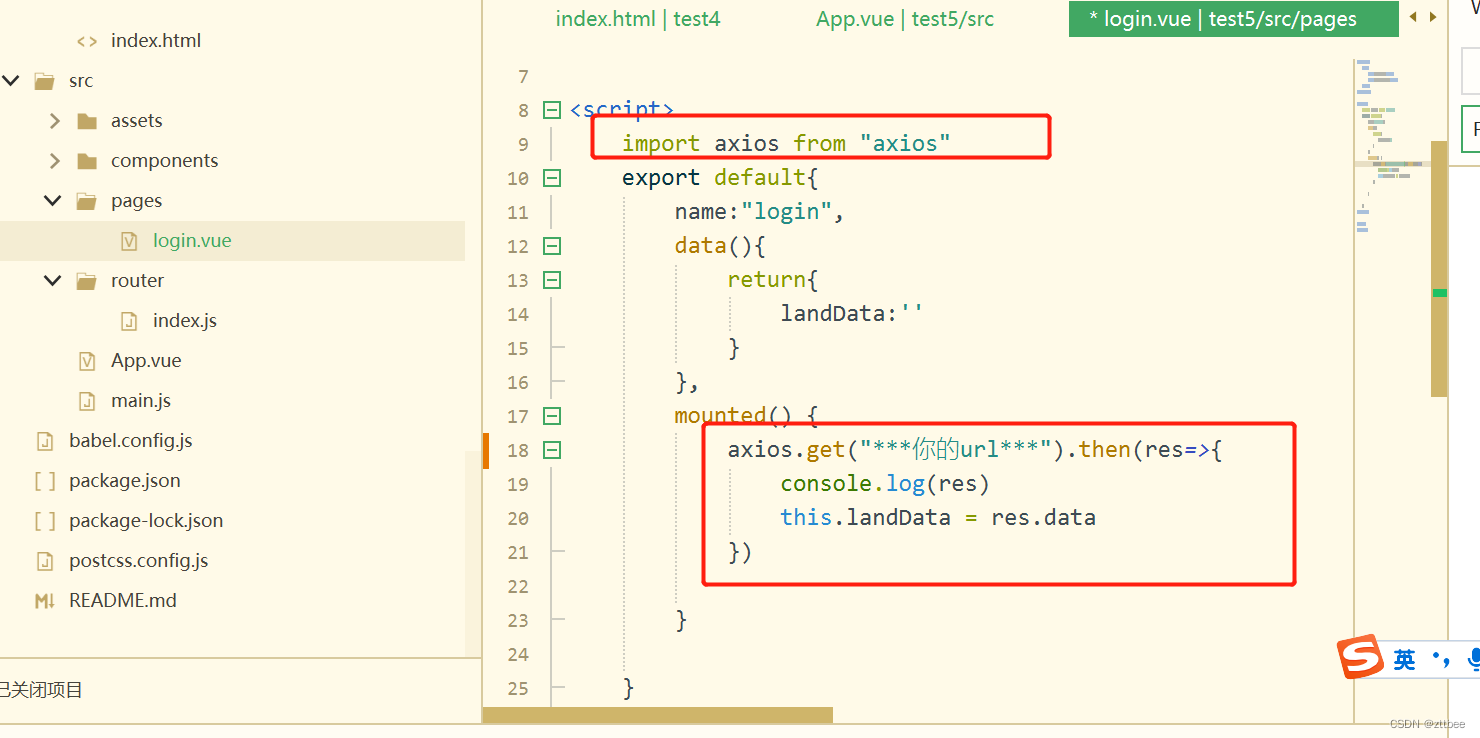
调用接口
运行成功,然后打包试试看,运行npm run build发现报错
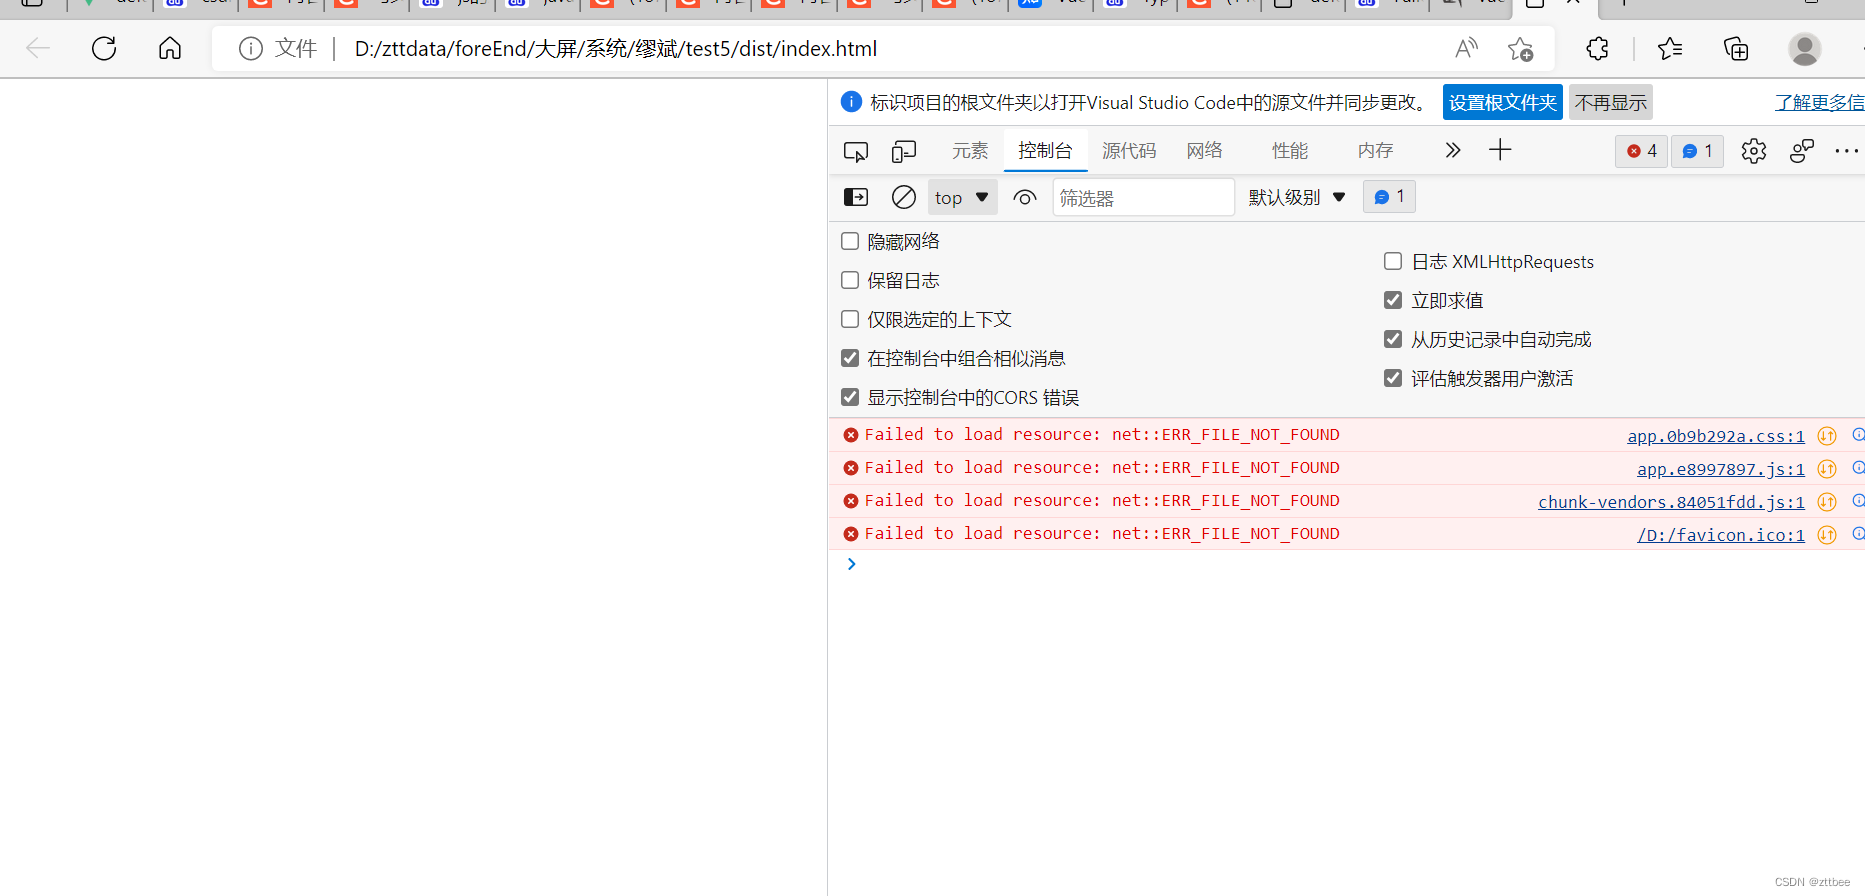
是因为我们没有配置vue.config.js
首先下载path依赖,运行npm install --save path
然后创建vue.config.js文件
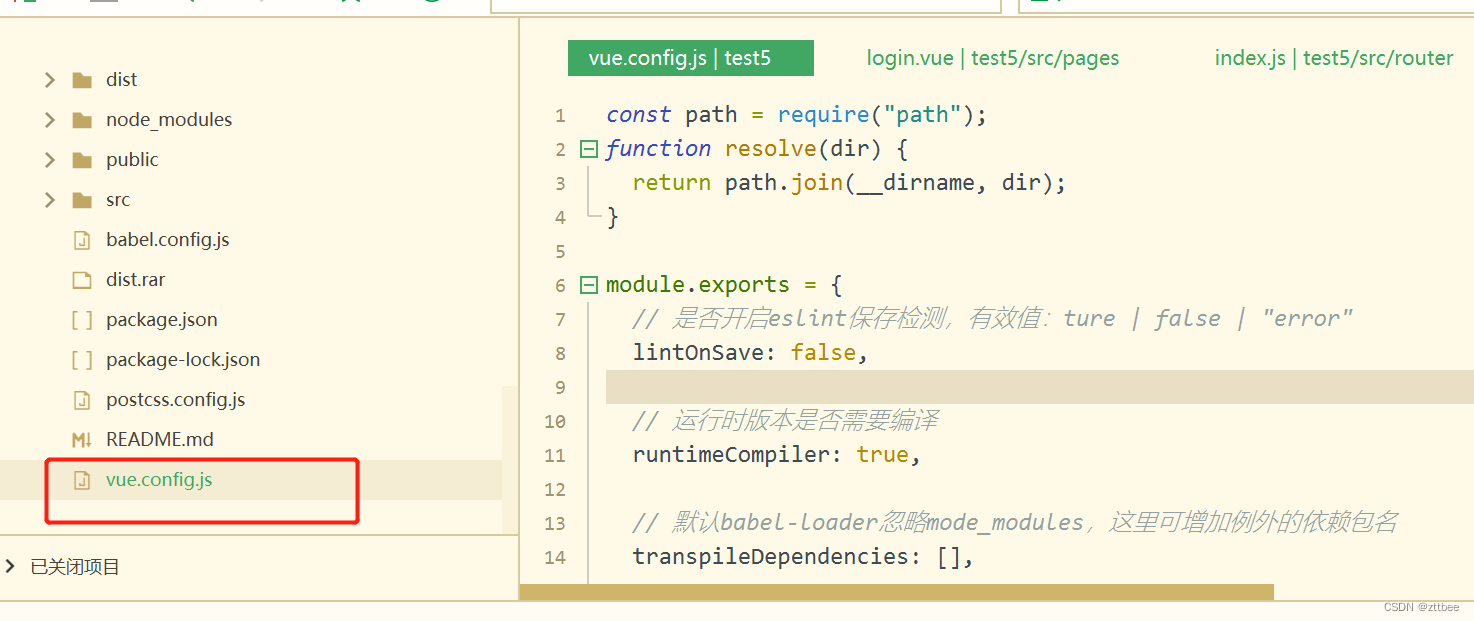
代码如下:
const path = require("path");
function resolve(dir) {


  return path.join(__dirname, dir);
}

module.exports = {


  // 是否开启eslint保存检测,有效值:ture | false | "error"
  lintOnSave: false,

  // 运行时版本是否需要编译
  runtimeCompiler: true,

  // 默认babel-loader忽略mode_modules,这里可增加例外的依赖包名
  transpileDependencies: [],

  // 是否在构建生产包时生成 sourceMap 文件,false将提高构建速度
  productionSourceMap: false,

  css: {


    loaderOptions: {


      sass: {


        data: "",
      },
    },
  },

  pluginOptions: {


    // 第三方插件配置
  },

  pwa: {


    // 单页插件相关配置 https://github.com/vuejs/vue-cli/tree/dev/packages/%40vue/cli-plugin-pwa
  },

  configureWebpack: {


    externals: {


      BMap: "BMap",
    },
  },

  chainWebpack: (config) => {


    config.resolve.alias
      // .set("@", resolve("src"))
      // .set("components", resolve("src/components"));
      .set("@", resolve("src"))
      .set("public", resolve("public"))
      .set("view", resolve("src/view"))
      .set("assets", resolve("src/assets"))
      .set("components", resolve("src/components"))
      .set("styles", resolve("src/styles"))
      .set("methods", resolve("src/methods"));
  },
  devServer: {


    open: false,
    host: "0.0.0.0",
    port: 9991,
    https: false,
    hotOnly: false,
    // proxy: null,
    proxy: {


      "/api": {


        target: "***你的接口地址***", // 生产环境
        changeOrigin: true,
        pathRewrite: {


          "^/api": "",
        },
      },

    },
  },
  publicPath: "./",
};
大功告成