初始化 vue-cli 的核心步骤:
1.全局安装命令
npm install -g @vue/cli
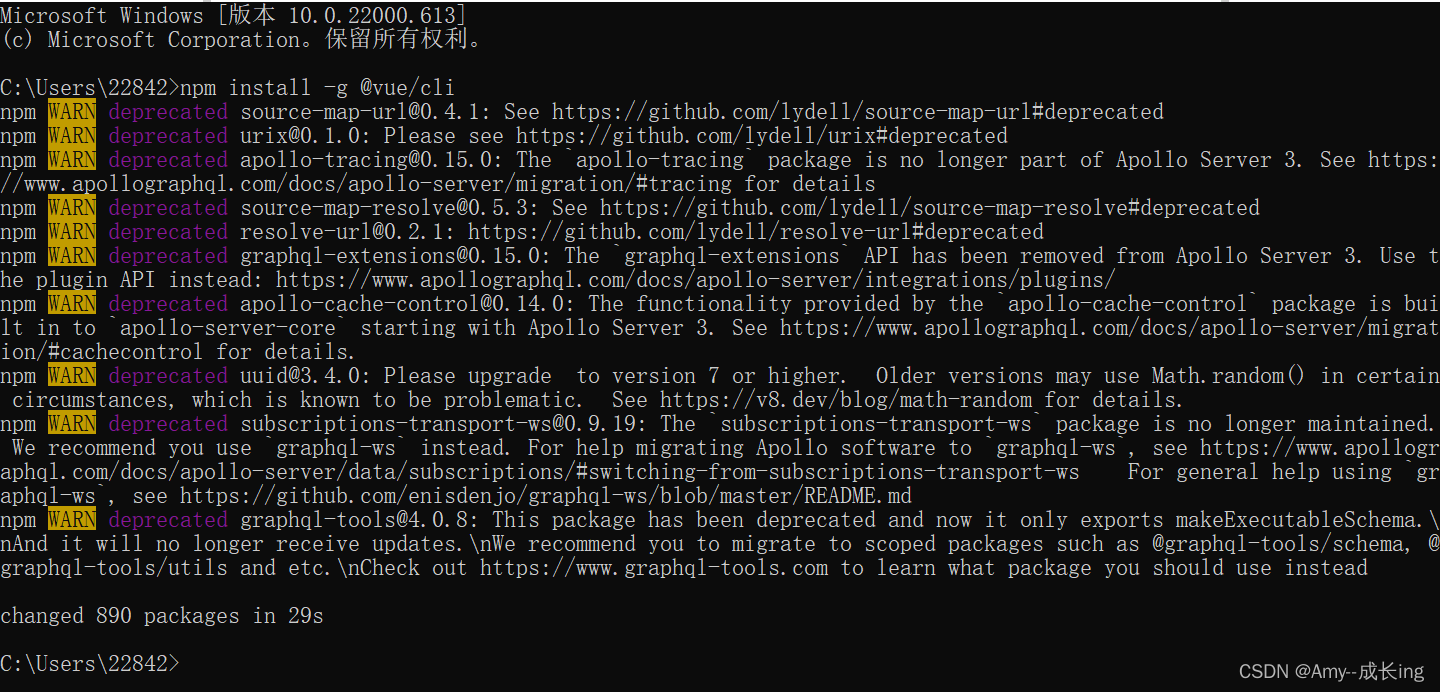
注意: 如果半天没动静(95%都是网速问题), 可以ctrl + c 停止安装,换一个网络环境来继续重新安装。
npm config set registry https://registry.npm.taobao.org/ 设置切换淘宝镜像地址
npm config get registry 查看镜像地址
检查是否安装成功在任意小黑窗中:vue --version![]()
如果可以看到版本号,就表示安装成功了。
2.vue-cli 创建项目
创建一个文件夹 然后小黑窗打开
小黑窗输入 vue create vuecli-demo
vue和create是命令, vuecli-demo是文件夹的名字

回车安装依赖
等待脚手架工作自动生成项目文件夹+文件, 并下载必须的第三方包。可能要花很久~~~

启动项目
小黑窗输入 cd vuecil-demo 然后在输入npm run serve
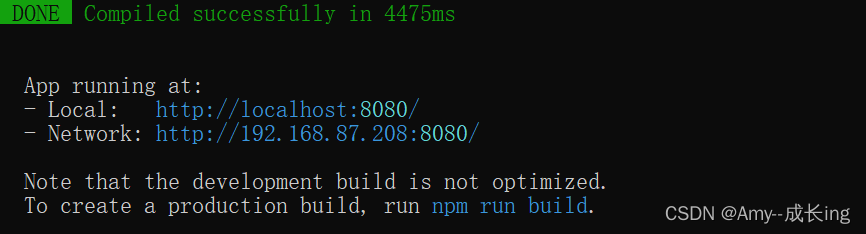
打开浏览器输入上述地址
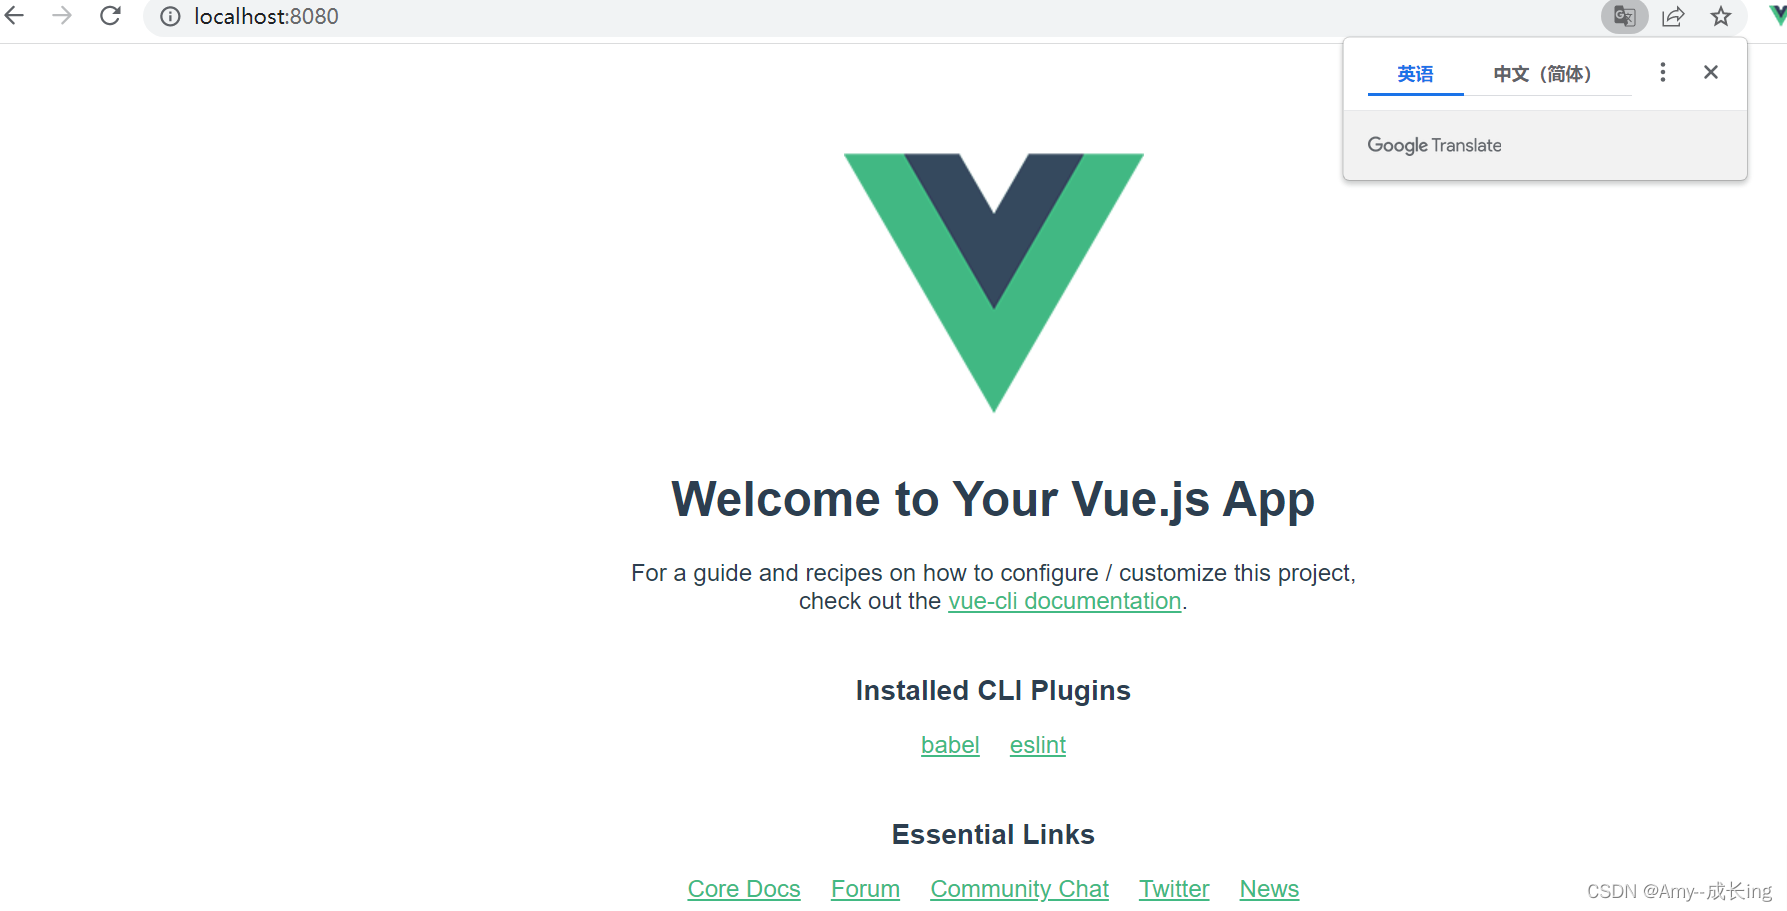
到这里你的项目就创建完成了
看看生成的项目结构吧

总结步骤:
初始化 vue-cli 的核心步骤:
-
Manually select features
-
(*) Choose Vue version
-
(*) Babel
-
( ) TypeScript
-
( ) Progressive Web App (PWA) Support
-
(*) Router
-
(*) Vuex
-
(*) CSS Pre-processors
-
(*) Linter / Formatter
-
( ) Unit Testing
-
( ) E2E Testing
-
-
Choose a version of Vue.js that you want to start the project with (Use arrow keys)
-
2.x
-
3.x
-
-
Use history mode for router? (Requires proper server setup for index fallback in production) (Y/n)
-
n
-
-
Pick a CSS pre-processor (PostCSS, Autoprefixer and CSS Modules are supported by default): (Use arrow keys)
-
Sass/SCSS (with dart-sass)
-
Sass/SCSS (with node-sass)
-
Less
-
Stylus
-
-
Pick a linter / formatter config: (Use arrow keys)
-
ESLint + Airbnb config
-
ESLint + Standard config
-
ESLint + Prettier
-
-
Pick additional lint features: (Press <space> to select, <a> to toggle all, <i> to invert selection)
-
(*) Lint on save
-
( ) Lint and fix on commit
-
-
Where do you prefer placing config for Babel, ESLint, etc.? (Use arrow keys)
-
In dedicated config files
-
In package.json
-
-
Save this as a preset for future projects? (y/N)
-
N
-
3.首次运行项目
目的:检查项目是否初始化成功。
-
cd 项目根目录
-
npm run serve