一、AlexNet网络结构
1.1 AlexNet介绍:
ImageNet竞赛冠军获得者Hinton和他的学生Krizhevsky Alex于2012年设计。
ImageNet竞赛中第一个使用卷积神经网络的参赛者。
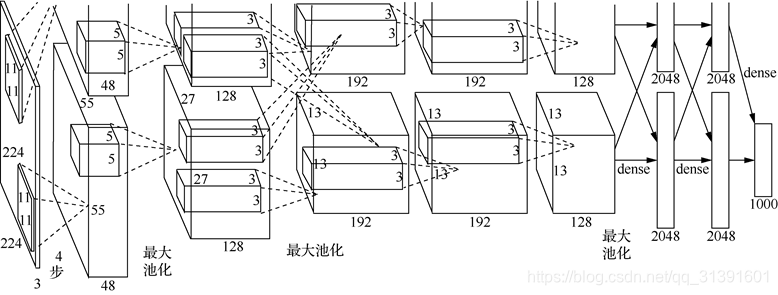
1.2 AlexNet网络结构:8层
卷积层
池化层
卷积层
池化层
卷积层
卷积层
卷积层
池化层
输出层:三个全连接层
1.3 AlexNet创新点:
成功使用ReLU作为CNN的激活函数;
使用Dropout随机忽略一部分神经元,避免模型过拟合;
在CNN中使用重叠的最大值池化(步长小于卷积核);
提出局部响应归一化层(Local Response Normalization,LRN),后逐渐被BN(Batch Normalization)代替;
使用CUDA加速神经网络的训练,利用了GPU强大的计算能力;
采用了数据增强(Data Augmentation)技术,达到增加样本量的目的。
二、案例:中文字体识别——隶书和行楷
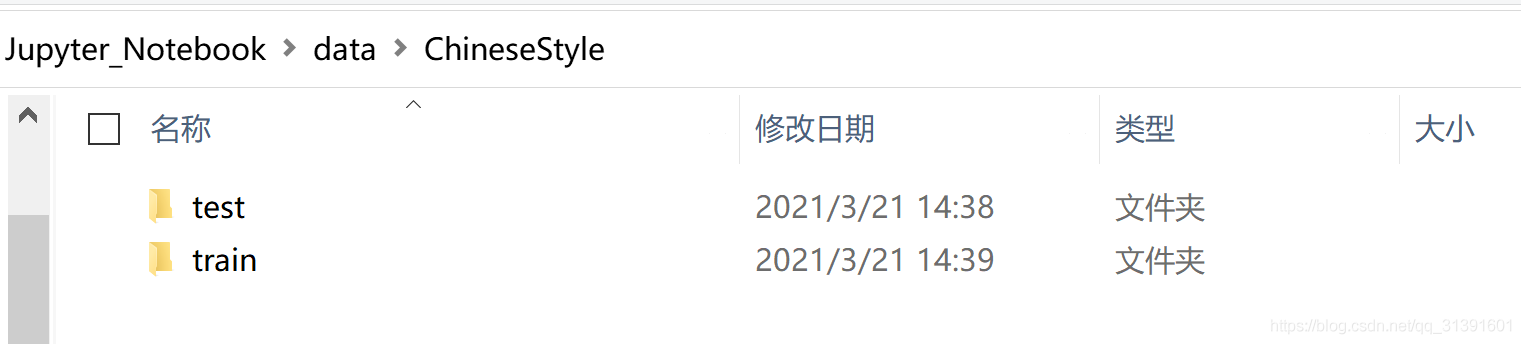
2.1 数据准备
2.2 构造数据生成器
(1) 数据生成器
from keras.preprocessing.image import ImageDataGenerator

IMSIZE=227

validation_generator = ImageDataGenerator(rescale=1./255).flow_from_directory(
    './data/ChineseStyle/test/',
    target_size=(IMSIZE, IMSIZE),
    batch_size=200,
    class_mode='categorical')

train_generator = ImageDataGenerator(rescale=1./255).flow_from_directory(
    './data/ChineseStyle/train',
    target_size=(IMSIZE, IMSIZE),
    batch_size=200,
    class_mode='categorical')
(2)输出图像
from matplotlib import pyplot as plt

plt.figure()
fig,ax = plt.subplots(2,5)
fig.set_figheight(7)
fig.set_figwidth(15)
ax=ax.flatten()
X,Y=next(validation_generator)
for i in range(10): ax[i].imshow(X[i,:,:,:])

2.3 AlexNet代码实现
from keras.layers import Activation,Conv2D, BatchNormalization, Dense
from keras.layers import Dropout, Flatten, Input, MaxPooling2D, ZeroPadding2D
from keras import Model

IMSIZE = 227
input_layer = Input([IMSIZE,IMSIZE,3])
x = input_layer
x = Conv2D(96,[11,11],strides = [4,4], activation = 'relu')(x)
x = MaxPooling2D([3,3], strides = [2,2])(x)
x = Conv2D(256,[5,5],padding = "same", activation = 'relu')(x)
x = MaxPooling2D([3,3], strides = [2,2])(x)
x = Conv2D(384,[3,3],padding = "same", activation = 'relu')(x)
x = Conv2D(384,[3,3],padding = "same", activation = 'relu')(x)
x = Conv2D(256,[3,3],padding = "same", activation = 'relu')(x)
x = MaxPooling2D([3,3], strides = [2,2])(x)
x = Flatten()(x)
x = Dense(4096,activation = 'relu')(x)
x = Dropout(0.5)(x)
x = Dense(4096,activation = 'relu')(x)
x = Dropout(0.5)(x)
x = Dense(2,activation = 'softmax')(x)
output_layer=x
model=Model(input_layer,output_layer)
model.summary()
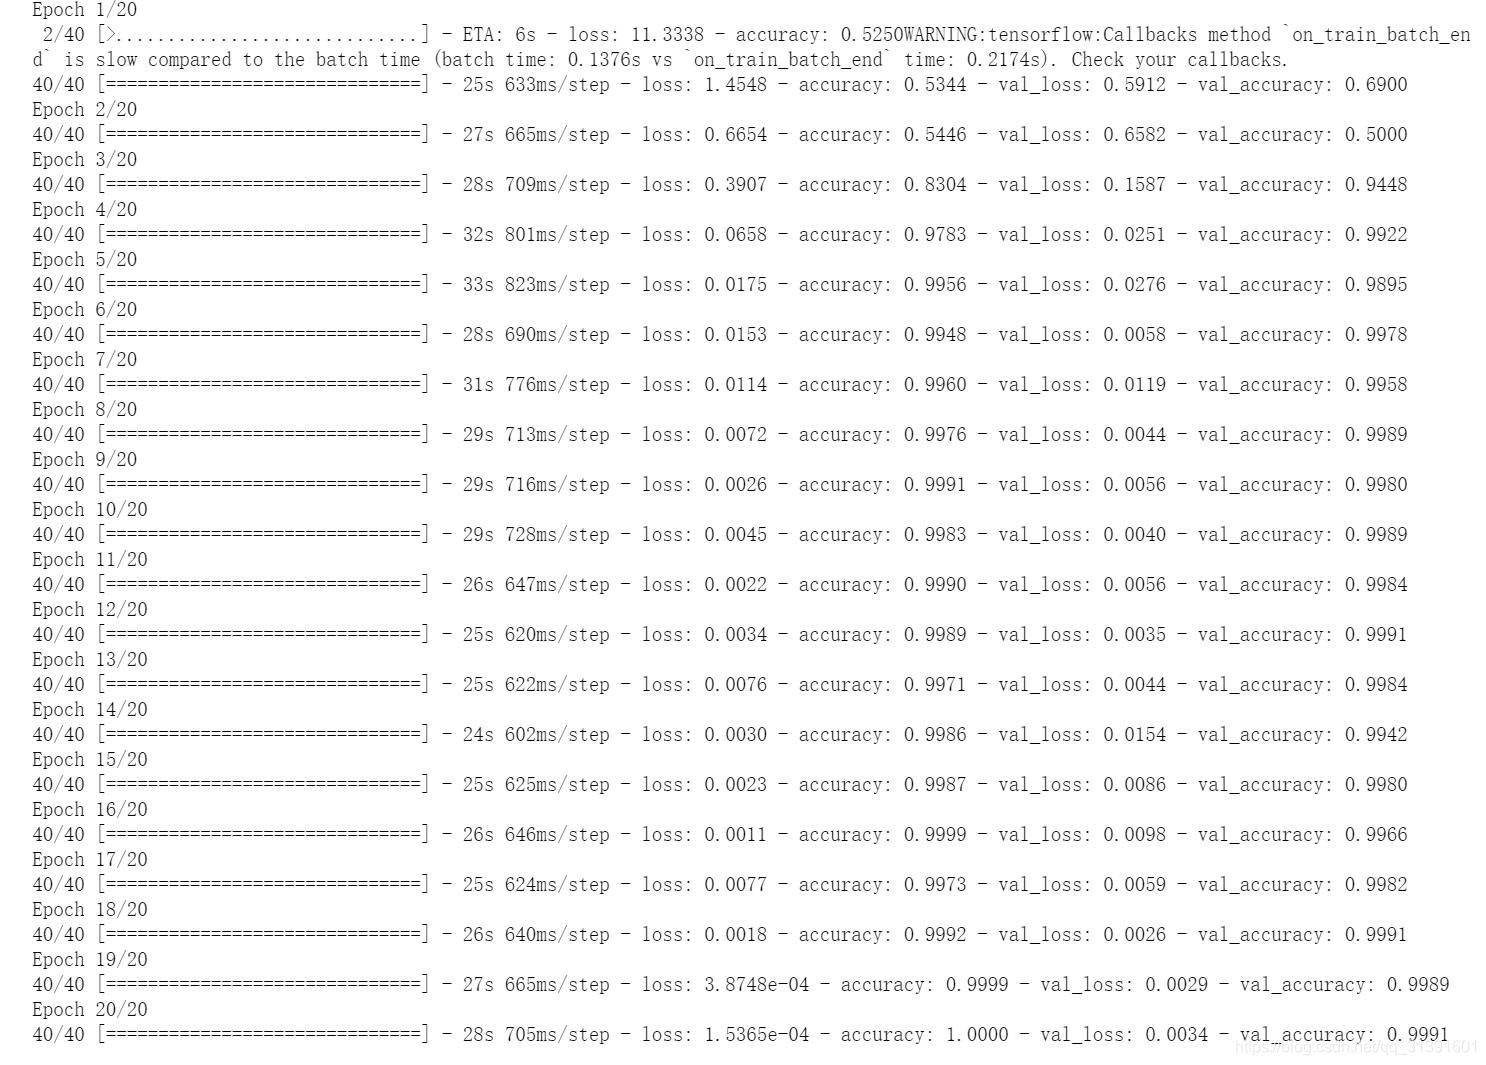
2.4 AlexNet编译运行
from keras.optimizers import Adam
model.compile(loss='categorical_crossentropy',optimizer=Adam(lr=0.001),metrics=['accuracy'])
model.fit_generator(train_generator,epochs=20,validation_data=validation_generator)