安装Python3
由于 CentOS7 原本就安装了 Python2.7,而且还不能删掉,因为很多系统命令都依赖于 Python2,比如我们经常要用到的 yum 工具。
所以,我们首先需要另外安装 Python3,我们找到 Python 官网的 ftp:
https://www.python.org/ftp/python/
然后找到我们想要的版本,比如 Python3.6.5,然后用 wget 下载:
# wget https://www.python.org/ftp/python/3.6.5/Python-3.6.5.tgz然后新建一个目录:
# mkdir /usr/local/python3将刚下载的 Python-3.6.5.tgz 解压到该目录:
# cd /usr/local/python3
# tar zxvf /root/Python-3.6.5.tgz
接着进行配置、编译和安装:
# cd Python-3.6.5
# ./configure --prefix=/usr/local/python3
# make
# make install
为了方便使用,我们给它创建软链接:
# ln -s /usr/local/python3/bin/python3 /usr/bin/python3
# ln -s /usr/local/python3/bin/pip3 /usr/bin/pip3
安装完毕,检查一下:
# python3 --version
Python 3.6.5

# pip3 --version
pip 9.0.3 from /usr/local/python3/lib/python3.6/site-packages (python 3.6)
Flask 实验
Flask 是一个使用 Python 编写的轻量级 Web 框架(所以我们前面花了那么多时间安装 Python3 呀)。它被称为微型架构,因为其使用非常简单的核心以及功能丰富的扩展。虽然 Flask 内核没有默认的数据库、验证工具等,但是却通过扩展加入了 ORM、验证工具、文件上传、开放式身份验证,可以实现非常强大的 Web 应用。
好啦,那其实 Flask 的安装非常简单:
# pip3 install flask安装完之后,我们编写一个后端代码 app.py,如下:
# -*- coding: utf-8 -*-
from flask import Flask, jsonify, render_template, request
app = Flask(__name__)

@app.route("/")
def index():
    return render_template('index.html')

@app.route('/value', methods=['POST'])
def cal_value():
  if request.method == 'POST':
    a = request.form.get('a', 0, type=int)
    b = request.form.get('b', 0, type=int)
    return jsonify(result = a + b)

if __name__=="__main__":
    app.run(host = '0.0.0.0',port = 8080, debug = True)
我们知道,Flask 采用了装饰器 @app.route("/") 定义 URL 路径。所以,app.py 有两个路由功能:一个路由可使用 HTTP GET 方法访问,返回一个 html 页面;另一个路由可使用 HTTP POST 方法访问,返回两个参数 a 和 b 相加的结果。
index.html 的代码也很简单,其中的 JavaScript 基于 jQuery 编写,如下:
<!DOCTYPE html>
<html>
<head>
<meta charset="utf-8">
<title>HTTP Demo</title>
<!-- 插入jquery -->
<script src="{{url_for('static', filename='jquery.js')}}"></script>
<script type=text/javascript>
var $SCRIPT_ROOT = {{request.script_root|tojson|safe}};
</script>
<script type=text/javascript>
$(function() {
    function submit_form(e) {
      $.ajax({
        type: "post",
        url: $SCRIPT_ROOT + '/value',
        data: {
            a: $('input[name="a"]').val(),
            b: $('input[name="b"]').val(),
            now: new Date().getTime()
        },
        success: function(data) {
            $('#result').text(data.result);
        }
      });
    }
    // 绑定click事件
    $('#calculate').bind('click', submit_form);
});
</script>
</head>
<body>
<p>
    <input type=text size=5 name=a> +
    <input type=text size=5 name=b> =
    <span id=result>?</span>
</p>
<p><input type="button" id="calculate" value="计算"></p>
</body>
</html>
整个工程目录结构如下:
# tree
.
├── app.py
├── static
│   └── jquery.js
└── templates
    └── index.html

2 directories, 3 files
下面,我们把 Web 后端运行起来:
# python3 app.py
 * Running on http://0.0.0.0:8080/ (Press CTRL+C to quit)
 * Restarting with stat
 * Debugger is active!
 * Debugger PIN: 184-286-467
打开浏览器,输入 ip:8080 即可访问:
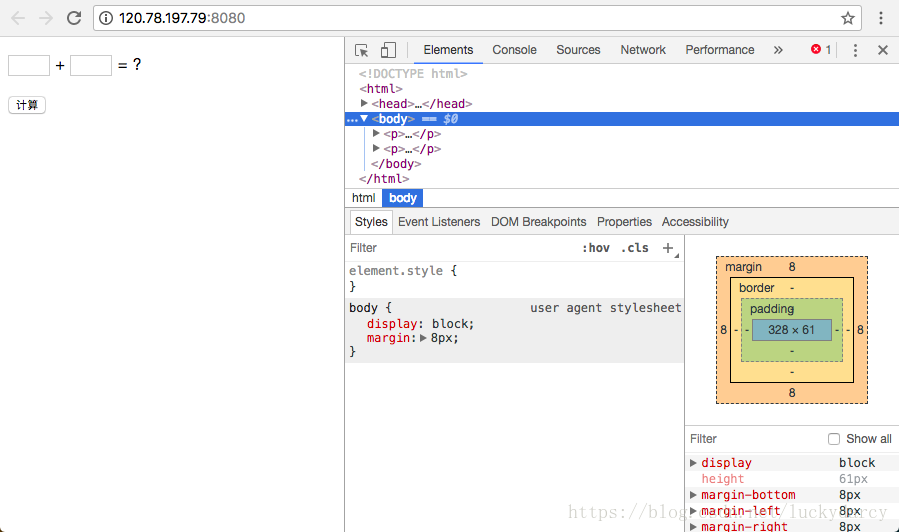
我们在输入框中输入参数 a 和 b,点击计算,就可以看到结果了!实验完毕~