1、SpringBoot基本环境。
开发工具:IntelliJ IDEA 2020.3.3 x64
JDK版本:jdk1.8.0_51
JRE版本:jdk1.8.0_51
2、开始安装SpringBoot。
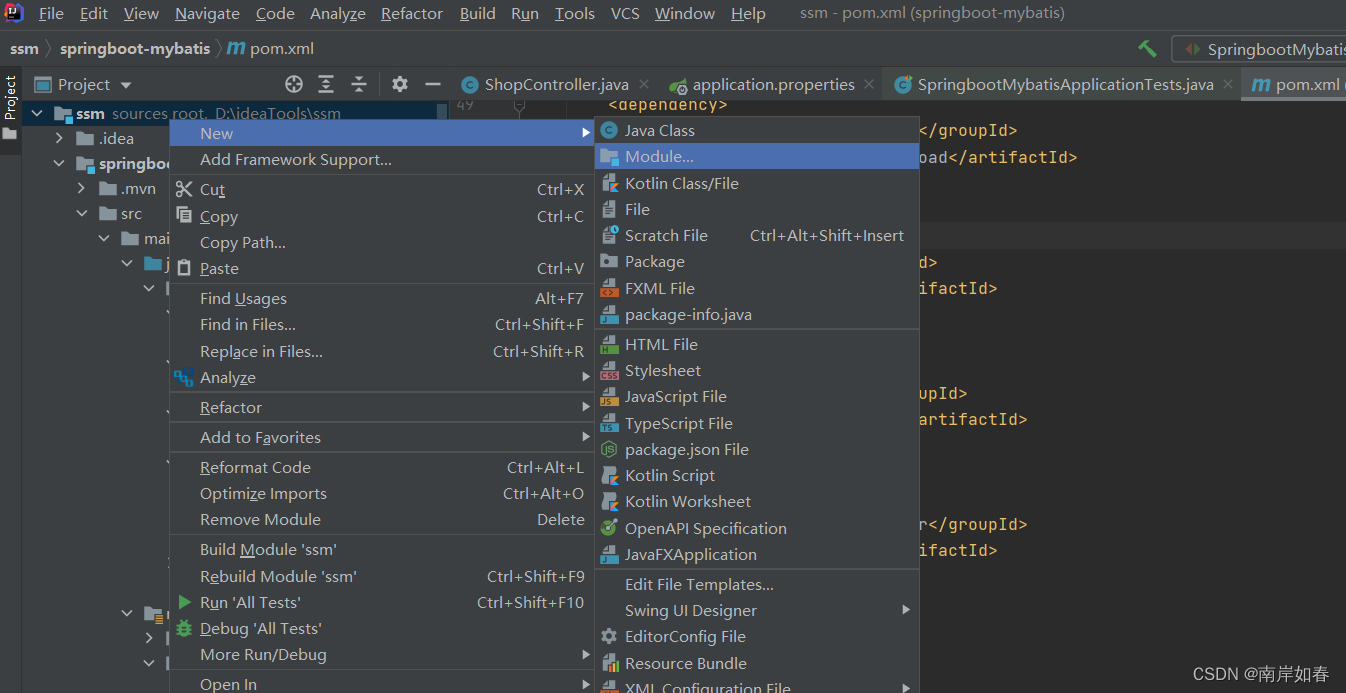
1)右键项目>New>Module
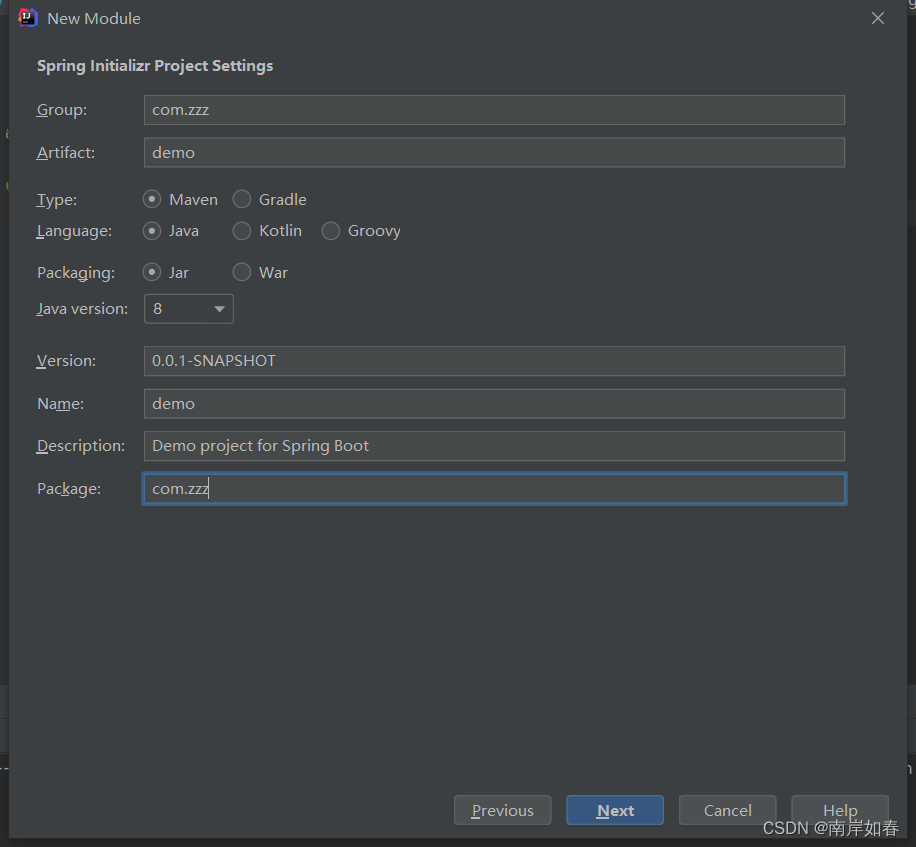
2)点击Spring Initializr,Module SDK使用默认即可,service URL选择默认的官网地址,然后Next下一步
 3)Group组名,Artifact项目名称,Java version我选择的8,Packge包名,其他都默认,然后Next下一步
4)点击Web,选择Spring Web,Spring Boot版本根据自己需要去选择,其他不用选,然后Next下一步

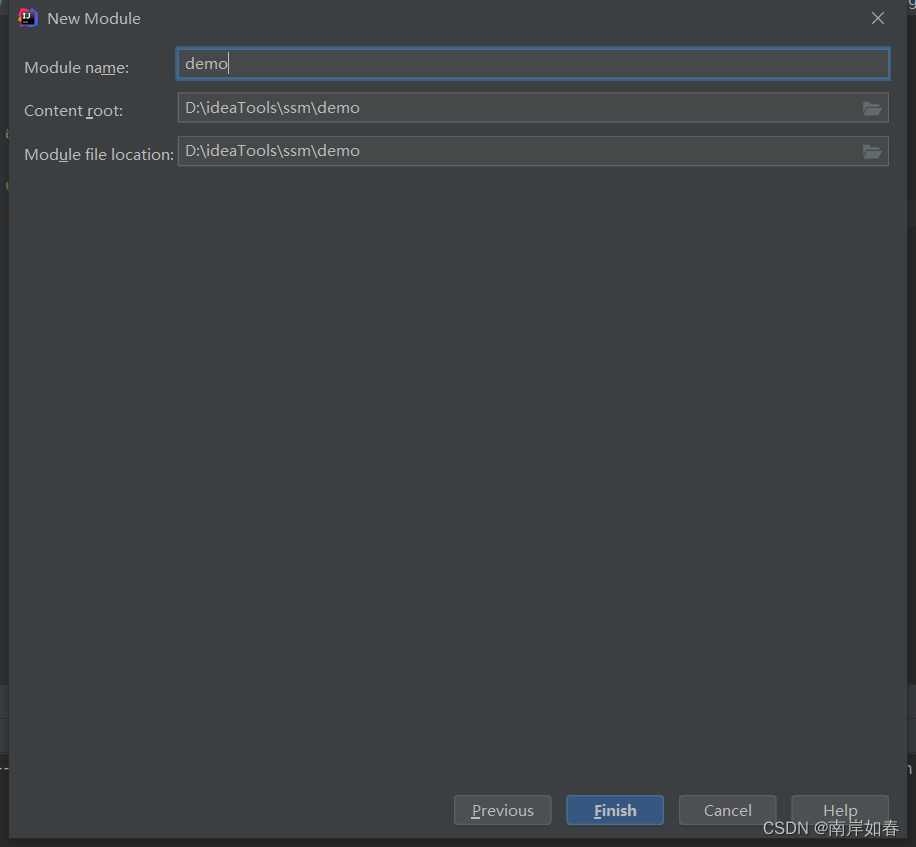
5)Finish安装
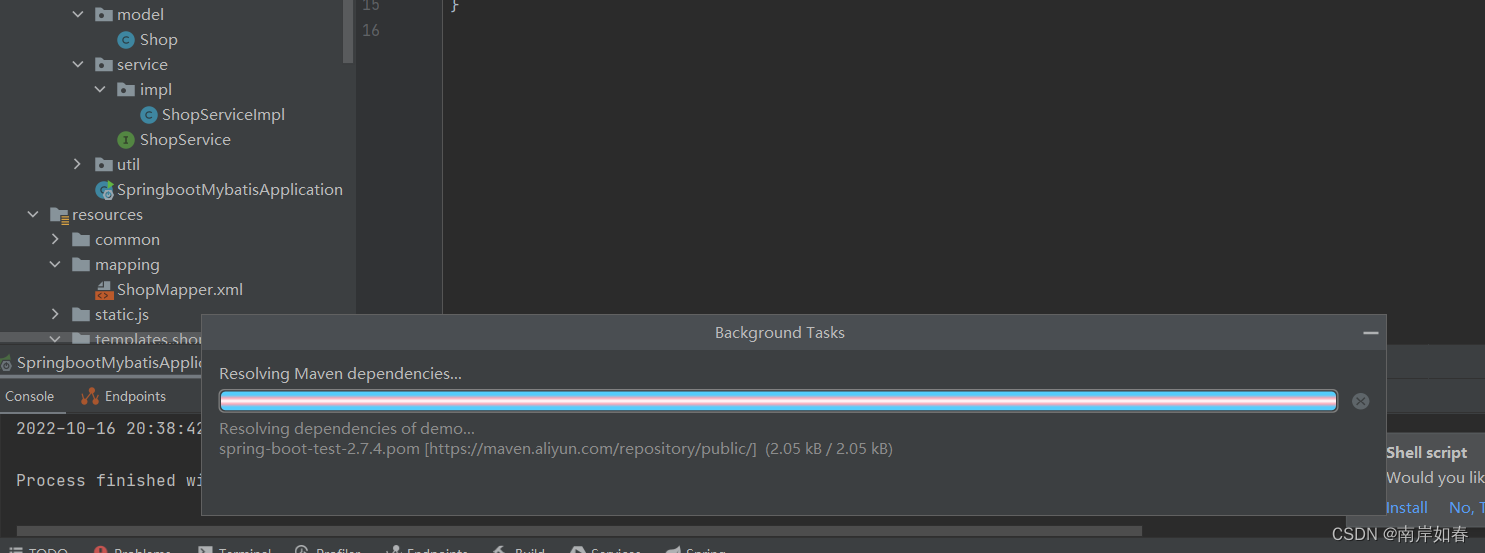
6)Finsh后 需要从官网拉取相关jar包,等待即可(网络不好可能down不下来)
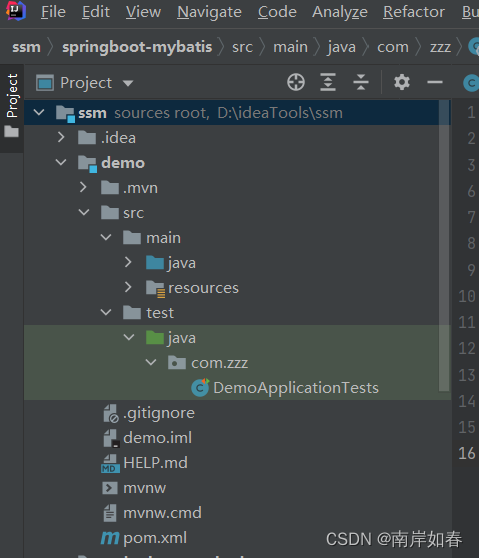
这就是安装好之后的项目结构
2、写一个简单的页面访问一下
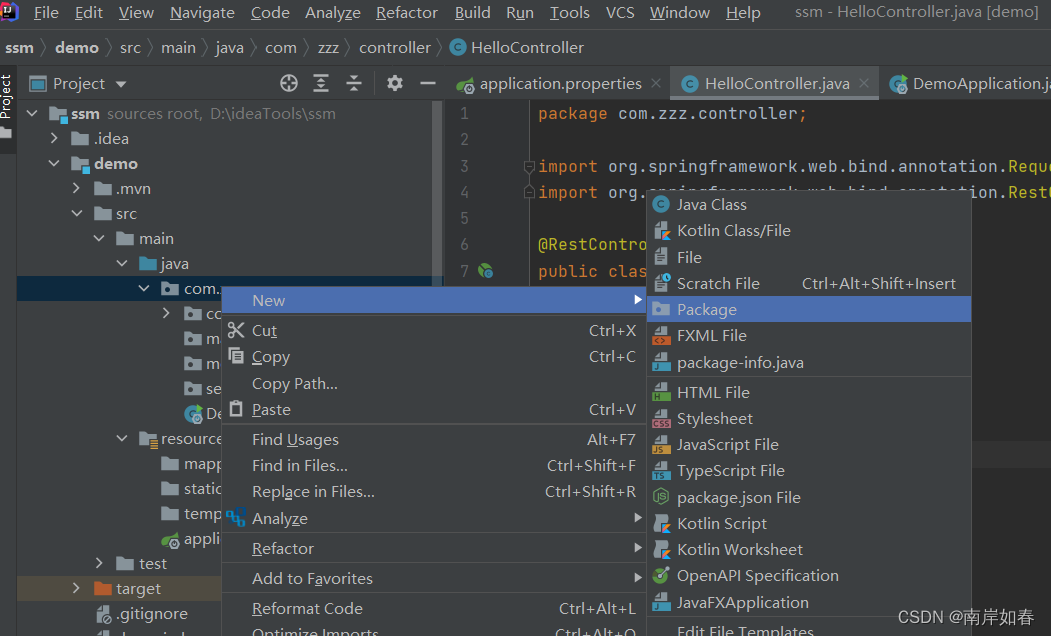
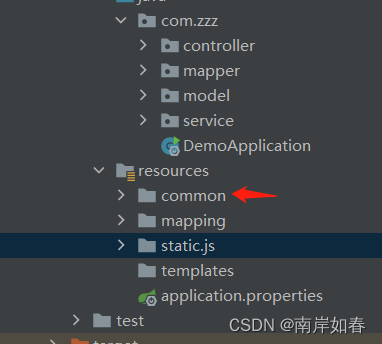
1)先创建包结构,在java中的com.zzz下创建controller、mapper、model、service,resources中创建mapping目录。
com.zzz.下
resources中

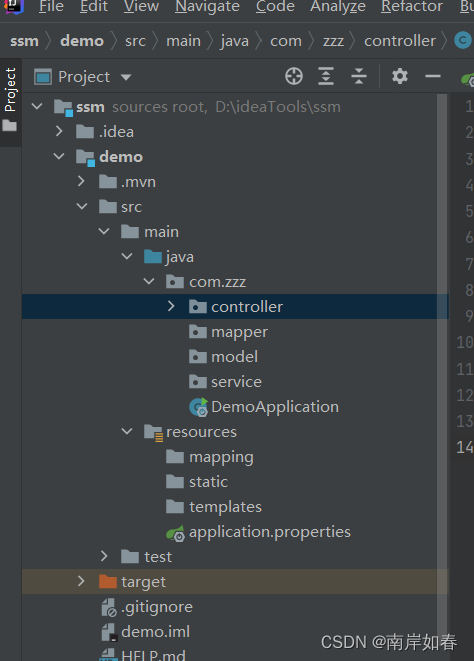
创建完成后的包结构
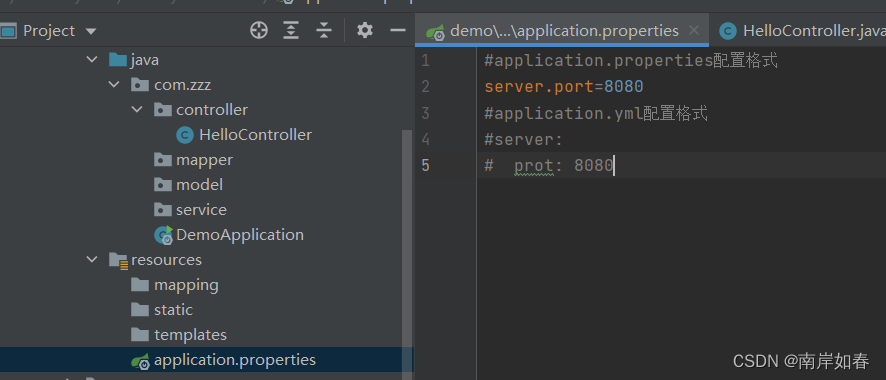
2)application.properties中配置tomcat端口号,用来做一个简单的访问测试。
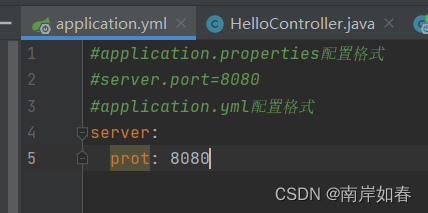
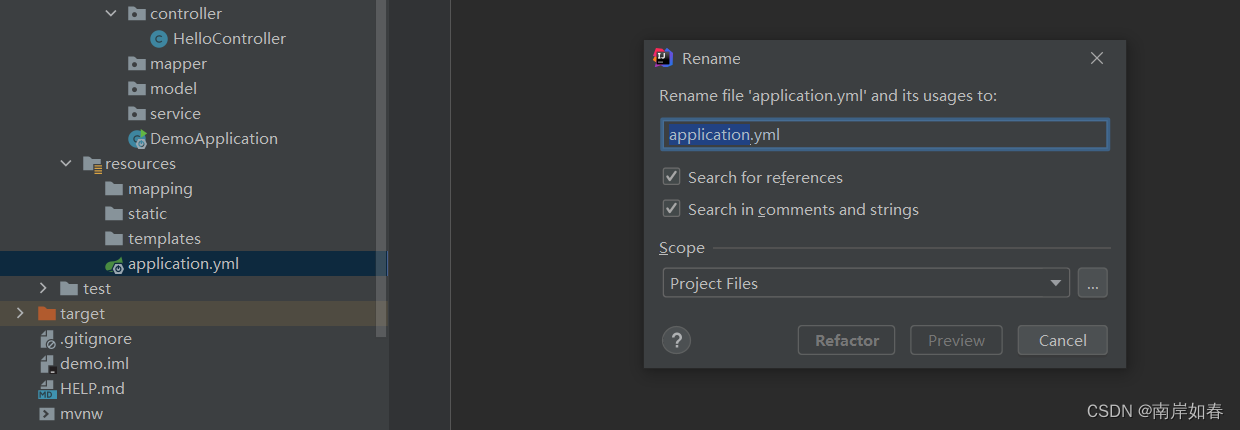
注意:application有两种配置方式,分别为.yml和.properties两种配置方式。选中文件Shift+f6修该名称。(这里我先采用.yml方式)
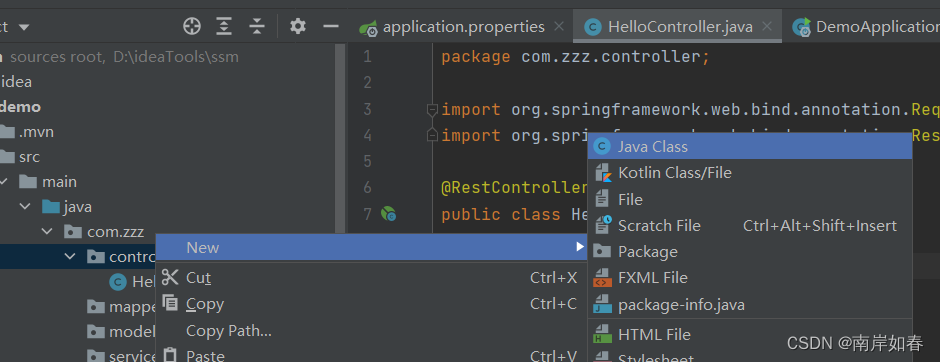
3)在controller层中创建HelloController
代码内容

@RestController是@Controller和@RequestMapping的组合,跳页面的话我们就分开使用。
4)通过DemoApplication直接Run一下DemoApplication,然后打开浏览器进行测试。

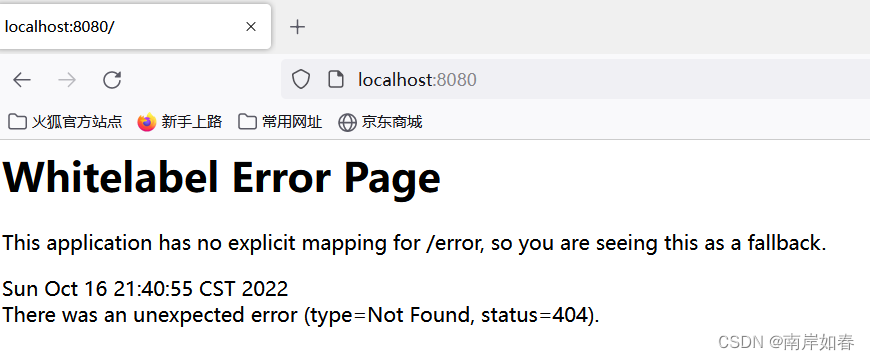
5)tomcat正常运行了。

打开浏览器访问http://localhost:8080/ ,这是正常的
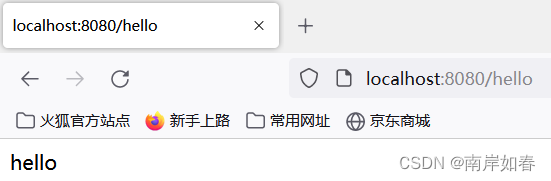
然后再访问hello Url路径,访问到了。
6)把application.yml改成application.properties访问一下,修该application后重新run一下DemoApplication
刷新之后访问,还是hello证明没有问题。

3、接下来就是Mybatis+springBoot的访问了。
1)创建包结构(2.1)
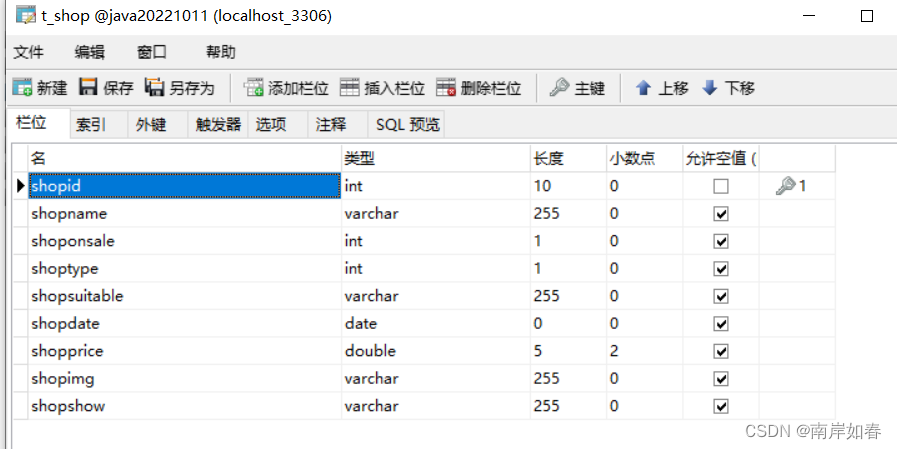
2)创建表和测试数据
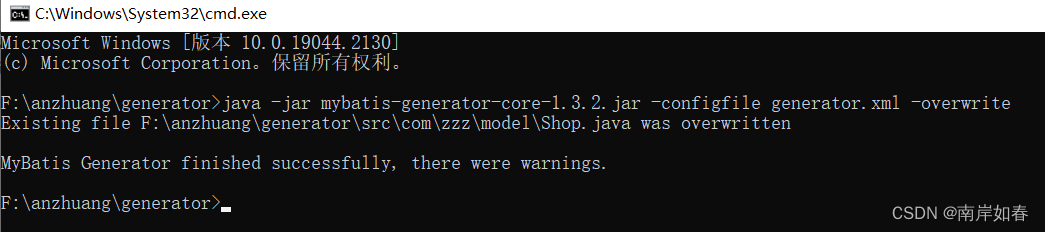
通过generator直接生产mapper、xml和model层下配置文件(generator上传到百度网盘了,需要的可以提取)
链接:https://pan.baidu.com/s/14V0RSxpLYHAZiLhFUc61wQ?pwd=narc
提取码:narc

保存后,输入cmd打开命令行,执行生产语句

成功
查看生成的文件

3)把相关文件放到相对应的层下

4)创建ShopController

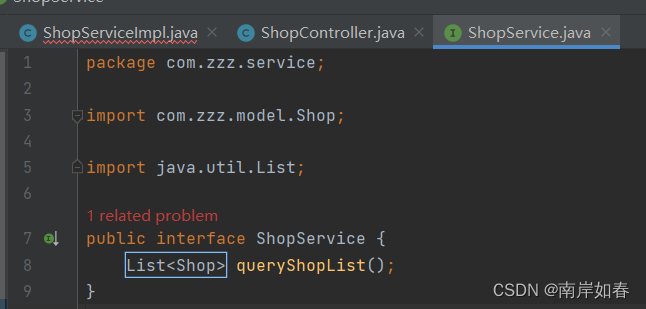
创建ShopService

选中interface接口
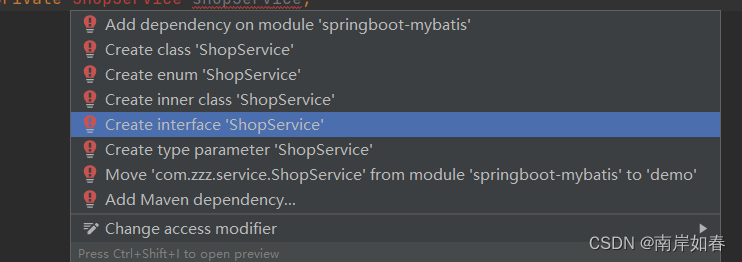
放到service层下

5)再service层下创建一个impl包(Page),然后创建ShopServiceImpl
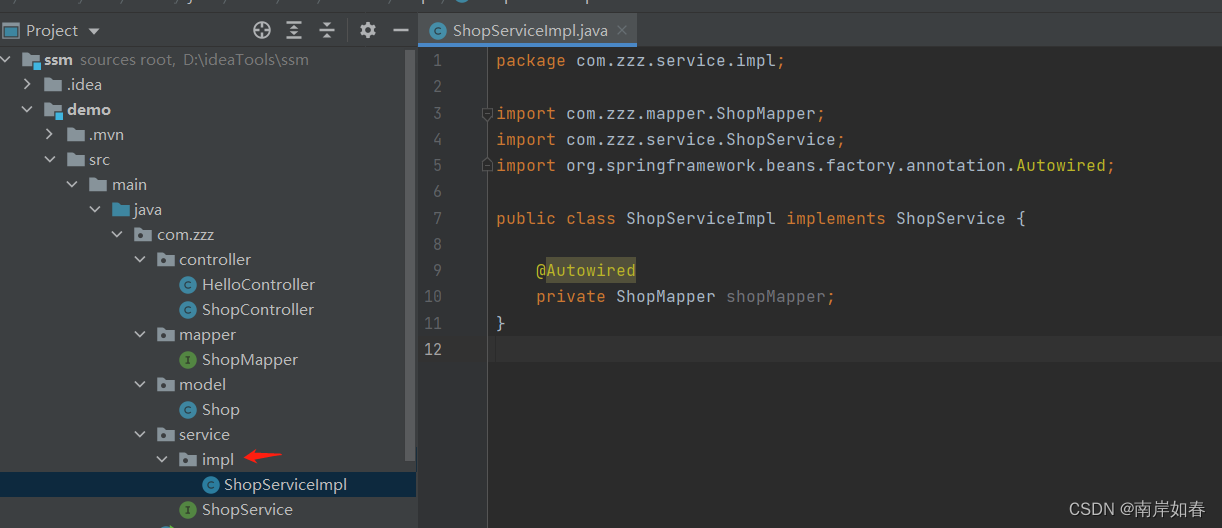
6)在ShopController中写查询代码(17行红色代码不影响),并导入相关包,生成相关方法(放到红色代码上)


到ShopServiceImpl中生成方法,并创建查询

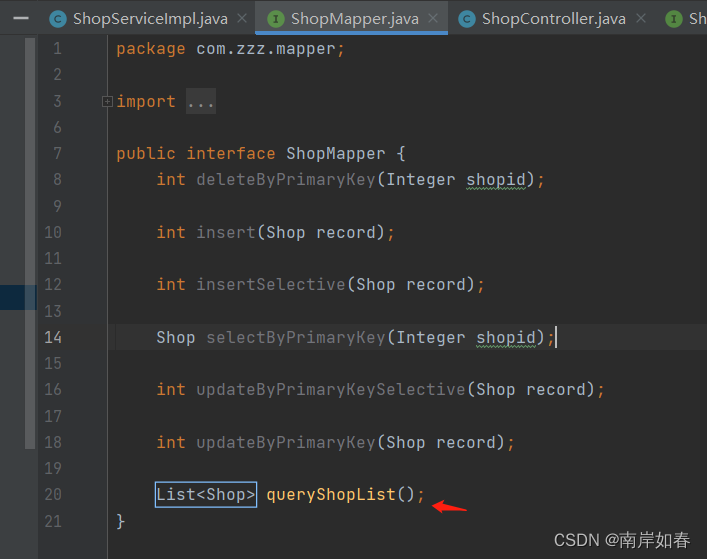 7)复制queryShopList方法到mapping下的xml文件中,写查询sql

8)修该application.properties配置。
server.port=8080
mybatis.mapper-locations=classpath:mapping/*.xml
mybatis.type-aliases-package=com.zzz.model
#加载图片的配置
spring.web.resources.static-locations=file:${web.web-root},file:${web.upload-path},classpath:/resources/,classpath:/static/,classpath:/templates/
spring.datasource.driver-class-name=com.mysql.jdbc.Driver
spring.datasource.druid.initial-size=5
spring.datasource.druid.max-active=20
spring.datasource.druid.max-wait=60000
spring.datasource.druid.min-evictable-idle-time-millis=300000
spring.datasource.druid.min-idle=5
spring.datasource.druid.test-on-borrow=false
spring.datasource.druid.test-on-return=false
spring.datasource.druid.test-while-idle=true
spring.datasource.druid.time-between-eviction-runs-millis=60000
spring.datasource.druid.validation-query=SELECT 1
spring.datasource.druid.validation-query-timeout=2000
spring.datasource.password=数据库密码
spring.datasource.url=jdbc:mysql://localhost:3306/数据库?useUnicode=true&characterEncoding=utf8&serverTimezone=UTC
spring.datasource.username=数据库用户
spring.thymeleaf.cache=false
#pagehelper设置的报错处理
spring.main.allow-circular-references=true
#文件上传的绝对路径
web.upload-path=D:/upload
web.web-root=D:/upload
#分页插件
pagehelper.helper-dialect=mysql
pagehelper.params=count=countSql
pagehelper.reasonable=true
pagehelper.support-methods-arguments=true
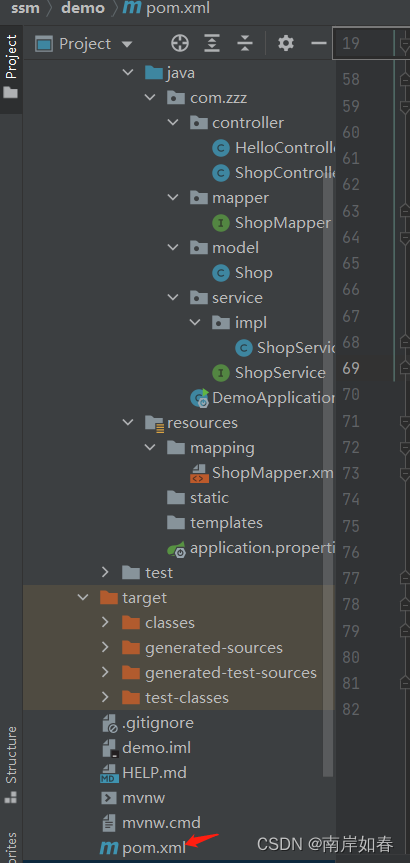
9)修该pom.xml文件
修该内容:
<?xml version="1.0" encoding="UTF-8"?>
<project xmlns="http://maven.apache.org/POM/4.0.0" xmlns:xsi="http://www.w3.org/2001/XMLSchema-instance"
         xsi:schemaLocation="http://maven.apache.org/POM/4.0.0 https://maven.apache.org/xsd/maven-4.0.0.xsd">
    <modelVersion>4.0.0</modelVersion>
    <parent>
        <groupId>org.springframework.boot</groupId>
        <artifactId>spring-boot-starter-parent</artifactId>
        <version>2.6.12</version>
        <relativePath/> <!-- lookup parent from repository -->
    </parent>
    <groupId>com.zzz</groupId>
    <artifactId>springboot-mybatis</artifactId>
    <version>0.0.1-SNAPSHOT</version>
    <name>springboot-mybatis</name>
    <description>Demo project for Spring Boot</description>
    <properties>
        <java.version>1.8</java.version>
    </properties>
    <dependencies>
        <dependency>
            <groupId>org.springframework.boot</groupId>
            <artifactId>spring-boot-starter-web</artifactId>
        </dependency>
        <dependency>
            <groupId>com.alibaba</groupId>
            <artifactId>druid-spring-boot-starter</artifactId>
            <version>1.1.22</version>
        </dependency>
        <dependency>
            <groupId>org.mybatis.spring.boot</groupId>
            <artifactId>mybatis-spring-boot-starter</artifactId>
            <version>1.3.2</version>
        </dependency>
        <dependency>
            <groupId>mysql</groupId>
            <artifactId>mysql-connector-java</artifactId>
            <version>5.1.30</version>
            <scope>runtime</scope>
        </dependency>
        <dependency>
            <groupId>org.springframework.boot</groupId>
            <artifactId>spring-boot-starter-test</artifactId>
            <scope>test</scope>
        </dependency>
        <dependency>
            <groupId>org.springframework.boot</groupId>
            <artifactId>spring-boot-starter-thymeleaf</artifactId>
        </dependency>
        <dependency>
            <groupId>commons-fileupload</groupId>
            <artifactId>commons-fileupload</artifactId>
            <version>1.3.1</version>
        </dependency>
        <dependency>
            <groupId>commons-io</groupId>
            <artifactId>commons-io</artifactId>
            <version>2.4</version>
        </dependency>
        <dependency>
            <groupId>commons-codec</groupId>
            <artifactId>commons-codec</artifactId>
            <version>1.9</version>
        </dependency>
        <dependency>
            <groupId>org.sonatype.aether</groupId>
            <artifactId>aether-spi</artifactId>
            <version>1.7</version>
        </dependency>
    </dependencies>

    <build>
        <plugins>
            <plugin>
                <groupId>org.springframework.boot</groupId>
                <artifactId>spring-boot-maven-plugin</artifactId>
                <version>2.7.2</version>
            </plugin>
        </plugins>
    </build>

</project>
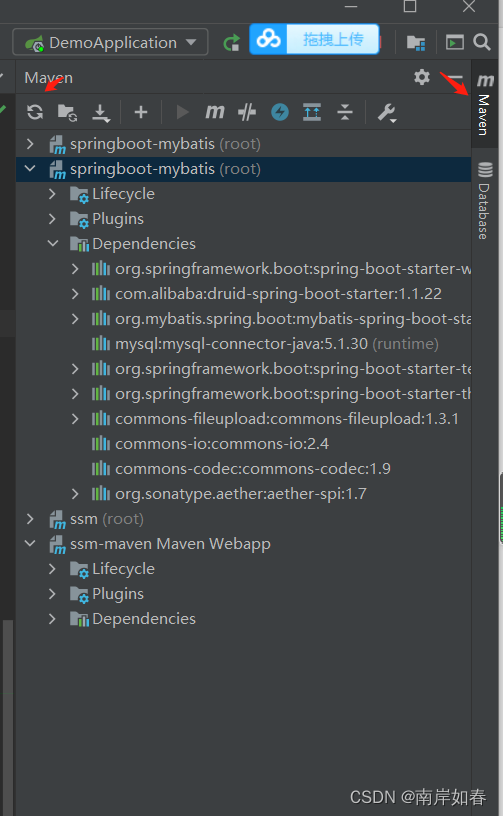
点击右侧的Maven,刷新拉取jar包。
4、创建前台查询页面。
1)导入相关依赖包
common链接:https://pan.baidu.com/s/1AuvSTxZ2OLbIUb3c2Y_-pg?pwd=narc
提取码:narc
common复制到resources下。
js链接:https://pan.baidu.com/s/10vAuNb8TLX-rAfuc8A1YPg?pwd=narc
提取码:narc
js放在static中。

2)在templates中创建shop文件夹。

创建showShop.html页面。

<!DOCTYPE html>
<html lang="en" xmlns:th="http://www.thymeleaf.org">
<head>
    <meta charset="UTF-8">
    <title>Title</title>
</head>
<body>
<table border="1">
    <tr>
        <td>Id</td>
        <td>名称</td>
        <td>是否上架</td>
        <td>类型</td>
        <td>适宜人群</td>
        <td>日期</td>
        <td>价格</td>
        <td>图片</td>
        <td>介绍</td>
        <td>操作</td>
    </tr>
    <tr th:each="s:${list}">
        <td th:text="${s.shopid}"></td>
        <td th:text="${s.shopname}"></td>
        <td th:if="${s.shoponsale==1}">是</td> <td th:if="${s.shoponsale==2}">否</td>
        <td th:if="${s.shoptype==1}">零食</td><td th:if="${s.shoptype==2}">饮料</td><td th:if="${s.shoptype==3}">生活用品</td>
        <td>
            <span th:if="${s.shopsuitable.contains('1')}">儿童</span>
            <span th:if="${s.shopsuitable.contains('1')}">青年</span>
            <span th:if="${s.shopsuitable.contains('1')}">壮年</span>
            <span th:if="${s.shopsuitable.contains('1')}">老年</span>
        </td>
        <td th:text="${s.shopdate}"></td>
        <td th:text="${s.shopprice}"></td>
        <td>
            <img th:src="${s.shopimg}" width="50px" height="50px">
        </td>
        <td th:text="${s.shopshow}"></td>
        <td>操作</td>
    </tr>
</table>
</body>
</html>
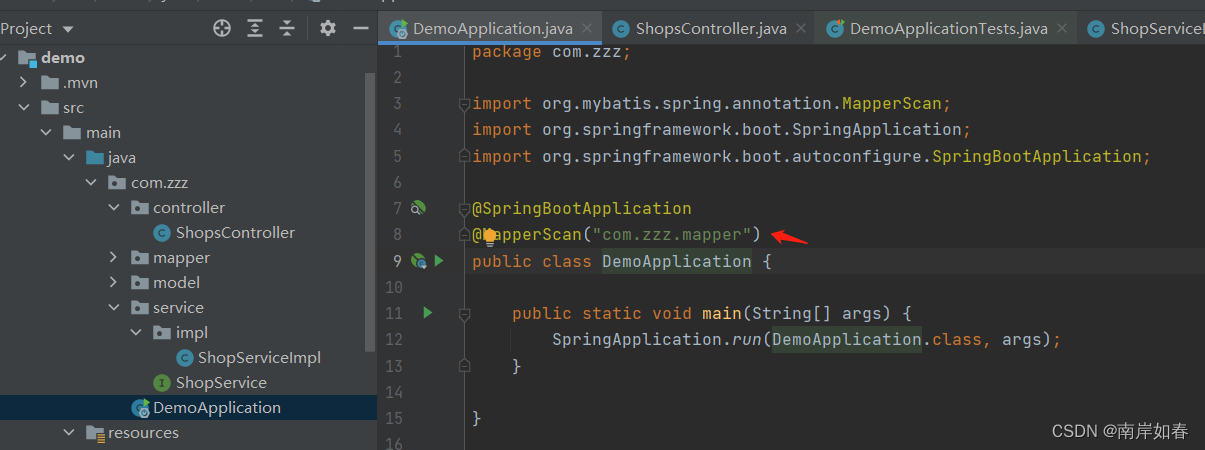
5、在DemoApplication中加上@MapperScan("com.zzz.mapper")
运行tomcat

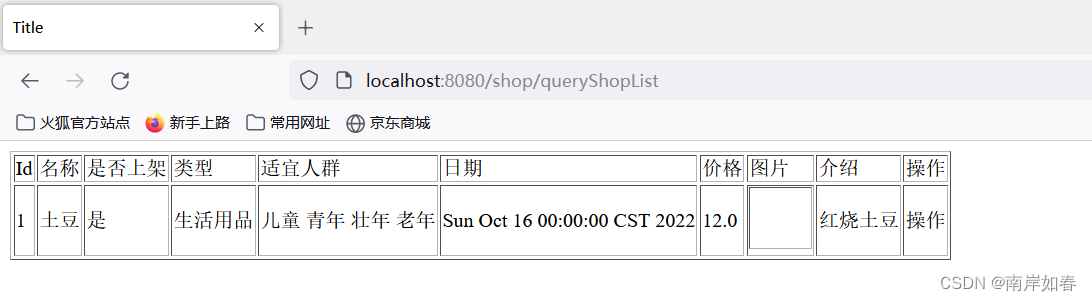
访问浏览器(查询完成了,本次只写了一个查询)
6、注意:如果全部都是安装上面配置的话可能会报出如下两个错误
1)java: 程序包org.springframework.beans.factory.annotation不存在。
2)Caused by: org.springframework.beans.factory.UnsatisfiedDependencyException: Error creating bean with name 'shopsController': Unsatisfied dependency expressed through field 'shopService'; 找不到依赖
第一种错误的解决方法:
选中file中的Settings

- 找到Maven,勾选always update snapshots,然后Apply>Ok

最后把pom.xml文件的依赖,全部剪切再重新复制进去,刷新导入即可。(或者重启一下Idea,我就是重启后没问题了)
第二种问题的解决方法:
1、先看看Service层类上的注解有没有加上或者是加错,应给是@Service,注解是否引用了Spring类,不要导成别的包了,看清包的路径。
2、还有就是如果Service层分成了接口和实现类看看实现类有没有加注解(@Service),看看有没有实现类。
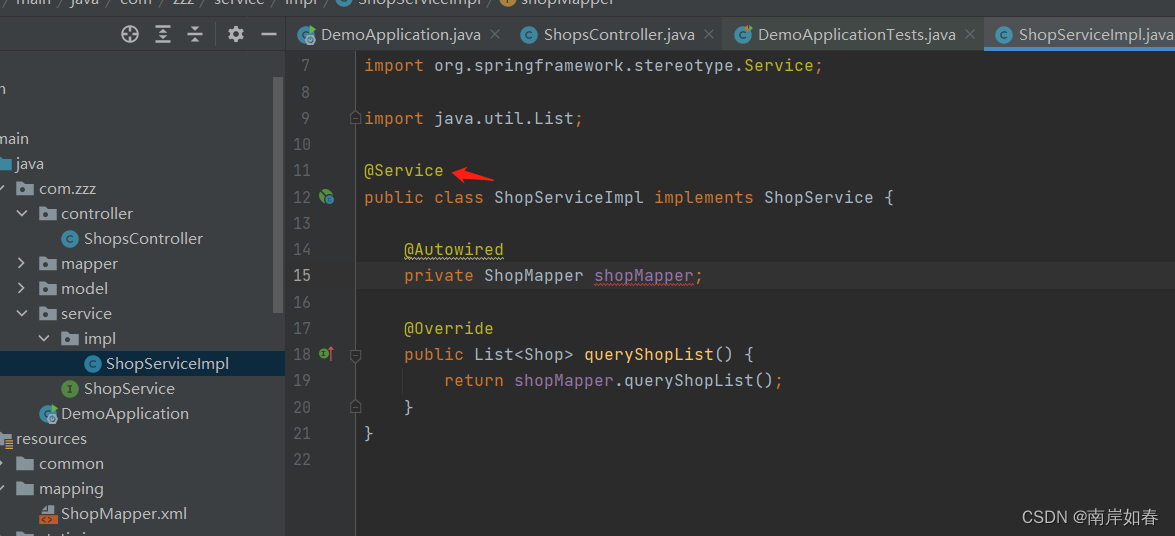
我是ShopServiceImpl实现类中忘记加@Service注解了,加上就解决了。