前言
原代码地址
github
本文的记录主要是因为代码的修改运行出现问题,所以开始搭建环境,重新修改
1、创建虚拟环境
conda create -n newCv python=3.7.0
2、激活虚拟环境
conda activate newCv
3、安装opencv和相应的包
3.1 查看可安装opencv版本
相关opencv的最新版安装可见opencv安装
pip install opencv-python==

进行安装
pip install opencv-python==3.4.2.16
进行测试

3.2 安装对应的包
pip install imutils
3.3 安装opencv-contrib-python
出现报错
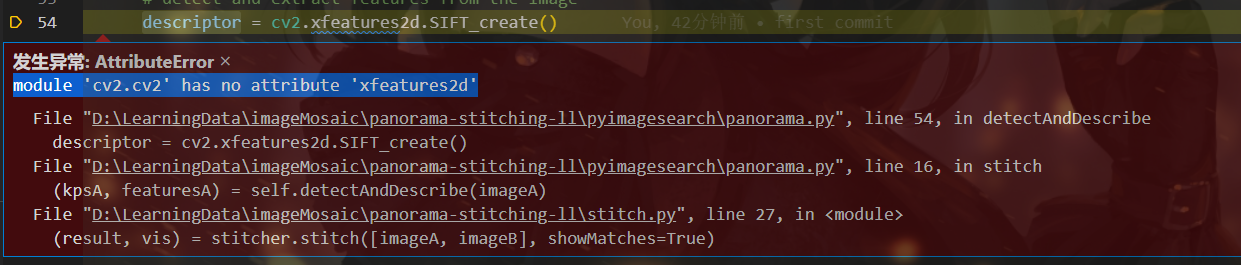
解决办法:补上一个版本配套的contrib包
pip install opencv-contrib-python==3.4.2.16
4、添加launch.json
{


  // 使用 IntelliSense 了解相关属性。
  // 悬停以查看现有属性的描述。
  // 欲了解更多信息,请访问: https://go.microsoft.com/fwlink/?linkid=830387
  "version": "0.2.0",
  "configurations": [
    {


      "name": "Python: Current File",
      "type": "python",
      "request": "launch",
      "program": "${file}",
      "console": "integratedTerminal",
      "justMyCode": true,
      "args": ["-f", "images/bryce_left_01.png", "-s", "images/bryce_right_01.png"]
    }
  ]
}
F5运行相应代码
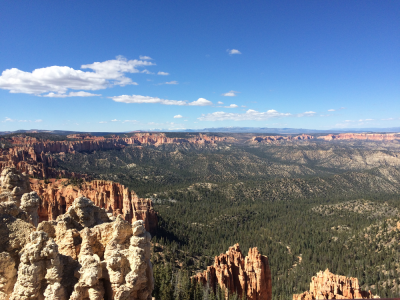
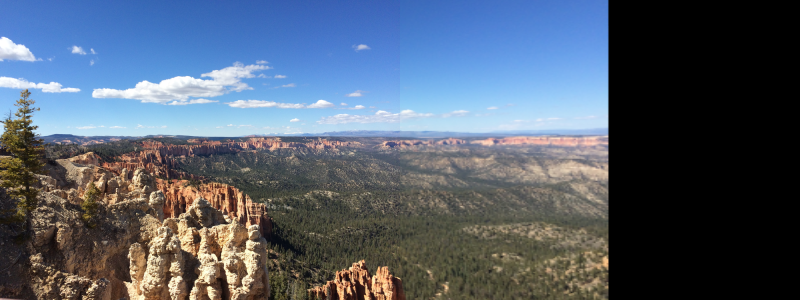
5、运行结果
原图

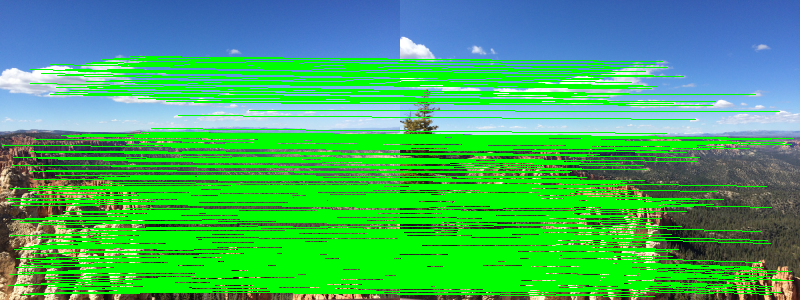
特征匹配
拼接结果
6、拼接代码流程整理

主体方法其实挺简单的,主要是封装的stitcher.stitch获取对应的特征及拼接结果
6.1 stitcher.stitch方法
	def stitch(self, images, ratio=0.75, reprojThresh=4.0,
		showMatches=False):
		# unpack the images, then detect keypoints and extract
		# local invariant descriptors from them
		(imageB, imageA) = images
		(kpsA, featuresA) = self.detectAndDescribe(imageA)
		(kpsB, featuresB) = self.detectAndDescribe(imageB)

		# match features between the two images
		M = self.matchKeypoints(kpsA, kpsB,
			featuresA, featuresB, ratio, reprojThresh)

		# if the match is None, then there aren't enough matched
		# keypoints to create a panorama
		if M is None:
			return None

		# otherwise, apply a perspective warp to stitch the images
		# together
		(matches, H, status) = M
		result = cv2.warpPerspective(imageA, H,
			(imageA.shape[1] + imageB.shape[1], imageA.shape[0]))
		result[0:imageB.shape[0], 0:imageB.shape[1]] = imageB

		# check to see if the keypoint matches should be visualized
		if showMatches:
			vis = self.drawMatches(imageA, imageB, kpsA, kpsB, matches,
				status)

			# return a tuple of the stitched image and the
			# visualization
			return (result, vis)

		# return the stitched image
		return result
