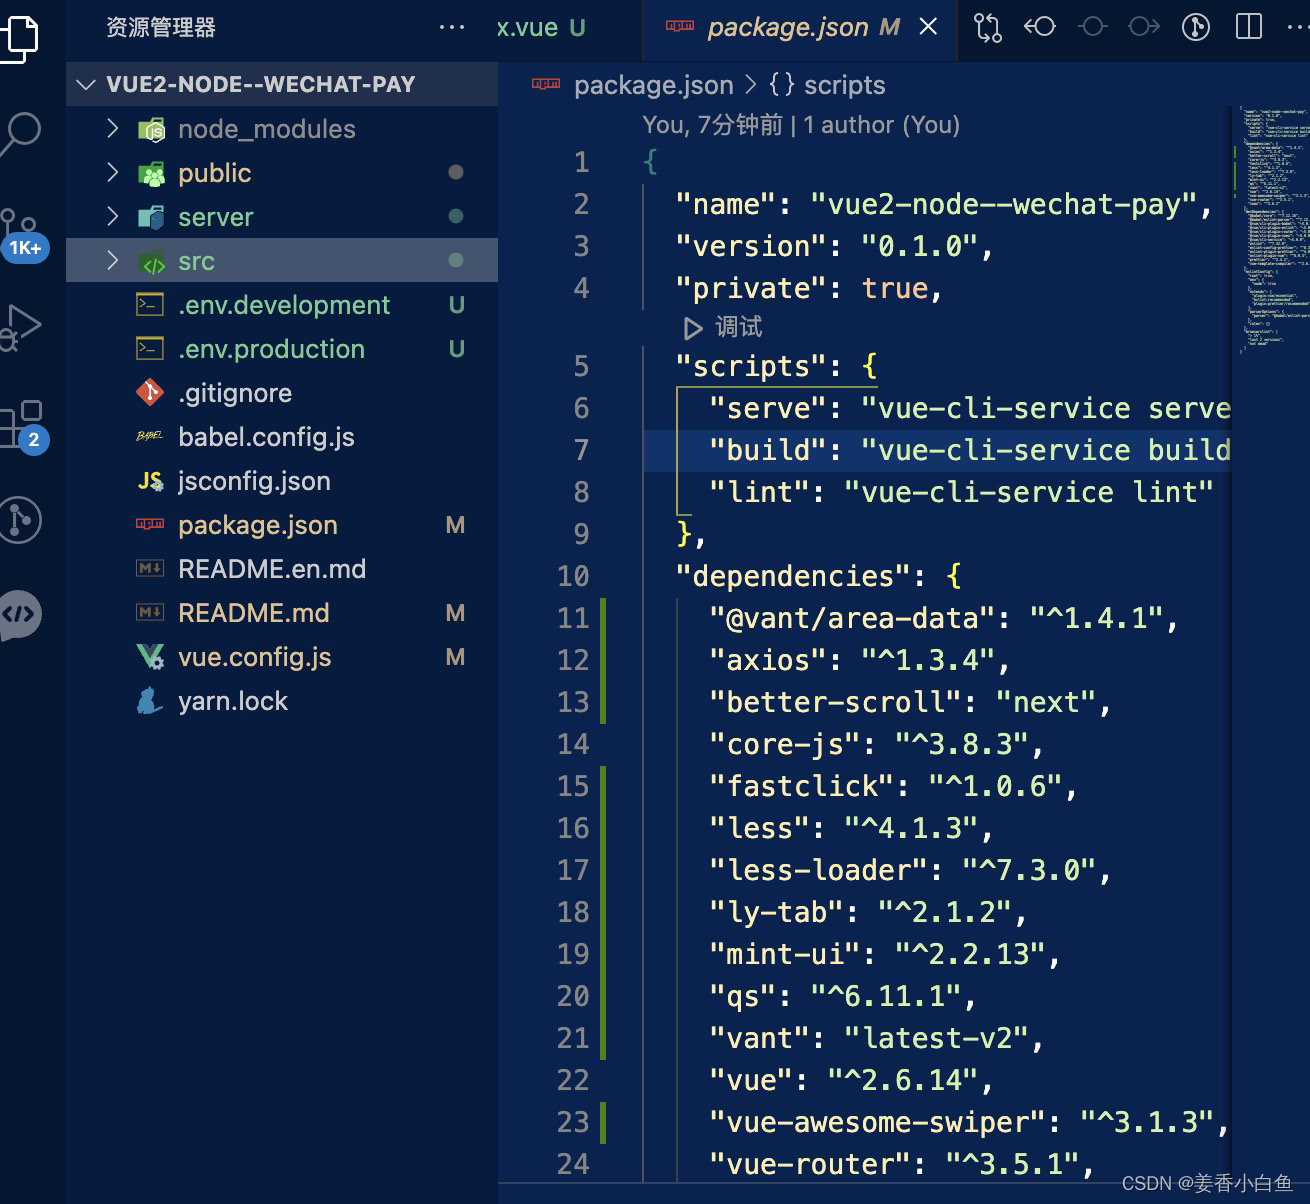
基于vue2手机端的,茶友商城
1. gitee中创建项目,并初始化文件
1. git clone 项目文件地址
2. cd vue2-node--wechat-pay 切入到创建好的文件夹中
3. git branch -r 查看分支
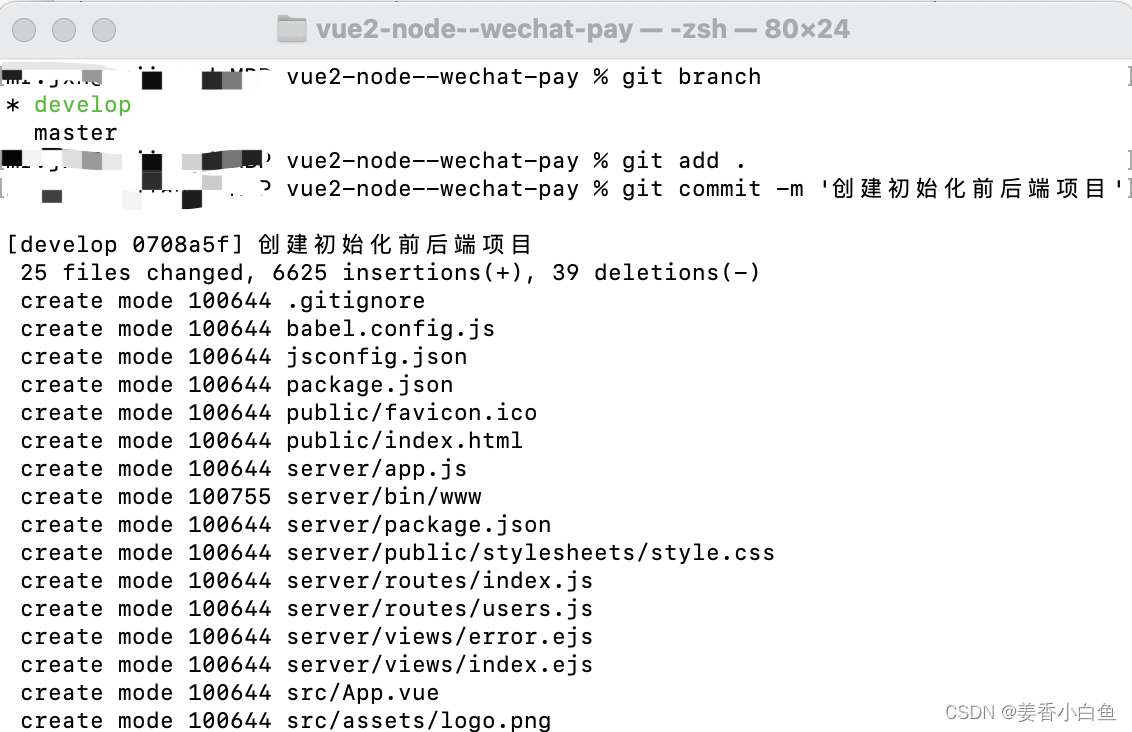
4. git branch develop 创建 develop分支
> git checkout develop 切换到develop分支下
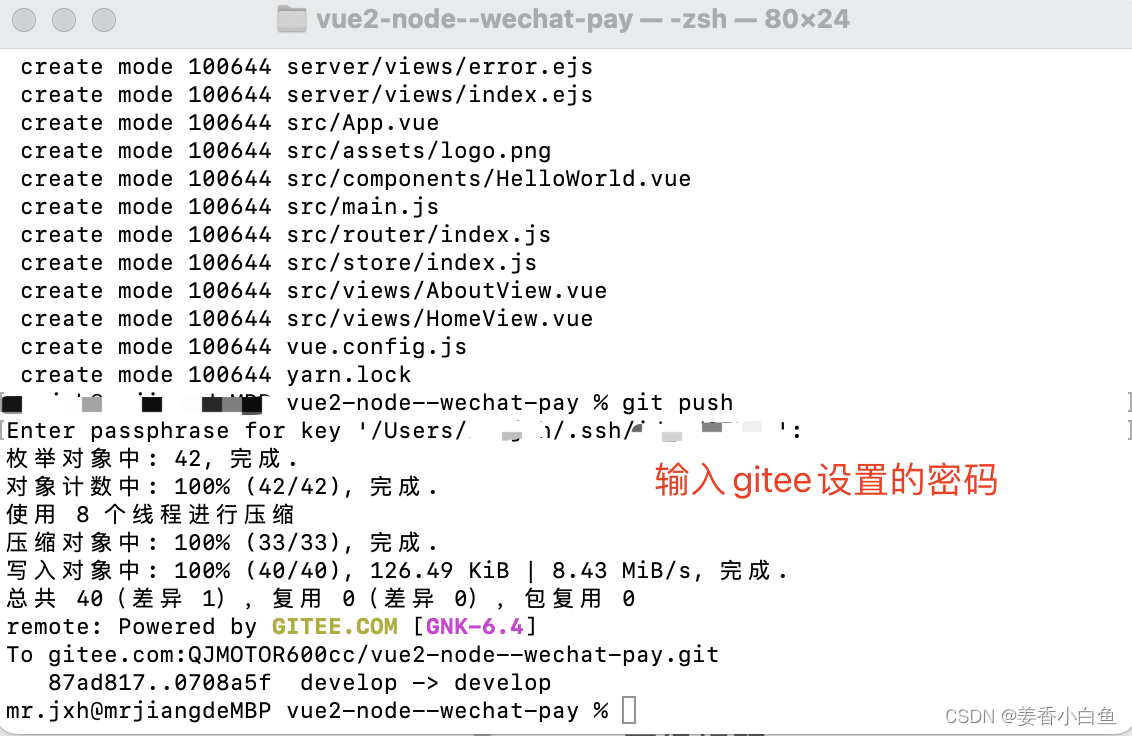
5. git push --set-upstream origin develop 将初始化文件,推到develop分支上
6. 在gitee中,查看 分支是否创建成功**
7. 切换到包含 vue2-node--wechat-pay 文件夹中 ,使用vue create vue2-node--wechat-pay 创建vue2项目文件
8. cnpm install express-generator -g 全局安装,报错就是权限不够,前面加sudo,密码输入开机密码
9. 安装成功 cd vue2-node--wechat-pay 回车
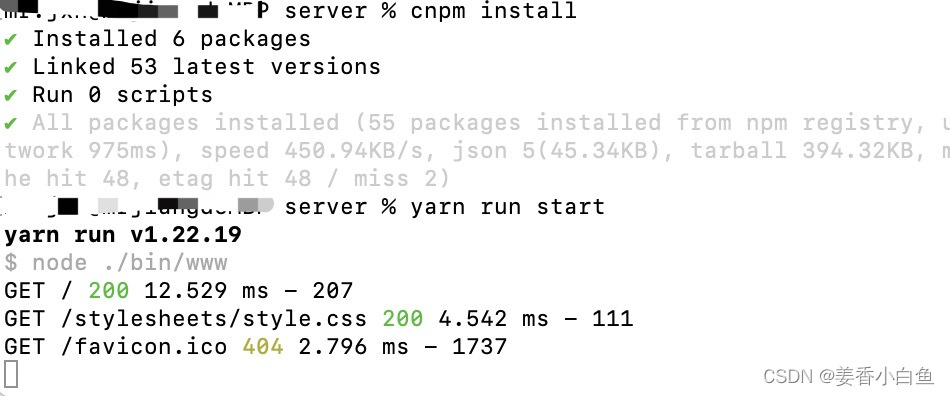
10. express --view=ejs server(后端项目名称) 创建后台expree框架文件,cnpm install安装依赖
npm run start 或 yarn run start 启动后端项目,成功启动如下图!
2.将创建好的项目,推到gitee develop分支下

2. 创建 前后端项目
1. 创建后端项目
vue create 项目名称,创建vue2项目,按自己需要选择配置项 yarn start 启动
全局安装 express | cnpm i express-generator -g
在项目目录下创建后端项目 express --view=ejs server
然后 cd server 进入目录, 安装依赖 cnpm i
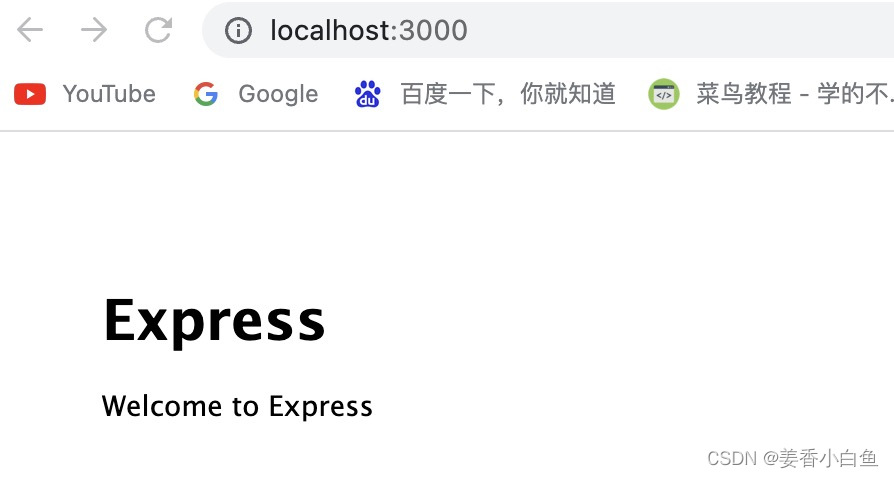
yarn start 启动项目:http:localhost:3000
2. 安装插件,实现左右滑动效果
下载插件 cnpm install [email protected] -S 滑动插件
下载mint-ui组件库 cnpm install mint-ui -S
在main.js中引入
import Vue from "vue";
import App from "./App.vue";
import router from "./router";
import store from "./store/index";

//公共css文件
import '@/assets/css/common.css';
//字体图标css文件
import '@/assets/fonts/iconfont.css';
import '@/assets/fonts/iconfont.js';
//淘宝无线适配
import '@/assets/js/flexible';

//ly-tab插件
import LyTab from 'ly-tab';
import 'mint-ui/lib/style.css';
Vue.use(LyTab);

// 引入图片懒加载插件
import { Lazyload } from 'mint-ui';
Vue.use(Lazyload)

// 全局引入vant
import Vant from 'vant';
import 'vant/lib/index.css';
Vue.use(Vant)
// 禁止移动端,双击放大缩小
import FastClick from 'fastclick'
FastClick.attach(document.body)

Vue.config.productionTip = false;

new Vue({
  router,
  store,
  render: (h) => h(App),
}).$mount("#app");
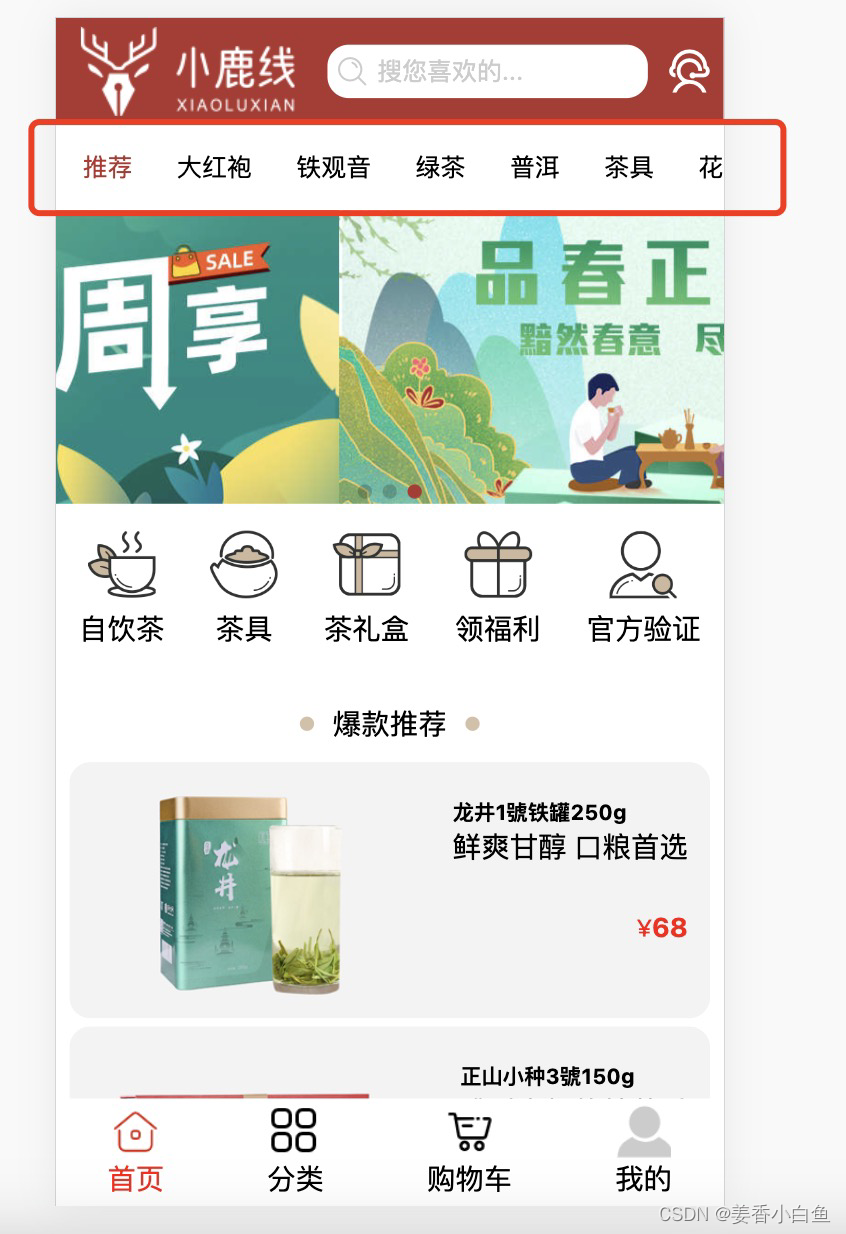
2. lay-tab插件在vue2中使用
<template>
  <div class="home">
	<ly-tab
	    v-model="selectedId"
	    :items="items"
	    :options="options">
	</ly-tab>
  </div>
</template>

<script>
export default {
  name: "Home",
  data () {
	return {
		selectedId: 0,
		items: [
		  {label: '推荐'},
		  {label: '大红袍'},
		  {label: '绿茶'},
		  {label: '铁观音'},
		  {label: '普洱'},
		  {label: '茶具'},
		  {label: '花茶'}
		],
		options: {
		  activeColor: '#b0352f'
		}
	 }
  },
};
</script>

<style scoped>
.ly-tab{
	position: fixed;
	top:1.6rem;
	left:0;
}
::v-deep .ly-tabbar{
	box-shadow:none;
	border-bottom:none;
}
</style>
3. swiper在vue2中使用
cnpm i vue-awesome-swiper -S // 这种方式下载最新版的
cnpm i [email protected] -S 下载指定版本
main.js 中 全局 引入使用
import 'swiper/dist/css/swiper.css'
import VueAwesomeSwiper from 'vue-awesome-swiper'
Vue.use(VueAwesomeSwiper)
组件局部引入使用,如下
<template>
	<div class='swiper-main'>
		<swiper :options="swiperOption">
		  <swiper-slide
			v-for='(item,index) in swiperList'
			:key='index'
		   >
			<img :src="item.imgUrl" alt="">
		  </swiper-slide>
		</swiper>
		<div class="swiper-pagination"></div>
	</div>
</template>

<script>
import 'swiper/dist/css/swiper.css'
import { swiper, swiperSlide } from 'vue-awesome-swiper'
export default {
  name: 'Swiper',
  data(){
    return{
		swiperList:[
			{
				id:1,
				imgUrl:'./images/swiper1.jpeg'
			},
			{
				id:2,
				imgUrl:'./images/swiper2.jpeg'
			},
			{
				id:3,
				imgUrl:'./images/swiper3.jpeg'
			}
		],
		swiperOption: {//swiper3
			autoplay: 3000,
			speed: 1000,
			pagination: {
				el: '.swiper-pagination'
			}
		}
    }
  },
  components: {
    swiper,
    swiperSlide
  },
}
</script>

<style scoped>
.swiper-main{
	position: relative;
	width: 100%;
	height: 4.4rem;
	margin-top:3rem;
}
.swiper-container{
	width: 100%;
	height: 4.4rem;
}
.swiper-main img{
	width: 100%;
	height: 4.4rem;
}
.swiper-pagination{
	width: 100%;
	bottom:0px;
}
::v-deep .swiper-pagination-bullet-active{
	background-color: #b0352f;
}
::v-deep .swiper-pagination-bullet{
	margin:0 0.08rem;
}
</style>
4. better-scroll 插件,滚动插件使用
参考 probeType better-scroll文章
// 引入滚动插件
import BetterScorll from 'better-scroll'
<section ref=''rightwrapper">
     <div>
        放页面内容
     </div>
</section>
data(){
     return{
        // 定义滑动数据
        rightBscroll: '',
     }
}
 this.$nextTick(() => {
      this.rightBscroll = new BetterScorll(this.$refs.rightwrapper, {
        click: true,
        probeType: 3,
        // 取消回弹效果
        bounce: false,
      })
 })
5. 图片懒加载
main.js全局引入
// 引入图片懒加载插件
import { Lazyload } from 'mint-ui';
Vue.use(Lazyload)

<img :src="item.imgUrl" alt="" />. 替换成 <img v-lazy="item.imgUrl" alt="" />
6. 使用keep-alive 提升性能,减少请求次数
app.vue组件中
keep-alive 是一个vue的内置组件
只要用的keep-alive会多两个生命周期,activated 和 deactivated
<template>
  <div id="app">
    <!-- 提升性能,减少请求次数 -->
    <!-- 需要缓存的路由 -->
    <keep-alive>
      <router-view v-if="$route.meta.keepAlive"></router-view>
    </keep-alive>
    <!-- 不需要缓存的路由 -->
    <router-view v-if="!$route.meta.keepAlive"></router-view>
  </div>
</template>
<script>
</script>
route.js需要配置
{
    // 结算订单页面
    path: '/order',
    name: 'order',
    meta: {
      keepAlive: true // 此组件需要缓存
    },
    component: () => import("../components/path/Order.vue")
  },
7. 使用 qs 增加安全性的序列化
cnpm i qs -S 更多了解,自己google
// 提高,传递参数的安全系数 (组件内使用,局部引入)
import qs from 'qs'
qs.stringify 替换 JSON.stringify
8. 路由传参,两种方式
路由传值 显式:
 this.$router.push({
    path: '/detail',
    query: {
        id
    }
})
隐式:
 this.$router.push({
    name: 'Detail',
    params: {
        id
    }
9. 移动端禁止用户,缩放
<meta name="viewport" content="width=device-width, initial-scale=1.0, minimum-scale=1.0, maximum-scale=1.0,user-scalable=no" />
只设置meta,ios无效。
# 在App.vue,设置
<script>
    window.onload = function() {
    // 禁用双指放大
    document.addEventListener('touchstart', function(event) {
      if (event.touches.length > 1) {
        event.preventDefault()
      }
    });
    document.addEventListener('gesturestart', function(event) {
      event.preventDefault()
    })
    // 禁用双击放大
    var lastTouchEnd = 0;
    document.documentElement.addEventListener('touchend', function (event) {
        var now = Date.now();
        if (now - lastTouchEnd <= 300) {
            event.preventDefault();
        }
        lastTouchEnd = now;
    }, {
        passive: false
    });
  };
</script>
10. FastClick插件
处理移动端 click 事件 300 毫秒延迟, 由 FT Labs 开发。Github 项目地址:https://github.com/ftlabs/fastclick 。
1.为什么存在延迟?
从点击屏幕上的元素到触发元素的 click 事件,移动浏览器会有大约 300 毫秒的等待时间。为什么这么设计呢?
因为它想看看你是不是要进行双击(double tap)操作。
2. 不应用FastClick的场景
桌面浏览器;
- 如果 viewport meta 标签 中设置了 width=device-width, Android 上的 Chrome32+ 会禁用 300ms 延时;
- viewport meta 标签如果设置了 user-scalable=no,Android 上的Chrome(所有版本)都会禁用 300ms 延迟;
- IE10 中,可以使用 css 属性 -ms-touch-action: none禁止元素双击缩放。
vue2项目中使用
// 处理移动端 click 事件 300 毫秒延迟
import FastClick from 'fastclick'
FastClick.attach(document.body)
11. 滑动时候警告1.滑动时候警告[Intervention] Unable to preventDefault inside passive event listener due to target being treated as passive
解决办法

 * { touch-action: pan-y; }
 // 使用全局样式样式去掉
12. vue2引入less
下载 依赖
cnpm install less less-loader --sav-dev
cnpm i style-resources-loader --save
cnpm i vue-cli-plugin-style-resources-loader --save
代码中
<style lang='less'></style>
13. vue2底部导航,如果是本页面不进行跳转
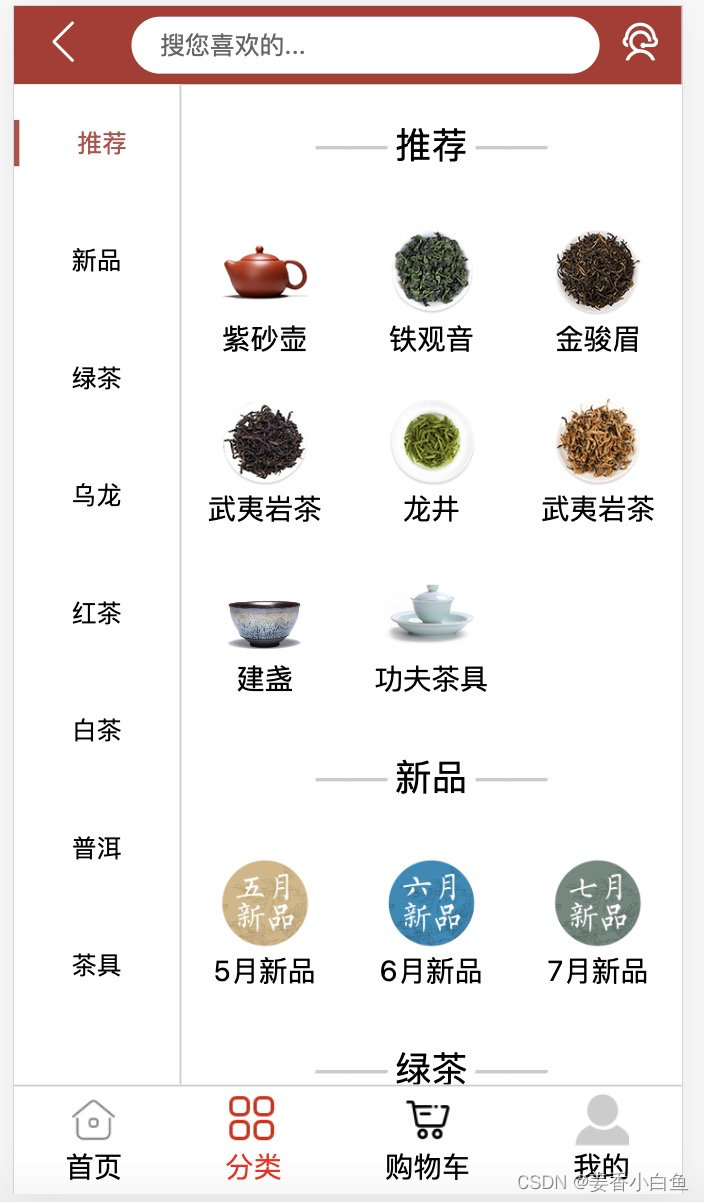
如果不设置,到本页面,点击分类还是会进行跳转本页面,然后控制台报错
<template>
  <div class="tabbar">
    <ul>
      <li
        v-for="(item, index) in routerList"
        :key="index"
        @click="switchTab(item.path)"
      >
        <img
          v-lazy="$route.path.includes(item.path) ? item.selected : item.active"
          alt=""
        />
        <span :class="$route.path.includes(item.path) ? 'active' : ''">{

   {
          item.title
        }}</span>
      </li>
    </ul>
  </div>
</template>

<script>
export default {
  data() {
    return {
      routerList: [
        {
          title: '首页',
          path: '/home',
          active: '/images/home.png',
          selected: '/images/home-select.png',
        },
        {
          title: '分类',
          path: '/list',
          active: '/images/list.png',
          selected: '/images/list-select.png',
        },
        {
          title: '购物车',
          path: '/cart',
          active: '/images/cart.png',
          selected: '/images/cart-select.png',
        },
        {
          title: '我的',
          path: '/mine',
          active: '/images/my.png',
          selected: '/images/my-select.png',
        },
      ],
    }
  },
  methods: {
    switchTab(path) {
      //判断是否点击的是同一个路由
      if (this.$route.path == path) return
      //对应跳转页面
      this.$router.push(path)
    },
  },
}
</script>

<style scoped>
.tabbar {
  /* position: fixed;
  bottom: 0;
  left: 0; */
  width: 100%;
  height: 1.6rem;
  background-color: #fff;
}
.tabbar ul {
  display: flex;
  justify-content: space-around;
  align-items: center;
  width: 100%;
  height: 100%;
}
.tabbar ul li {
  display: flex;
  flex-direction: column;
  justify-content: center;
  align-items: center;
}
.tabbar ul li img {
  width: 0.826666rem;
  height: 0.826666rem;
}
.tabbar ul li img[lazy='loading'] {
  background-color: #f7f7f7;
}
.tabbar ul li span {
  font-size: 0.426666rem;
}
.active {
  color: red;
}
</style>
3. vue2进行配置,axios请求代理
在vue.config.js中进行配置
const { defineConfig } = require("@vue/cli-service");
module.exports = defineConfig({
  // 关闭文件校验
  lintOnSave: false,
  transpileDependencies: true,
  // Http请求代理
  devServer: {
    open: true, //自动打开浏览器
    // 访问路径就为,http://192.168.46.249:8080/
    host: '192.168.46.249', // 真机测试地址,mac os终端输入,ifconfig 查看ip地址
    proxy: {
      '/api': {
        target: "http://localhost:3000",
        changeOrigin: true,
        pathRewrite: {
          '^/api': '/api'
        }
      }
    },
  },
});
mac os 终端输入 ifconfig进行查看自己的本机地址
4. 使用route.go(-1),返回上一页并携带参数
地址选择这里,需要跳转到,地址页面,返回的时候携带参数,赋值给地址栏
创建 bus.js 文件,如下
// path/index.js,地址页面,回退到订单页,需要传递参数
// 声明一个空的Vue模块eventBus
import Vue from 'vue'
/**
 * 定义空的vue实例,作为 eventbus实现非父子组件之间的通信(vue2.x中去掉了broadcast)
 */
var eventBus = new Vue({});
export default eventBus;
提交订单页面,先这样写,后面还有,往下看
order.js 提交订单页面
// 提交订单按钮
 <div class="order-topay" @click="goPayment">提交订单</div>
 // 引入bus.js文件
import eventBus from '@/components/common/bus'
 goPayment(){
     this.$router.push({
        path: '/mypath',
        query: {
          // 地址页面根据,传参判断从那个页面进入的
          type: 'select',
        },
      })
 }
地址管理页面
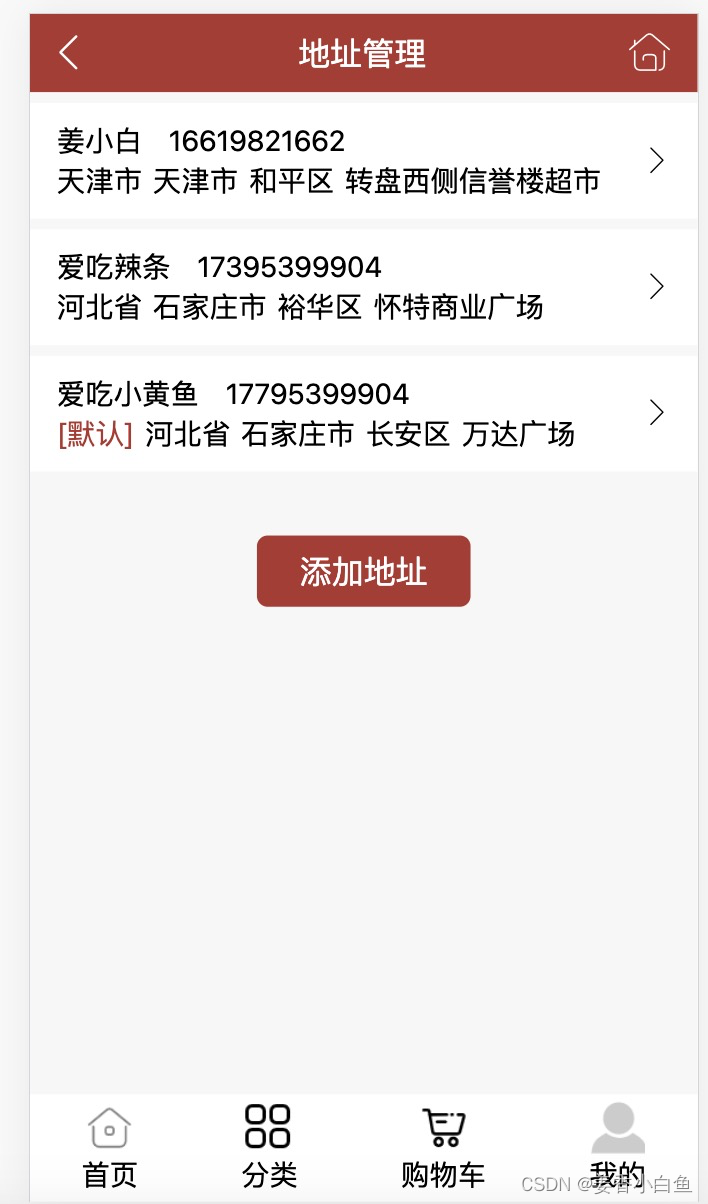
这里要进行,判断从那个页面来的,然后回退给他携带参数(提交订单需要参数)
- 这里到goList 事件也用于,地址修改,我相信写过的人。
- 应该知道(点击修改传递进去的参数 就是 goList(option) 中option地址详细信息的数据
- 而 回退路由 同样要将这些获取到的数据,传递给提交订单页面
// 导入eventBus,路由回退到订单页,需要携带参数过去
import eventBus from '@/components/common/bus'

export default{
    data(){
      return {
         // 判断从那个页面来的
         pathStatus:false
      }
    },
    // 初始化渲染数据,这里进行判断
    create(){
        // 从订单页面进来的
       if (this.$route.query.type == 'select') {
                this.pathStatus = true
       }
    },
    // 跳转到新增地址页面
    goList(option) {
      if (option == 'select') {
        this.pathStatus = false
      }
      // pathStatus如果为true,代表从订单页进入的
      if (this.pathStatus) {
        // selectPath传递到名字,option传递的参数(这里是收货地址,点击那个,传递那个,类似修改地址),
        eventBus.$emit('selectPath', JSON.stringify(option))
        this.$router.go(-1)
        return
      }
    },
  },
}
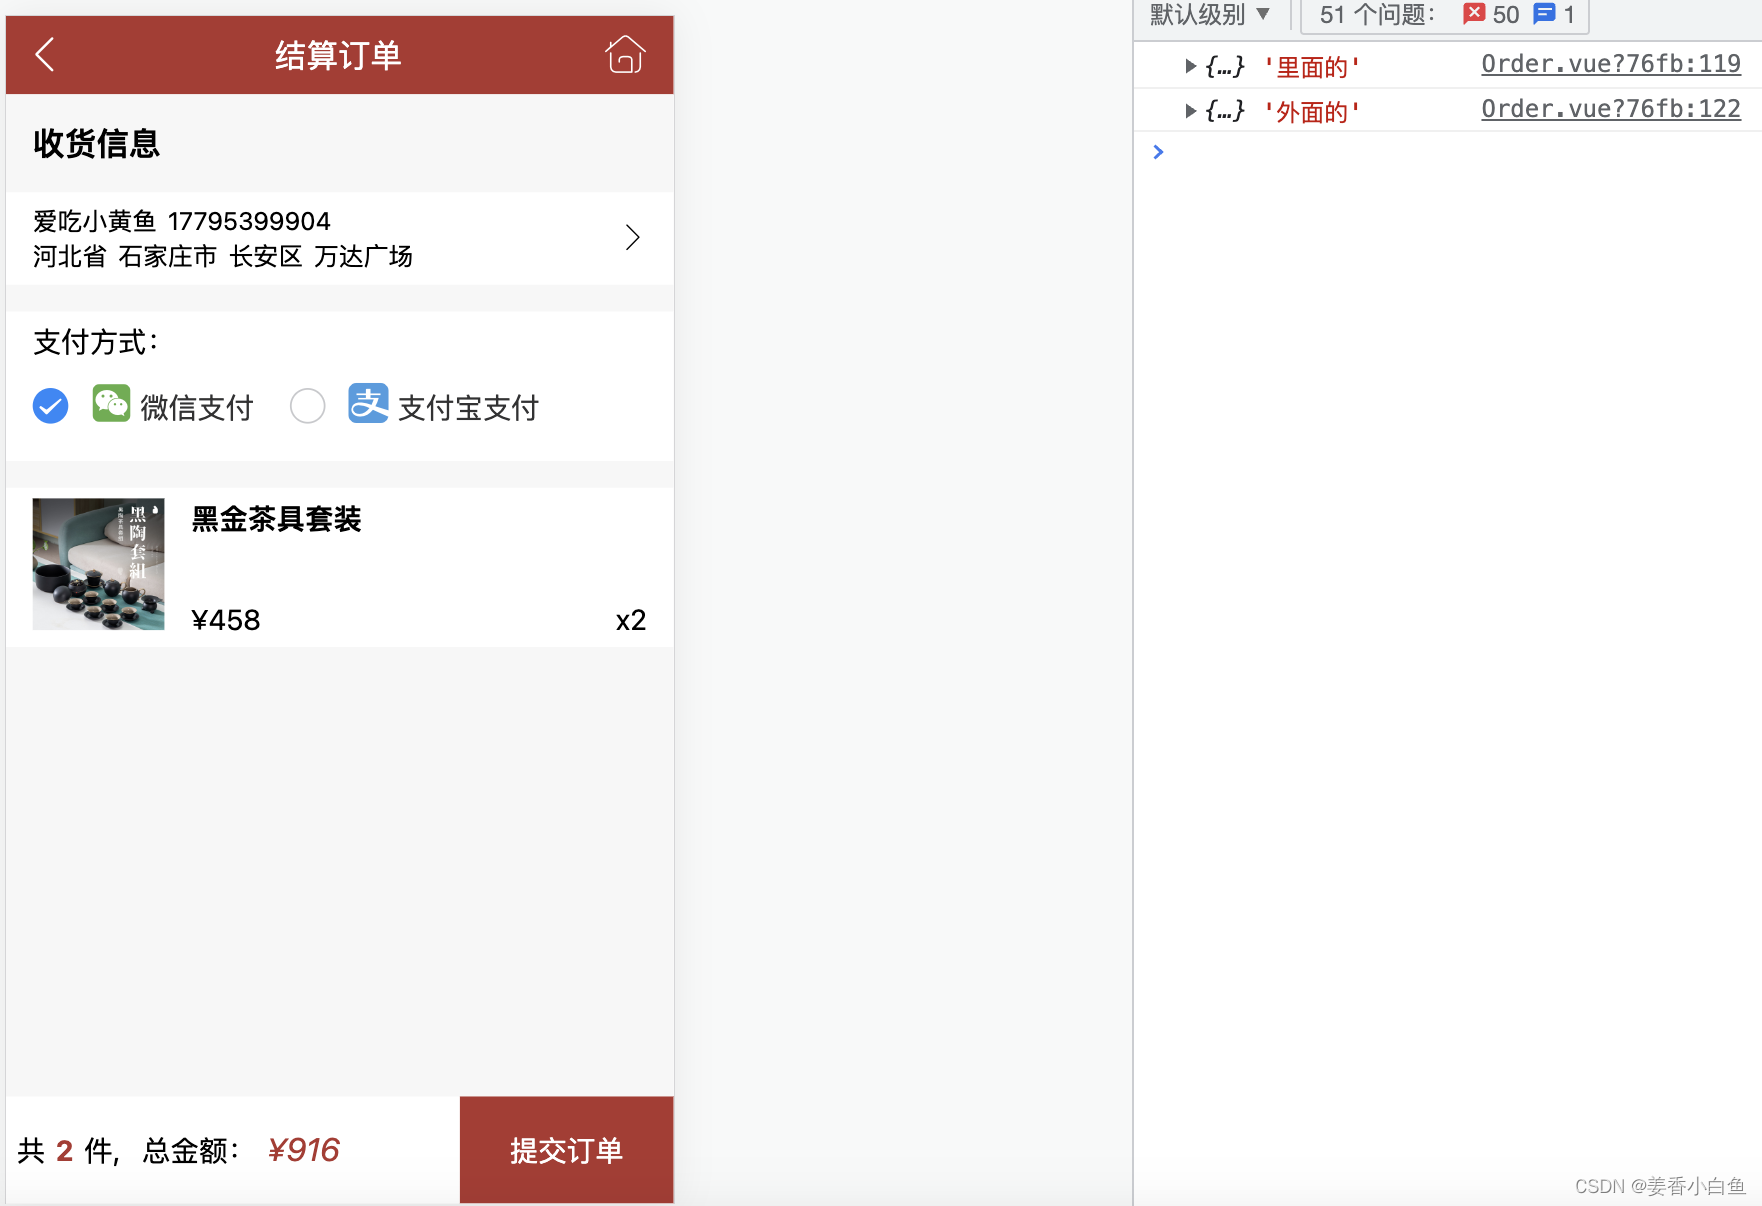
这样回退回去的时候,就携带上参数了,但是在提交订单页面,如果直接进行接收是无法接受到的,这里如下解决使用到 keep-alive
这时改进上面,提交订单页面代码
order.js 提交订单页面
// 提交订单按钮
 <div class="order-topay" @click="goPayment">提交订单</div>
 // 引入bus.js文件
import eventBus from '@/components/common/bus'
  // keep-alive缓存组件,生命周期
  activated() {
    // 需要在当前router路由页面加入meta: {keepAlive: true // 此组件需要缓存},
    eventBus.$on(
      'selectPath',
      function (data) {
        this.path = JSON.parse(data)
        console.log(this.path, '里面的')
      }.bind(this)
    )
    console.log(this.path, '外面的')
  },
    methods:{
       goPayment(){
            this.$router.push({
                  path: '/mypath',
                  query: {
                     // 地址页面根据,传参判断从那个页面进入的
                     type: 'select',
                  },
             })
       }
 }