一、RecyclerView的基础使用。
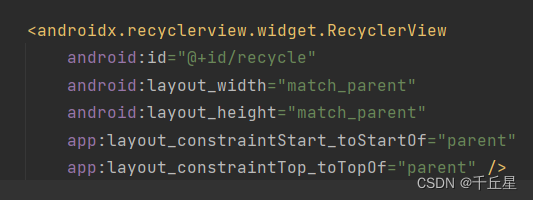
第一步:添加recyclerview控件。
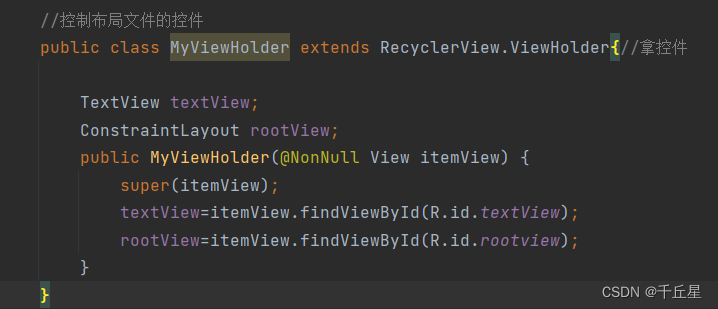
第二步:创建布局文件(xml) + 单独的类控制布局里面的控件(MyViewHolder)。
第三步:创建一个适配器 MyAdapter,将布局文件复制n次,并将布局文件填充到recyclerview。

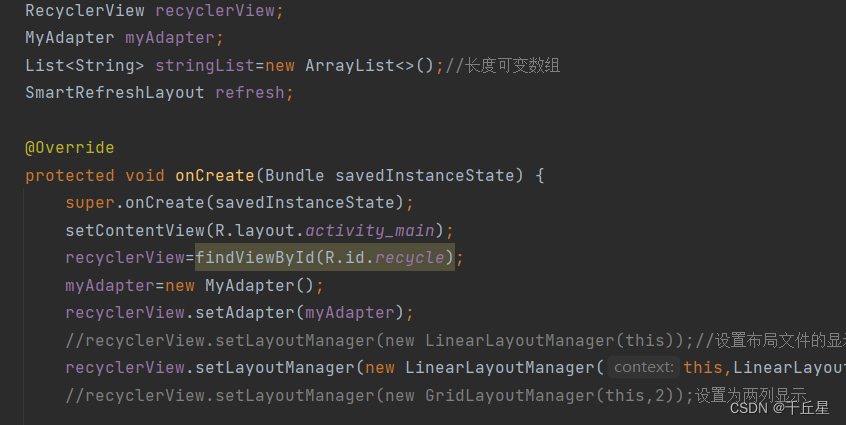
第四步:修改MainActivity代码。给recyclerview设置adapter和显示布局。
        recyclerView=findViewById(R.id.recycle);
        myAdapter=new MyAdapter();
        recyclerView.setAdapter(myAdapter);
        //recyclerView.setLayoutManager(new LinearLayoutManager(this));//设置布局文件的显示方式
        recyclerView.setLayoutManager(new LinearLayoutManager(this,LinearLayoutManager.HORIZONTAL,false));//设置为水平显示
        //recyclerView.setLayoutManager(new GridLayoutManager(this,2));设置为两列显示
二、添加按钮,点击添加数据。
        //往recyclerview里添加数据
        findViewById(R.id.button).setOnClickListener(new View.OnClickListener() {
            @Override
            public void onClick(View view) {
                stringList.add("test7");
                stringList.add("test8");
                stringList.add("test9");
                stringList.add("test10");
                stringList.add("test11");
                stringList.add("test12");
                //重新刷新一下列表控件的数据
                myAdapter.notifyDataSetChanged();
            }
        });
三、第三方开源控件,下拉刷新、上拉加载更多。
1、添加依赖。bulid.gradle。
    implementation  'io.github.scwang90:refresh-layout-kernel:2.0.5'//核心必须依赖
    implementation  'io.github.scwang90:refresh-header-classics:2.0.5'//经典刷新头
    implementation  'io.github.scwang90:refresh-header-radar:2.0.5'//雷达刷新头
    implementation  'io.github.scwang90:refresh-header-falsify:2.0.5'//虚拟刷新头
    implementation  'io.github.scwang90:refresh-header-material:2.0.5' //谷歌刷新头
    implementation  'io.github.scwang90:refresh-header-two-level:2.0.5' //二级刷新头
    implementation  'io.github.scwang90:refresh-footer-ball:2.0.5' //球脉冲加载
    implementation  'io.github.scwang90:refresh-footer-classics:2.0.5' //经典加载
在gradle.properties文件里添加。
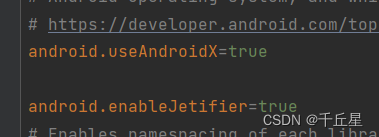
android.enableJetifier=true2、在布局文件里加入SmartRefreshLayout布局。将recyclerview嵌入该布局。
<com.scwang.smart.refresh.layout.SmartRefreshLayout
    android:id="@+id/refresh_layout"
    android:layout_width="match_parent"
    android:layout_height="400dp"
    app:layout_constraintTop_toTopOf="parent"
    app:layout_constraintLeft_toLeftOf="parent">

    <androidx.recyclerview.widget.RecyclerView
        android:id="@+id/recycle"
        android:layout_width="match_parent"
        android:layout_height="match_parent"
        app:layout_constraintStart_toStartOf="parent"
        app:layout_constraintTop_toTopOf="parent" />

</com.scwang.smart.refresh.layout.SmartRefreshLayout>
3.在activity 中使用。
四、源代码。
1、MainActivity
package com.hnucm.recyclerview;
import androidx.annotation.NonNull;
import androidx.appcompat.app.AppCompatActivity;
import androidx.constraintlayout.widget.ConstraintLayout;
import androidx.recyclerview.widget.LinearLayoutManager;
import androidx.recyclerview.widget.RecyclerView;
import android.content.Intent;
import android.os.Bundle;
import android.view.LayoutInflater;
import android.view.View;
import android.view.ViewGroup;
import android.widget.TextView;
import com.scwang.smart.refresh.footer.ClassicsFooter;
import com.scwang.smart.refresh.header.ClassicsHeader;
import com.scwang.smart.refresh.header.TwoLevelHeader;
import com.scwang.smart.refresh.layout.SmartRefreshLayout;
import com.scwang.smart.refresh.layout.api.RefreshLayout;
import com.scwang.smart.refresh.layout.listener.OnLoadMoreListener;
import com.scwang.smart.refresh.layout.listener.OnRefreshListener;
import java.util.ArrayList;
import java.util.List;
public class MainActivity extends AppCompatActivity {
RecyclerView recyclerView;
MyAdapter myAdapter;
List<String> stringList=new ArrayList<>();//长度可变数组
SmartRefreshLayout refresh;
@Override
protected void onCreate(Bundle savedInstanceState) {
super.onCreate(savedInstanceState);
setContentView(R.layout.activity_main);
recyclerView=findViewById(R.id.recycle);
myAdapter=new MyAdapter();
recyclerView.setAdapter(myAdapter);
recyclerView.setLayoutManager(new LinearLayoutManager(this));//设置布局文件的显示方式
//recyclerView.setLayoutManager(new LinearLayoutManager(this,LinearLayoutManager.HORIZONTAL,false));//设置为水平
//recyclerView.setLayoutManager(new GridLayoutManager(this,2));设置为两列显示
stringList.add("test1");
stringList.add("test2");
stringList.add("test3");
stringList.add("test4");
stringList.add("test5");
stringList.add("test6");
//往recyclerview里添加数据
findViewById(R.id.button).setOnClickListener(new View.OnClickListener() {
@Override
public void onClick(View view) {
stringList.add("new test7");
stringList.add("new test8");
stringList.add("new test9");
stringList.add("new test10");
stringList.add("new test11");
stringList.add("new test12");
//重新刷新一下列表控件的数据
myAdapter.notifyDataSetChanged();
}
});
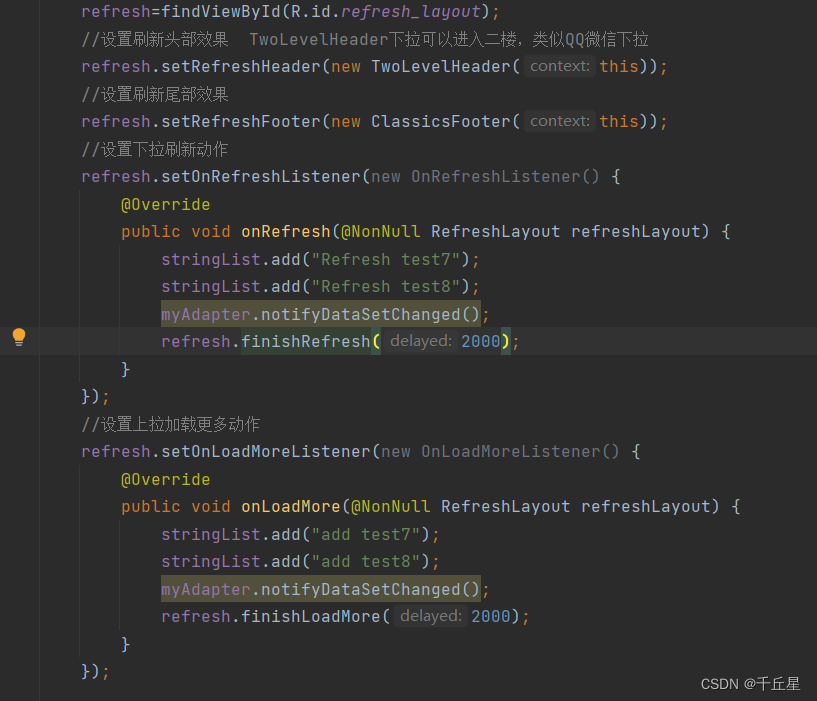
refresh=findViewById(R.id.refresh_layout);
//设置刷新头部效果 TwoLevelHeader下拉可以进入二楼,类似QQ微信下拉
refresh.setRefreshHeader(new TwoLevelHeader(this));
//设置刷新尾部效果
refresh.setRefreshFooter(new ClassicsFooter(this));
//设置下拉刷新动作
refresh.setOnRefreshListener(new OnRefreshListener() {
@Override
public void onRefresh(@NonNull RefreshLayout refreshLayout) {
stringList.add("Refresh test7");
stringList.add("Refresh test8");
myAdapter.notifyDataSetChanged();
refresh.finishRefresh(2000);
}
});
//设置上拉加载更多动作
refresh.setOnLoadMoreListener(new OnLoadMoreListener() {
@Override
public void onLoadMore(@NonNull RefreshLayout refreshLayout) {
stringList.add("add test7");
stringList.add("add test8");
myAdapter.notifyDataSetChanged();
refresh.finishLoadMore(2000);
}
});
}
//将布局文件复制n次
public class MyAdapter extends RecyclerView.Adapter<MyViewHolder>{
//加载并返回布局文件
@NonNull
@Override
public MyViewHolder onCreateViewHolder(@NonNull ViewGroup parent, int viewType) {//设置显示
//content 在内部类中传外部类。类名 不在内部类this
View view=LayoutInflater.from(MainActivity.this).inflate(R.layout.item_chat,parent,false);
MyViewHolder myViewHolder =new MyViewHolder(view);
return myViewHolder;
}
//填充内容
@Override
public void onBindViewHolder(@NonNull MyViewHolder holder, int position) {
holder.textView.setText(stringList.get(position));
//滚动控件的点击事件
holder.rootView.setOnClickListener(new View.OnClickListener() {
@Override
public void onClick(View view) {
Intent intent=new Intent(MainActivity.this,MainActivity2.class);
startActivity(intent);
}
});
}
//将布局复制的次数返回 记录有多少个recyclerview子项
@Override
public int getItemCount() {
return stringList.size();
}
}
//控制布局文件的控件
public class MyViewHolder extends RecyclerView.ViewHolder{//拿控件
TextView textView;
ConstraintLayout rootView;
public MyViewHolder(@NonNull View itemView) {
super(itemView);
textView=itemView.findViewById(R.id.textView);
rootView=itemView.findViewById(R.id.rootview);
}
}
}2、activity_main.xml
<?xml version="1.0" encoding="utf-8"?>
<androidx.constraintlayout.widget.ConstraintLayout xmlns:android="http://schemas.android.com/apk/res/android"
    xmlns:app="http://schemas.android.com/apk/res-auto"
    xmlns:tools="http://schemas.android.com/tools"
    android:layout_width="match_parent"
    android:layout_height="match_parent"
    tools:context=".MainActivity">

<com.scwang.smart.refresh.layout.SmartRefreshLayout
    android:id="@+id/refresh_layout"
    android:layout_width="match_parent"
    android:layout_height="400dp"
    app:layout_constraintTop_toTopOf="parent"
    app:layout_constraintLeft_toLeftOf="parent">

    <androidx.recyclerview.widget.RecyclerView
        android:id="@+id/recycle"
        android:layout_width="match_parent"
        android:layout_height="match_parent"
        app:layout_constraintStart_toStartOf="parent"
        app:layout_constraintTop_toTopOf="parent" />

</com.scwang.smart.refresh.layout.SmartRefreshLayout>


    <Button
        android:id="@+id/button"
        android:layout_width="wrap_content"
        android:layout_height="wrap_content"
        android:layout_marginStart="30dp"
        android:layout_marginBottom="16dp"
        android:text="添加数据"
        app:layout_constraintBottom_toBottomOf="parent"
        app:layout_constraintStart_toStartOf="parent" />

</androidx.constraintlayout.widget.ConstraintLayout>
3、item_chat.xml
<?xml version="1.0" encoding="utf-8"?>
<androidx.constraintlayout.widget.ConstraintLayout xmlns:android="http://schemas.android.com/apk/res/android"
    xmlns:app="http://schemas.android.com/apk/res-auto"
    xmlns:tools="http://schemas.android.com/tools"
    android:id="@+id/rootview"
    android:layout_width="match_parent"
    android:layout_height="80dp">

    <ImageView
        android:id="@+id/imageView"
        android:layout_width="55dp"
        android:layout_height="55dp"
        android:layout_marginStart="14dp"
        android:layout_marginTop="14dp"
        app:layout_constraintStart_toStartOf="parent"
        app:layout_constraintTop_toTopOf="parent"
        app:srcCompat="@drawable/ic_launcher_background" />

    <TextView
        android:id="@+id/textView"
        android:layout_width="wrap_content"
        android:layout_height="wrap_content"
        android:layout_marginStart="16dp"
        android:text="TextView"
        app:layout_constraintStart_toEndOf="@+id/imageView"
        app:layout_constraintTop_toTopOf="@+id/imageView" />

    <TextView
        android:id="@+id/textView2"
        android:layout_width="wrap_content"
        android:layout_height="wrap_content"
        android:text="TextView"
        app:layout_constraintBottom_toBottomOf="@+id/imageView"
        app:layout_constraintStart_toStartOf="@+id/textView" />

    <TextView
        android:id="@+id/textView3"
        android:layout_width="wrap_content"
        android:layout_height="wrap_content"
        android:layout_marginEnd="16dp"
        android:text="TextView"
        app:layout_constraintEnd_toEndOf="parent"
        app:layout_constraintTop_toTopOf="@+id/textView" />

</androidx.constraintlayout.widget.ConstraintLayout>