文章目录
前言
学习了springboot-thymeleaf项目实例,于是我就想和大家分享一下我的学习成果,如有问题,大家可以留言指正。(接着springboot-thymeleaf项目结构搭建)
提示:以下是本篇文章正文内容,下面案例可供参考
项目实例
一、本机配置
- Windos10系统
- Intellij IDEA 2018
- JDK 1.8
- apache-maven-2.7.9
二、操作步骤
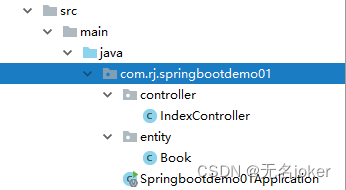
1.创建新的实体类
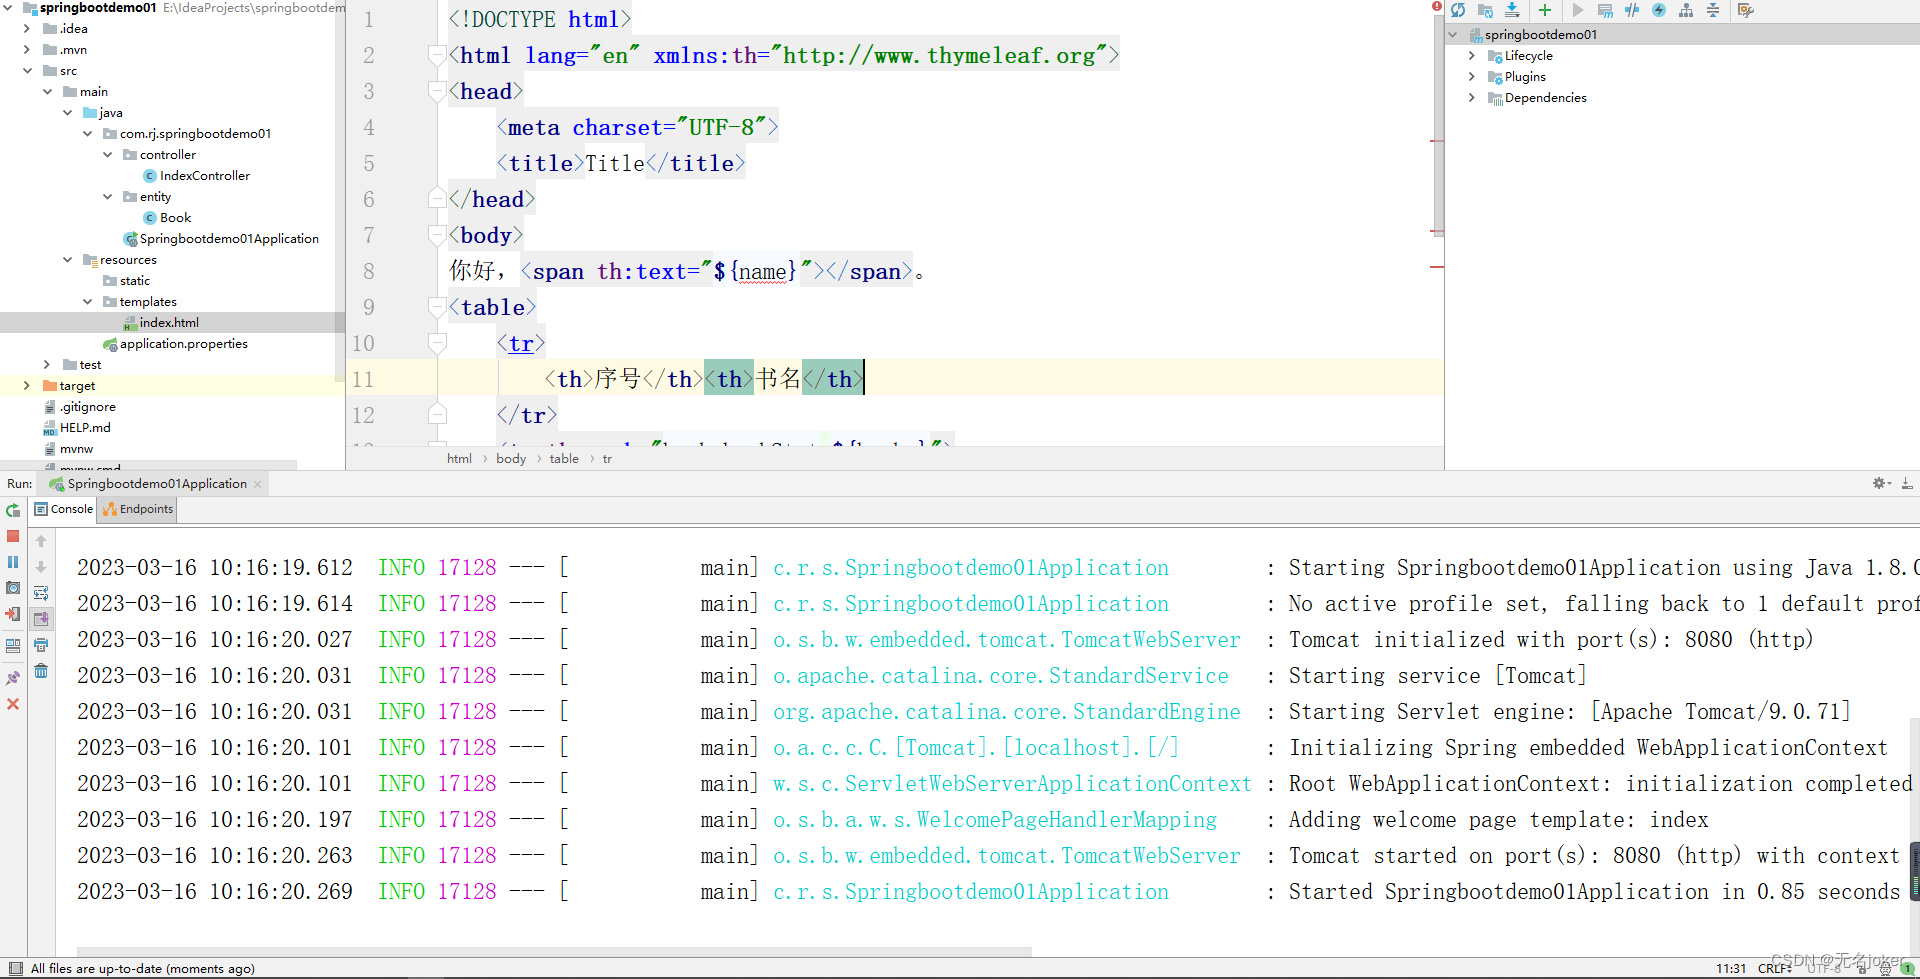
在src\main\java\com\rj\springbootdemo01中建一个entity文件夹,再在文件夹中新建Book实体类。
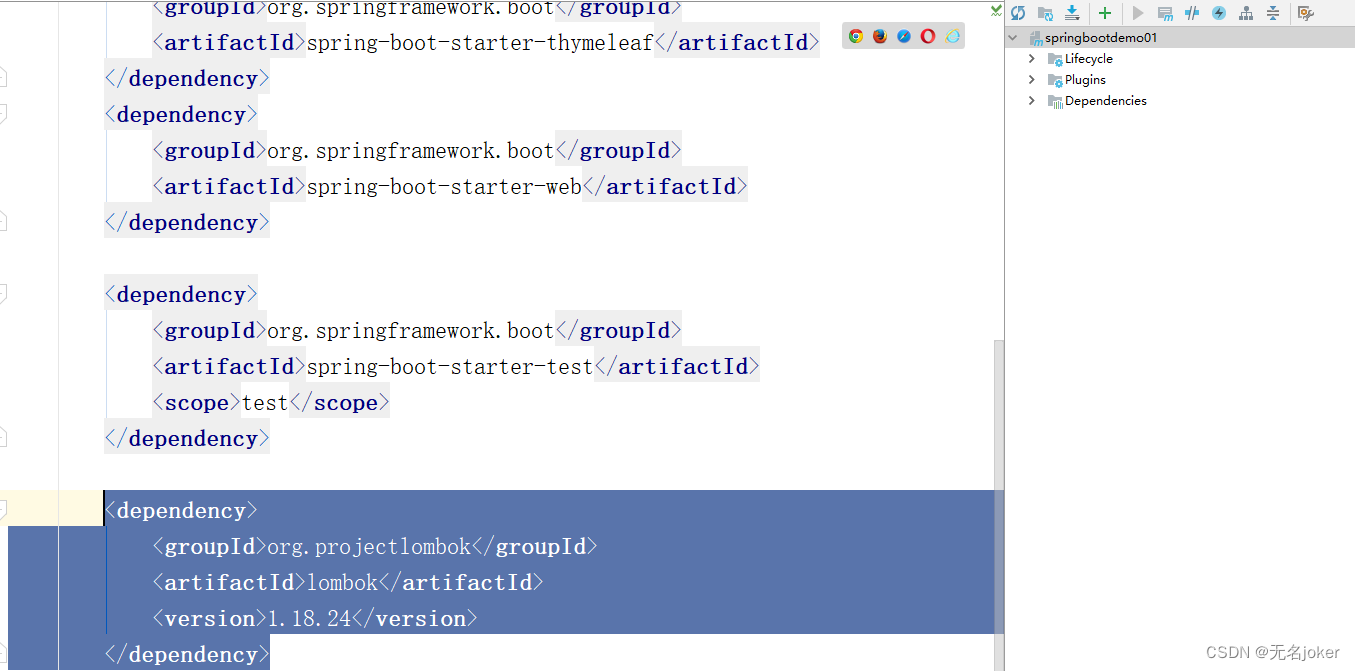
2.导入lombok模块
        <dependency>
            <groupId>org.projectlombok</groupId>
            <artifactId>lombok</artifactId>
            <version>1.18.24</version>
        </dependency>
将代码加入到pom.xml文件中,点击右上的刷新按钮,将模块自动下载。
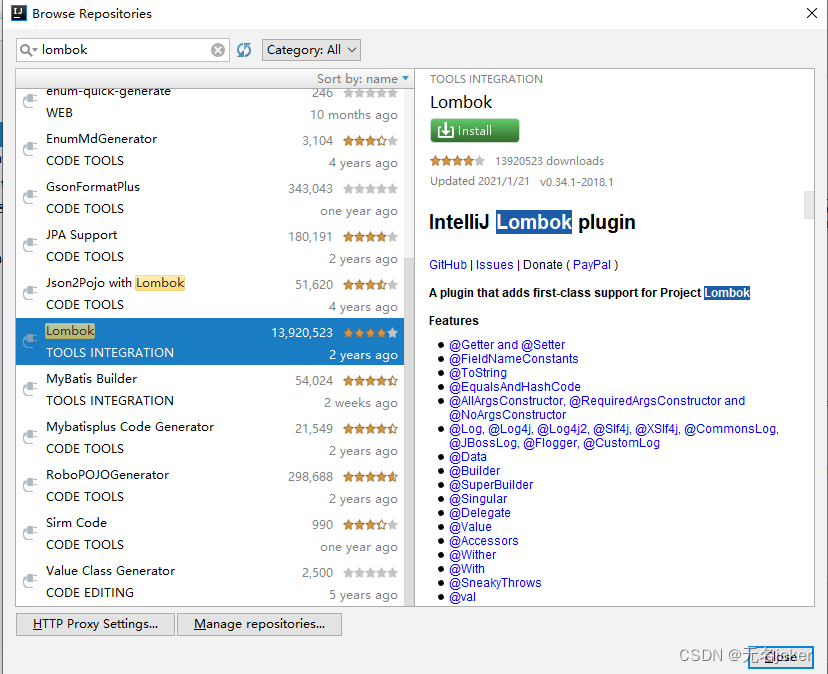
3.下载插件
点击左上角的File,再点击settings,点击左侧的Plugins,在里面搜索Lombok,下载后应用,并重启软件即可。
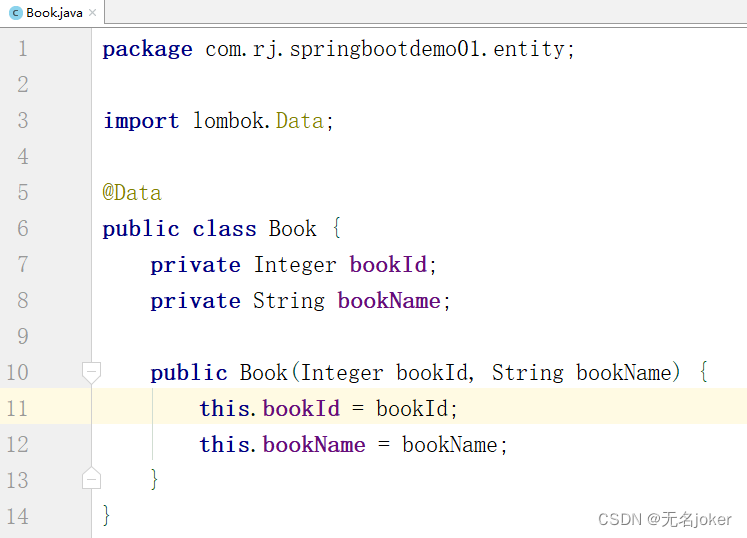
4.添加属性
在Book.java文件中添加book的属性(bookId,bookName)。
package com.rj.springbootdemo01.entity;

import lombok.Data;

@Data
public class Book {


    private Integer bookId;
    private String bookName;

    public Book(Integer bookId, String bookName) {


        this.bookId = bookId;
        this.bookName = bookName;
    }
}
5.在IndexController.java中添加代码
package com.rj.springbootdemo01.controller;

import com.rj.springbootdemo01.entity.Book;
import org.springframework.stereotype.Controller;
import org.springframework.ui.Model;
import org.springframework.web.bind.annotation.RequestMapping;

import java.util.ArrayList;
import java.util.List;

@Controller
public class IndexController {


    @RequestMapping("index")
    public String index(Model model){


        //根据Tymeleaf模板,默认将返回src/main/resources/templates/index.html
        List<Book> books = new ArrayList<>();
        books.add(new Book(1,"html"));
        books.add(new Book(2,"java"));
        books.add(new Book(3,"mysql"));
        model.addAttribute("books",books);
        model.addAttribute("name","无名");
        return "index";
    }
}

6.写页面
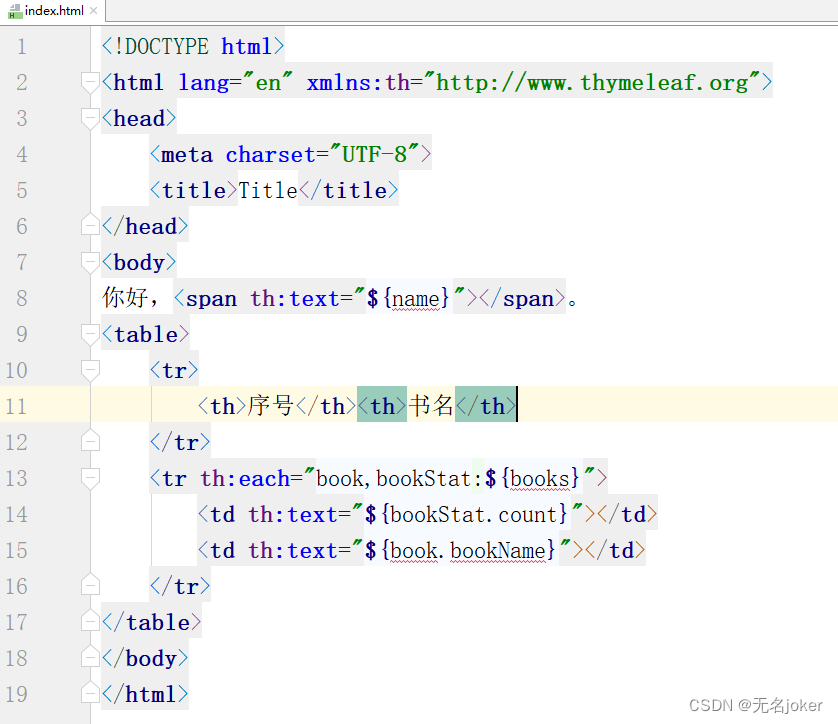
在index.html文件中写页面。
扫描二维码关注公众号,回复:
15232207 查看本文章

<!DOCTYPE html>
<html lang="en" xmlns:th="http://www.thymeleaf.org">
<head>
    <meta charset="UTF-8">
    <title>Title</title>
</head>
<body>
你好,<span th:text="${name}"></span>。
<table>
    <tr>
        <th>序号</th><th>书名</th>
    </tr>
    <tr th:each="book,bookStat:${books}">
        <td th:text="${bookStat.count}"></td>
        <td th:text="${book.bookName}"></td>
    </tr>
</table>
</body>
</html>
7.运行
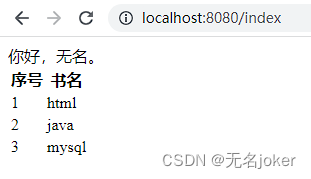
网址为:http://localhost:8080/index
总结
以上就是今天学习的内容,本文仅仅简单介绍了springboot-thymeleaf项目实例,还有许多地方还没有进行探索,以上如有问题可以提出指正,谢谢大家。