目录
一、业务描述:
开发一个看图片录入的页面,可以查看图片并填写表单
业务需求是页面里分为两大部分,左侧是图片大图和底部轮播图,右侧是图片的详细信息和表单,表单的内容是根据图片里的信息来填的,那么拿到这个需求,其实前端这部分只需要实现的就是图片放大缩小旋转,底部有一个略缩图可以切换选择图片等,以及填写提交功能。
二、开发流程:
注意,这里主要的功能是图片的问题,需要实现大图,类似于el-image的预览那样的大图,和底部的轮播图,以及图片切换等问题。
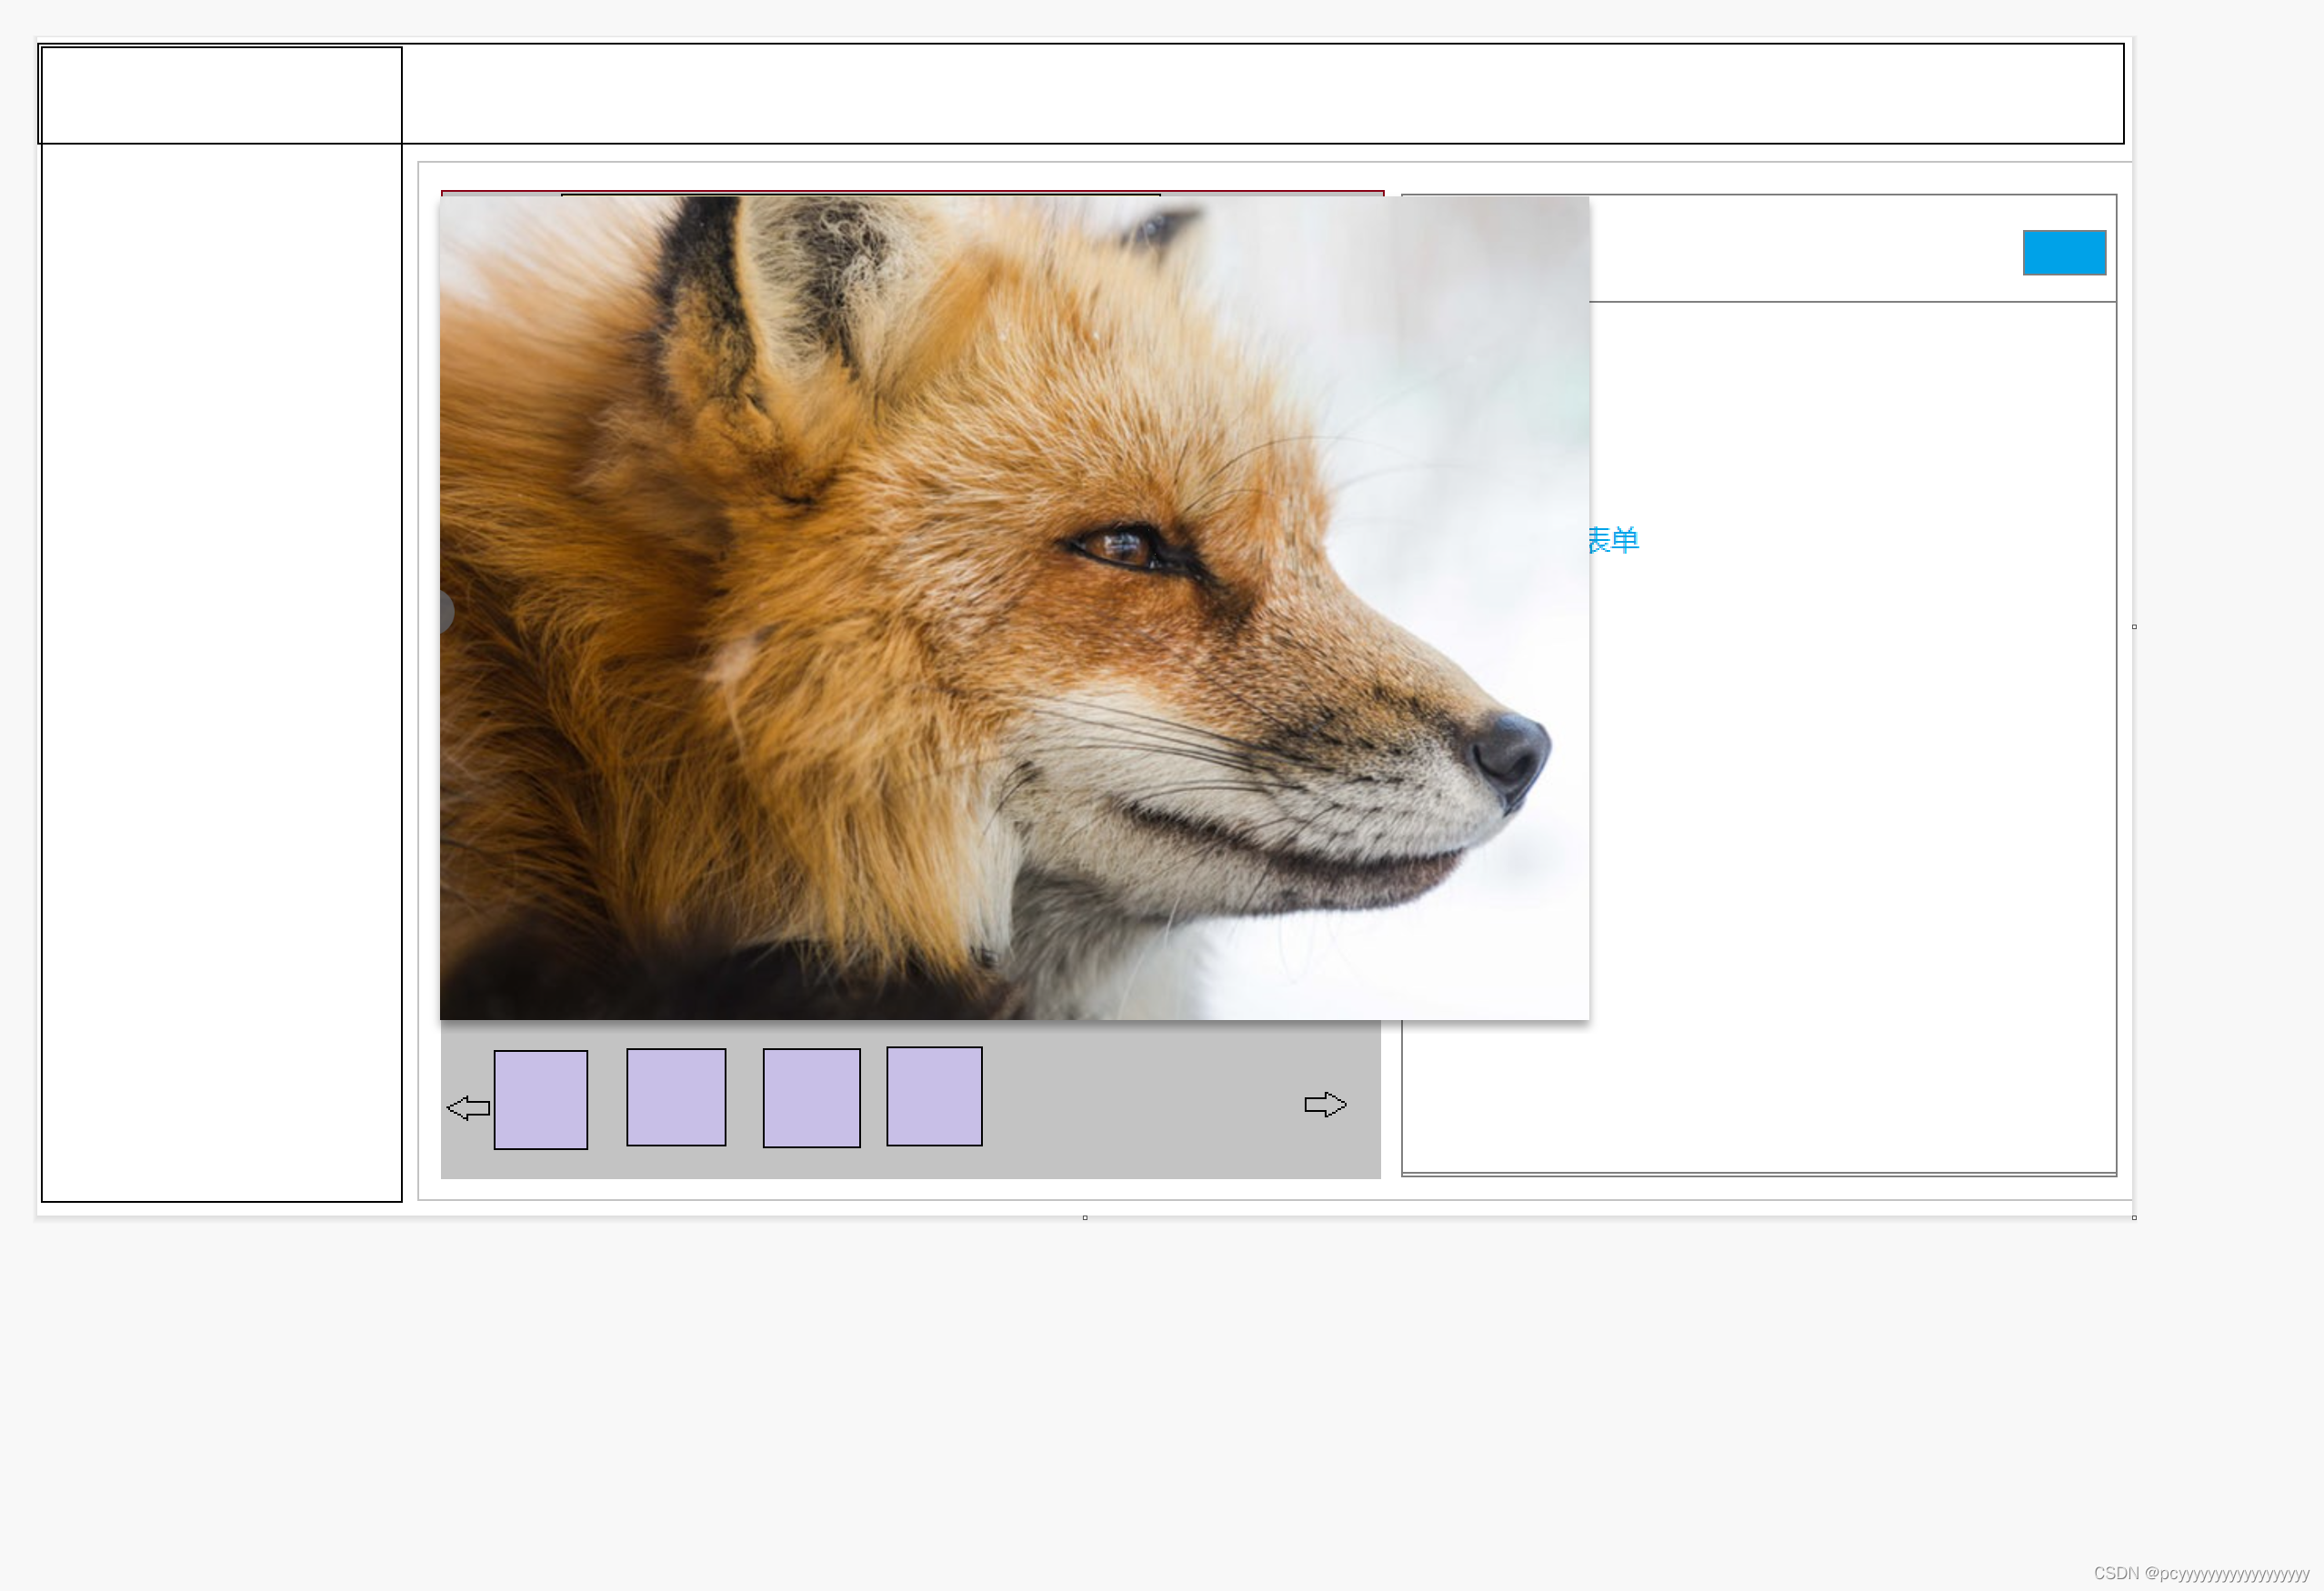
1.首选画出页面布局
需求的页面大致如此:

页面分为,左右,左侧分为上下布局。
2.选择大图预览的组件
目标实现像el-image预览的样子,如下图:

el-image-view在新版的element-plus里已经可以引用了,网上也许多教程, 但是!并不能在这个组件上更改,比如我将这个遮罩去掉,然后缩小遮罩的大小符合我画的框框图的左侧大小后,放大缩小,等功能,会出现下面遮罩情况,就是图片在最上层,会挡住其他组件。
并且最致命的是鼠标滚动的时候,图片会快速放大缩小,太敏感了!这个在element的预览里面就可以看到,有点不友好。
综合以上,
查找了许多预览组件后,发现引入插件性价比不高,决定自己写,于是封装了一套图片预览的功能。
3.封装图片预览功能
image.vue
<template>
  <!--  -->
  <div ref="imgCont" v-loading="!url" class="imgCont" @mousewheel.prevent="rollImg($event)">
    <div class="iconBtn">
      <span class="refreshBtn">
        <el-button link icon="ZoomIn" @click.stop="outImg('in')"></el-button>
        <el-button link icon="ZoomOut" @click.stop="outImg('out')"></el-button>
        <el-button link icon="RefreshLeft" @click.stop="rotate('left')"></el-button>
        <el-button link icon="RefreshRight" @click.stop="rotate('right')"></el-button>
        <el-button link icon="ScaleToOriginal" @click="toggleMode"></el-button>
      </span>
    </div>
    <img id="img" ref="imgDiv" class="bigImage" :src="url" @mousedown.stop.prevent="moveImg($event)" />
  </div>
</template>

<script>
const Mode = {
  CONTAIN: {
    name: 'contain',
    icon: 'FullScreen'
  },
  ORIGINAL: {
    name: 'original',
    icon: 'ScaleToOriginal'
  }
}
export default {
  props: {
    url: {
      type: String,
      default: null
    }
  },
  data() {
    return {
      mode: Mode.CONTAIN,
      // 图片参数
      params: {
        zoomVal: 1,
        left: 0,
        top: 0,
        currentX: 0,
        currentY: 0
      },
      deg: 0
    }
  },
  computed: {},
  watch: {
    url: {
      handler: function (newV, oldV) {
        this.restImg()
      }
    }
  },
  created() {
    this.restImg()
  },
  mounted() {},
  methods: {
    //1:1自适应
    toggleMode() {
      this.isFull = false
      const modeNames = Object.keys(Mode)
      const modeValues = Object.values(Mode)
      const index = modeValues.indexOf(this.mode)
      const nextIndex = (index + 1) % modeNames.length
      this.mode = Mode[modeNames[nextIndex]]
      if (this.mode.name == 'original') {
        this.originalFunc()
      } else {
        this.restImg()
      }
    },
    // mode==original 默认放大图片
    originalFunc() {
      this.params.zoomVal = 2
      this.restFunc()
    },
    // 初始化数据,重置数据
    restImg() {
      this.params.zoomVal = 1
      this.restFunc()
      this.mode = Mode['CONTAIN']
    },
    restFunc() {
      this.params.left = 0
      this.params.top = 0
      this.params.currentX = 0
      this.params.currentY = 0
      this.deg = 0
      if (this.$refs.imgDiv) {
        let img = this.$refs.imgDiv
        img.style.transform = `translate(-50%, -50%) scale(${this.params.zoomVal}) rotate(${this.deg}deg)`
        img.style.left = '50%'
        img.style.top = '50%'
      }
    },
    // 图片滚动放大
    rollImg(event) {
      this.params.zoomVal += event.wheelDelta / 1200
      this.rollFunc()
    },
    outImg(flag) {
      if (flag == 'out') {
        this.params.zoomVal -= 0.2
      } else {
        this.params.zoomVal += 0.2
      }
      this.rollFunc()
    },
    rollFunc() {
      let e = this.$refs.imgDiv
      if (this.params.zoomVal >= 0.2) {
        e.style.transform = `translate(-50%, -50%) scale(${this.params.zoomVal}) rotate(${this.deg}deg)`
      } else {
        this.params.zoomVal = 0.2
        e.style.transform = `translate(-50%, -50%) scale(${this.params.zoomVal}) rotate(${this.deg}deg)`
        return false
      }
    },

    // 图片旋转
    rotate(type) {
      let res = this.$refs.imgDiv
      this.deg = type == 'right' ? this.deg + 90 : this.deg - 90
      res.style.transform = `translate(-50%, -50%) scale(${this.params.zoomVal}) rotate(${this.deg}deg)`
    },
    // 图片移动
    moveImg(e) {
      // 获得该时间触发的时间戳
      let mouseDate = new Date().getTime()
      this.$emit('getMouseDate', mouseDate)
      e.preventDefault()
      // 获取元素
      let imgWrap = this.$refs.imgCont
      let img = this.$refs.imgDiv
      let x = e.pageX - img.offsetLeft
      let y = e.pageY - img.offsetTop
      // 添加鼠标移动事件
      imgWrap.addEventListener('mousemove', move)
      function move(e) {
        img.style.left = e.pageX - x + 'px'
        img.style.top = e.pageY - y + 'px'
      }
      // 添加鼠标抬起事件,鼠标抬起,将事件移除
      img.addEventListener('mouseup', () => {
        imgWrap.removeEventListener('mousemove', move)
      })
      // 鼠标离开父级元素,把事件移除
      imgWrap.addEventListener('mouseout', () => {
        imgWrap.removeEventListener('mousemove', move)
      })
    }
  }
}
</script>

<style scoped lang="scss">
.imgCont {
  text-align: center;
  vertical-align: middle;
  position: relative;
  overflow: hidden;
  width: 100%;
  height: 100%;
  .iconBtn {
    position: absolute;
    left: 35%;
    bottom: 0;
    height: 50px;
    line-height: 50px;
    background-color: rgb(0 0 0 / 20%);
    color: #fff;
    width: 300px;
    border-radius: 30px;
    z-index: 100;
    font-size: 20px;
    margin-bottom: 20px;
    .refreshBtn {
      .el-button.is-link {
        color: #fff;
        width: 22px;
        height: 22px;
        :deep(.el-icon) {
          cursor: pointer;
          width: 22px !important;
          height: 22px !important;
        }
        :deep(.el-icon svg) {
          width: 22px !important;
          height: 22px !important;
        }
      }
    }
  }
  .bigImage {
    max-width: 100%;
    max-height: 100%;
    position: absolute;
    top: 50%;
    left: 50%;
    transform: translate(-50%, -50%);
    cursor: move;
    min-width: 100%;
    min-height: 100%;
    width: auto;
    height: auto;
    // 图片等比缩放并保持图片纵横比
    object-fit: contain;
    object-position: center;
    // 全屏铺满不保留纵横比
    // background-size: cover;
  }
  img {
  }
}
</style>
这里就涉及了一个参数url,即图片的地址。
图片预览只是其中一环,剩下的切换才是更重要的。
三、详细开发流程: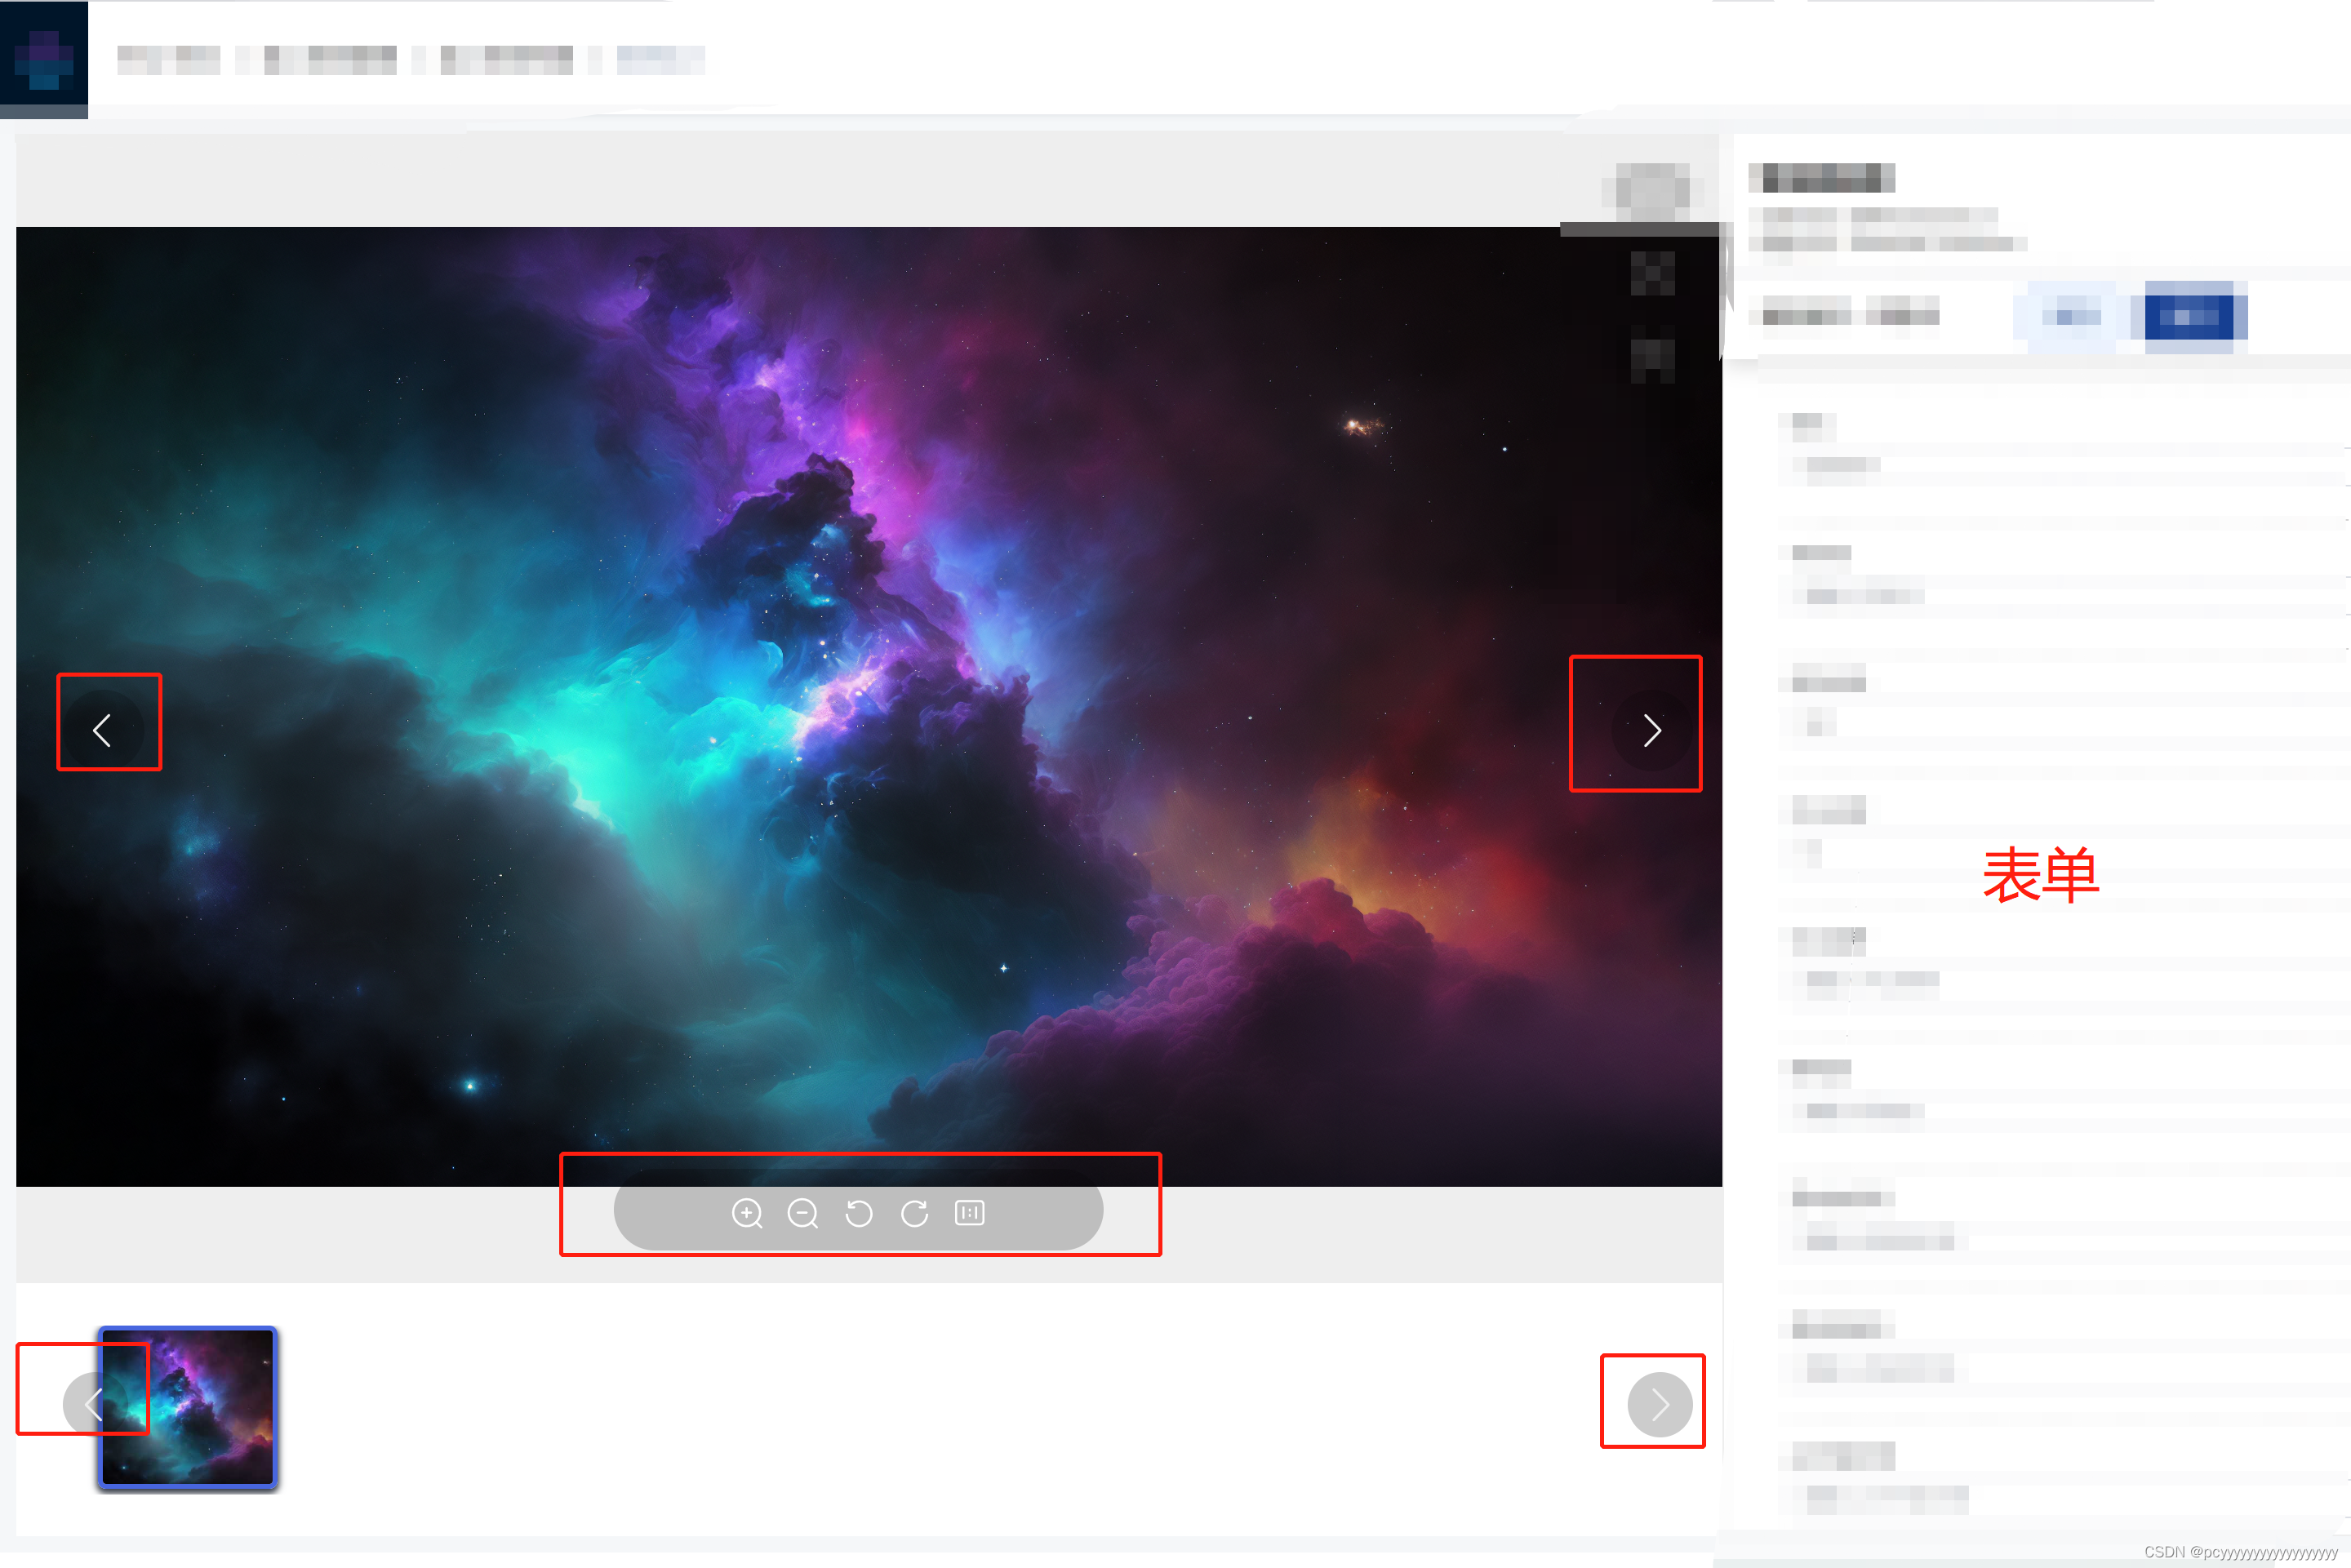
1.功能划分
- 首先图片的放大、缩小、左旋、右旋、全屏查看(已封装组件)
- 大图的左右切换
- 略缩图的展示与左右切换,点击到最后一张回跳回到第一张,并且切换时大图也会相应的改变
- 右侧的表单(暂且展示空占位)
2.详细开发
这里不考虑右侧表单,我将代码贴到下面。
ImgDeal是上面封装的大图预览组件。
(1)HTML
<template>
  <div class="container">
    <div class="left-images-box">
      <div class="preview-box">
        //大图切换的箭头
        <div class="arrowLeft-icon" @click="switchImageLeft">
          <el-icon><ArrowLeft /></el-icon>
        </div>
        <div class="arrowRight-icon" @click="switchImageRight">
          <el-icon><ArrowRight /></el-icon>
        </div>

        <ImgDeal v-if="showViewer" ref="imgDeal" :url="imgUrl"></ImgDeal>

        <!-- 加载状态 -->
        <div v-else class="preview-box">
          <h2 class="loading-font">加载中……请稍等</h2>
        </div>
      </div>
      <div v-if="showImageBox" class="image-bottom-group">
        <div class="image-box">
          <ul class="Img_ul">
            <li
              v-for="(item, index) in imgUrlList"
              :key="index"
              v-loading="!item"
              class="Img_li"
              :style="imgStyle"
              @click="changeImage(index, item)"
            >
              <img
                :class="index === imgActiveIndex ? 'img_activeBorder' : 'img_normalBorder'"
                :src="item"
                style="width: 110px; height: 100px; object-fit: cover"
              />
            </li>
          </ul>
        </div>
        //底下的略缩图的箭头
        <div class="bottom-arrowLeft-icon" @click="imgLeft()">
          <el-icon><ArrowLeft /></el-icon>
        </div>
        <div class="bottom-arrowRight-icon" @click="imgRight()">
          <el-icon><ArrowRight /></el-icon>
        </div>
      </div>
      <div v-else class="image-bottom-group">
        <load-bar-loading />
      </div>
    </div>
    <div class="right-form-box">
      //右侧表单
    </div>
  </div>
</template>
(2)js
<script setup>
import ImgDeal from './component/ImgDeal.vue'
import axios from '@/utils/request.js'
import { ElMessage, ElMessageBox } from 'element-plus'
import { ref, computed, onMounted } from 'vue'
let imgViewerVisible = ref(false)

let imagesId = ref([])
let imgUrlList = ref([])

let initialImageIndex = ref(0)

onMounted(() => {
  getImageList()
  loadTaskImageThumbnail()
})
let imgUrl = ref(null)
let imgActiveIndex = ref(0)
let showViewer = ref(false)
let showImageBox = ref(false)


const getImageList = async () => {
  imgUrlList.value = []
  //请求数据
    let imageList = res.data.imageList || []
    imageList.forEach((element) => {
      imgUrlList.value.push(element.table_image)
    })
    imgActiveIndex.value = 0
    imgUrl.value = imgUrlList.value[0]

    showViewer.value = true

}

/*
 *@description: 点击大图向左切换
 */
const carousel = ref(null)
const switchImageLeft = () => {
  if (imgActiveIndex.value < 1) {
    return
  }
  imgLeft()
  dialogVisible.value = false
}
/*
 *@description: 点击大图向右切换
 */
const switchImageRight = () => {
  if (imgActiveIndex.value == imgUrlList.value.length - 1) {
    return
  }
  imgRight()
  dialogVisible.value = false
}

/*
 *@description:点击下方略缩图
 */
const changeImage = (index, item) => {
  // 切换时更换为大图
  if (imgUrlList.value[index] !== '') {
   //请求数据
        imgUrl.value = res.data.data.image
      }

  }
  // fixme 当大图切换过快时,上一张大图为请求完毕,开始请求下一张大图,则大图显示会先显示先请求的再显示后请求的

  showViewer.value = false
  showImageBox.value = false
  imgActiveIndex.value = index
  imgUrl.value = imgUrlList.value[index]
  showImageBox.value = true
  showViewer.value = true
}


let dialogVisible = ref(false)


const handleClose = async () => {
  dialogVisible.value = false
}


/*
 *@description: 底部轮播图
 *@date: 2023-03-03 18:41:25
 */

let imgDistance = ref(0) // 移动的距离
let allDistance = ref(0) // 总移动距离

const imgStyle = computed(() => {
  return {
    transform: `translate3d(${imgDistance.value}px, 0, 0)` // 计算移动的距离(x,y,z)
  }
})
/*
 *@description: 点击向左切换略缩图
 *@date: 2023-03-03 19:07:55
 */
const imgLeft = () => {
  if (imgActiveIndex.value > 0) {
    imgActiveIndex.value-- // 索引值-1
    imgUrl.value = imgUrlList.value[imgActiveIndex.value]
  }
  if (imgActiveIndex.value >= 6) {
    var index = 0
    const temp = window.setInterval(() => {
      // 利用定时器实现图片左右移动的动画效果
      if (index < 1) {
        // 移动次数(1次)
        imgDistance.value += 120 // 每次向左移动的距离 (移动总距离为1* imgDistance)
        index++
        return
      } else {
        window.clearInterval(temp) // 移动完清除定时器
      }
    }, 1)
  }
}
/*
 *@description: 点击向右切换略缩图
 *@date: 2023-03-03 19:07:55
 */
const imgRight = () => {
  if (imgActiveIndex.value < imgUrlList.value.length - 1) {
    imgActiveIndex.value++
    imgUrl.value = imgUrlList.value[imgActiveIndex.value]
    //  imgUrlList.value.forEach((item, index) => {
    //   if ( imgActiveIndex.value === index) {
    //      mainImgUrl.value = item
    //   }
    // })
    if (imgActiveIndex.value >= 7) {
      allDistance.value = -120 * (imgActiveIndex.value - 6)
      var index = 0
      const temp = window.setInterval(() => {
        if (index < 1) {
          imgDistance.value -= 120 // 每次向右移动的距离,总距离为120*1,一张图片110px,margin 10px
          index++
          return
        } else {
          window.clearInterval(temp)
        }
      }, 1)
    }
  } else if (imgActiveIndex.value === imgUrlList.value.length - 1) {
    // 到达最后一张图片,再点击跳转回第一张
    imgActiveIndex.value = 0
    imgUrl.value = imgUrlList.value[0]
    var index2 = 0
    const temp = window.setInterval(() => {
      // 利用定时器实现图片左右移动的动画效果
      if (index2 < Math.abs(allDistance.value / 120)) {
        // 取绝对值再除
        imgDistance.value += 120 // 每次向左移动的距离 (移动后imgDistance为index2*120)
        index2++
        return
      } else {
        window.clearInterval(temp) // 移动完清除定时器
      }
    }, 1)
  }
}

const loadTaskImageThumbnail = async () => {
  let res = 请求数据
  if (res.data && res.data.data && Array.isArray(res.data.data)) {
    showImageBox.value = true
    imagesId.value.push(...res.data.data)
    let reqList = imagesId.value.map((i, index) => {
      imgUrlList.value.push('')
      axios.get(``).then((res) => {
        if (res && res.data && res.data.code === 200) {
          imgUrlList.value[index] = res.data.data.image
        }
        if (index === 0) {
          changeImage(0)
        }
      })
    })
  }
}


</script>
(3)css
<style lang="scss" scoped>
.container {
  display: flex;
  flex-direction: row;
  width: 100%;
  height: 100%;
  .left-images-box {
    display: flex;
    width: 55%;
    height: 100%;
    justify-content: center;
    align-items: center;
    flex-direction: column;
    background-color: #eee;
    .preview-box {
      width: 100%;
      display: flex;
      justify-content: center;
      align-items: center;
      flex-direction: column;
      height: 82%;
      .float-ocr-icon {
        cursor: pointer;
        position: absolute;
        top: 30px;
        right: 46%;
        background-color: rgb(0 0 0 / 20%);
        width: 50px;
        height: 35px;
        align-items: center;
        justify-content: center;
        justify-items: center;
        display: flex;
        border-radius: 20px;
        z-index: 2008;
        .svg-icon-ocr {
          width: 20px;
          height: 20px;
        }
      }
      .arrowLeft-icon {
        position: absolute;
        cursor: pointer;
        top: 40%;
        left: 2%;
        background-color: rgb(0 0 0 / 20%);
        width: 50px;
        height: 50px;
        align-items: center;
        justify-content: center;
        justify-items: center;
        display: flex;
        border-radius: 50px;
        z-index: 2008;
        .el-icon {
          width: 30px;
          height: 30px;
        }
        .el-icon svg {
          width: 28px;
          height: 28px;
          color: #eee;
        }
      }
      .arrowRight-icon {
        position: absolute;
        cursor: pointer;
        top: 40%;
        right: 46%;
        background-color: rgb(0 0 0 / 20%);
        width: 50px;
        height: 50px;
        align-items: center;
        justify-content: center;
        justify-items: center;
        display: flex;
        border-radius: 50px;
        z-index: 2008;
        .el-icon {
          width: 30px;
          height: 30px;
        }
        .el-icon svg {
          width: 28px;
          height: 28px;
          color: #eee;
        }
      }
    }
    .bottom-arrowRight-icon {
      position: absolute;
      cursor: pointer;
      bottom: 8%;
      right: 46%;
      background-color: rgb(0 0 0 / 20%);
      width: 40px;
      height: 40px;
      align-items: center;
      justify-content: center;
      justify-items: center;
      display: flex;
      border-radius: 50px;
      z-index: 2008;
      .el-icon {
        width: 30px;
        height: 30px;
      }
      .el-icon svg {
        width: 28px;
        height: 28px;
        color: #eee;
      }
    }
    .bottom-arrowLeft-icon {
      position: absolute;
      cursor: pointer;
      bottom: 8%;
      left: 2%;
      background-color: rgb(0 0 0 / 20%);
      width: 40px;
      height: 40px;
      align-items: center;
      justify-content: center;
      justify-items: center;
      display: flex;
      border-radius: 50px;
      z-index: 2008;
      .el-icon {
        width: 30px;
        height: 30px;
      }
      .el-icon svg {
        width: 28px;
        height: 28px;
        color: #eee;
      }
    }
    .image-bottom-group {
      display: flex;
      width: 100%;
      height: 18%;
      background-color: #fff;
      justify-content: center;
      align-items: center;
      padding: 20px;
      .image-box {
        width: 100%;
        .Img_ul {
          position: relative;
          display: flex;
          left: -15px;
          width: 100%;
          height: 100%;
          overflow: hidden;
          list-style: none;
        }
        .Img_li {
          float: left;
          margin: 0 5px;
          cursor: pointer;
        }
      }

      .img_activeBorder {
        border: 3px solid #4866df;
        box-shadow: 0 2px 4px 1px #373d48;
        border-radius: 5px;
      }
      .img_normalBorder {
        border-radius: 5px;
        border: 2px solid rgb(145, 145, 145);
      }
    }
  }
  .right-form-box {
    width: 45%;
    height: 100%;
    margin: 0;
    background-color: #fff;
    border: 1px solid #eee;
    overflow-y: auto !important;

  }


}

.dialog-class {
  pointer-events: none !important;
}
</style>
四、总结:
功能比较复杂,前前后后修改了很多次,需求加的越来越细,总之也算一个比较调整的功能吧,主要是图片切换和底部略缩图的实现比较难,其他还好。
简单记录一下。