前言:pytest 是 python 的第三方单元测试框架,比自带 unittest 更简洁和高效,支持315种以上的插件,同时兼容 unittest 框架。这就使得我们在 unittest 框架迁移到 pytest 框架的时候不需要重写代码。
一、安装pytest
首先使用 pip 安装 pytest
pip3 install pytest
查看 pytest 是否安装成功
pip3 show pytest
二、命名规范
1、默认搜索规则:
如果pytest命令行有指定目录,则从该目录中开始查找测试用例文件,如果没有指定,则从当前运行目录开始查找文件。注意,该查找是递归查找,子目录中的文件也会被查找到。
并不是能够查找到目录下的所有文件,只有符合命名规则的文件才会被查找。默认规则是以test_开头或者以_test结尾的.py文件。
在测试文件中查找Test开头的类,以及类中以test_开头的方法,查找测试文件中test_开头的函数。
2、测试用例默认命名规则:
.py 测试文件必须以test_开头(或者以_test结尾)
测试类必须以Test开头,并且不能有 init 方法
测试方法必须以test_开头
所在的包必须要有__init__.py文件
三、运行命令
执行用例命令参数:
pytes 运行目录下所有用例
pytest test_mod.py 运行文件内所有用例
pytest -s 输出调试信息,包括print打印的信息
pytest -v 丰富信息模式,输出更详细的用例执行信息
pytest -q 安静模式,不输出环境信息
pytest -x 只要一个用例报错,那么测试停止运行
pytest --maxfail=num 错误用例达到次数停止
pytest -k “**** not ****”按照包含的关键字运行对应内容
pytest test_mod.py::test_func 运行某个文件中独一个用例
pytest test_mod.py::TestClass::test_method 运行模块里面测试类里面的某种方法
pytest -m slow 通过mark标记运行测试
pytest.main() 代码中直接调用pytest
(可详见:https://blog.csdn.net/weixin_44006041/article/details/107934174)
四、简单使用
创建一个简单的实例,如下
# test1.py 文件
def test_one():
    print("我的方法1")
    x = "this"
    assert "h" in x


def test_two():
    print("我是方法2")
    y = 7
    assert y > 6
切换至该文件所在的目录,输入命令:pytest -vs test1.py 运行测试

五、参数化
说明:软件测试中,输入相应值,检查期望值,是常见测试方法。
在自动化测试中,一个测试用例对应一个测试点,通常一组测试数据无法完全覆盖测试范围,所以,需要参数化来传递多组数据。
pytest的测试用例参数化使用@pytest.mark.parametrize()装饰器即可完成。
# test1.py文件
import pytest

@pytest.mark.parametrize("arg_1", [123, 456])
def test_fun1(arg_1):
    print(arg_1)

@pytest.mark.parametrize("arg_1,arg_2", [(111, 'AAA'), (222, 'BBB')])
def test_fun2(arg_1, arg_2):
    print("arg_1值为:{} arg_2值为:{}".format(arg_1, arg_2))
输入pytest -v -s test1.py 执行,结果如下:

五、测试报告
Allure 是一款轻量级的开源自动化测试报告生成框架。它支持绝大部分测试框架,比如 TestNG、Junit 、pytest、unittest 等。
1.安装Allure插件:
输入命令:pip3 install allure-pytest
可参考链接:https://www.cnblogs.com/hl-2030/p/13690165.html,配置allure环境变量
2.简单实例,代码如下:
# test_allure_demo.py文件
import allure

@allure.step("步骤1:打开百度")
def test_1():
    print("111")

@allure.step("步骤2:输入关键字")
def test_2():
    print("222")

@allure.step("步骤3:点击搜索")
def test_3():
    print("333")
3.执行实例:
切换至该实例文件所在目录,输入命令:pytest -vs test_allure_demo.py --alluredir ./report

执行完成后,会生成report文件,如图
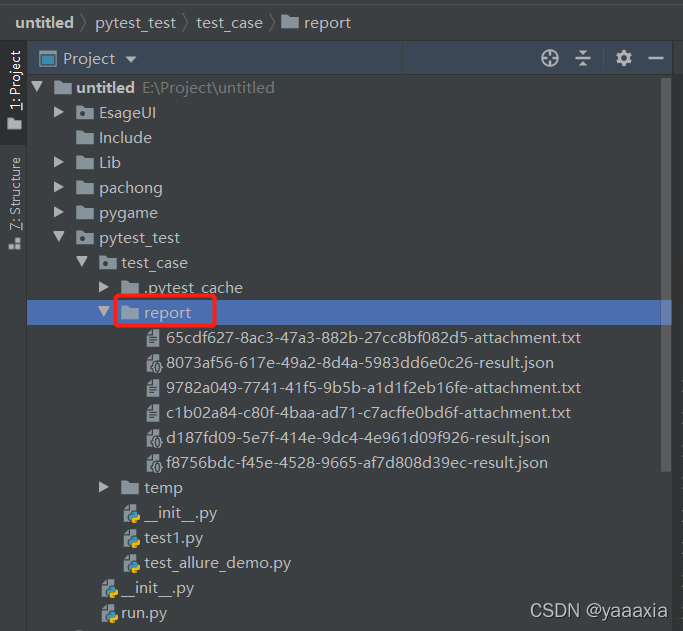
显然,这不是我们想要的html测试报告,我们还需要执行一个命令才能查看报告。
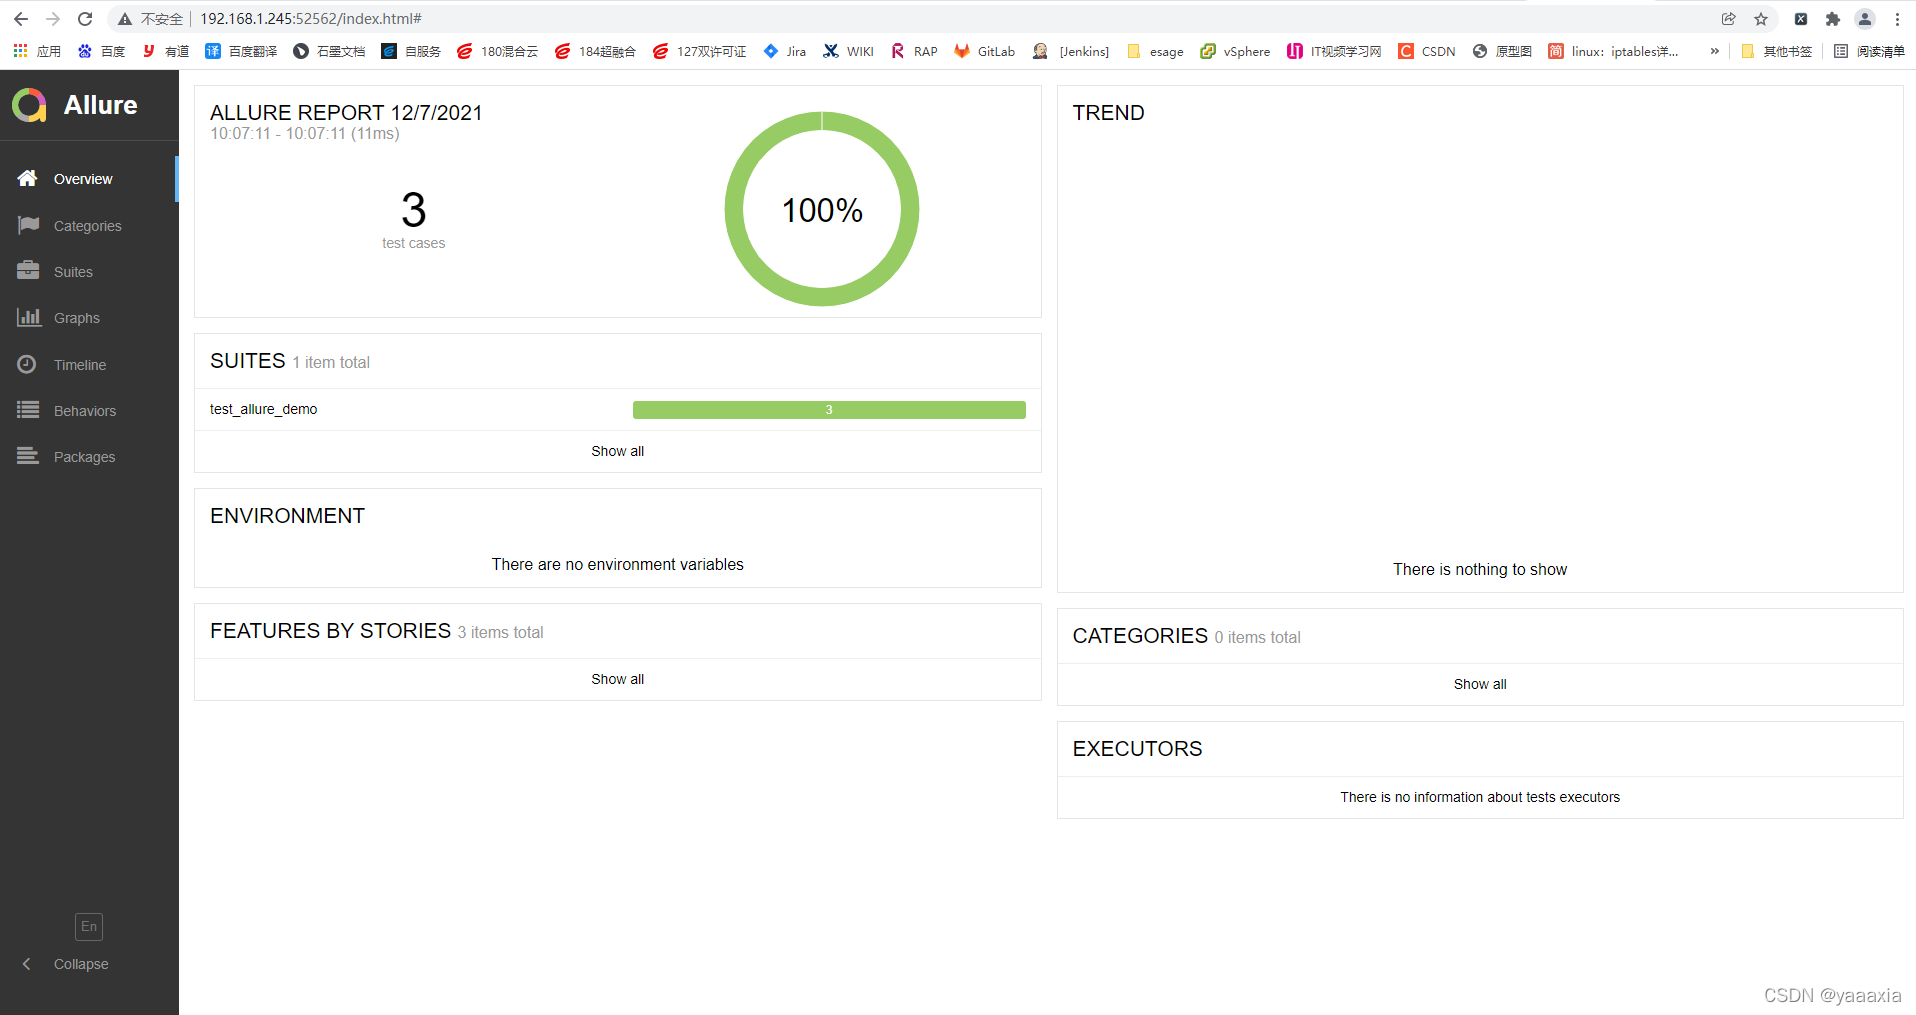
4.执行:allure serve report

执行后,会自动打开浏览器的一个页面来显示测试报告,如下图