缘起
由于疫情,小区封了好久,小编也很忙,一直没时间更新技术文章,趁着五一假期更新一波。
先来聊聊为啥选择分享这个专题,WEB COMPONENT可以看作前端组件化的鼻祖,比react和vue更早,一直以来是google系为了推动技术发展,做出的一系列创新,即Web Components API。相比于vue和react,Web Components不需要额外的三方包,更快,更轻,更加直接,如果你有vue或者react开发经验,这个上手起来很快。同时,Web Components可以兼容大部分前端框架,毕竟是基于浏览器原生的能力。缺点么也有一点,具体大家可以百度,但是瑕不掩瑜,相信未来Web Components会更完善
Web Components概览
其实没啥好说的,大家去看看稳定,分分钟学会。简单说下就是以下三块:
- Custom elements
- Shadow DOM
- HTML templates
Custom elements
我们引用官网上的话:
One of the key features of the Web Components standard is the ability to create custom elements that encapsulate your functionality on an HTML page, rather than having to make do with a long, nested batch of elements that together provide a custom page feature. This article introduces the use of the Custom Elements API.
大家翻译之后是不是还有点不明白,简单来说就是组件化,按照标准的方式定义一个组件,类似vue和react造轮子。
Shadow DOM
我们引用官网上的话:
An important aspect of web components is encapsulation — being able to keep the markup structure, style, and behavior hidden and separate from other code on the page so that different parts do not clash, and the code can be kept nice and clean. The Shadow DOM API is a key part of this, providing a way to attach a hidden separated DOM to an element. This article covers the basics of using the Shadow DOM.
可以简单理解为:沙箱,隔离
HTML templates
我们引用官网上的话:
This article explains how you can use the <template> and <slot> elements to create a flexible template that can then be used to populate the shadow DOM of a web component.
可以简单理解为:模板功能,为Custom elements和Shadow DOM服务
简单demo
上面介绍了这么多,我们学以致用:
class CardTest extends HTMLElement {
  constructor() {
    super();
    let num = 0;
    let container = document.createElement("div");
    container.classList.add("box");
    let button = document.createElement("button");
    button.classList.add("button1");
    button.innerText = "add";
    let span1 = document.createElement("span");
    span1.classList.add("span1");
    span1.innerText = num;
    let span2 = document.createElement("span");
    span2.classList.add("span2");
    span2.innerText = "简单demo:";
    container.append(span2, span1, button);
    this.appendChild(container);
    button.onclick = function () {
      num++;
      span1.innerText = num;
    };
  }
  connectedCallback() {
    console.log("当 custom element首次被插入文档DOM时,被调用");
  }
  disconnectedCallback() {
    console.log("当 custom element从文档DOM中删除时,被调用");
  }
  adoptedCallback() {
    console.log("当 custom element被移动到新的文档时,被调用");
  }
  attributeChangedCallback() {
    console.log("当 custom element增加、删除、修改自身属性时,被调用。");
  }
}

window.customElements.define("card-test", CardTest);
看看效果:

上图是页面刚进来
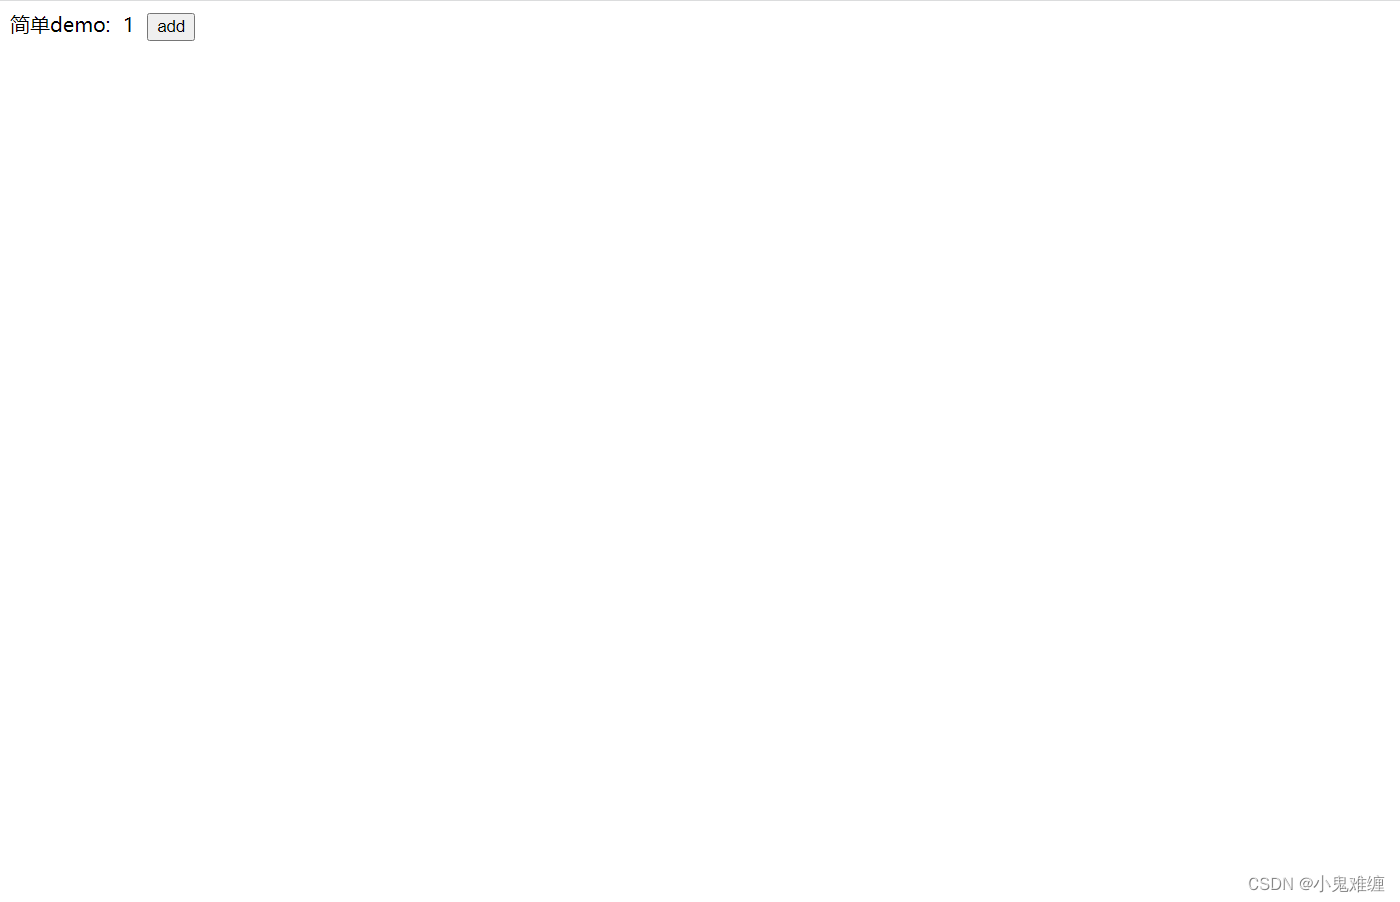
上图是点击add后,可以看到数字从0变成了1
复杂demo
上代码:
class MoreCard extends HTMLElement {
  constructor() {
    super();

    let shadowRoot = this.attachShadow({ mode: "open" });
    let el = document.querySelector("#moreCard").content.cloneNode(true);
    shadowRoot.appendChild(el);

    this.$num = shadowRoot.querySelector("#num");
    this.$button1 = shadowRoot.querySelector("#button1");
    this.$button2 = shadowRoot.querySelector("#button2");
    this.$button1.addEventListener("click", () => {
      this.num++;
    });
    this.$button2.addEventListener("click", () => {
      this.num--;
    });
  }
  get label1() {
    return this.getAttribute("label1");
  }
  set label1(value) {
    this.setAttribute("label1", value);
  }
  get label2() {
    return this.getAttribute("label2");
  }
  set label2(value) {
    this.setAttribute("label2", value);
  }

  get num() {
    return this.getAttribute("num");
  }
  set num(value) {
    this.setAttribute("num", value);
  }

  static get observedAttributes() {
    return ["label1", "label2", "num"];
  }
  attributeChangedCallback(name, oldVal, newVal) {
    console.log("当 custom element增加、删除、修改自身属性时,被调用。");
    this.render();
  }

  render() {
    this.$button1.innerHTML = this.label1;
    this.$button2.innerHTML = this.label2;
    this.$num.innerHTML = `It is ${this.num}`;
  }

  connectedCallback() {
    console.log("当 custom element首次被插入文档DOM时,被调用");
  }
  disconnectedCallback() {
    console.log("当 custom element从文档DOM中删除时,被调用");
  }
  adoptedCallback() {
    console.log("当 custom element被移动到新的文档时,被调用");
  }
}
customElements.define("more-card", MoreCard);
index.html
<template id="moreCard">
      <style>
        span {
          color: red;
          margin-right: 18px;
        }
      </style>
      <span>复杂demo:</span>
      <span id="num"></span>
      <button id="button1"></button>
      <button id="button2"></button>
    </template>
    <more-card num="0" label1="increse" label2="decrease" />
看看效果:


上面三张图分别表示刚加载组件,点击increase,数字加1,结果是1,点击decrease数字减1,结果是0
尾声
美好的时光总是短暂的,大家是不是有收获呢!看了本文大家是不是觉得不过如此,好简单,哈哈,我们下期见!