环境部署:
主机:192.168.197.131
主机:192.168.197.132 (数据库服务器)
软件包:
nginx-1.18.0.tar.gz mariadb-10.2.25-linux-x86_64.tar.gz php-7.3.12.tar.bz2 wordpress-5.0.3-zh_CN.tar.gz
1. Nginx 的源码编译
1.1.下载源码包
[root@Centos7 data]# wget https://nginx.org/download/nginx-1.18.0.tar.gz
1.2下载对应的依赖包
[root@rs1 data]# yum install -y gcc pcre-devel openssl-devel zlib-devel
1.3创建nginx用户,解压源码包,开始编译安装
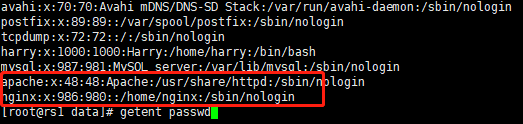
[root@rs1 data]# useradd -r -s /sbin/nologin nginx
1.4解压并编译Nginx
[root@rs1 data]# tar -xvf nginx-1.18.0.tar.gz

[root@rs1 data]#./configure --prefix=/usr/local/nginx \
 --user=nginx \
 --group=nginx \
--with-http_ssl_module \
 --with-http_v2_module \
 --with-http_realip_module \
 --with-http_stub_status_module \
 --with-http_gzip_static_module \
 --with-pcre \
 --with-stream \
 --with-stream_ssl_module \
 --with-stream_realip_module

[root@rs1 nginx-1.18.0]# make && make install

1.5 创建软链接
[root@rs1 local]# ln -s /usr/local/nginx/sbin/nginx  /usr/sbin/

[root@Centos7 sbin]# ls /usr/sbin/nginx

1.6启动Nginx
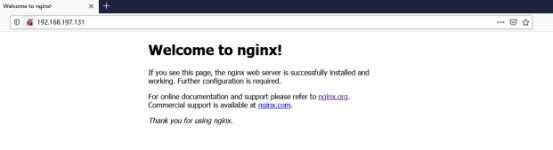
[root@Centos7 sbin]# nginx

测试画面:
2.在192.168.179.132主机上安装Mariadb数据库

2.1 安装对应的依赖包
[root@rs2 data]# yum install yum install bison bison-devel zlib-devel libcurl-devel libarchive-devel boost-devel gcc gcc-c++ cmake ncurses-devel gnutls-devel libxml2-devel openssl-devel libevent-devel libaio-devel -y
2.2 编译安装mariadb-10.2.25
[root@rs2 data]# useradd -r -s /sbin/nologin -d /data/mysql mysql
[root@rs2 data]# mkdir mysql
[root@rs2 data]# chown root:mysql /data/mysql
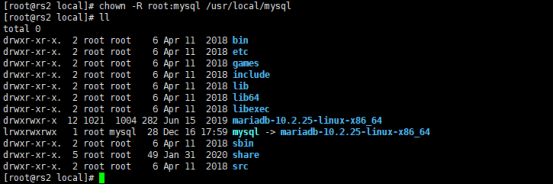
[root@rs2 local]#tar zxvf mariadb-10.2.25-linux-x86_64.tar.gz -C /usr/local
[root@rs2 local]# ln -sv mariadb-10.2.25-linux-x86_64 mysql
[root@rs2 local]# chown -R root:mysql /usr/local/mysql
创建好软链接之后进入mysql , 然后拷贝support-files/my-large.cnf /etc/mysql/my.cnf
并命名为my.cnf作为配置文件

初始化数据库,并生成数据库文件
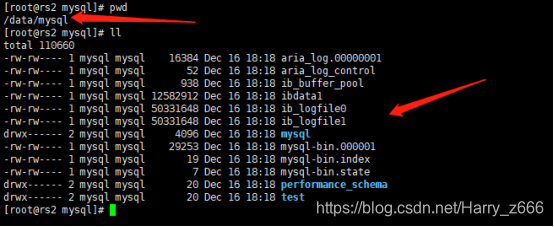
[root@rs2 mysql]# ./scripts/mysql_install_db --datadir=/data/mysql --user=mysql
进入/data/mysql/目录下查看生成的数据表
 复制mysql.server启动脚本 到 /etc/rc.d/init.d/mysqld
[root@rs2 support-files]# cp mysql.server /etc/rc.d/init.d/mysqld
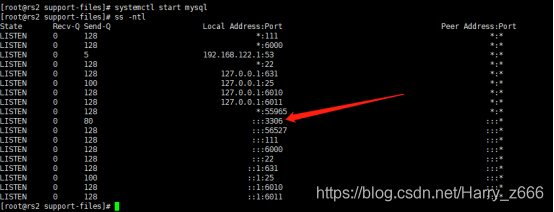
设置开机启动 端口号3306
[root@rs2 support-files]# chkconfig --add mysqld
[root@rs2 support-files]# systemctl start mysql
配置环境变量
[root@rs2 support-files]# echo 'PATH=/usr/local/mysql/bin:$PATH' > /etc/profile.d/mysql.sh
[root@rs2 support-files]# . /etc/profile.d/mysql.sh

执行/usr/local/mysql/bin/mysql_secure_installation 进行密码初始化
 端口正常打开 3306

3.源码编译安装php-fpm
环境:192.168.197.131主机上
源码包:

3.1安装所需依赖包
[root@rs1 data]# yum install -y libxml2-devel bzip2-devel libmcrypt-devel
3.2解压和源码编译php-fpm
[root@rs1 data]# tar -xvf php-7.3.12.tar.bz2

[root@rs1 data]# ./configure --prefix=/app/php \
-enable-mysqlnd \
-with-mysqli=mysqlnd \
-with-pdo-mysql=mysqlnd \
-with-openssl \
-with-freetype-dir \
-with-jpeg-dir \
-with-png-dir \
-with-zlib \
-with-libxml-dir=/usr \
-with-config-file-path=/etc \
-with-config-file-scan-dir=/etc/php.d \
-enable-mbstring \
-enable-xml \
-enable-sockets \
-enable-fpm \
-enable-maintainer-zts \
-disable-fileinfo

[root@rs1 data]#make && make install
复制相关配置文件到指定目录下:
[root@rs1 php-7.3.12]# cp php.ini-production /etc/php.ini
[root@rs1 php-7.3.12]# cd /app/php/etc/

[root@rs1 etc]# cp php-fpm.conf.default php-fpm.conf
[root@rs1 etc]# cd php-fpm.d/
[root@rs1 php-fpm.d]# cp www.conf.default www.conf
修改www.conf 中的user=nobody 改为user=nginx
user = nginx
group = nginx
复制启动文件并且授权和设置开机自启动
[root@rs1 php-7.3.12]# cp sapi/fpm/init.d.php-fpm /etc/init.d/php-fpm
[root@rs1 php-7.3.12]# cd /etc/init.d/
[root@rs1 init.d]# chmod +x /etc/init.d/php-fpm
[root@rs1 init.d]# chkconfig --add /etc/init.d/php-fpm
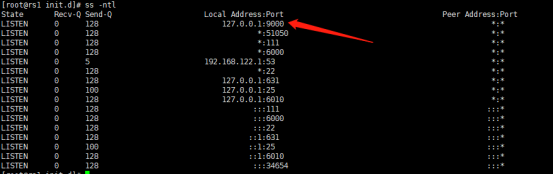
[root@rs1 init.d]# systemctl start php-fpm
端口:9000
4.部署wordpress论坛
环境:192.168.197.131主机
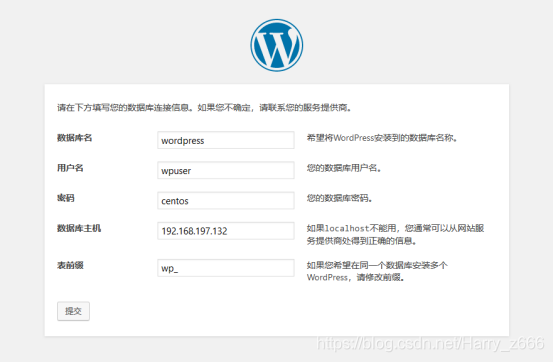
4.1 在192.168.197.132 主机数据库上授权
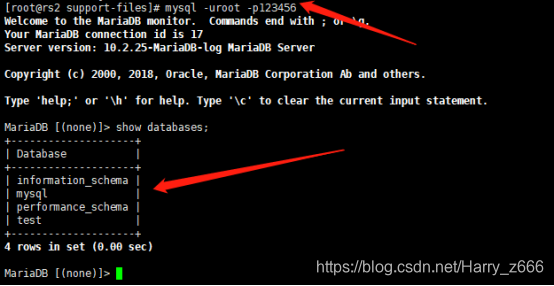
[root@rs2 ~]# mysql -uroot -p123456
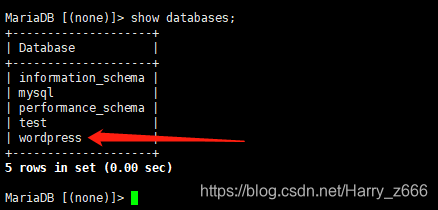
创建数据库wordpress;
MariaDB [(none)]> CREATE DATABASE wordpress charset 'utf8';
授权 192.168.197.网段访问
MariaDB [(none)]> GRANT ALL ON *.* to 'wpuser'@'192.168.197.%' IDENTIFIED BY 'centos';
MariaDB [(none)]> flush privileges;
4.2解压

解压至/usr/local/nginx/html 目录下
[root@rs1 data]# tar -xvf wordpress-5.0.3-zh_CN.tar.gz -C /usr/local/nginx/html/

4.3给 /usr/local/nginx/html/wordpress目录添加nginx权限
[root@rs1 html]# setfacl -Rm u:nginx:rwx /usr/local/nginx/html/wordpress
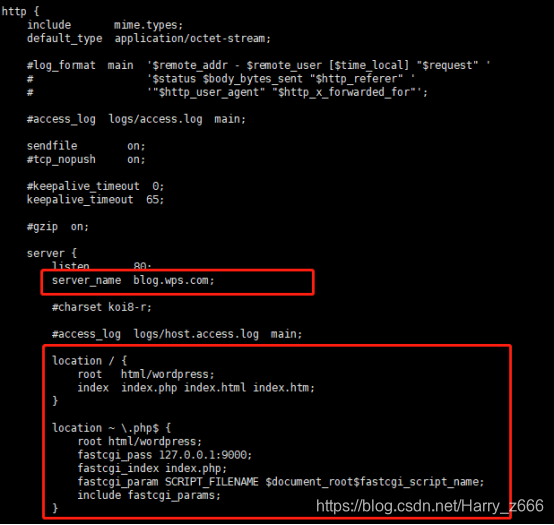
4.4修改nginx的虚拟主机配置文件,并重启nginx服务
server {


        listen       80;
        server_name  blog.wps.com;

        #charset koi8-r;

        #access_log  logs/host.access.log  main;

        location / {


            root   html/wordpress;
            index  index.php index.html index.htm;
        }

	location ~ \.php$ {


	    root html/wordpress;
	    fastcgi_pass 127.0.0.1:9000;
	    fastcgi_index index.php;
	    fastcgi_param SCRIPT_FILENAME $document_root$fastcgi_script_name;
	    include fastcgi_params;
	}
[root@rs1 conf]# nginx -t
[root@rs1 conf]# nginx -s reload

4.5 在windows C:\Windows\System32\drivers\etc\hosts 添加域名解析
blog.wps.com

重启nginx
重启php-fpm
[root@rs1 html]# service  php-fpm start
4.6 浏览器安装
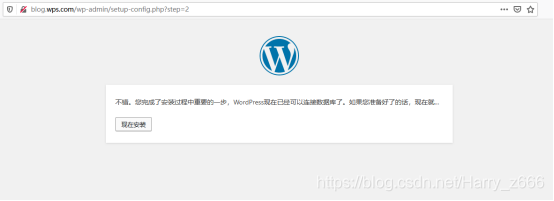
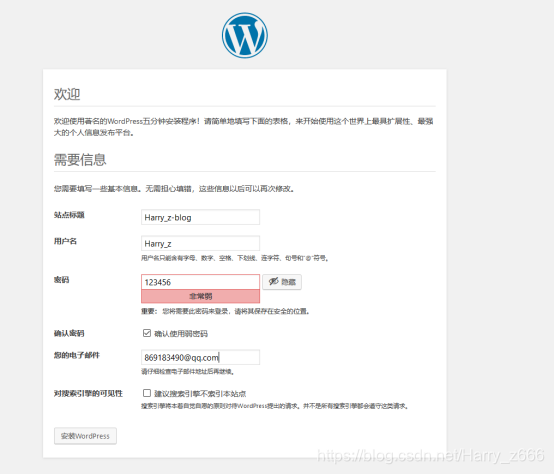
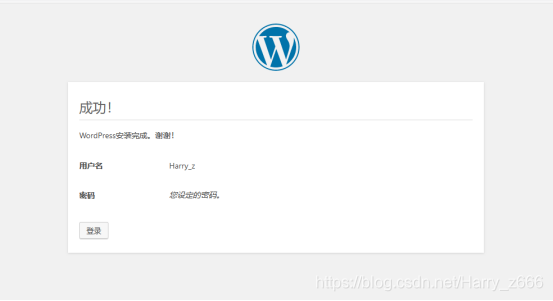

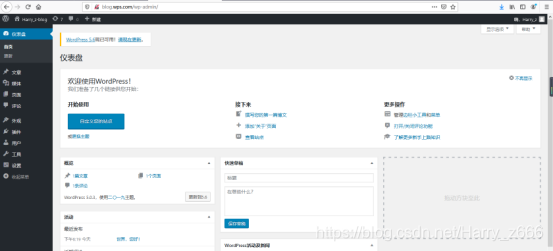
成功
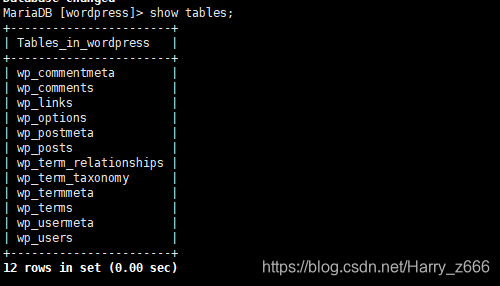
192.168.179.132数据库成功写入
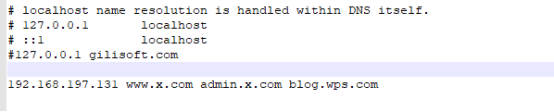
二、配置虚拟主机,www.x.com域名实现首页访问,admin.x.com域名实现wordpress的后台访问
1.在hosts文件中写入www.x.com 和admin.x.com
2.进入后天–>设置-修–>URL–>保存更改
后台访问:http://admin.x.com
首页访问: http://www.x.com

3.修改nginx 配置文件
添加
server {


        listen       80;
        server_name  www.x.com;

        #charset koi8-r;

        #access_log  logs/host.access.log  main;

        location / {


            root   html/wordpress;
            index  index.php index.html index.htm;
        }

	location ~ /(wp-admin|wp-login.php) {


	    rewrite / http://admin.x.com/wp-login.php;
	}

	location ~ \.php$ {


	    root html/wordpress;
	    fastcgi_pass 127.0.0.1:9000;
	    fastcgi_index index.php;
	    fastcgi_param SCRIPT_FILENAME $document_root$fastcgi_script_name;
	    include fastcgi_params;
	}
}


server {


            listen 80;
            server_name admin.x.com;

        location / {


            root html/wordpress;
            index wp-login.php index.php;

        }

        location ~ \.php$ {


            root html/wordpress;
            fastcgi_pass 127.0.0.1:9000;
            fastcgi_index index.php;
            fastcgi_param SCRIPT_FILENAME $document_root$fastcgi_script_name;
            include fastcgi_params;
        }