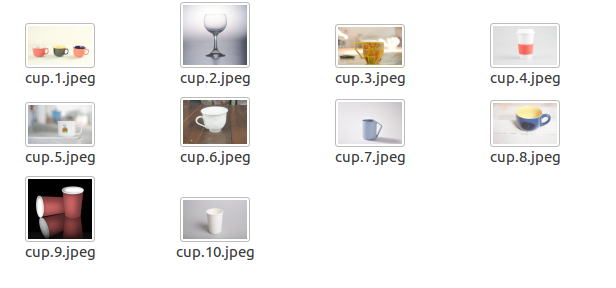
1.准备图片(训练太久就不放那么多图片了)
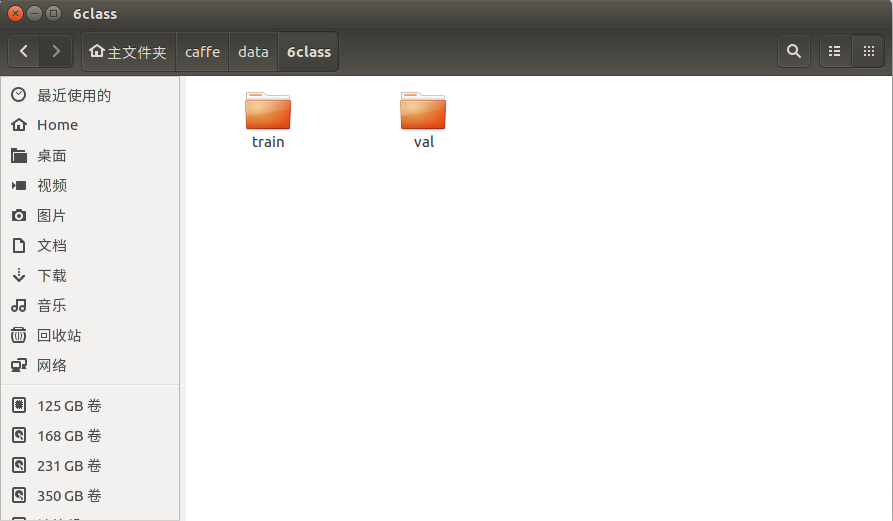
在caffe根目录下data中新建文件夹6class(意思是6类),在6class文件夹下新建两个文件夹train和val。
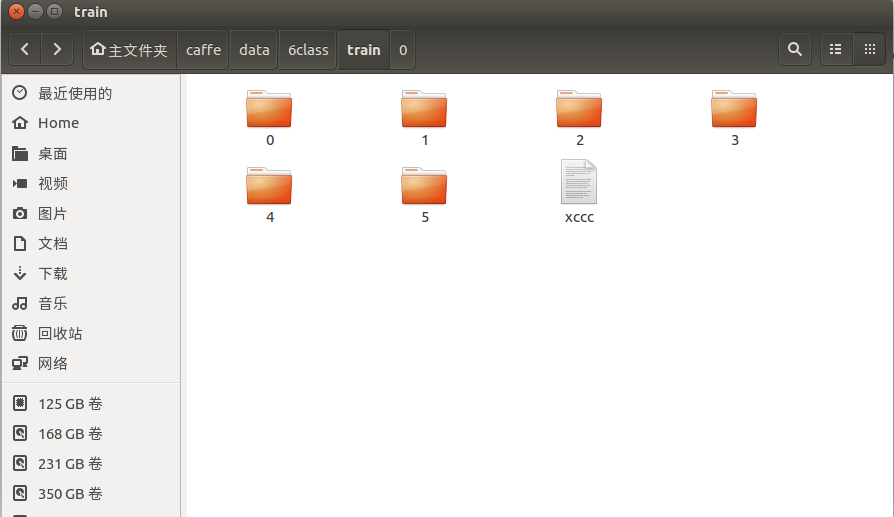
train用来存放训练的图片,在train文件夹下新建6个文件夹0-5 。图片有6类,杯子(文件夹0)、书包(文件夹1)、电脑(文件夹2)、猫(3)、狗(4)、鸭子(5),每类10种。
网上下载下来的图片名字都很乱 所以三步大法:
打开图片文件夹终端
c=0;for i in *.jpg;do mv -f $i $((c+=1)).jpg;done #将图片重命名1.jpg-10.jpg
rename 's/\.jpg/.jpeg/' ./* #改图片后缀名
rename 's/^/bag/' * #在图片上加类的名字
然后就这样了:
val 用来放训练过程中用来验证的图片(来计算准确率),val中的图片和train中的不一样,我里面放了6张一样一张。
2. 将图片路径写入txt
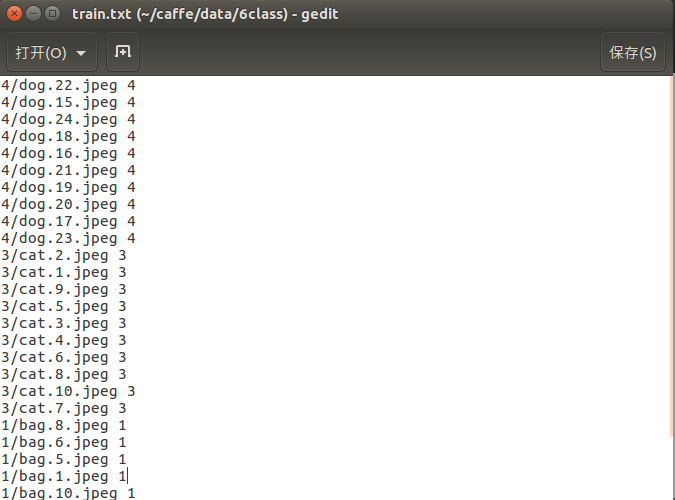
在data/6class/中新建train.txt 和val.txt

需要将图片的路径以及标签都写进去,杯子标签为0,包标签为1,等等...
写入路径
find -name *jpeg | grep train | cut -d / -f 3-4  > train.txt
find -name *jpeg | grep val | cut -d / -f 3  > val.txt
写入标签
sed -i "1,10s/.*/& 1/" train.txt    # 1~10是杯子,标签为0
sed -i "11,20s/.*/& 0/" train.txt    # 11~20是包包,标签为1,后面省略...
转换数据
在caffe/examples目录下新建目录6class。建立空白文档create_(网络名).sh 我这里是alexnet。里面写入:
#!/usr/bin/env sh
# Create the imagenet lmdb inputs
# N.B. set the path to the imagenet train + val data dirs
set -e

EXAMPLE=examples/6class  #改成自己的路径
DATA=data/6class         #改成自己的路径
TOOLS=build/tools        #改成自己的路径
TRAIN_DATA_ROOT=/home/xc/caffe/data/6class/train/  #改成自己的路径
VAL_DATA_ROOT=/home/xc/caffe/data/6class/val/      #改成自己的路径

# Set RESIZE=true to resize the images to 256x256. Leave as false if images have
# already been resized using another tool.
RESIZE=true
if $RESIZE; then
  RESIZE_HEIGHT=227
  RESIZE_WIDTH=227
else
  RESIZE_HEIGHT=0
  RESIZE_WIDTH=0
fi

if [ ! -d "$TRAIN_DATA_ROOT" ]; then
  echo "Error: TRAIN_DATA_ROOT is not a path to a directory: $TRAIN_DATA_ROOT"
  echo "Set the TRAIN_DATA_ROOT variable in create_imagenet.sh to the path" \
       "where the ImageNet training data is stored."
  exit 1
fi

if [ ! -d "$VAL_DATA_ROOT" ]; then
  echo "Error: VAL_DATA_ROOT is not a path to a directory: $VAL_DATA_ROOT"
  echo "Set the VAL_DATA_ROOT variable in create_imagenet.sh to the path" \
       "where the ImageNet validation data is stored."
  exit 1
fi

echo "Creating train lmdb..."

GLOG_logtostderr=1 $TOOLS/convert_imageset \
    --resize_height=$RESIZE_HEIGHT \
    --resize_width=$RESIZE_WIDTH \
    --shuffle \
    $TRAIN_DATA_ROOT \
    $DATA/train.txt \
    $EXAMPLE/6class_train_lmdb #可以改名字

echo "Creating val lmdb..."

GLOG_logtostderr=1 $TOOLS/convert_imageset \
    --resize_height=$RESIZE_HEIGHT \
    --resize_width=$RESIZE_WIDTH \
    --shuffle \
    $VAL_DATA_ROOT \
    $DATA/val.txt \
    $EXAMPLE/6class_val_lmdb #可以改名字

echo "Done."
返回caffe根目录 运行 sh ./examples/6class/create_alexnet.sh
接下来就会生成俩文件

3.训练数据
一般caffe的网络模型有三个文件deploy.prototxt(在模型训练好后用的)、train_val.prototxt(训练数据时用的)、solver.prototxt(训练时的各种参数)我们用Alexnet网络的模型,github可以找到 放在examples/6class下
(1)修改train_val.prototxt
第一步把data/ilsvrc12下的imagenet_mean.binaryproto复制到该文件夹下,data/6class文件夹下myimagenet_mean.binaryproto没有这个文件,并重命名为6class_mean.binaryproto 。
name: "AlexNet"
layer {
  name: "data"
  type: "Data"
  top: "data"
  top: "label"
  include {
    phase: TRAIN
  }
  transform_param {
    mirror: true
    crop_size: 227
    mean_file: "data/6class/6class_mean.binaryproto" #改路径
  }
  data_param {
    source: "examples/6class/6class_train_lmdb" #改路径
    batch_size: 256
    backend: LMDB
  }
}
layer {
  name: "data"
  type: "Data"
  top: "data"
  top: "label"
  include {
    phase: TEST
  }
  transform_param {
    mirror: false
    crop_size: 227
    mean_file: "data/6class/6class_mean.binaryproto" #这里也是
  }
  data_param {
    source: "examples/6class/6class_train_lmdb" #这里
    batch_size: 50
    backend: LMDB
  }
}
layer {
  name: "conv1"
  type: "Convolution"
  bottom: "data"
  top: "conv1"
  param {
    lr_mult: 1
    decay_mult: 1
  }
  param {
    lr_mult: 2
    decay_mult: 0
  }
  convolution_param {
    num_output: 96
    kernel_size: 11
    stride: 4
    weight_filler {
      type: "gaussian"
      std: 0.01
    }
    bias_filler {
      type: "constant"
      value: 0
    }
  }
}
后面
layer {
  name: "fc8"
  type: "InnerProduct"
  bottom: "fc7"
  top: "fc8"
  param {
    lr_mult: 1
    decay_mult: 1
  }
  param {
    lr_mult: 2
    decay_mult: 0
  }
  inner_product_param {
    num_output: 6           #有几类就填几
    weight_filler {
      type: "gaussian"
      std: 0.01
    }
    bias_filler {
      type: "constant"
      value: 0
    }
  }
}
layer {
  name: "accuracy"
  type: "Accuracy"
  bottom: "fc8"
  bottom: "label"
  top: "accuracy"
  include {
    phase: TEST
  }
}
layer {
  name: "loss"
  type: "SoftmaxWithLoss"
  bottom: "fc8"
  bottom: "label"
  top: "loss"
}
(2)修改solver.prototxt
test_iter: 1000是指测试的批次,我们就10张照片,设置10就可以了。 test_interval: 1000是指每1000次迭代测试一次,我改成了10。 base_lr: 0.01是基础学习率,因为数据量小,0.01就会下降太快了,因此改成0.001 lr_policy: “step”学习率变化 gamma: 0.1学习率变化的比率 stepsize: 100000每100000次迭代减少学习率 display: 20每20层显示一次 max_iter: 1000最大迭代次数, momentum: 0.9学习的参数,不用变 weight_decay: 0.0005学习的参数,不用变 snapshot: 10000每迭代10000次显示状态,这里改为1000次 solver_mode: GPU末尾加一行,代表用GPU进行
net: "/home/xc/caffe/examples/6class/train_val.prototxt"
test_iter: 10
test_interval: 10
base_lr: 0.001
lr_policy: "step"
gamma: 0.1
stepsize: 100000
display: 20
max_iter: 1000
momentum: 0.9
weight_decay: 0.0005
snapshot: 10000
snapshot_prefix: "/home/xc/caffe/examples/6class/caffe_alexnet_train"
solver_mode: GPU
(3)图像均值
减去图像均值会获得更好的效果,所以我们使用tools/compute_image_mean.cpp实现,这个cpp是一个很好的例子去熟悉如何操作多个组建,例如协议的缓冲区,leveldbs,登录等。在examples/6class下创建make_alexnet_mean.sh内容如下
#!/usr/bin/env sh
# Compute the mean image from the imagenet training lmdb
# N.B. this is available in data/ilsvrc12

EXAMPLE=/home/xc/caffe/examples/6class #自己的地址
DATA=/home/xc/caffe/data/6class
TOOLS=/home/xc/caffe/build/tools

$TOOLS/compute_image_mean $EXAMPLE/6class_train_lmdb \ #自己的文件名字
  $DATA/alexnet_mean.binaryproto

echo "Done."
(4)运行
创建train_Alexnet.sh文件到example/myself目录下。内容如下:
#!/usr/bin/env sh
set -e

./build/tools/caffe train \
    --solver=/home/xc/caffe/examples/6class/solver.prototxt $@
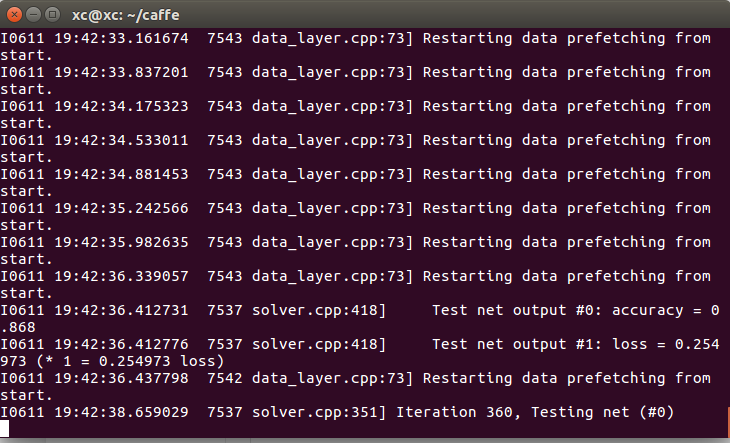
在caffe的主目录下输入命令:./examples/6class/train_Alexnet.sh开始训练网络。
可能遇到CUDAunsuccess这样的问题 把batch_size弄小就ok 原因是显存不足。
5 . 测试数据
找一个你要测试的图片。
修改deploy.prototxt 并编写一个labels.txt
layer {
  name: "fc8"
  type: "InnerProduct"
  bottom: "fc7"
  top: "fc8"
  param {
    lr_mult: 1
    decay_mult: 1
  }
  param {
    lr_mult: 2
    decay_mult: 0
  }
  inner_product_param {
    num_output: 6        #改成6
  }
}
layer {
  name: "prob"
  type: "Softmax"
  bottom: "fc8"
  top: "prob"
}
labels.txt的内容如下:
cup
bag
computer
cat
dog
duck
打开data/6class 将6class_mean.binaryproto 转换成 6classmean.npy 写个python小程序:
import caffe
import numpy as np

proto_path='6class_mean.binaryproto'
npy_path='6classmean.npy'

blob=caffe.proto.caffe_pb2.BlobProto()
data=open(proto_path,'rb').read()
blob.ParseFromString(data)

array=np.array(caffe.io.blobproto_to_array(blob))
mean_npy=array[0]
np.save(npy_path,mean_npy)
把生成的6classmean.npy复制到examples/6class下 再用Python写代码对图片进行分类:
import caffe
import sys
import numpy as np
import time
import cv2
caffe_root='/home/xc/caffe/'
sys.path.insert(0,caffe_root+'python')
caffe.set_mode_gpu()
deploy=caffe_root+'examples/6class/deploy.prototxt'
caffe_model=caffe_root+'examples/6class/caffe_alexnet_train_iter_1000.caffemodel'
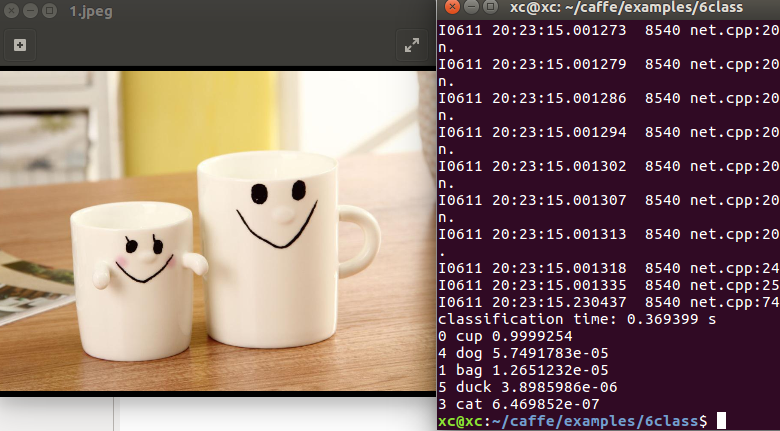
img=caffe_root+'examples/6class/1.jpeg'
labels_name=caffe_root+'examples/6class/labels.txt'
mean_file=caffe_root+'examples/6class/6classmean.npy'
net=caffe.Net(deploy,caffe_model,caffe.TEST)
transformer=caffe.io.Transformer({'data':net.blobs['data'].data.shape})
transformer.set_transpose('data',(2,0,1))
transformer.set_mean('data',np.load(mean_file).mean(1).mean(1))
transformer.set_raw_scale('data',255)
transformer.set_channel_swap('data',(2,1,0))
image=caffe.io.load_image(img)
net.blobs['data'].data[...]=transformer.preprocess('data',image)
start =time.clock()
out=net.forward()
end=time.clock()
print('classification time: %f s' % (end - start))
labels=np.loadtxt(labels_name,str,delimiter='\t')
prob=net.blobs['prob'].data[0].flatten()
top_k=net.blobs['prob'].data[0].flatten().argsort()[-1:-6:-1]
for i in np.arange(top_k.size):
print top_k[i],labels[top_k[i]],prob[top_k[i]]
'''
class_name=caffe_root+'example/myself/labels.txt'
category = net.blobs['prob'].data[0].argmax()
class_str = labels[int(category)].split(',')
class_str = labels[int(category)].split(',')
cv2.putText(img, class_name, (0, img.shape[0]), cv2.cv.CV_FONT_HERSHEY_SIMPLEX, 1, (55, 255, 155), 2)
'''
这段程序是自己参考多方面自己写的 可能有些不足
结果:还可以~~~