前言
我就是那种闲的无聊喜欢整点小玩意的人,电脑系统最开始自带的鼠标箭头,每天看来看去都是一样的…就是想要整的小花样,搞了一个桌面挂件,每天换一个不一样的
- List item
前期准备
-
相关文件
声明:图片素材源于网络,侵歉删。 -
开发工具
Python版本:3.6.4 -
相关模块:
PyQt5模块
以及一些Python自带的模块。 -
环境搭建安装
Python并添加到环境变量,pip安装需要的相关模块即可。 -
原理简介
既然要写个桌面宠物,首先当然是要找宠物的图片素材啦。这里我们使用的是来自shimiji这款手机APP上的宠物图片素材,例如皮卡丘:
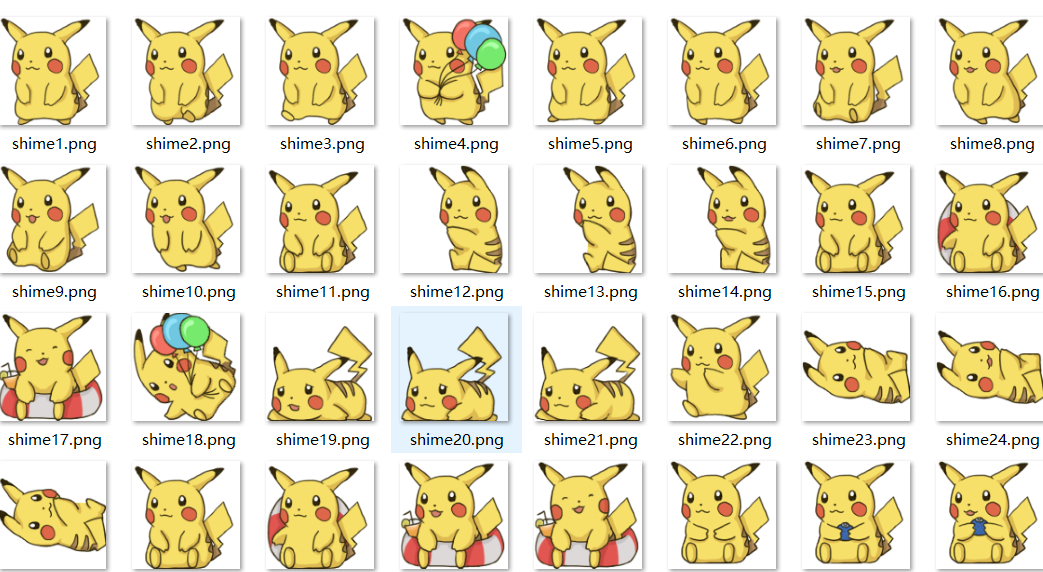
我下了大约60多种宠物的图片素材供大家选择
在相关文件里都打包一起提供了
接下来,我们就可以开始设计我们的桌面宠物啦。鉴于网上用python写的桌面挂件基本都是基于tkinter的,为了突出公众号的与众不同,这里我们采用PyQt5来实现我们的桌面宠物。
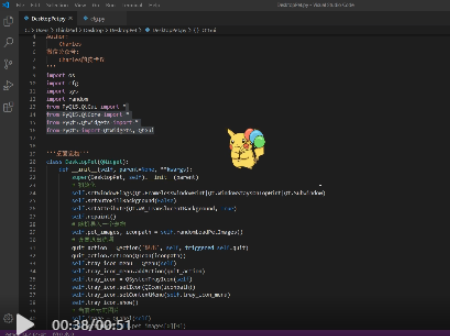
实现代码
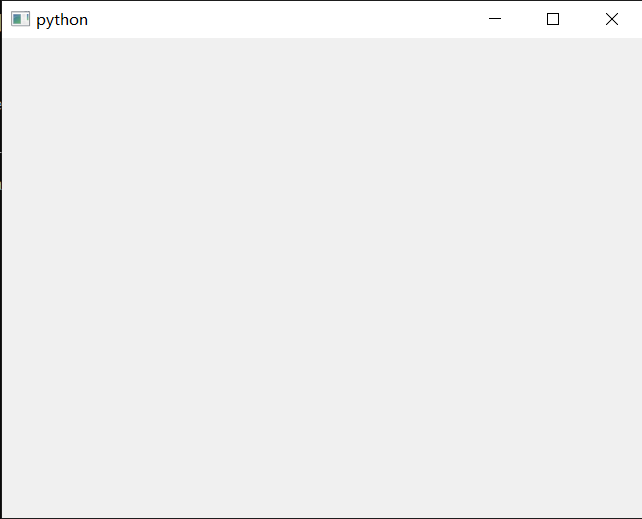
1.初始化一个窗口组件:
class DesktopPet(QWidget):
    def __init__(self, parent=None, **kwargs):
        super(DesktopPet, self).__init__(parent)
        self.show()
效果
2.设置一下窗口的属性:
# 初始化
self.setWindowFlags(Qt.FramelessWindowHint|Qt.WindowStaysOnTopHint|Qt.SubWindow)
self.setAutoFillBackground(False)
self.setAttribute(Qt.WA_TranslucentBackground, True)
self.repaint()
随机导入一张图片,看效果
self.pet_images, iconpath = self.randomLoadPetImages()
当前显示的图片
self.image = QLabel(self)
self.setImage(self.pet_images[0][0])
随机导入一个宠物的所有图片的函数代码
def randomLoadPetImages(self):
    pet_name = 获取源码+wx:xiaoyuanllsll
    random.choice(list(cfg.PET_ACTIONS_MAP.keys()))
    actions = cfg.PET_ACTIONS_MAP[pet_name]
    pet_images = []
    for action in actions:
        pet_images.append([self.loadImage(os.path.join(cfg.ROOT_DIR, pet_name, 'shime'+item+'.png')) for item in action])
    iconpath = os.path.join(cfg.ROOT_DIR, pet_name, 'shime1.png')
    return pet_images, iconpath
3.宠物随机出现在桌面上
随机到一个屏幕上的某个位置
def randomPosition(self):
    screen_geo = QDesktopWidget().screenGeometry()
    pet_geo = self.geometry()
    width = (screen_geo.width() - pet_geo.width()) * random.random()
    height = (screen_geo.height() - pet_geo.height()) * random.random()
    self.move(width, height)
效果
设置的都差不多了 不过有时候不想用的话 就应该思考如何退出了
为了考虑美观问题,就给他加上一个托盘图标吧
4.实现程序的退出功能 :
设置退出选项
quit_action = QAction('退出', self, triggered=self.quit)
获取源码+wx:xiaoyuanllsll
quit_action.setIcon(QIcon(iconpath))
self.tray_icon_menu = QMenu(self)
self.tray_icon_menu.addAction(quit_action)
self.tray_icon = QSystemTrayIcon(self)
self.tray_icon.setIcon(QIcon(iconpath))
self.tray_icon.setContextMenu(self.tray_icon_menu)
self.tray_icon.show()
效果
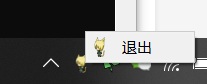
然后差不多就是这样的,不过还得继续改善
5.实现鼠标拖动
鼠标左键按下时, 宠物将和鼠标位置绑定
def mousePressEvent(self, event):
    if event.button() == Qt.LeftButton:
        self.is_follow_mouse = True
        self.mouse_drag_pos = event.globalPos() - self.pos()
        event.accept()
        self.setCursor(QCursor(Qt.OpenHandCursor))
鼠标移动, 则宠物也移动
def mouseMoveEvent(self, event):
    if Qt.LeftButton and self.is_follow_mouse:
        self.move(event.globalPos() - self.mouse_drag_pos)
        event.accept()
鼠标释放时, 取消绑定
def mouseReleaseEvent(self, event):
    self.is_follow_mouse = False
    self.setCursor(QCursor(Qt.ArrowCursor))
效果

哈哈,越来越像样了呢~最后,作为一个活泼的宠物,你不能这么呆板,一动也不动吧?好歹要学会做做表情逗主人开心吧?
6.设置一个定时器:
# 每隔一段时间做个动作
self.timer = QTimer()
self.timer.timeout.connect(self.randomAct)
self.timer.start(500)
定时器每隔一段时间切换一下选中的宠物的图片,以达到宠物做表情动作的动画效果(视频是一帧帧的图片组成的这种基础内容就不需要我来科普了吧T_T)。
当然,这里我们必须对图片进行动作分类(在做同一个动作的图片属于同一类),保证宠物做表情动作时的连贯性。
具体而言,代码实现如下:
随机做一个动作
def randomAct(self):
    if not self.is_running_action:
        self.is_running_action = True
        self.action_images = random.choice(self.pet_images)
        self.action_max_len = len(self.action_images)
        self.action_pointer = 0
    self.runFrame()
完成动作的每一帧
def runFrame(self):
    if self.action_pointer == self.action_max_len:
        self.is_running_action = False
        self.action_pointer = 0
        self.action_max_len = 0
    self.setImage(self.action_images[self.action_pointer])
    self.action_pointer += 1
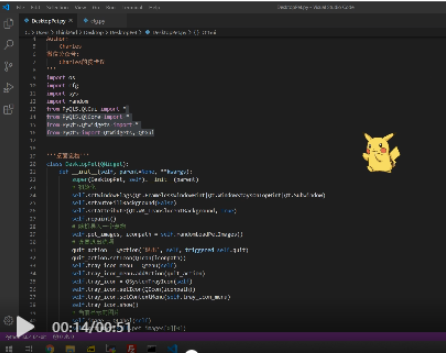
ok,大功告成~ 完整源代码详见相关文件。最后的效果见效果展示部分吧
最后效果展示
在cmd窗口运行如下命令即可:
python DesktopPet.py
本来是动态图的不知为何就是展示不出来只能截图给大家看了!!
好啦 今天的分享到这里就结束咯
源码领取的话 可以点击文末名片哦
还有什么不理解不懂的话 可以直接找我呀
马上就要下班了 先走一步~