【使用 AWT 开发GUI 程序】GridLayout 布局
package com.hk.client.login;

import java.awt.*;
import java.awt.event.ActionEvent;
import java.awt.event.ActionListener;

/**
 * 使用 GridLayout 布局
 *
 * @author: shipleyleo
 * @create: 2023-06-04 19:05:21
 */
public class Winfour1 extends Frame implements ActionListener {


    int i = 5;
    Button b1 = new Button("Button A");
    Button b2 = new Button("Button B");
    Button b3 = new Button("Button C");
    Button b4 = new Button("Button D");
    Button b5 = new Button("Button E");
    Button b6 = new Button("Button F");
    Button b7 = new Button("Button G");
    Button b8 = new Button("Button H");
    Button b9 = new Button("Button I");

    Winfour1() {


        // 设置窗口名称
        this.setTitle("布局利器 GridLayout");
        // 设置布局管理器为3行3列的GridLayout
        this.setLayout(new GridLayout(3, 3));
        // 将按钮组件放入窗口
        this.add(b1);
        this.add(b2);
        this.add(b3);
        this.add(b4);
        this.add(b5);
        this.add(b6);
        this.add(b7);
        this.add(b8);
        this.add(b9);
        // 为每个按钮组件添加监听
        b1.addActionListener(this);
        b2.addActionListener(this);
        b3.addActionListener(this);
        b4.addActionListener(this);
        b5.addActionListener(this);
        b6.addActionListener(this);
        b7.addActionListener(this);
        b8.addActionListener(this);
        b9.addActionListener(this);
        // 设置窗口的位置和大小
        this.setBounds(100, 100, 450, 450); // setBounds(int x, int y, int width, int height)
        // 设置窗口的可见性
        this.setVisible(true);
    }

    /**
     * 实现 ActionListener 接口中的 actonPerformed 方法
     */
    @Override
    public void actionPerformed(ActionEvent e) {


        i++;
        Button bi = new Button("Button " + i);
        this.add(bi);
        bi.addActionListener(this);
        this.show(true);
    }

    public static void main(String[] args) {


        new Winfour1();
    }
}
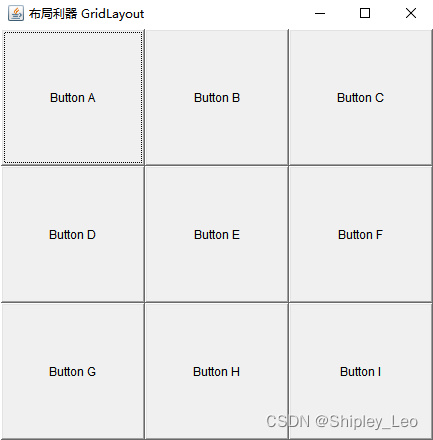
输出效果:
3行3列的九宫格。
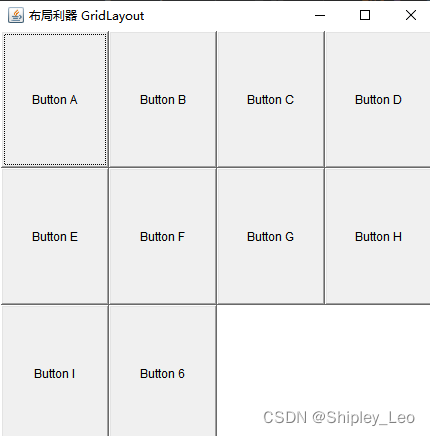
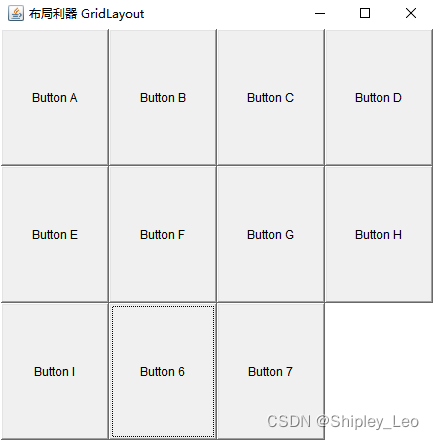
当单击任意按钮,会在原来的按钮 Button I 之后,出现新的按钮 Button 6 。当再次点击任意按钮,则会在上次出现的按钮 Button 6 之后,出现新的按钮 Button 7 。以此类推,如下图所示。