1.通过nuget安装MaterialDesign
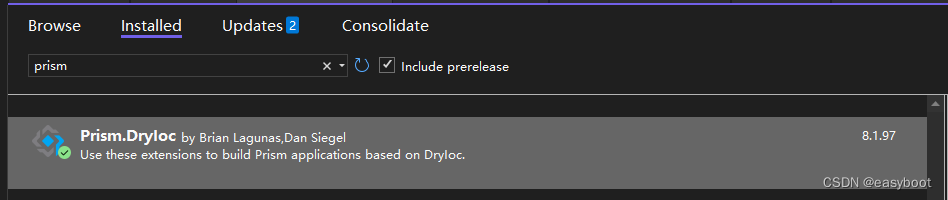
2.通过nuget安装Prism
3.修改App.xmal
<prism:PrismApplication x:Class="VisionMeasureGlue.App"
    xmlns="http://schemas.microsoft.com/winfx/2006/xaml/presentation"
    xmlns:x="http://schemas.microsoft.com/winfx/2006/xaml"
                        xmlns:prism="http://prismlibrary.com/"
                        xmlns:materialDesign="http://materialdesigninxaml.net/winfx/xaml/themes"
                        >
    <Application.Resources>
        <ResourceDictionary>
            <ResourceDictionary.MergedDictionaries>
                <materialDesign:BundledTheme BaseTheme="Light" PrimaryColor="DeepPurple" SecondaryColor="Lime" />
                <ResourceDictionary Source="pack://application:,,,/MaterialDesignThemes.Wpf;component/Themes/MaterialDesignTheme.Defaults.xaml" />


                <ResourceDictionary Source="pack://application:,,,/HandyControl;component/Themes/SkinDefault.xaml"/>
                <ResourceDictionary Source="pack://application:,,,/HandyControl;component/Themes/Theme.xaml"/>
            </ResourceDictionary.MergedDictionaries>
        </ResourceDictionary>
    </Application.Resources>
</prism:PrismApplication>
红色矩形框是需要更改的地方
3.修改app.xmal.cs文件
    public partial class App : PrismApplication
    {
        System.Threading.Mutex mutex;
        protected override System.Windows.Window CreateShell()
        {
            return Container.Resolve<BasicDemoWindow>();
        }
        protected override void RegisterTypes(IContainerRegistry containerRegistry)
        {

        }
修改红色矩形框中的内容

至此,编译不出错,就算是好了
这时会出现两个窗体 记得删除 StartupUri="MainWindow.xaml"即可