首先,在要用的地方写下该控件
<?xml version="1.0" encoding="utf-8"?>
<androidx.constraintlayout.widget.ConstraintLayout xmlns:android="http://schemas.android.com/apk/res/android"
    xmlns:tools="http://schemas.android.com/tools"
    android:layout_width="match_parent"
    android:layout_height="match_parent"
    tools:context=".MainActivity">

    <androidx.recyclerview.widget.RecyclerView
        android:id="@+id/recyclerView"
        android:layout_width="match_parent"
        android:layout_height="wrap_content"
        tools:ignore="MissingConstraints" />

</androidx.constraintlayout.widget.ConstraintLayout>
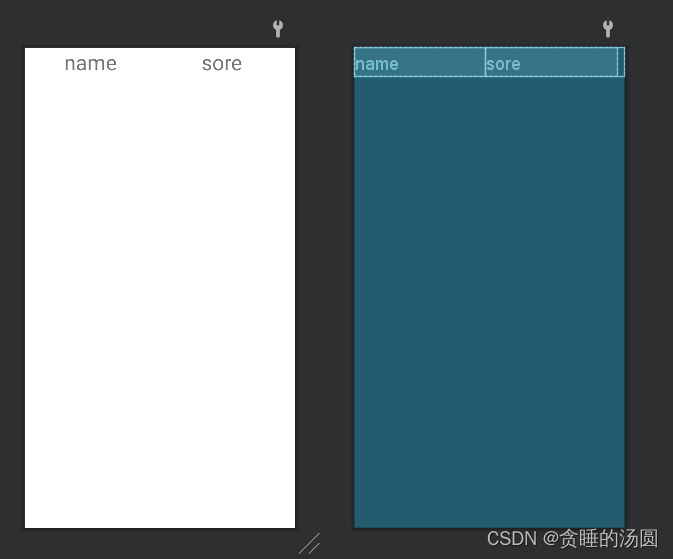
写下控件内展示数据的样式,也就是控件的子布局
<?xml version="1.0" encoding="utf-8"?>
<androidx.constraintlayout.widget.ConstraintLayout xmlns:android="http://schemas.android.com/apk/res/android"
    android:layout_width="match_parent"
    android:layout_height="wrap_content"
    xmlns:app="http://schemas.android.com/apk/res-auto">

    <TextView
        android:id="@+id/text_name"
        android:layout_width="200dp"
        android:layout_height="wrap_content"
        android:text="name"
        android:gravity="center"
        android:textSize="32sp"
        app:layout_constraintTop_toTopOf="parent"
        app:layout_constraintLeft_toLeftOf="parent"/>
    <TextView
        android:id="@+id/text_sore"
        android:layout_width="200dp"
        app:layout_constraintHorizontal_weight="1"
        android:layout_height="wrap_content"
        android:text="sore"
        android:gravity="center"
        android:textSize="32sp"
        app:layout_constraintTop_toTopOf="parent"
        app:layout_constraintLeft_toRightOf="@id/text_name"/>
</androidx.constraintlayout.widget.ConstraintLayout>
效果如图:
编写一个类,规定传入适配器的数据格式
data class Student(val name:String,val sore:Int)
我这里使用的使数据类,普通的类也可以。
最重要的一步,编写适配器
class RecyclerAdapter(private val studentList: List<Student>) :
    RecyclerView.Adapter<RecyclerAdapter.ViewHolder>() {

    //内嵌ViewHolder类,用于缓存控件实例,可避免在item滚动时重新加载,提升效率
    inner class ViewHolder(view: View):RecyclerView.ViewHolder(view) {
        val name: TextView = view.findViewById(R.id.text_name)
        val sore: TextView = view.findViewById(R.id.text_sore)
    }
    //将子布局的view传入ViewHolder,并返回它的实例
    override fun onCreateViewHolder(parent: ViewGroup, viewType: Int): ViewHolder {
        val view=LayoutInflater.from(parent.context).inflate(R.layout.item_student,parent,false)
        return ViewHolder(view)
    }
    //获取传入数据的条数
    override fun getItemCount(): Int {
        return studentList.size
    }
    //将传入的数据依次取出并赋给ViewHolder中的控件实例
    override fun onBindViewHolder(holder:ViewHolder, position: Int) {
        val student=studentList[position]
        holder.name.text=student.name
        holder.sore.text=student.sore.toString()
    }
}
最后,在代码中使用控件
class MainActivity : AppCompatActivity() {
lateinit var binding: ActivityMainBinding
override fun onCreate(savedInstanceState: Bundle?) {
binding = ActivityMainBinding.inflate(layoutInflater)
super.onCreate(savedInstanceState)
//构建假数据,测试使用
val list = ArrayList<Student>()
repeat(10) {
list.add(Student("A1", 89))
list.add(Student("B2", 89))
list.add(Student("C3", 89))
}
//指定控件内item的布局类型
binding.recyclerView.layoutManager=LinearLayoutManager(this)
//指定控件适配器并传入数据
binding.recyclerView.adapter = RecyclerAdapter(list)
setContentView(binding.root)
}
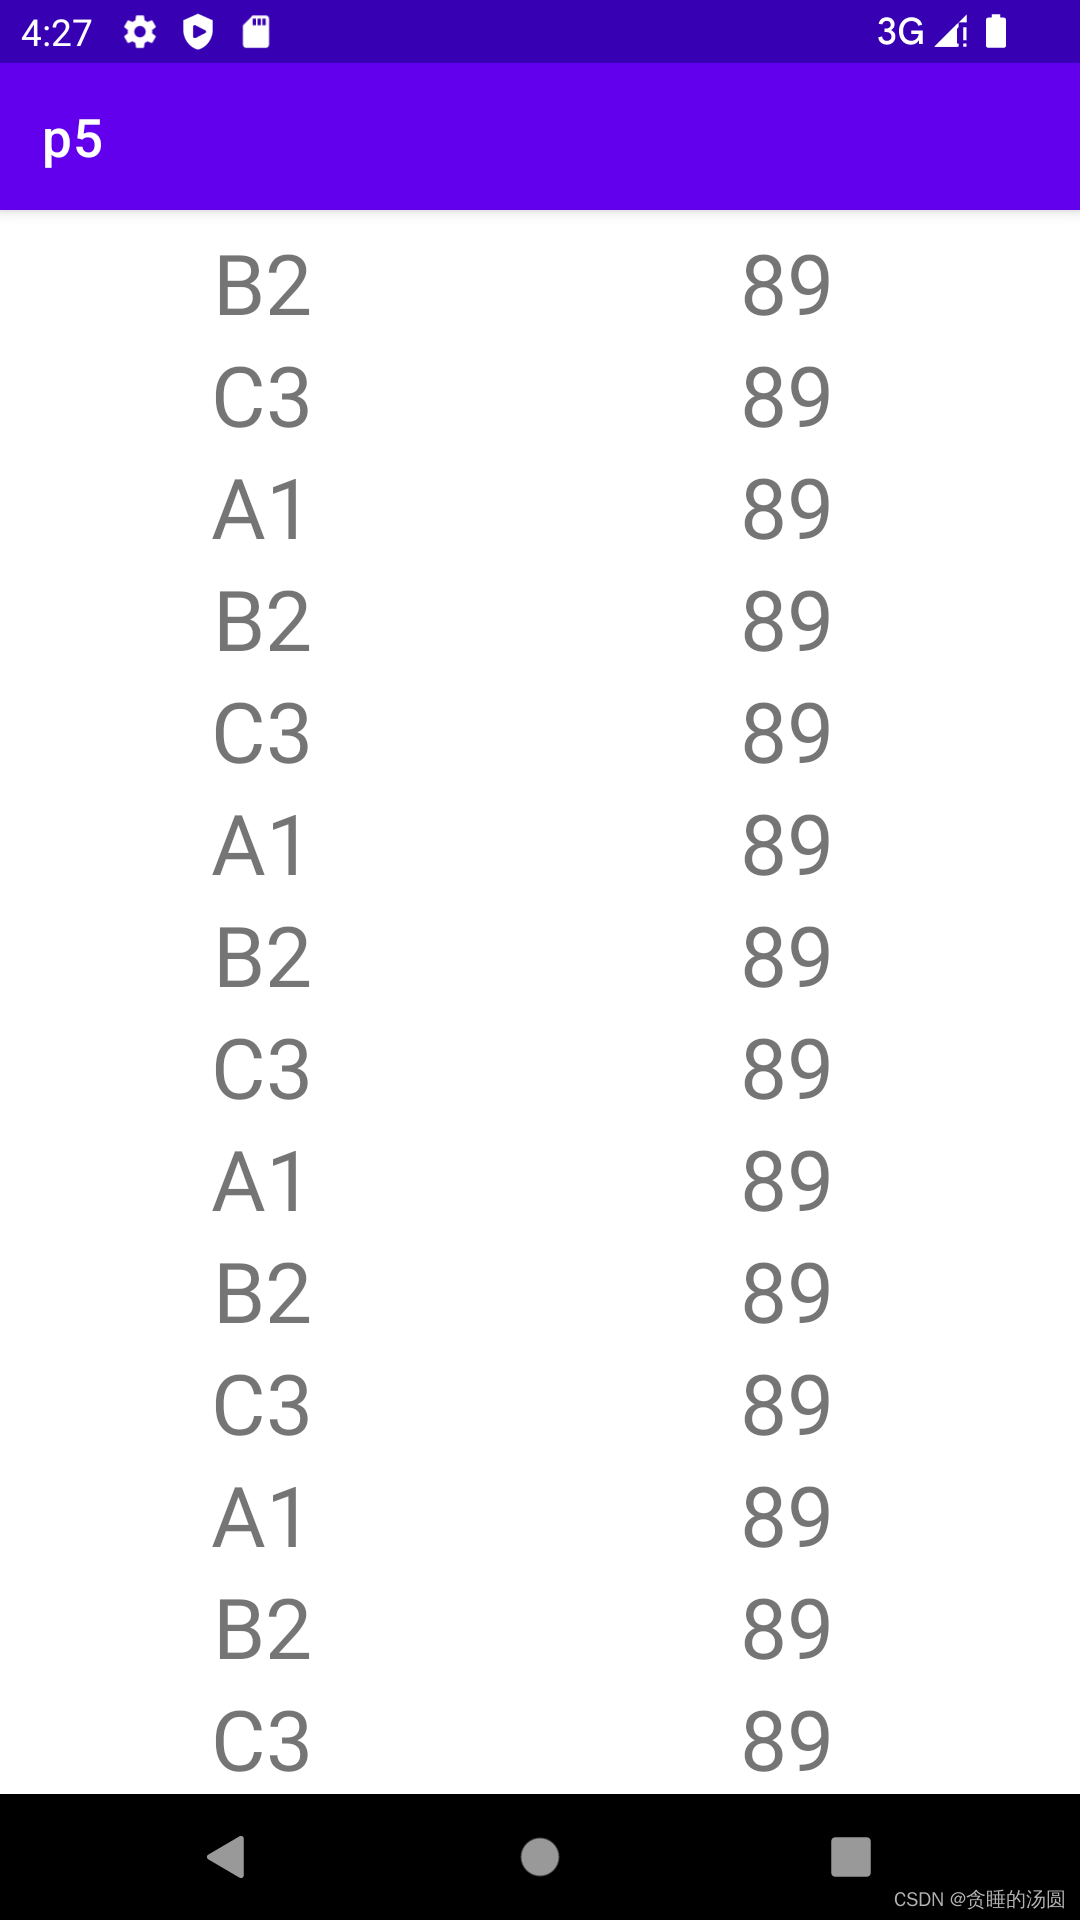
}执行效果如下:
为子项设置点击事件
修改适配器中重载函数onCreateViewHolder()中的代码如下,这里设置了整条item的点击事件和item中name的点击事件。
//将子布局的view传入ViewHolder
override fun onCreateViewHolder(parent: ViewGroup, viewType: Int): ViewHolder {
val view=LayoutInflater.from(parent.context).inflate(R.layout.item_student,parent,false)
//获取ViewHolder实例
val viewHolder=ViewHolder(view)
//整个item的点击事件
viewHolder.itemView.setOnClickListener{
//获取点击的item位置
val position=viewHolder.adapterPosition
//取出该位置的数据
val student=studentList[position]
Toast.makeText(parent.context, "name:${student.name},sore:${student.sore}", Toast.LENGTH_LONG).show()
}
//item中控件的点击事件
viewHolder.name.setOnClickListener{
//获取点击的item位置
val position=viewHolder.adapterPosition
//取出该位置的数据
val student=studentList[position]
Toast.makeText(parent.context, "you click name:${student.name}", Toast.LENGTH_LONG).show()
}
return viewHolder
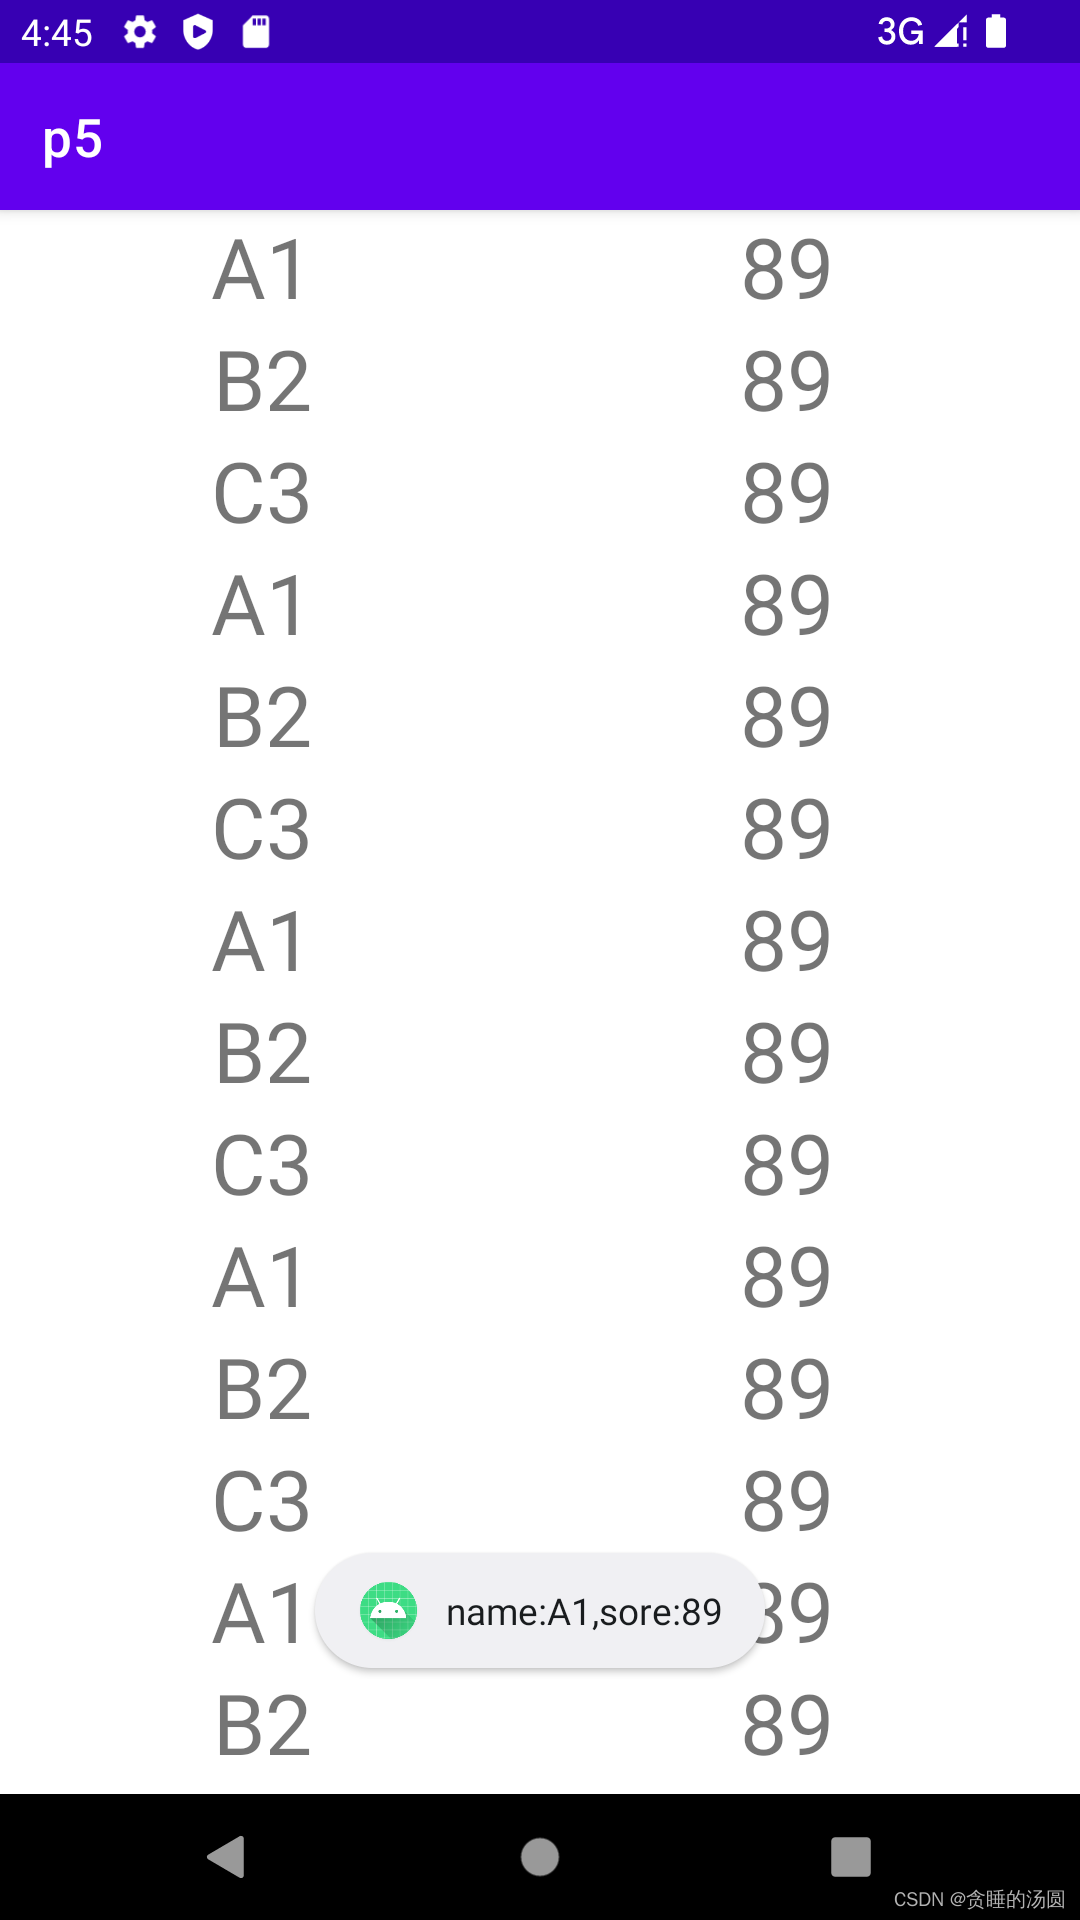
}当点击某条item时(点击item中除了name以外的区域),效果如下:
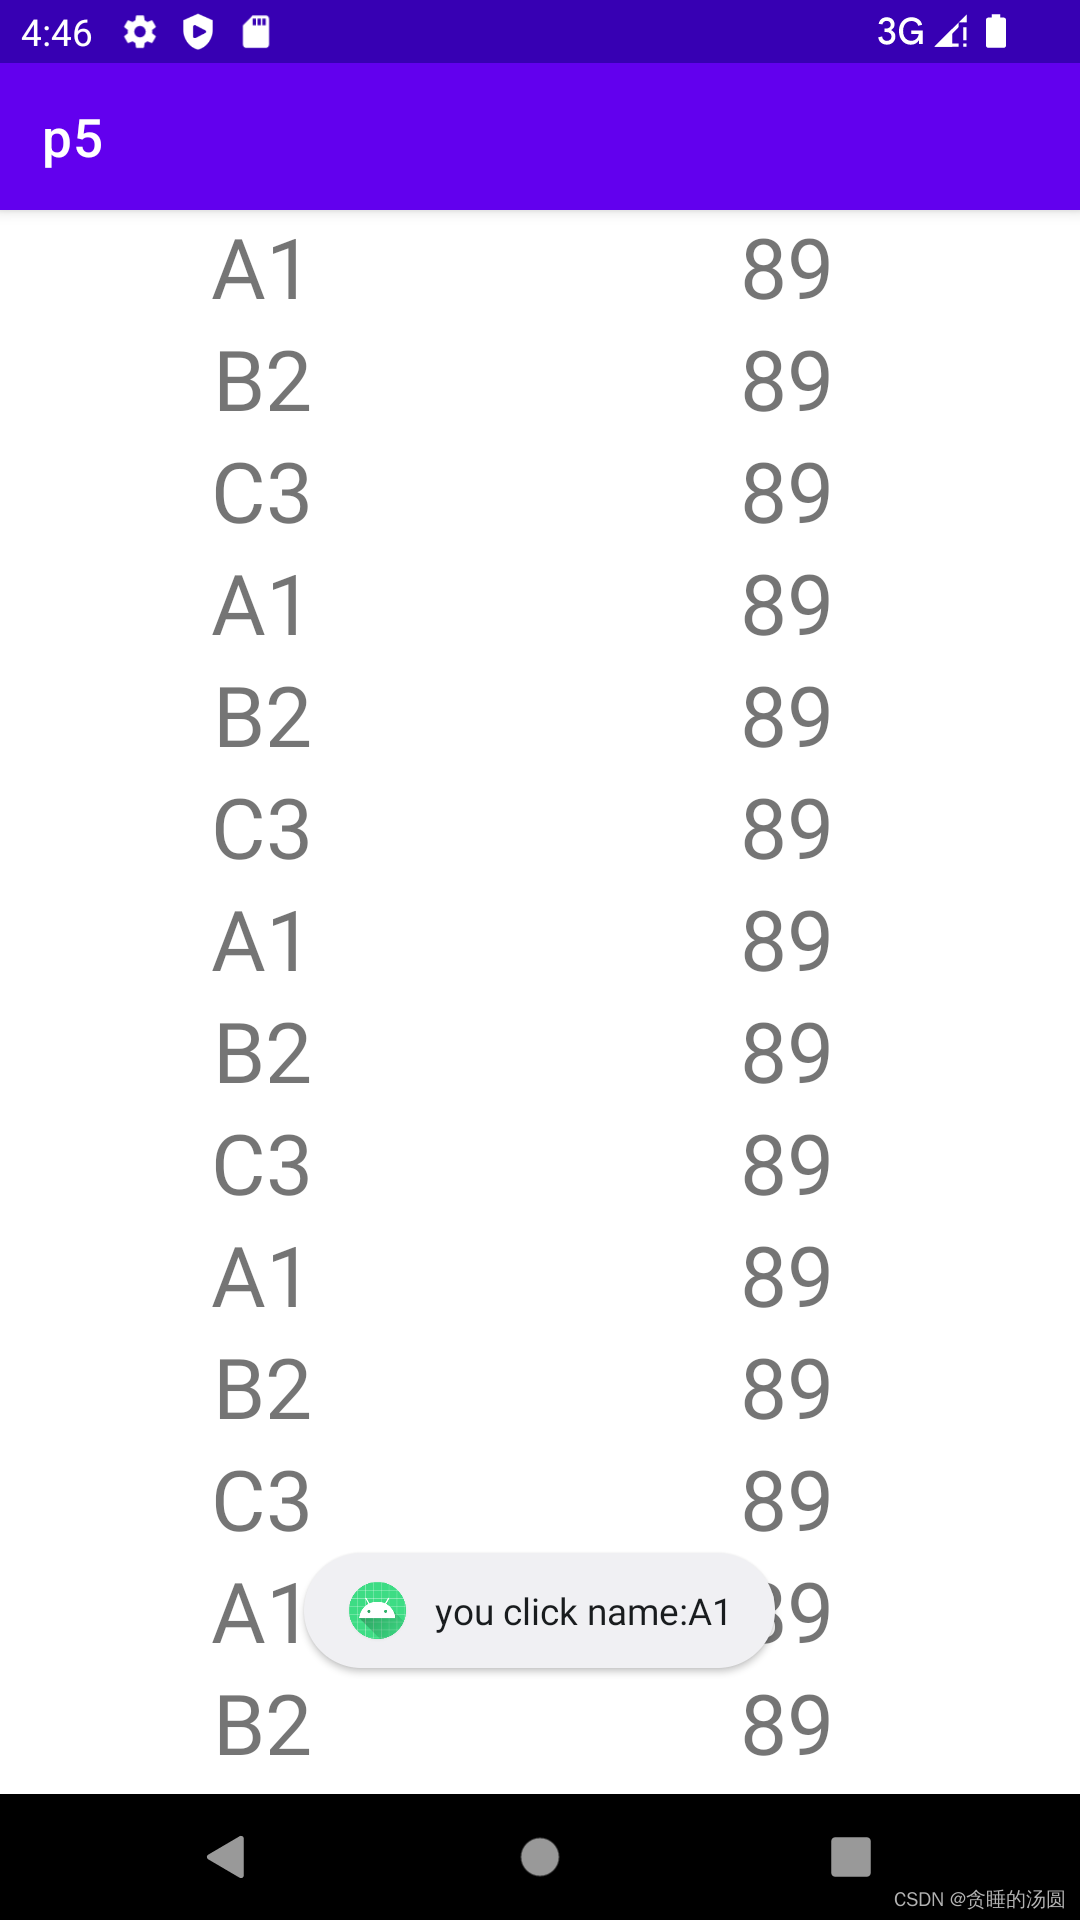
当点击item中的name控件时,效果如下:
在Adapter中使用viewBinding
为了简化代码,可以使用viewBinding在Adapter类中进行如下改造,改造后仍能实现以前的效果。
 //内嵌ViewHolder类,用于缓存控件实例,可避免在item滚动时重新加载,提升效率
    inner class ViewHolder(view: ItemStudentBinding):RecyclerView.ViewHolder(view.root) {
        val name: TextView = view.textName
        val sore: TextView = view.textSore
    }
    //将子布局的view传入ViewHolder
    override fun onCreateViewHolder(parent: ViewGroup, viewType: Int): ViewHolder {
        //获取子布局的viewBinding
        val binding=ItemStudentBinding.inflate(LayoutInflater.from(parent.context),parent,false)
        //获取ViewHolder实例
        val viewHolder=ViewHolder(binding)
        //整个item的点击事件
        viewHolder.itemView.setOnClickListener{
            //获取点击的item位置
            val position=viewHolder.adapterPosition
            //取出该位置的数据
            val student=studentList[position]
            Toast.makeText(parent.context, "name:${student.name},sore:${student.sore}", Toast.LENGTH_LONG).show()
        }