上文 手把手带大家实现 vue2+Spring Boot2.7 文件上传功能
我们讲过 java Web中 上传和下载都是非常常见的业务逻辑
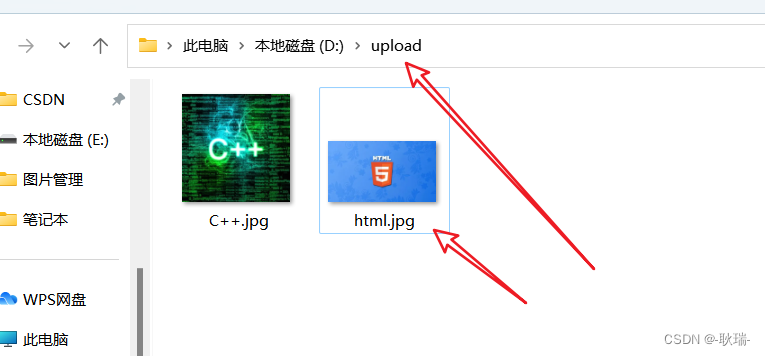
我们也搭建好了 上传的环境
那么 本文 我们来讲下载
还是在 controller 下创建一个类 叫 FileDownloadController
参考代码如下
package com.example.javadom.controller;

import org.springframework.beans.factory.annotation.Value;
import org.springframework.core.io.Resource;
import org.springframework.core.io.UrlResource;
import org.springframework.http.HttpHeaders;
import org.springframework.http.MediaType;
import org.springframework.http.ResponseEntity;
import org.springframework.web.bind.annotation.GetMapping;
import org.springframework.web.bind.annotation.RequestParam;
import org.springframework.web.bind.annotation.RestController;

import java.io.File;
import java.io.IOException;
import java.nio.file.Paths;

@RestController
public class FileDownloadController {


    @Value("${upload.path}") // 从配置文件中获取上传文件的路径
    private String uploadPath;

    @GetMapping("/download")
    public ResponseEntity<Resource> downloadFile(@RequestParam("fileName") String fileName) throws IOException {


        // 构建文件路径
        String filePath = uploadPath + File.separator + fileName;

        // 创建一个Resource对象,将文件内容加载到其中
        Resource resource = new UrlResource(Paths.get(filePath).toUri());

        // 设置响应头,告诉浏览器下载文件
        HttpHeaders headers = new HttpHeaders();
        headers.add(HttpHeaders.CONTENT_DISPOSITION, "attachment; filename=" + resource.getFilename());

        // 返回响应实体,包含文件内容和响应头
        return ResponseEntity.ok()
                .headers(headers)
                .contentLength(resource.contentLength())
                .contentType(MediaType.IMAGE_JPEG) // 设置文件类型为图片类型
                .body(resource);
    }
}
接受一个参数 fileName 字符串类型 执行需要下载目录下的哪个文件
这样就可以了 然后启动项目

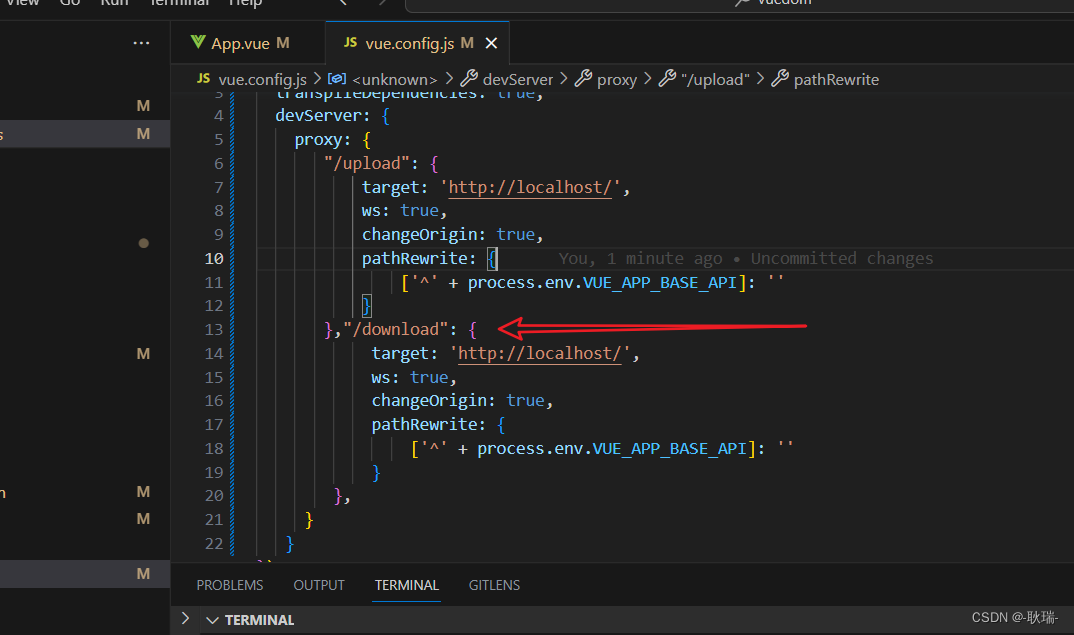
然后 我们打开vue项目 将vue.config.js多加一个download的代理
然后 改写App.vue代码如下
<template>
  <div id="app">
    <h1>图片上传与下载</h1>
    <input type="file" @change="upload" />
    <img :src="url" />
    <button @click = "download">下载文件</button>
  </div>
</template>

<script>
import axios from 'axios';
export default {


  name: 'App',
  data() {


    return {


      url: "",
    }
  },
  methods: {


    download() {


      // 发送get请求
      axios.get("/download?fileName=html.jpg")
      .then(() => {


        console.log("下载成功");
        // 处理下载成功
      })
      .catch(error => {


        console.error(error);
        // 处理请求异常
      });
    },
    upload(event) {


      const file = event.target.files[0];
      this.url = URL.createObjectURL(file);
      // 创建FormData对象
      const formData = new FormData();
      formData.append('file', file);
      // 发送POST请求
      axios.post('/upload', formData)
      .then(response => {


        console.log(response.data);
        // 处理上传成功的逻辑
      })
      .catch(error => {


        console.error(error);
        // 处理上传失败的逻辑
      });
    }
  }
}
</script>

<style>
</style>
其实主要的改动就是加了一个 button按钮
然后 指定点击触发download
通过 axios中的get函数 发送get请求
携带路径参数 fileName 指定下载 html.jpg
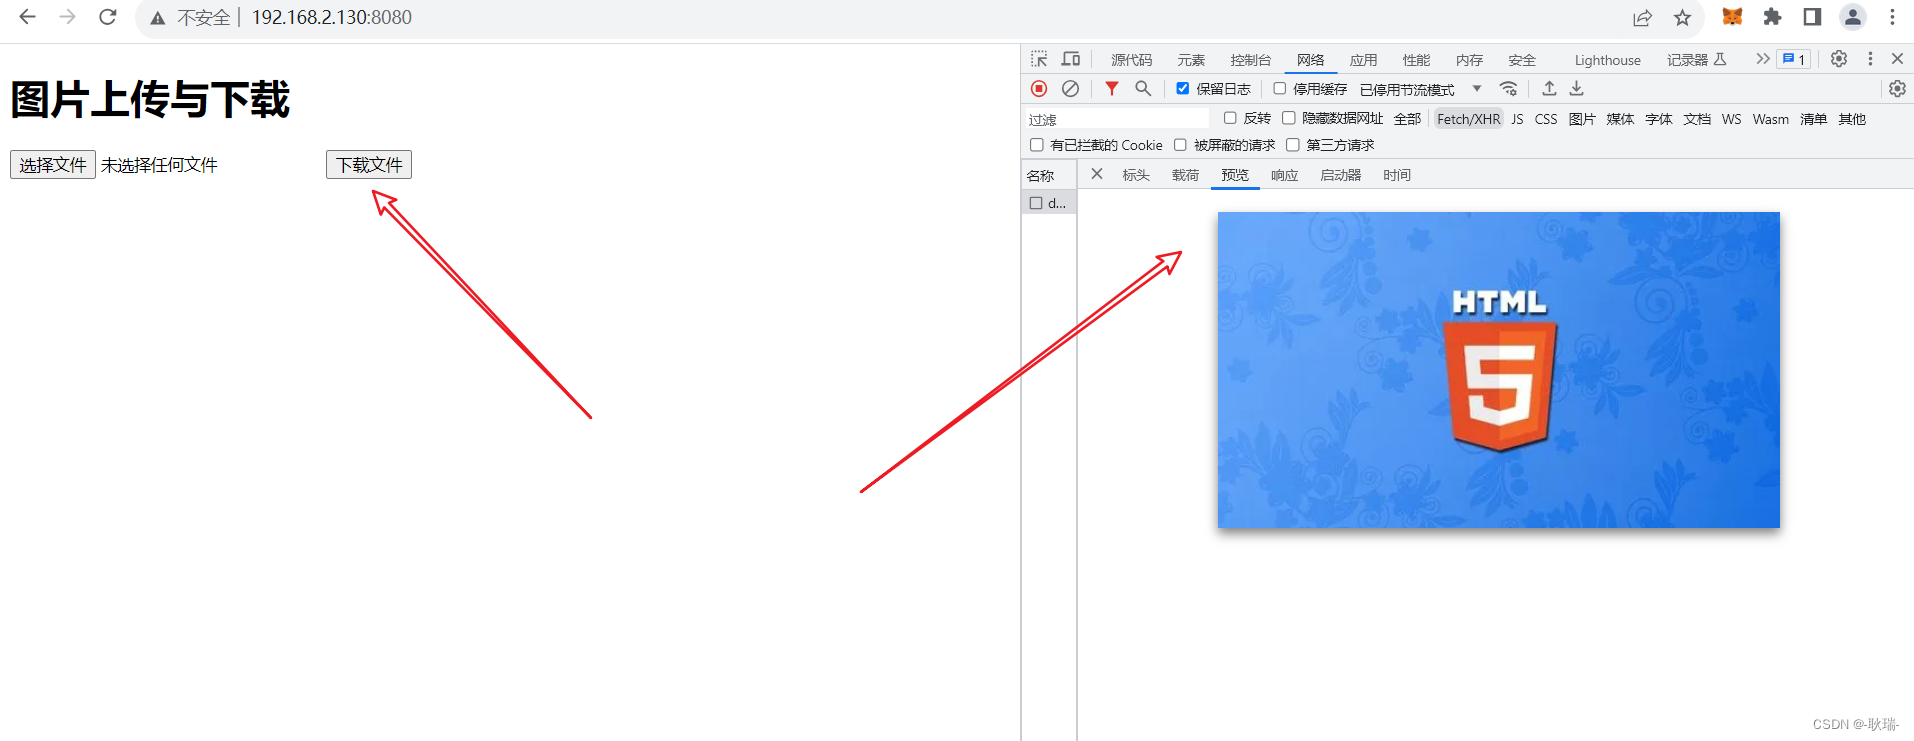
然后 我们运行项目
我们点击这个下载文件 会发现 请求确实返回回来了 但并没有在浏览器中下载到本地
我们将 download 改成这样
download() {


  // 发送get请求
  axios.get("/download?fileName=html.jpg", {

     responseType: 'arraybuffer' })
    .then((response) => {


      // 创建一个blob对象
      const blob = new Blob([response.data], {

     type: response.headers['content-type'] });

      // 创建一个临时URL对象
      const url = window.URL.createObjectURL(blob);

      // 创建一个a标签并设置其href和download属性
      const link = document.createElement('a');
      link.href = url;
      link.download = "fileName.jpg";

      // 模拟点击下载链接
      link.click();

      // 释放临时URL对象
      window.URL.revokeObjectURL(url);
    })
    .catch(error => {


      console.error(error);
      // 处理请求异常
    });
},
然后 我们再次调用download
在界面上 点击 下载文件
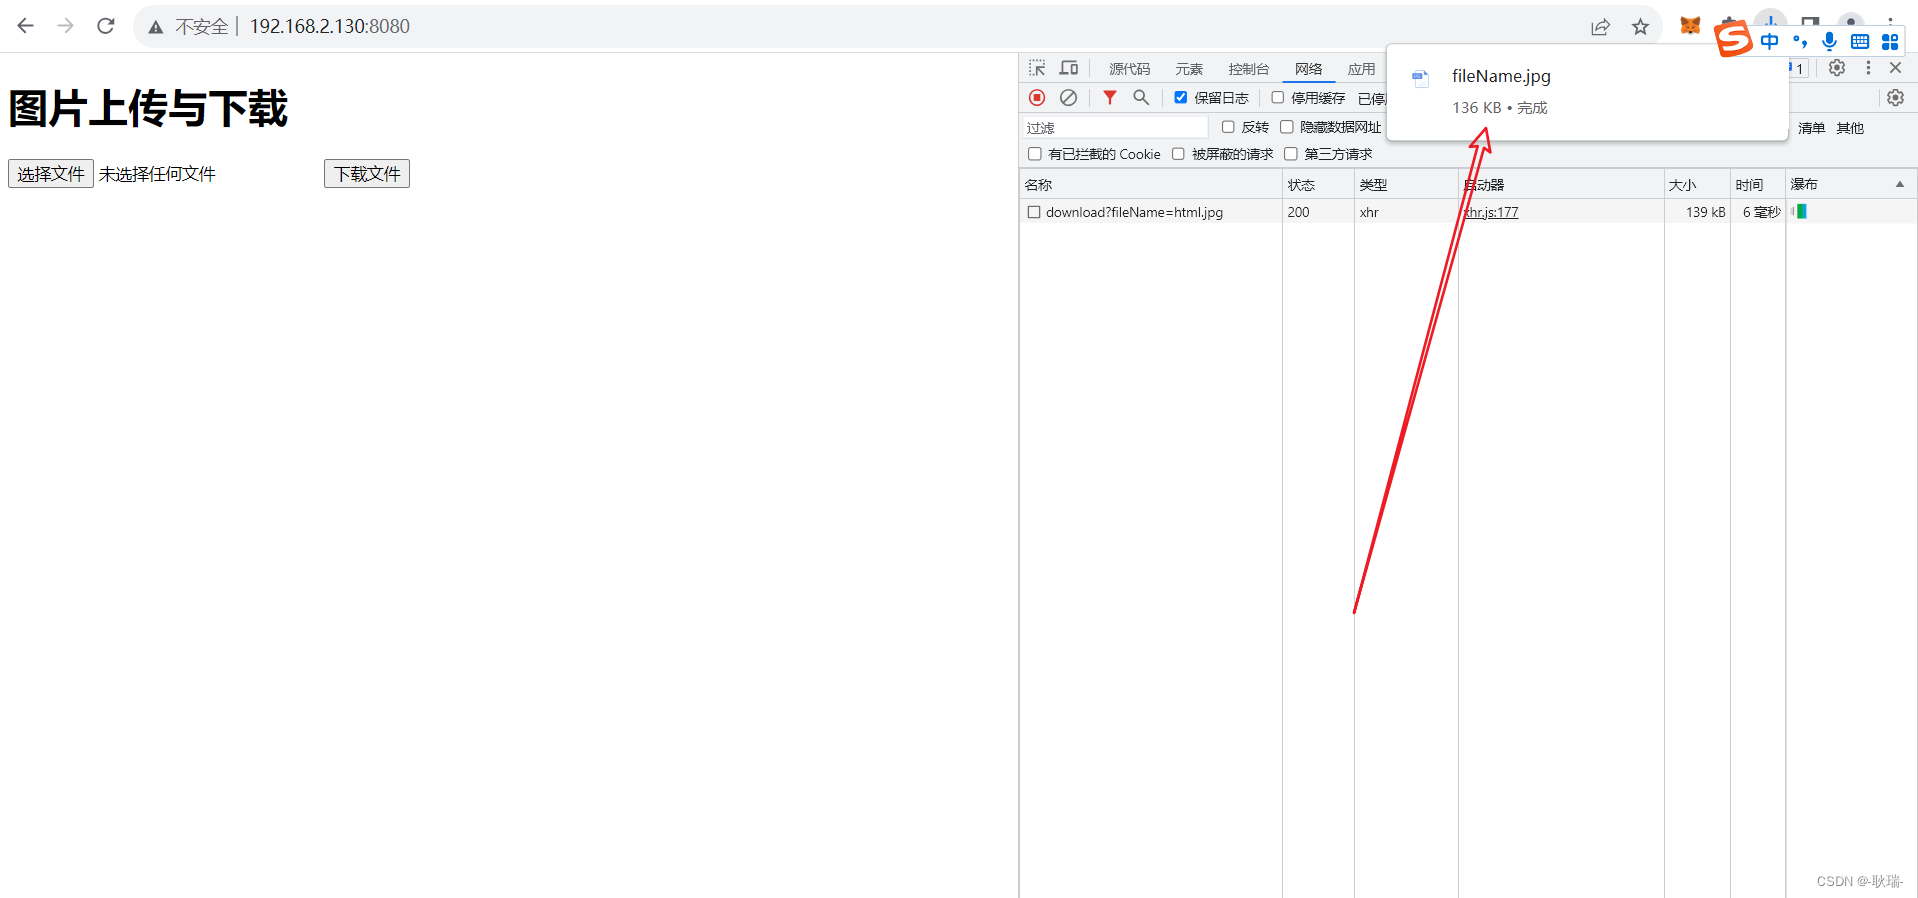
然后 我们打开浏览器下载内容
文件就已经在这里了
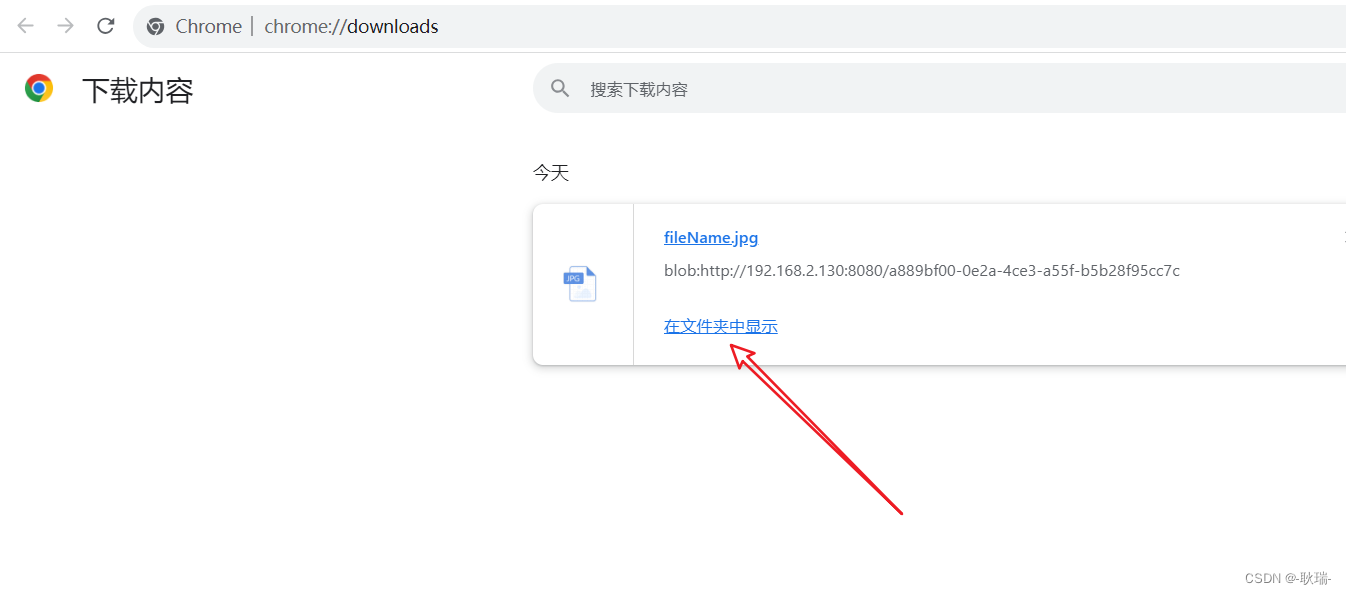
然后 我们打开本地 下载文件夹
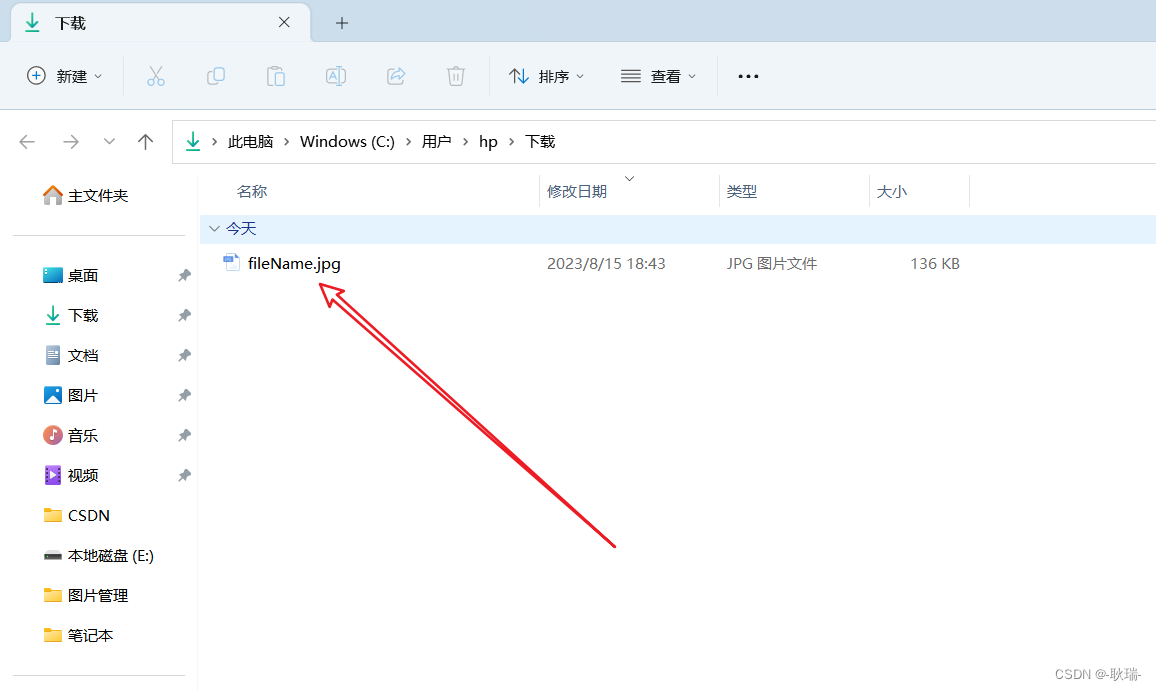
我们点开看一下
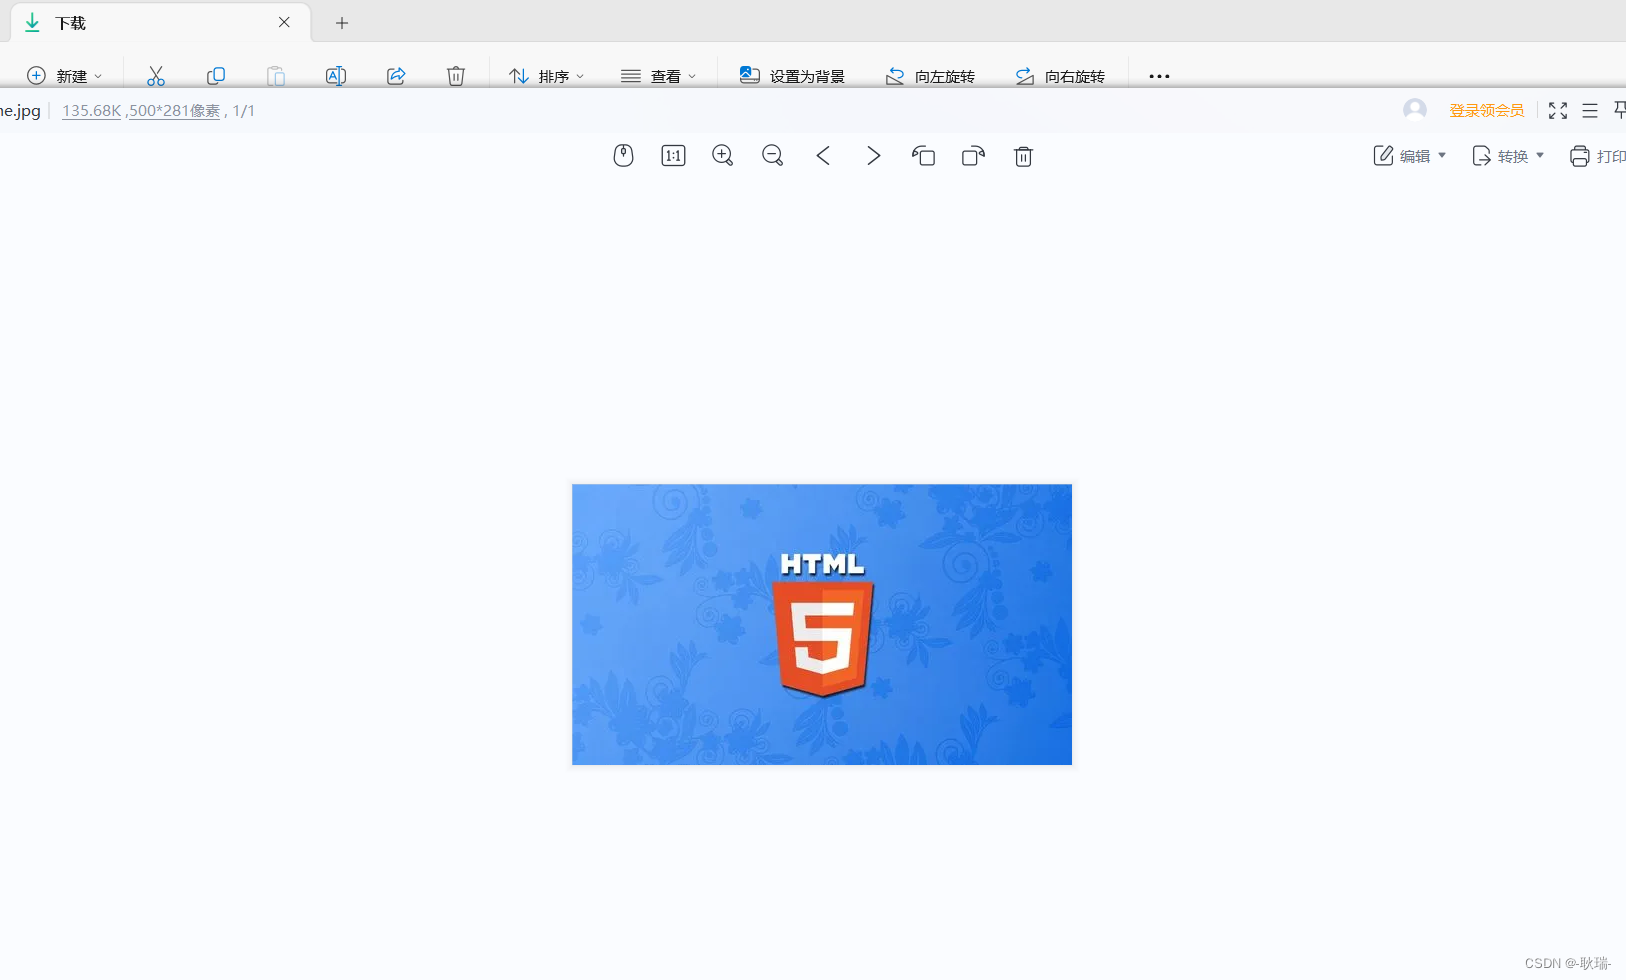
没有任何问题