docker中安装Jenkins(windows)
详解
mkdir D:\liuqinchong\jenkins   # 新建Jenkins工作目录,用于跟容器中Jenkins目录挂在
docker pull jenkins/jenkins:lts  # 拉取Jenkins镜像

#下方命令在windows中可不用
ls -nd /home/Jenkins  # 查看目录归属ID
chown -R 1000:1000 /home/jenkins  # 赋予权限
1、解决权限错误:
因为Jenkins容器里的用户是Jenkins,而主机用户不是Jenkins,就算是root也一样会报错:/var/jenkins_home/copy_reference_file.log: Permission denied,这个时候就需要在主机上面给主机地址赋予访问Jenkins容器的权限,Jenkins内部用的是uid 1000的user
2、docker创建容器常用命令:
docker run -dt --name jenkins -p 9090:8080 -p 50000:50000 --privileged=true -v D:\liuqinchong\jenkins:/var/jenkins_home jenkins/jenkins:lts # 运行Jenkins容器
-privileged=true:让容器具有root权限,便于进入容器
-p 9090:8080:指定主机9090端口映射到Jenkins容器的8080端口(Jenkins的web访问端口)
-v D:\liuqinchong\jenkins:/var/jenkins_home:容器/var/jenkins_home路径挂载到宿主机D:\liuqinchong\jenkins路径(我这里宿主机是windows)
docker ps #用于查看容器列表
docker exec -it jenkins /bin/bash #进入容器,可使用容器名称,也可以使用容器id进入
3、配置源
打开Jenkins之前可以先换掉官网的源
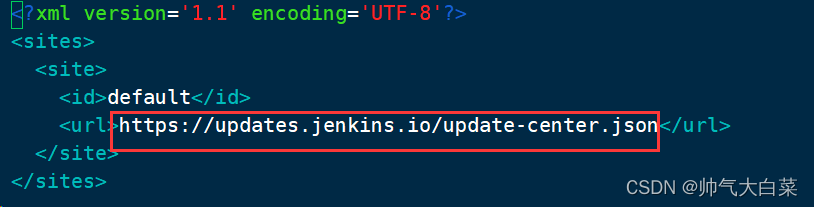
找到jenkins工作目录,打开文件hudson.model.UpdateCenter.xml
vim /var/jenkins_home/hudson.model.UpdateCenter.xml
docker restart jenkins  #重启Jenkins
把红框里的内容进行修改为https://mirrors.tuna.tsinghua.edu.cn/jenkins/updates/update-center.json
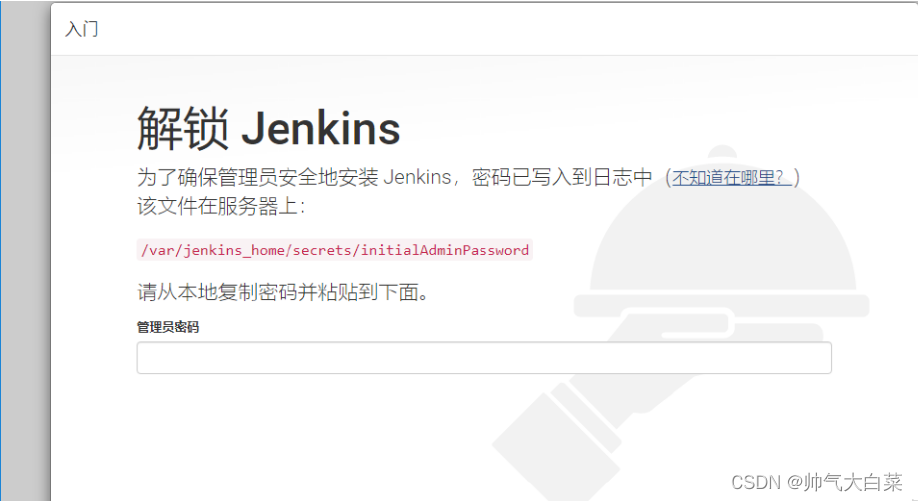
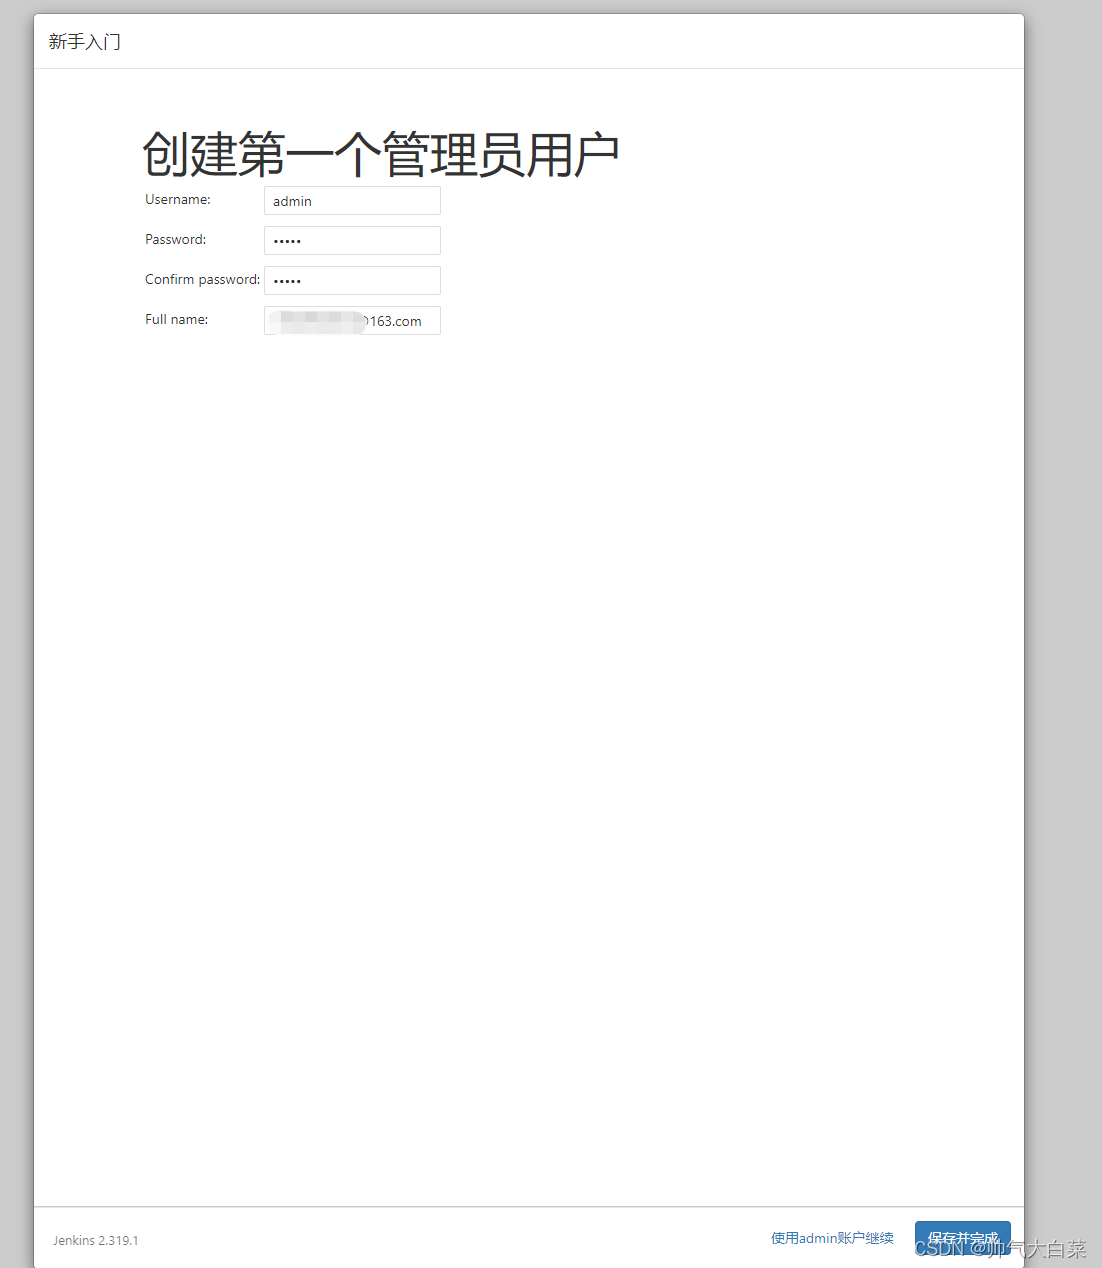
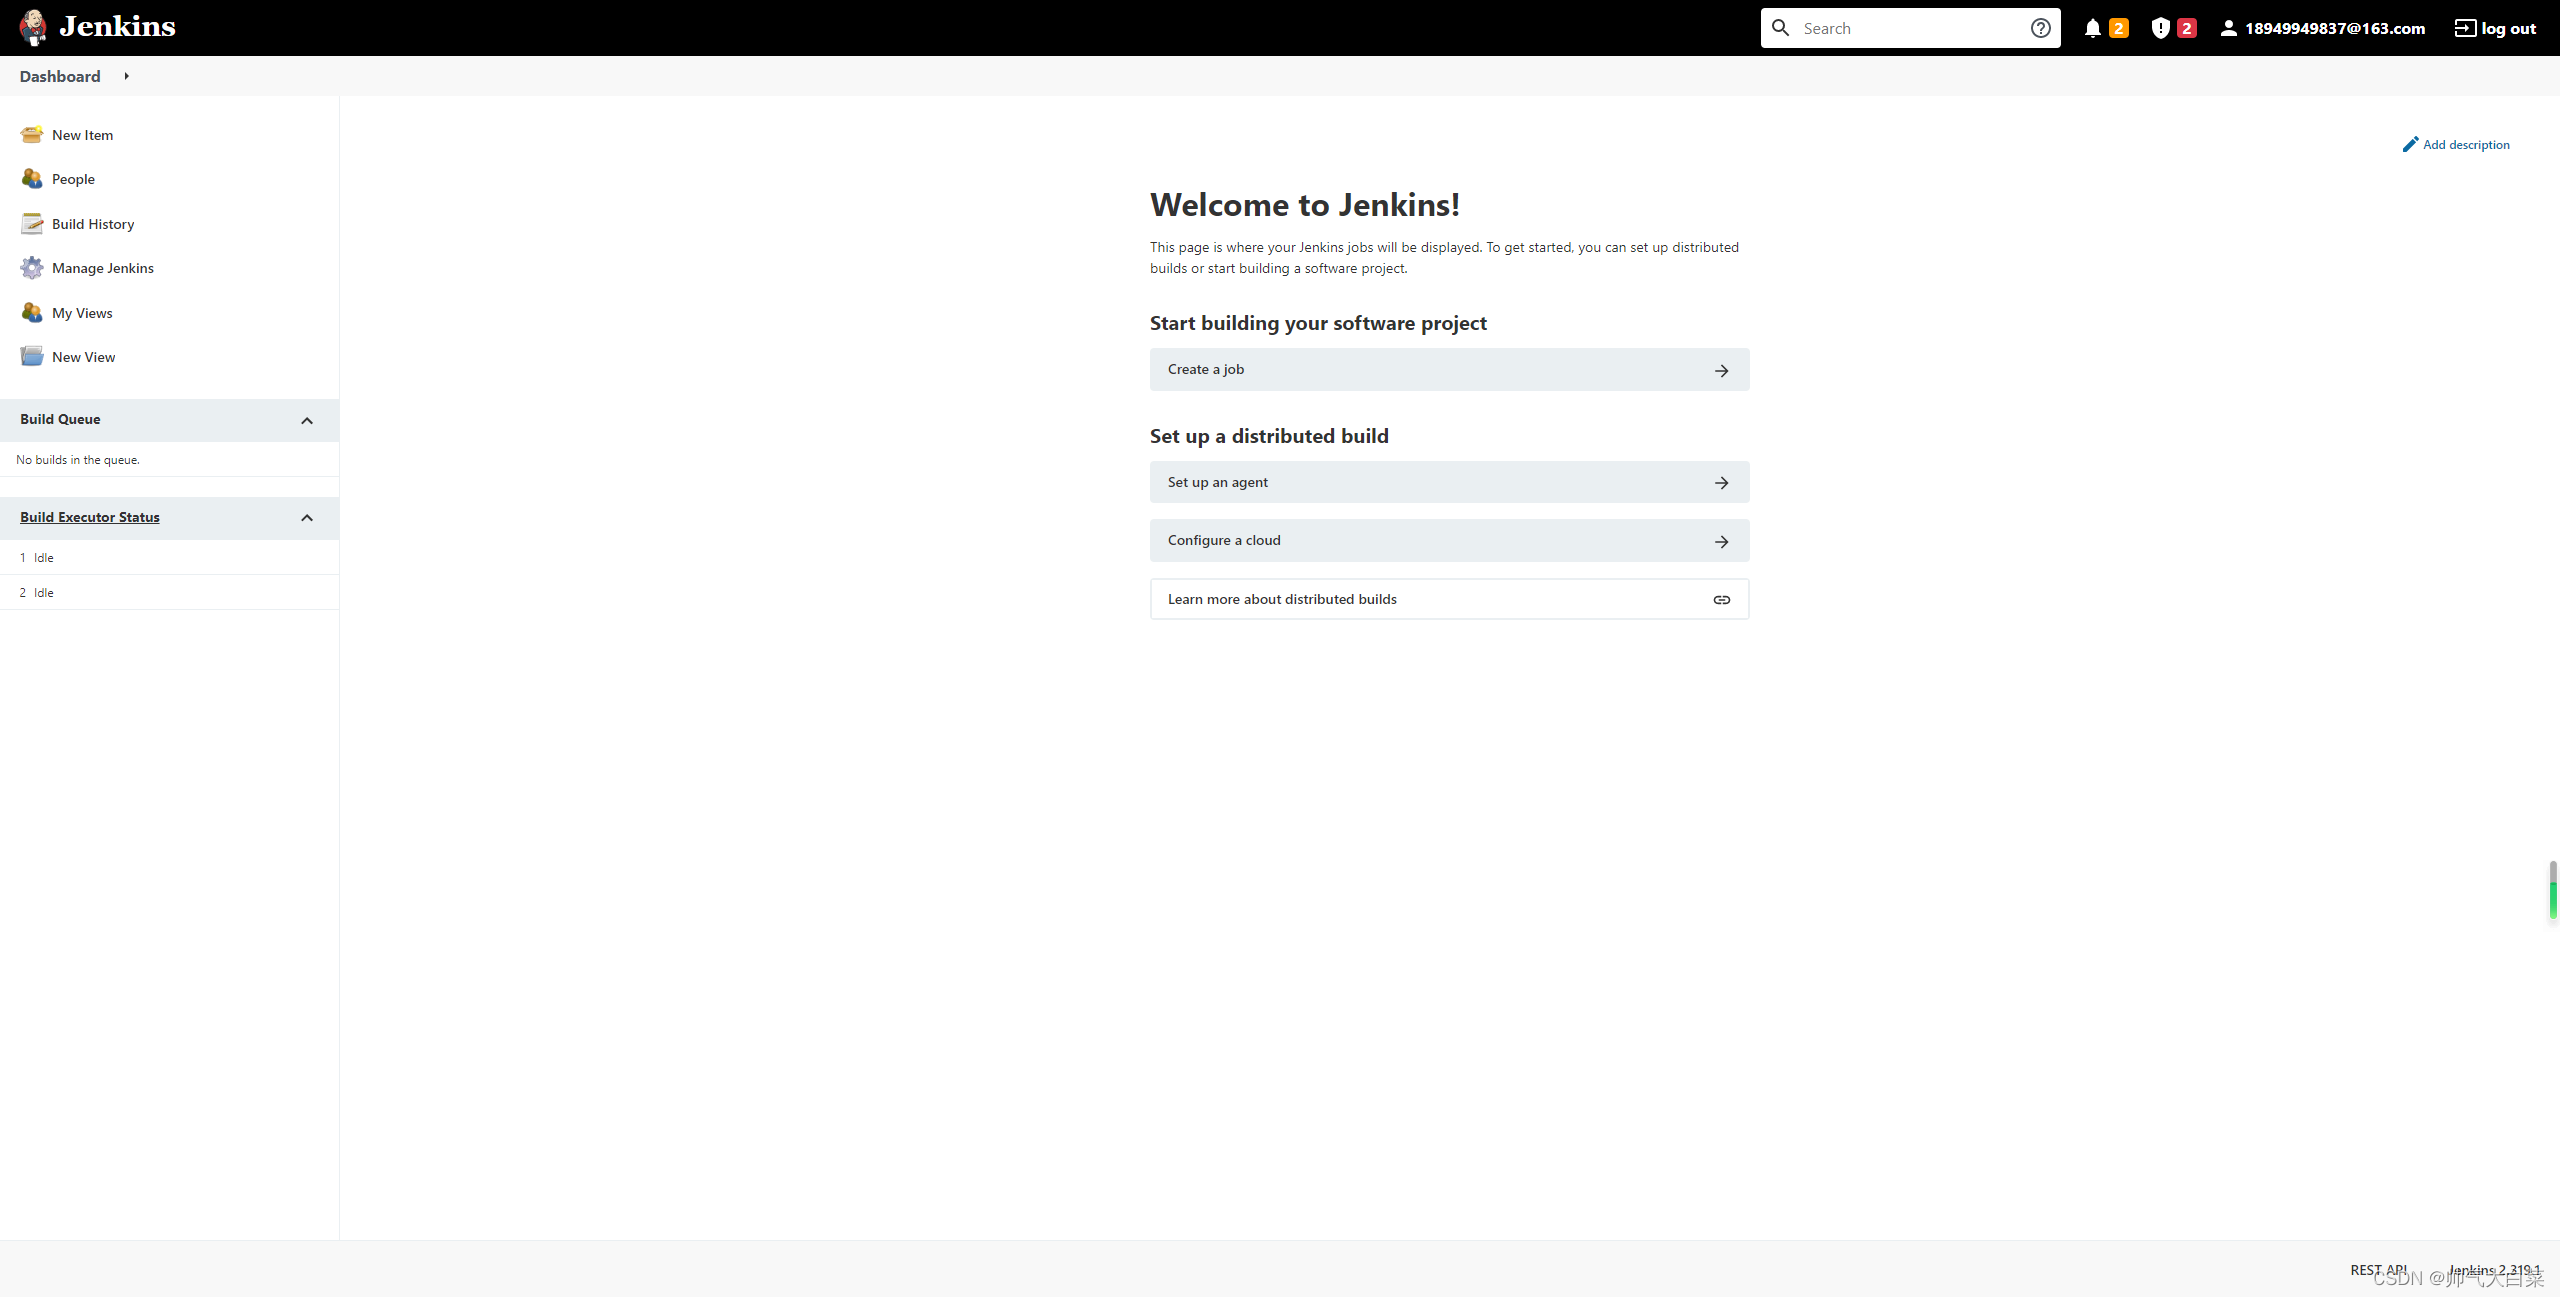
4、打开Jenkins及安装插件:
使用容器ip加端口打开Jenkins(容器中无法使用ifconfig等命令,需要另行安装)
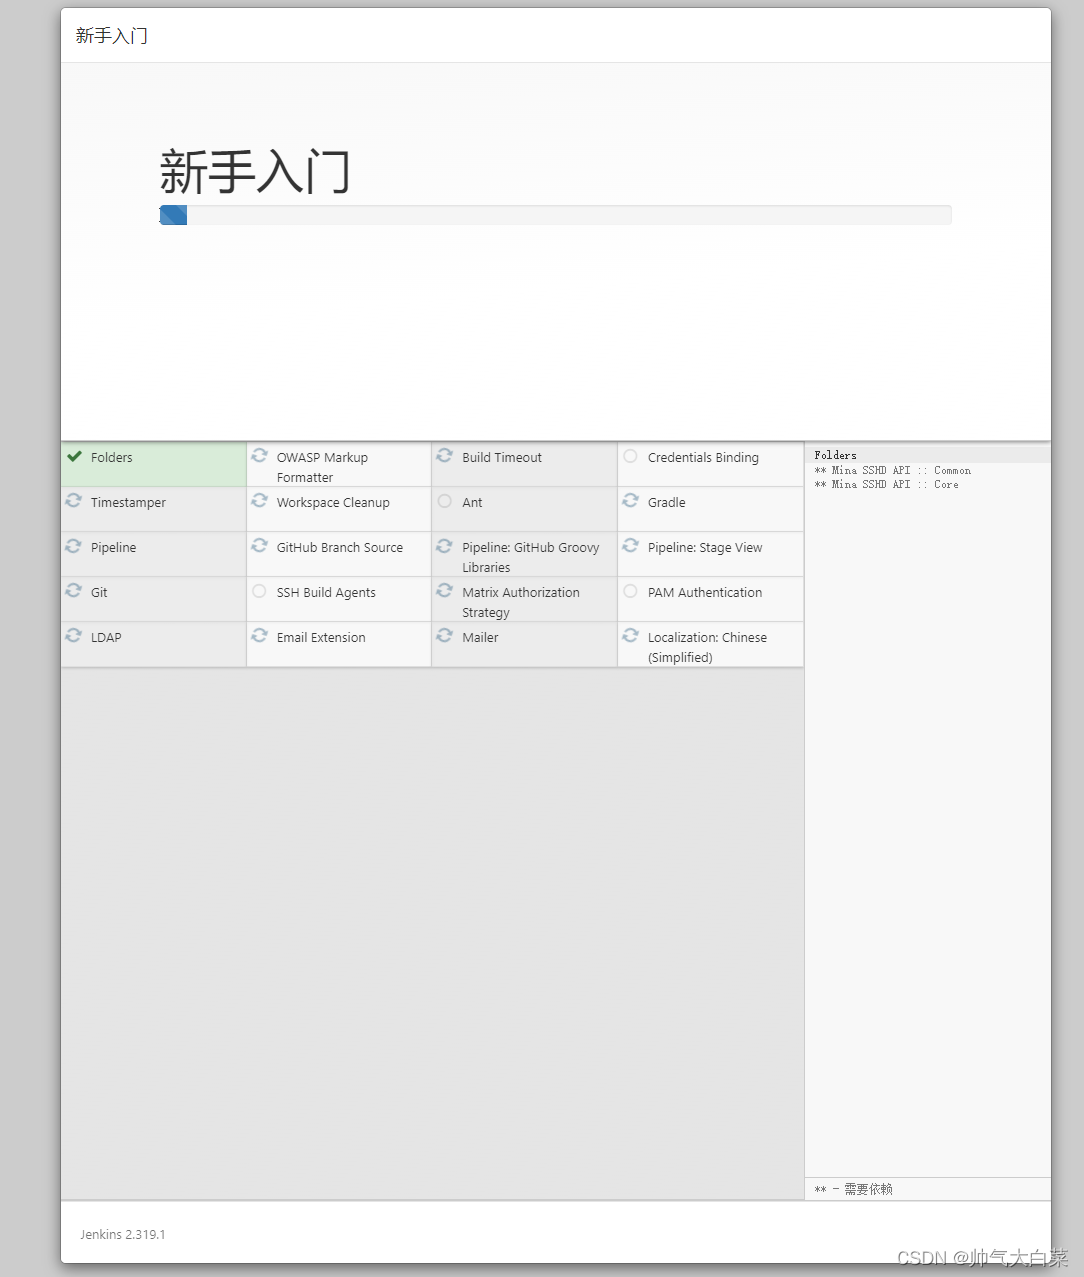
选择安装推荐插件(由于未配置镜像源,下载过程比较慢)
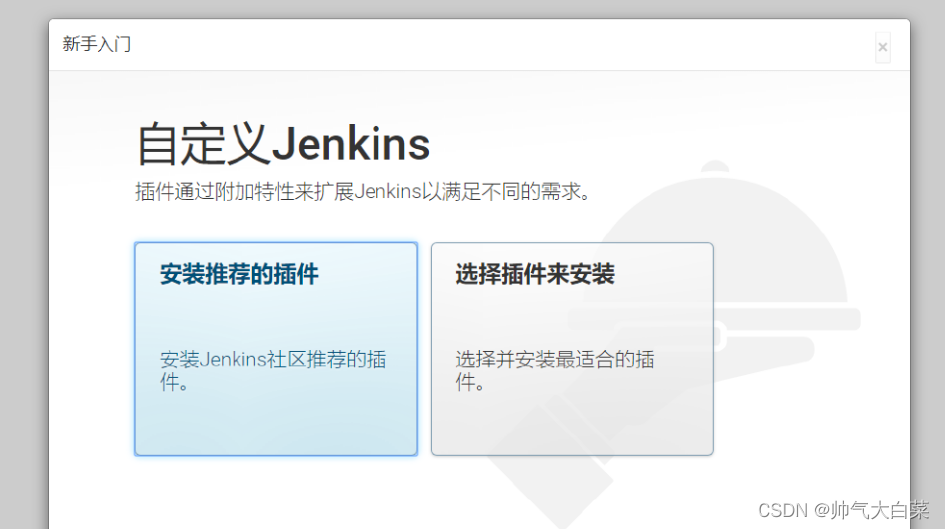
可使用一下命令替换url
cd /var/jenkins_home/updates #进入容器并切换到updates目录
sed -i 's#https://updates.jenkins.io/download#https://mirrors.huaweicloud.com/jenkins#g' default.json && sed -i 's#http://www.google.com#https://www.baidu.com#g' default.json  #替换url
然后刷新上方插件下载页面,点击继续
5、Jenkins环境配置
1)安装常用命令
docker exec -it -u root 容器id /bin/bash #进入容器
cat /etc/issue #查看当前操作系统
容器可能没有一些常用命令,需要去下载
apt-get install -y vim
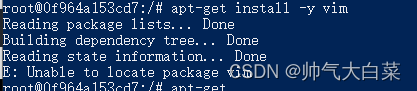
若出现以上问题,使用以下命令更新apt-get,更新过程可能比较慢,更新完成后可重新使用apt-get命令安装
注:也有可能出现无权限的问题

解决方式:
docker exec -it -u root jenkins /bin/bash  #指定root用户进入
#删除提示的两个文件
rm -rf /var/lib/dpkg/lock
rm -rf /var/cache/apt/archives/lock

passwd root #给root设置密码,下次无权限时可直接切换root用户
apt-get update
2)apt配置阿里云源
过程可能比较慢,可以修改apt配置添加阿里云源
# 修改 apt-get 源的配置文件
sudo cp /etc/apt/sources.list /etc/apt/sources.list.bak #备份
echo > /etc/apt/sources.list #清空源
cat /etc/apt/sources.list #查看是否清空
#向/etc/apt/sources.list文件中,写入源地址
echo  "deb http://mirrors.tuna.tsinghua.edu.cn/debian/ buster main contrib non-free" >/etc/apt/sources.list
echo  "deb http://mirrors.tuna.tsinghua.edu.cn/debian/ buster-updates main contrib non-free" >>/etc/apt/sources.list
echo  "deb http://mirrors.tuna.tsinghua.edu.cn/debian/ buster-backports main contrib non-free" >>/etc/apt/sources.list
echo  "deb http://mirrors.tuna.tsinghua.edu.cn/debian-security buster/updates main contrib non-free" >>/etc/apt/sources.list
apt-get update #更新
3)apt-get安装常用命令:
安装yum
apt-get update && apt-get install yum
bash: ip: command not found
apt-get update && apt-get install -y iproute2
bash: ping: command not found
apt-get update && apt install iputils-ping
bash: ifconfig: command not found
apt-get update && apt install net-tools
bash: vi: command not found
apt-get update && apt-get install vim
bash: route: command not found
apt-get update && apt-get install -y iproute2 && apt-get update && apt install net-tools
bash: netstat: command not found
apt-get update && apt install net-tools
bash: ps: command not found
apt-get update && apt-get install procps
bash: top: command not found
apt-get update && apt-get install procps
6、配置Python3环境
1)Jenkins容器中安装python3
Jenkins容器内并没有Python3环境,需要自己安装:
注:Ubuntu系统,这里使用apt-get代替yum。
推荐使用aptitude install命令安装下方工具,有效解决依赖,详细解读见下方,apt-get install 和aptitude install可相互替换
apt install aptitude #安装aptitude

#apt-get安装依赖包
aptitude -y install gcc automake autoconf libtool make
aptitude -y install make*
aptitude -y install zlib*
aptitude -y install openssl libssl-dev
aptitude install sudo

# 安装Python3
cd /var/jenkins_home
mkdir python3
cd python3
wget https://www.python.org/ftp/python/3.6.8/Python-3.6.8.tgz # 获取python-3.6.8.tgz包
tar -xvf Pyhthon-3.6.8.tgz #解压
cd Python-3.6.8 # 切换到Python-3.6.8目录

#执行make和make install安装
./configure --prefix=/var/jenkins_home/python3 --with-ssl
make
make install

# 添加软连接
# 添加Python3软连接
ln -s /var/jenkins_home/python3/bin/python3.6 /usr/bin/python3
# 添加pip3软连接
ln -s /var/jenkins_home/python3/bin/pip3 /usr/bin/pip3

# 安装所需Python库
pip3 instal requests pytest-html pytest
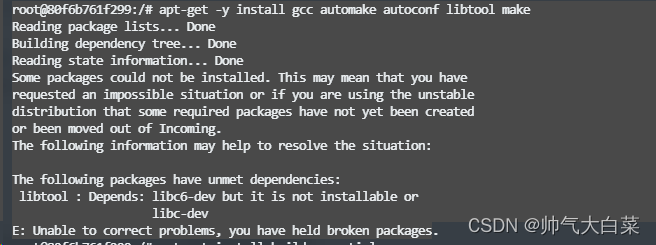
2)安装时遇见问题常见解决方式:
安装时可能会出现一下报错
方案一、使用aptitude安装(推荐):
使用aptitude,aptitude与 apt-get 一样,是 Debian 及其衍生系统中功能极其强大的包管理工具。
与 apt-get 不同的是,aptitude在处理依赖问题上更佳一些。
举例来说,aptitude在删除一个包时,会同时删除本身所依赖的包。
这样,系统中不会残留无用的包,整个系统更为干净。此处不做赘述。
apt install aptitude #安装aptitude
有的问题 apt-get 解决不了,必须使用 aptitude 解决,有的问题,用 aptitude 解决不了,必须使用apt-get.

aptitude 解决得更好的地方: install, remove, reinstall(apt-get无此功能), show(apt-get无此功能), search(apt-get无此功能), hold(apt-get无此功能), unhold(apt-get无此功能),

apt-get 解决得更好的地方: source(aptitude无此功能), build-dep (低版本的aptitude没有build-dep功能)

apt-get 跟 aptitude 没什么区别的地方:update, upgrade (apt-get upgrade=aptitude safe-upgrade, apt-get dist-upgrade=aptitude full-upgrgade)
sudo aptitude install
方案二、使用yum进行安装:
安装配置yum,上方已经安装好yum,接下来配置源

由于是Ubuntu没有yum源,所以要想使用yum安装软件必须要配置yum安装源。
在/etc/yum/repos.d/目录下创建两个文件,fedora-163.repo和fedora-updates-163.repo。
分别复制以下配置信息保存即可。
fedora-163.repo配置如下信息
[fedora]

name=Fedora 17 - $basearch - 163.com
failovermethod=priority
baseurl=http://mirrors.163.com/fedora/releases/17/Everything/$basearch/os/
mirrorlist=https://mirrors.fedoraproject.org/metalink?repo=fedora-17&arch=$basearch
enabled=1
metadata_expire=7d
gpgcheck=0
gpgkey=file:///etc/pki/rpm-gpg/RPM-GPG-KEY-fedora-$basearch

[fedora-debuginfo]
name=Fedora 17 - $basearch - Debug - 163.com
failovermethod=priority
baseurl=http://mirrors.163.com/fedora/releases/17/Everything/$basearch/debug/
mirrorlist=https://mirrors.fedoraproject.org/metalink?repo=fedora-debug-17&arch=$basearch
enabled=0
metadata_expire=7d
gpgcheck=0
gpgkey=file:///etc/pki/rpm-gpg/RPM-GPG-KEY-fedora-$basearch

[fedora-source]
name=Fedora 17 - Source - 163.com
failovermethod=priority
baseurl=http://mirrors.163.com/fedora/releases/17/Everything/source/SRPMS/
mirrorlist=https://mirrors.fedoraproject.org/metalink?repo=fedora-source-17&arch=$basearch
enabled=0
metadata_expire=7d
gpgcheck=0
gpgkey=file:///etc/pki/rpm-gpg/RPM-GPG-KEY-fedora-$basearch
fedora-updates-163.repo配置信息如下
[updates]
name=Fedora 17 - $basearch - Updates - 163.com
failovermethod=priority
baseurl=http://mirrors.163.com/fedora/updates/17/$basearch/
mirrorlist=https://mirrors.fedoraproject.org/metalink?repo=updates-released-f17&arch=$basearch
enabled=1
gpgcheck=0
gpgkey=file:///etc/pki/rpm-gpg/RPM-GPG-KEY-fedora-$basearch

[updates-debuginfo]
name=Fedora 17 - $basearch - Updates - Debug - 163.com
failovermethod=priority
baseurl=http://mirrors.163.com/fedora/updates/17/$basearch/debug/
mirrorlist=https://mirrors.fedoraproject.org/metalink?repo=updates-released-debug-f17&arch=$basearch
enabled=0
gpgcheck=0
gpgkey=file:///etc/pki/rpm-gpg/RPM-GPG-KEY-fedora-$basearch

[updates-source]
name=Fedora 17 - Updates Source - 163.com
failovermethod=priority
baseurl=http://mirrors.163.com/fedora/updates/17/SRPMS/
mirrorlist=https://mirrors.fedoraproject.org/metalink?repo=updates-released-source-f17&arch=$basearch
enabled=0
gpgcheck=0
gpgkey=file:///etc/pki/rpm-gpg/RPM-GPG-KEY-fedora-$basearch
最后执行
yum makecache