仅供参考,如果觉得有用可以点个赞
- 大幅简化了detect文件,把检测压缩到12行内,并提供了自定义四种检测方式,可以仿照示例添加自己的检测方式,该文件配合yolov5 -7.0使用
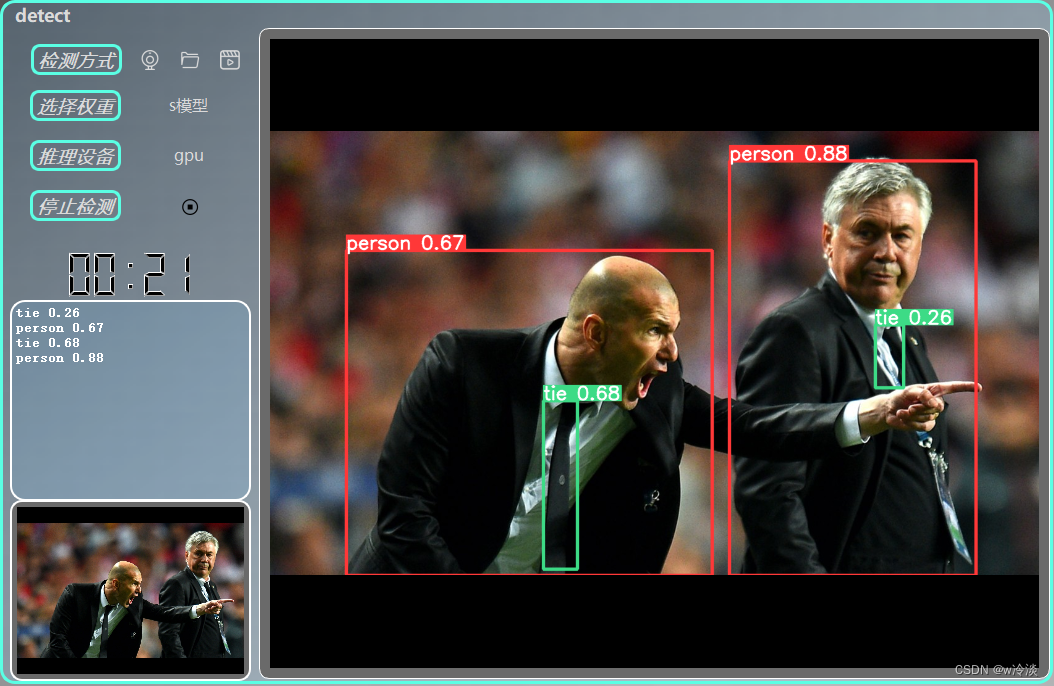
- 使用压缩后的get_image函数可以方便得配合pyqt5搭建界面
- 后面优化下界面逻辑也会发出来
- 代码直接放到下面,直接放到yolov5-master和detect同一层下即可使用
import cv2
import torch
from PIL import ImageGrab
import numpy as np
import os
import glob
from models.common import DetectMultiBackend
from utils.general import non_max_suppression, scale_boxes
from utils.plots import Annotator, colors
from utils.augmentations import letterbox
from utils.torch_utils import select_device

device = select_device('0')  # '0' 调用gpu 'cpu'就是cpu
detection_method = 0  # 0调用本地相机, 1检测文件夹中的图像, 2检测屏幕上内容
folder_path = R'c:\user\desktop\folder'  # 本地文件夹
screen_range = (1000, 100, 1900, 1000)  # 截取屏幕区域,左上角和右下角坐标


def get_image(model, im, im0s, conf_thres=0.5, iou_thres=0.5, line_thickness=3):
    pared = model(im, visualize=False)
    pared = non_max_suppression(pared, conf_thres, iou_thres, None, False, max_det=1000)
    det = pared[0]
    im0, names = im0s.copy(), model.names
    annotator = Annotator(im0, line_width=line_thickness, example=str(names))
    if len(det):
        det[:, :4] = scale_boxes(im.shape[2:], det[:, :4], im0.shape).round()
        for *xyxy, conf, cls in reversed(det):
            # x1,y1,x2,y2 = xyxy[0].item(), xyxy[1].item(), xyxy[2].item(), xyxy[3].item()
            # x1 y1 左上 x2 y2 右下
            c = int(cls)
            label = f'{names[c]} {conf:.2f}'
            annotator.box_label(xyxy, label, color=colors(c, True))
    return annotator.result()


class custom_dataloader:
    def __init__(self):
        if detection_method == 1:
            self.count = 0  # 检测本地图片时用到
            self.file_list = glob.glob(os.path.join(folder_path, '*.jpg'))  # '*.png' / '*.jpg'
            # 对文件列表按时间戳排序,以确保最新添加的图像排在最后面
            self.file_list.sort(key=os.path.getmtime)
        elif detection_method == 0:
            self.cap = cv2.VideoCapture(0)
        """
        追加视频流
        elif detection_method == 4:  # 检测视频
            self.cap = cv2.VideoCapture('test.mp4')
        """

    def __iter__(self):
        return self

    def __next__(self):
        if detection_method == 0:
            flag, im0 = self.cap.read()
            if not flag:
                raise StopIteration

        elif detection_method == 1:
            im0 = cv2.imread(self.file_list[self.count])
            if self.count == len(self.file_list) - 1:
                raise StopIteration
            self.count += 1

        elif detection_method == 2:  # detection_method 检测屏幕上的内容
            # 指定截图区域的左上角和右下角坐标
            x1, y1, x2, y2 = screen_range  # 左上角
            # 截取屏幕区域
            img = ImageGrab.grab(bbox=(x1, y1, x2, y2))
            im0 = np.array(img)

        """
        |———————————————————————————————————————————————————|
        |如果要扩展新的检测方式,可以在这里追加else if, 例如追加视频流|
        |———————————————————————————————————————————————————|
        elif detection_method == 4:  # 检测视频
            flag, im0 = self.cap.read()
            if not flag:
                raise StopIteration
        """
        return self.trans_img(im0), im0

    def trans_img(self, im0):
        # 图像预处理
        im_trans = letterbox(im0, 640, auto=True)[0]  # padded resize
        im_trans = im_trans.transpose((2, 0, 1))  # HWC to CHW
        if detection_method != 2:
            im_trans = im_trans[::-1]  # BGR to RGB
        im_trans = np.ascontiguousarray(im_trans)  # contiguous
        im_trans = torch.from_numpy(im_trans).to(model.device)
        im_trans = im_trans.half() if model.fp16 else im_trans.float()  # uint8 to fp16/32
        im_trans /= 255  # 0 - 255 to 0.0 - 1.0
        im_trans = im_trans[None]  # expand for batch dim

        # 返回一张预处理后的图和未处理的图
        return im_trans


if __name__ == "__main__":
    model = DetectMultiBackend(r'path\detect.pt', device=device, fp16=False)
    for im, im0s in custom_dataloader():
        im0 = get_image(model, im, im0s)
        if detection_method == 2:
            im0 = cv2.cvtColor(im0, cv2.COLOR_BGR2RGB)
        cv2.namedWindow('1', cv2.WINDOW_NORMAL | cv2.WINDOW_KEEPRATIO)  # allow window resize (Linux)
        cv2.resizeWindow('1', im0.shape[1] // 2, im0.shape[0] // 2)
        cv2.imshow('1', im0)
        time_out = 1000 if detection_method == 1 else 1
        if cv2.waitKey(time_out) == ord('Q'):  # Q to quit
            exit(0)