大家好,今天给大家分享的是uniapp+springboot实现简单的登录功能!
一、uniapp是什么?
uni-app是一个使用Vue开发跨平台应用的前端框架,开发者编写一套代码,uni-app将其编译到iOS、Android、微信小程序等多个平台,保证其正确运行并达到优秀体验。
二、创建Springboot项目
首先我们先来写后端,首先要创建项目,加上mysql和mybatis的依赖项。
完整的pom如下:
<?xml version="1.0" encoding="UTF-8"?>
<project xmlns="http://maven.apache.org/POM/4.0.0" xmlns:xsi="http://www.w3.org/2001/XMLSchema-instance"
         xsi:schemaLocation="http://maven.apache.org/POM/4.0.0 https://maven.apache.org/xsd/maven-4.0.0.xsd">
    <modelVersion>4.0.0</modelVersion>
    <parent>
        <groupId>org.springframework.boot</groupId>
        <artifactId>spring-boot-starter-parent</artifactId>
        <version>3.0.6</version>
        <relativePath/> <!-- lookup parent from repository -->
    </parent>
    <groupId>com.example</groupId>
    <artifactId>Springboot_SSMP</artifactId>
    <version>0.0.1-SNAPSHOT</version>
    <name>Springboot_SSMP</name>
    <description>Springboot_SSMP</description>
    <properties>
        <java.version>17</java.version>
    </properties>
    <dependencies>
        <dependency>
            <groupId>com.baomidou</groupId>
            <artifactId>mybatis-plus-boot-starter</artifactId>
            <version>3.5.3</version>
        </dependency>
        <dependency>
            <groupId>org.springframework.boot</groupId>
            <artifactId>spring-boot-starter-web</artifactId>
        </dependency>
        <dependency>
            <groupId>org.mybatis.spring.boot</groupId>
            <artifactId>mybatis-spring-boot-starter</artifactId>
            <version>3.0.0</version>
        </dependency>

        <dependency>
            <groupId>com.mysql</groupId>
            <artifactId>mysql-connector-j</artifactId>
            <scope>runtime</scope>
        </dependency>
        <dependency>
            <groupId>org.springframework.boot</groupId>
            <artifactId>spring-boot-starter-test</artifactId>
            <scope>test</scope>
        </dependency>
    </dependencies>

    <build>
        <plugins>
            <plugin>
                <groupId>org.springframework.boot</groupId>
                <artifactId>spring-boot-maven-plugin</artifactId>
            </plugin>
        </plugins>
    </build>

</project>
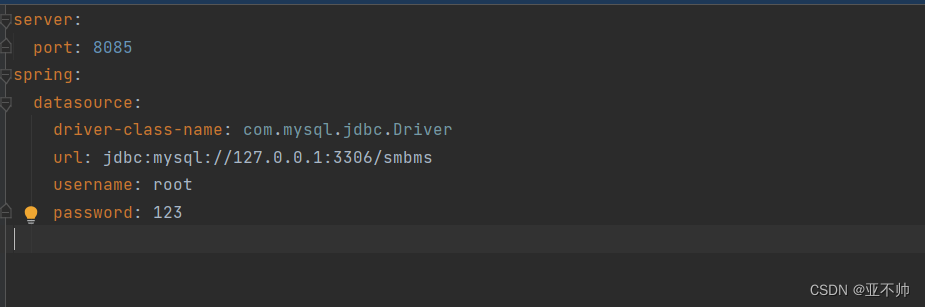
之后写配置文件,写上我们的端口号以及mysql的信息......
 记得要建上实体类,之后我们来写controller和mapper层
mapper
package com.example.springboot_ssmp.mapper;
import com.example.springboot_ssmp.po.User;
import org.apache.ibatis.annotations.Mapper;
import org.apache.ibatis.annotations.Select;

import java.util.List;

@Mapper
public interface UserMapper {

   @Select("select * from smbms_user where userCode = #{userCode} and userPassword = #{userPassword}")
    public User SubUser(String userCode,String userPassword);
}
controller
package com.example.springboot_ssmp.controller;
import com.example.springboot_ssmp.mapper.UserMapper;
import com.example.springboot_ssmp.po.User;
import org.springframework.beans.factory.annotation.Autowired;
import org.springframework.web.bind.annotation.GetMapping;
import org.springframework.web.bind.annotation.RequestMapping;
import org.springframework.web.bind.annotation.RestController;

import java.util.List;

@RestController
@RequestMapping("/user")
public class UserController {

    @Autowired
    private UserMapper userMapper;

    @RequestMapping("/login")
    public User Login(String userCode,String userPassword){
        return userMapper.SubUser(userCode,userPassword);
    }

}
在这还需要解决一个跨域问题,有不知道的可以看我前面的文章:https://blog.csdn.net/m0_66403070/article/details/130314038?spm=1001.2014.3001.5501
2.uniapp发送请求
首先要先建一个uniapp项目,然后在.vue文件里写以下代码:
<template>
	<view class="big">
		<view class="login">
			<image src="../../../static/images/头像.png"></image>
			<input type="text" placeholder="用户名" v-model="name"/>
			<input type="safe-password" placeholder="密码" v-model="pwd" style="margin-top: 10rpx;"/>
			<button type="primary" @click="login()">登录</button>
		</view>
	</view>
</template>

<script>
	export default {
		data() {
			return {
				name:"",
				pwd:""
			}
		},
		methods:{
			login:function(){
				uni.request({
					url:"http://localhost:8085/users/login",//请求地址
					method:"GET",//请求方式
					data:{
						userCode:this.name, //参数
						userPassword:this.pwd
					},
					success:res =>{ //返回结果
						if(res.data){
							alert('登录成功')
							this.$router.push('/pages/index/index'); //跳转页面
						}else{
							alert('登录失败')
						}
					}
				})
			}
		}
	}
</script>uniapp发送请求用的是uni.request来发送请求,大家如果对其里面属性不明白的可以去官网看,地址:https://uniapp.dcloud.net.cn/quickstart.html#。
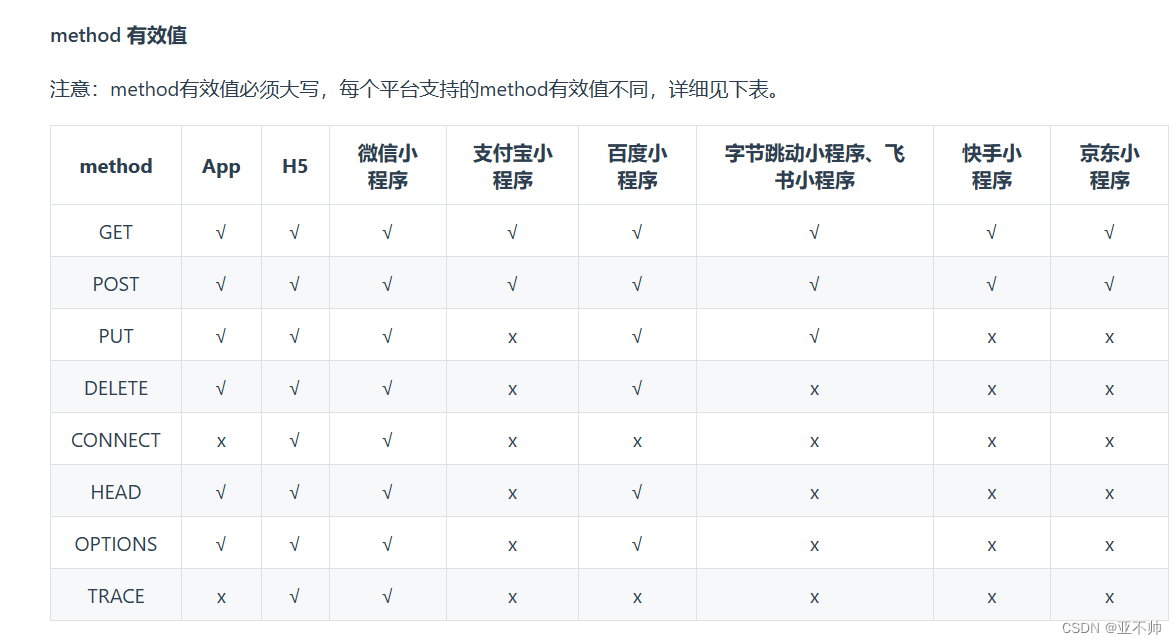
在这里要注意的是请求方式一定要大写!这是官网里明确要求的
写完之后我们分别启动Springboot和前端来验证一下是否成功

可以看到登录成功。这样就完成了uniapp发请求到Springboot到后端了。
总结
这样就完成了uniapp向后端发送请求并实现了登录,跟axios是大同小异的,只有几个细节变了一下,学起来还是不难的!如果觉得有用的话记得一键三连!谢谢观看!!!!!