写一个最简单的示例
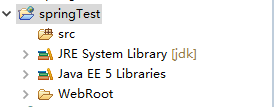
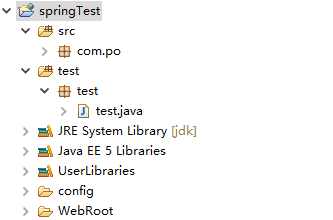
1、新建一个标准的javaweb项目
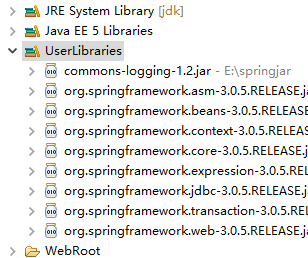
2、导入spring所需的一些基本的jar包
3、配置web.xml文件
<?xml version="1.0" encoding="UTF-8"?>
<web-app version="2.5"
	xmlns="http://java.sun.com/xml/ns/javaee"
	xmlns:xsi="http://www.w3.org/2001/XMLSchema-instance"
	xsi:schemaLocation="http://java.sun.com/xml/ns/javaee
	http://java.sun.com/xml/ns/javaee/web-app_2_5.xsd">
  <!-- 应用程序Spring上下文配置 -->
  <context-param>
      <param-name>contextConfigLocation</param-name>
      <param-value>
             classpath*:applicationContext*.xml,
      </param-value>
  </context-param>

  <!-- spring上下文加载监听器 -->
  <listener>
      <listener-class>
           org.springframework.web.context.ContextLoaderListener
      </listener-class>
  </listener>
  <welcome-file-list>
    <welcome-file>index.jsp</welcome-file>
  </welcome-file-list>
</web-app>
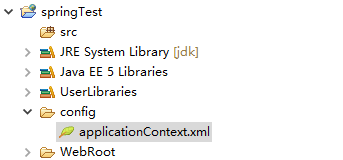
4、添加spring配置文件applicationContext
5、对applicationContext.xml文件做最简单的配置
扫描二维码关注公众号,回复:
1688637 查看本文章

<?xml version="1.0" encoding="UTF-8"?>
<beans xmlns="http://www.springframework.org/schema/beans"

    xmlns:xsi="http://www.w3.org/2001/XMLSchema-instance"

    xsi:schemaLocation="http://www.springframework.org/schema/beans http://www.springframework.org/schema/beans/spring-beans-3.0.xsd"

    default-lazy-init="false" default-autowire="byName">
    <bean id="user" class="com.po.User">
        <property name="name" value="张三"/>
    </bean>
</beans>
beans —— xml文件的根节点。
xmlns ——是XML NameSpace的缩写,因为XML文件的标签名称都是自定义的,自己写的和其他人定义的标签很有可能会重复命名,而功能却不一样,所以需要加上一个namespace来区分这个xml文件和其他的xml文件,类似于java中的package。
xmlns:xsi ——是指xml文件遵守xml规范,xsi全名:xml schema instance,是指具体用到的schema资源文件里定义的元素所准守的规范。即/spring-beans-2.0.xsd这个文件里定义的元素遵守什么标准。
xsi:schemaLocation——是指,本文档里的xml元素所遵守的规范,schemaLocation 属性用来引用(schema)模式文档,解析器可以在需要的情况下使用这个文档对 XML 实例文档进行校验。它的值(URI)是成对出现的,第一个值表示命名空间,第二个值则表示描述该命名空间的模式文档的具体位置,两个值之间以空格分隔。
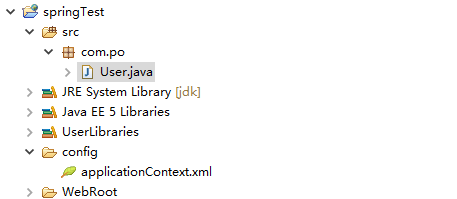
6、新建一个实体类User.java
package com.po;

public class User {
	private String name;
	private String age;
	public String getName() {
		return name;
	}
	public void setName(String name) {
		this.name = name;
	}
	public String getAge() {
		return age;
	}
	public void setAge(String age) {
		this.age = age;
	}


}
7、测试 (创建test.java)
package test;
import org.springframework.context.ApplicationContext;
import org.springframework.context.support.FileSystemXmlApplicationContext;
import com.po.User;


public class test {
	public static void main(String[] args) {
		ApplicationContext ac= new FileSystemXmlApplicationContext("config/applicationContext.xml");
		User user=(User)ac.getBean("user");
		System.out.println(user.getName());
	}

}
输出
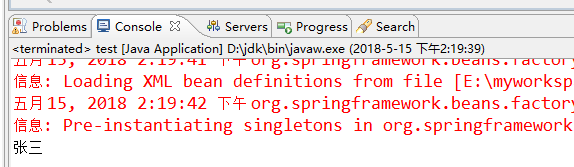
这样就基本实现了为web项目搭建基础的spring框架。