第一步 下载luajit 根据项目的luajit版本自行下载
第二部 打开x86 Native Tools Command Prompt for VS 2019
cd到src路径下

执行命令
msvcbuild.bat #32位
msvcbuild.bat gc64  #64位
](https://img-blog.csdnimg.cn/5d61264f5a344d8081bba33ba76bb0ab.png)
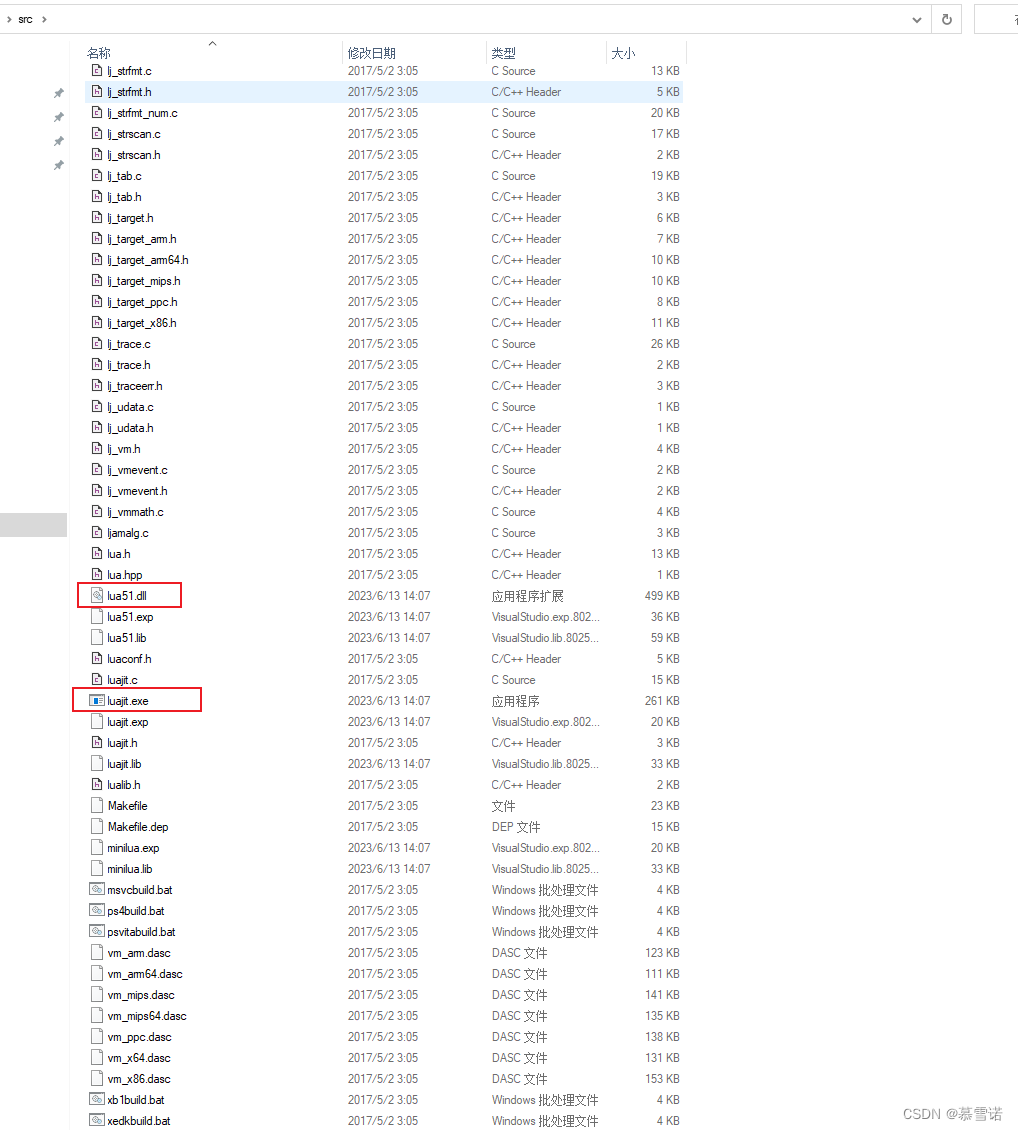
等待编译完成即可 会得到luajit.exe 和lua51.dll
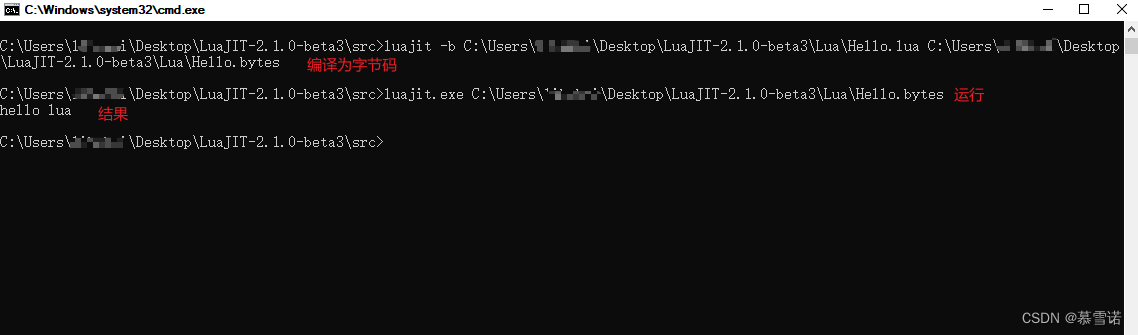
使用luajit编译lua文件
打开cmd cd到src路径下
luajit -b [lua文件] [输出]
如果想编译某个文件夹下的 可以写个python脚本
import subprocess
import glob
import os
import sys
import shutil
from pathlib import Path

debug = sys.gettrace()
if debug:
    print("Debug模式\n")
    input_dir = 'D:\\temp\\lua'  #lua路径
    output_dir = 'D:\\temp\\lua'  #输出路径
    luajit_directory = r'D:\\temp\\luajit2.1'  #luajit.exe的路径 用于将cmd的工作路径设置为这个
else:
    input_dir = sys.argv[1]
    output_dir = sys.argv[2]
    luajit_directory = sys.argv[3]

# 切换工作目录
os.chdir(luajit_directory)
command = ["luajit", "-b"]

# 判断输出目录是否存在,不存在则创建
Path(output_dir).mkdir(parents=True, exist_ok=True)

file_list = []

for file in glob.glob(str(input_dir + '\\**\\*.lua'), recursive=True):
    file_list.append(file)

for file in file_list:
    file_path = Path(file)
    relative_path = file_path.relative_to(input_dir)
    output_file = Path(output_dir) / relative_path.with_suffix('.lua')

    output_folder = output_file.parent
    output_folder.mkdir(parents=True, exist_ok=True)

    # 执行命令行
    subprocess.run(command + [str(file_path), str(output_file)])
打包python
pyinstaller -F --distpath 输出路径 python脚本路径

比如 命令行下运行即可
pyinstaller -F --distpath d:\\temp d:\\test\\test.py

如果没有pyinstaller模块的 使用pip install pyinstaller 进行安装
执行完之后会得到一个 .exe的可执行文件

然后命令行直接调用我们这个exe即可 传入lua脚本的根目录 和输出目录即可
python.py导出的exe lua文件夹 输出文件夹
例:compile.exe d:\\temp\\lua d:\\temp\\luaout

这样只是将lua文件单个进行编译为字节码 后续的加密打包看个人喜好处理了 打完收工