使用 Docker Compose 安装 Harbor 镜像仓库
简介
本文章将详细介绍如何使用 docker-compose 安装 Harbor。
Harbor相关文章参考:
03.使用 KubeSphere 安装Harbor并为Docker进行相关配置
包含 Harbor特性和结构 详细介绍、Docker配置Harbor私有镜像仓库、Harbor的使用
Docker安装文章参考:
Linux操作系统下Docker和Docker Compose的安装教程(包含x86和arm64平台离线一键安装资源包)
版本如下
| 名称 | 版本 |
|---|---|
| Harbor | 2.8.2 |
| CentOS | 7.6+ |
| Docker | 20.10.22 |
| Docker Compose | 1.23.1 |
1. 前期准备
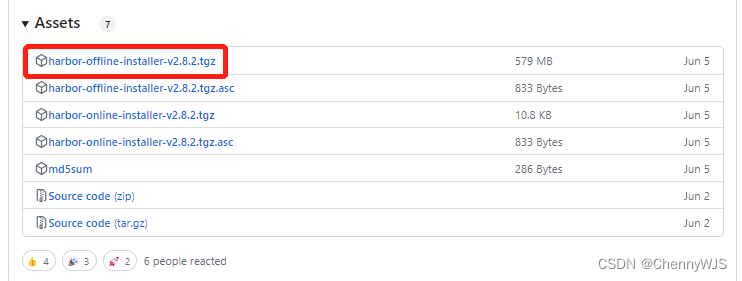
1.1 GitHub下载Harbor安装包
源码地址:https://github.com/goharbor/harbor/releases
点击上面连接,进入页面后,下滑至下面图面展示处,点击下载,然后上传至目标服务器即可
# 或者使用wget命令在服务器直接下载
wget http://github.com/goharbor/harbor/releases/download/v2.8.2/harbor-offline-installer-v2.8.2.tgz
1.2 本站直接下载离线资源
点击下载资源包 harbor-offline-installer-v2.8.2.tgz
下载完成后直接上传至目标服务器即可
2. 开始安装
前置环境必须安装好docker和docker-compose
未安装可参考: Linux操作系统下Docker和DockerCompose的安装教程(包含x86和arm64平台离线一键安装资源包)
2.1 解压资源
# 进入压缩资源包目录
[root@k8s-node01 home]# tar -xzvf harbor-offline-installer-v2.8.2.tgz
harbor/harbor.v2.8.2.tar.gz
harbor/prepare
harbor/LICENSE
harbor/install.sh
harbor/common.sh
harbor/harbor.yml.tmpl
2.2 修改yml配置
# 进入解压后的目录
[root@k8s-node01 home]# ls
harbor  harbor-offline-installer-v2.8.2.tgz
[root@k8s-node01 home]# cd harbor/
[root@k8s-node01 harbor]# ls
common.sh  harbor.v2.8.2.tar.gz  harbor.yml.tmpl  install.sh  LICENSE  prepare
# 拷贝配置文件
[root@k8s-node01 harbor]# cp harbor.yml.tmpl harbor.yml
[root@k8s-node01 harbor]# ls
common.sh  harbor.v2.8.2.tar.gz  harbor.yml  harbor.yml.tmpl  install.sh  LICENSE  prepare
[root@k8s-node01 harbor]#
[root@k8s-node01 harbor]# vim harbor.yml
harbor.yml配置文件主要修改参数如下:
设置访问地址hostname,可以使用ip、域名,不可以设置为127.0.0.1或localhost。默认情况下,harbor使用的端口是80,若使用自定义的端口,除了要改docker-compose.yml文件中port的配置外,hostname也要加上自定义的端口,否则在docker login、push时会报错
# Configuration file of Harbor

# The IP address or hostname to access admin UI and registry service.
# DO NOT use localhost or 127.0.0.1, because Harbor needs to be accessed by external clients.
hostname: 192.168.8.160
#设置访问地址,可以使用ip、域名,不可以设置为127.0.0.1或localhost。默认情况下,harbor使用的端口是80,若使用自定义的端口,除了要改docker-compose.yml文件中的配置外,这里的hostname也要加上自定义的端口,否则在docker login、push时会报错
# http related config
http:
  # port for http, default is 80. If https enabled, this port will redirect to https port
  port: 80

# https related config
# https配置(如不需要可不配置,注释掉)
#https:
  # https port for harbor, default is 443
  #port: 443
  # The path of cert and key files for nginx
  #certificate: /your/certificate/path
  #private_key: /your/private/key/path

# # Uncomment following will enable tls communication between all harbor components
# internal_tls:
#   # set enabled to true means internal tls is enabled
#   enabled: true
#   # put your cert and key files on dir
#   dir: /etc/harbor/tls/internal

# Uncomment external_url if you want to enable external proxy
# And when it enabled the hostname will no longer used
# external_url: https://reg.mydomain.com:8433

# The initial password of Harbor admin
# It only works in first time to install harbor
# Remember Change the admin password from UI after launching Harbor.
# admin账号的密码
harbor_admin_password: Harbor12345

# Harbor DB configuration
database:
  # The password for the root user of Harbor DB. Change this before any production use.
  # 数据库密码
  password: root123
  # The maximum number of connections in the idle connection pool. If it <=0, no idle connections are retained.
  max_idle_conns: 100
  # The maximum number of open connections to the database. If it <= 0, then there is no limit on the number of open connections.
  # Note: the default number of connections is 1024 for postgres of harbor.
  max_open_conns: 900
  # The maximum amount of time a connection may be reused. Expired connections may be closed lazily before reuse. If it <= 0, connections are not closed due to a connection's age.
  # The value is a duration string. A duration string is a possibly signed sequence of decimal numbers, each with optional fraction and a unit suffix, such as "300ms", "-1.5h" or "2h45m". Valid time units are "ns", "us" (or "µs"), "ms", "s", "m", "h".
  conn_max_lifetime: 5m
  # The maximum amount of time a connection may be idle. Expired connections may be closed lazily before reuse. If it <= 0, connections are not closed due to a connection's idle time.
  # The value is a duration string. A duration string is a possibly signed sequence of decimal numbers, each with optional fraction and a unit suffix, such as "300ms", "-1.5h" or "2h45m". Valid time units are "ns", "us" (or "µs"), "ms", "s", "m", "h".
  conn_max_idle_time: 0

# The default data volume
# 数据持久化目录,可自己定义修改
data_volume: /data
2.3 执行安装脚本
[root@k8s-node01 harbor]# ./install.sh

[Step 0]: checking if docker is installed ...

Note: docker version: 20.10.22

[Step 1]: checking docker-compose is installed ...

Note: docker-compose version: 1.23.1

[Step 2]: loading Harbor images ...
21e7914e06fb: Loading layer [==================================================>]  38.39MB/38.39MB
bcd4591a1a5a: Loading layer [==================================================>]  91.73MB/91.73MB
af3f46d7aeca: Loading layer [==================================================>]  3.584kB/3.584kB
5380c26af354: Loading layer [==================================================>]  3.072kB/3.072kB
6462f972b019: Loading layer [==================================================>]   2.56kB/2.56kB
8cb0c83ac487: Loading layer [==================================================>]  3.072kB/3.072kB
cfbe2a0d2719: Loading layer [==================================================>]  3.584kB/3.584kB
e5293f9ebbe6: Loading layer [==================================================>]  20.48kB/20.48kB
脚本执行完,出现以下提示安装完成
Note: stopping existing Harbor instance ...
Removing network harbor_harbor


[Step 5]: starting Harbor ...
Creating network "harbor_harbor" with the default driver
Creating harbor-log ... done
Creating harbor-portal ... done
Creating registry      ... done
Creating harbor-db     ... done
Creating registryctl   ... done
Creating redis         ... done
Creating harbor-core   ... done
Creating harbor-jobservice ... done
Creating nginx             ... done
✔ ----Harbor has been installed and started successfully.----
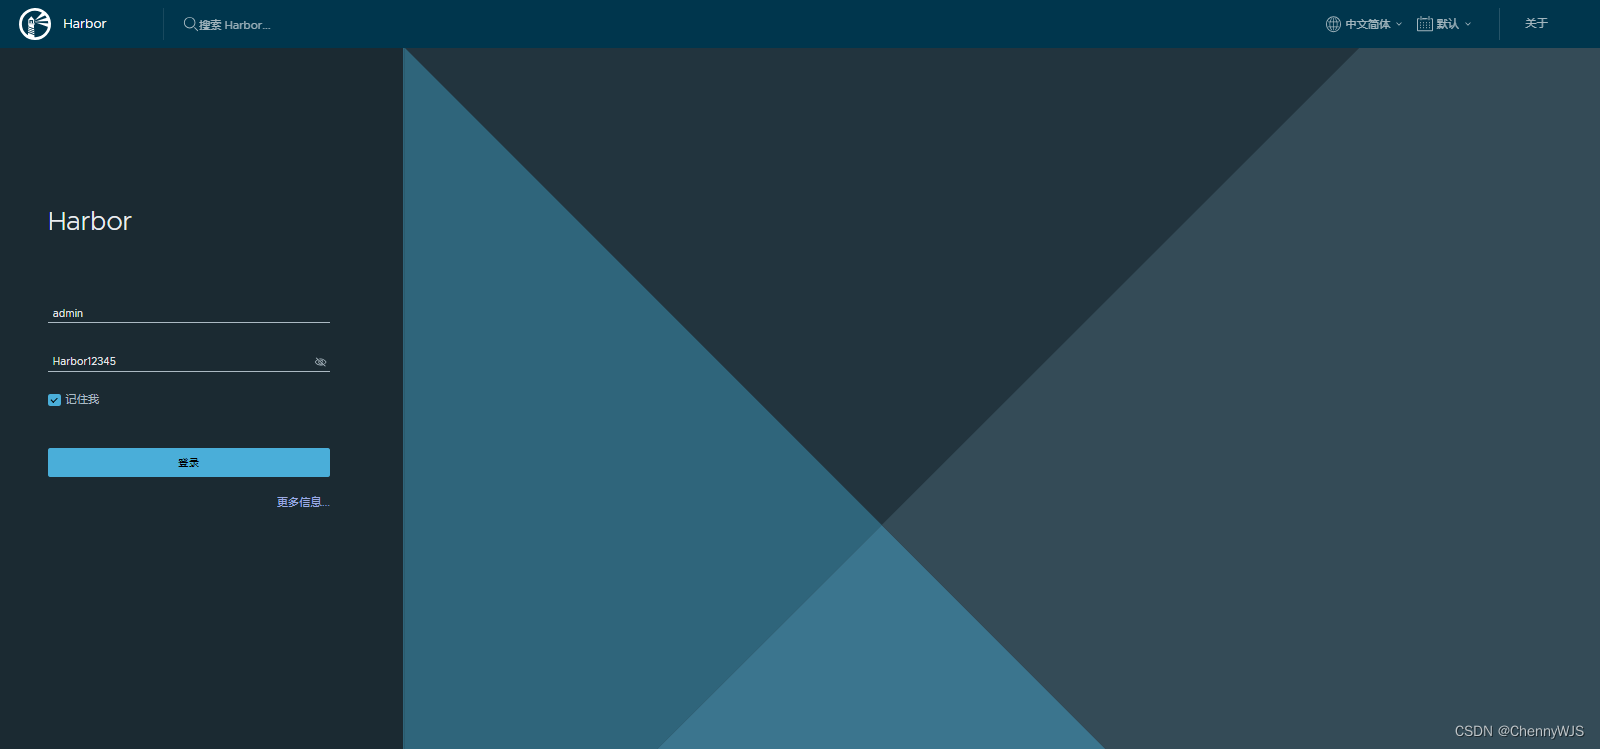
2.4 登录验证
初始账号密码为上面配置文件harbor.yml里设置的 账/密:admin/Harbor12345
浏览器输入harbor.yml里设置的访问网址:http://192.168.8.160
2.5 设置开机自启(可选)
[root@k8s-node01 harbor]# vim uprestart.sh
#!/bin/bash
cd /usr/local/harbor
docker-compose stop; sleep 1m; docker-compose up -d >> /dev/null 2>&1  &
[root@k8s-node01 harbor]# chmod +x uprestart.sh

# 最后一行添加下面内容
[root@k8s-node01 harbor]# vim /etc/rc.d/rc.local
/usr/bin/bash /home/harbor/uprestart.sh

[root@k8s-node01 harbor]# chmod +x /etc/rc.d/rc.local
2.6 docker配置和harbor使用
请参考 03.使用 KubeSphere 安装Harbor并为Docker进行相关配置 中的 2. Docker配置使用Harbor私有仓库
2.7 其他操作
# 命令须在配置文件 harbor.yml 同级目录执行
# 删除harbor容器服务
docker-compose down
rm -rf ./common/config/*
# 停止harbor容器服务
docker-compose stop
# 启动harbor容器服务
docker-compose start
Harbor相关文章参考:
03.使用 KubeSphere 安装Harbor并为Docker进行相关配置
Docker安装文章参考:
Linux操作系统下Docker和Docker Compose的安装教程(包含x86和arm64平台离线一键安装资源包)