简介
还在因各种情侣节日不知道送对方什么礼物而感到苦恼吗?不如试试这个超浪漫的微信聊天词云!
整体思路主要为:
1. 利用模拟器找到备份文件
2. 解密文件并导出文本文件
3. 代码制作词云
前期准备:
一台Windows电脑,一台手机
具体步骤
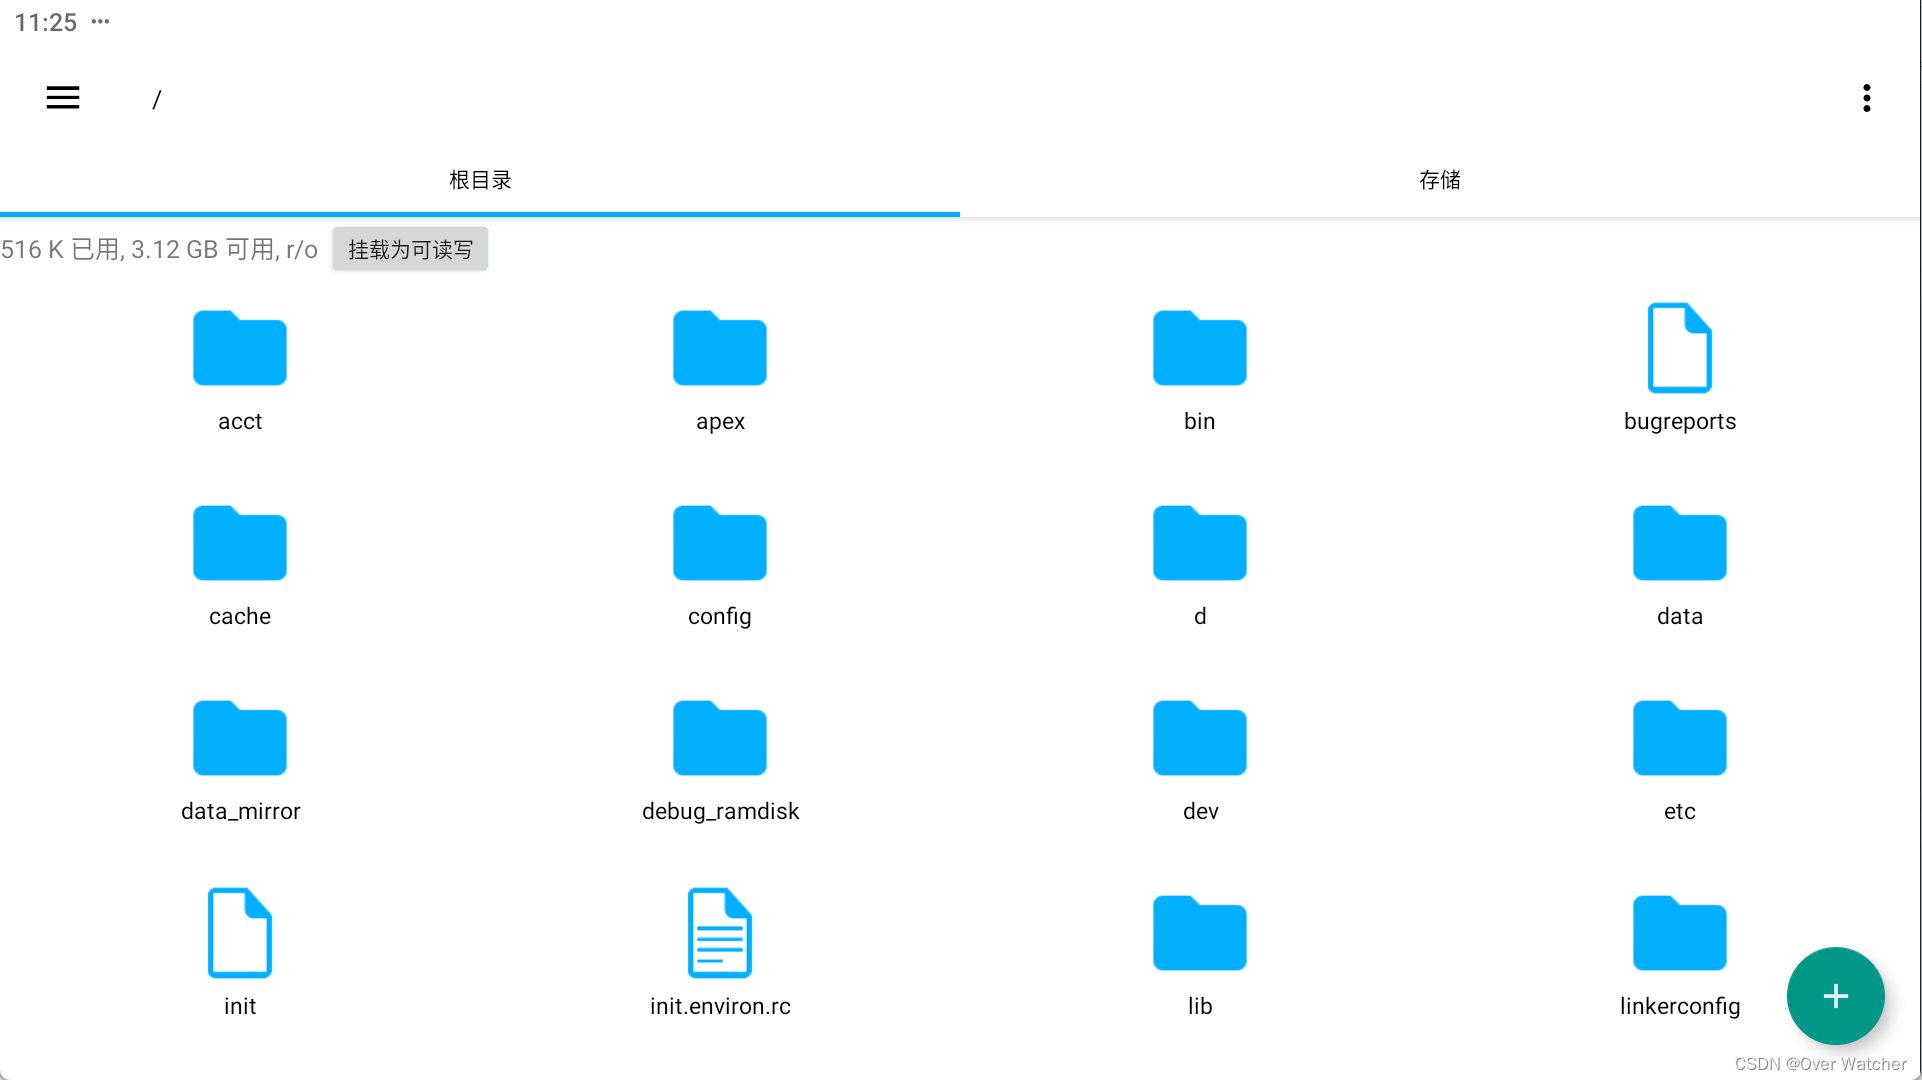
1. 配置MUMU模拟器
直接点下面这个链接下载软件然后安装
安装之后打开应该长下面这样(没有微信的Root Explorer)
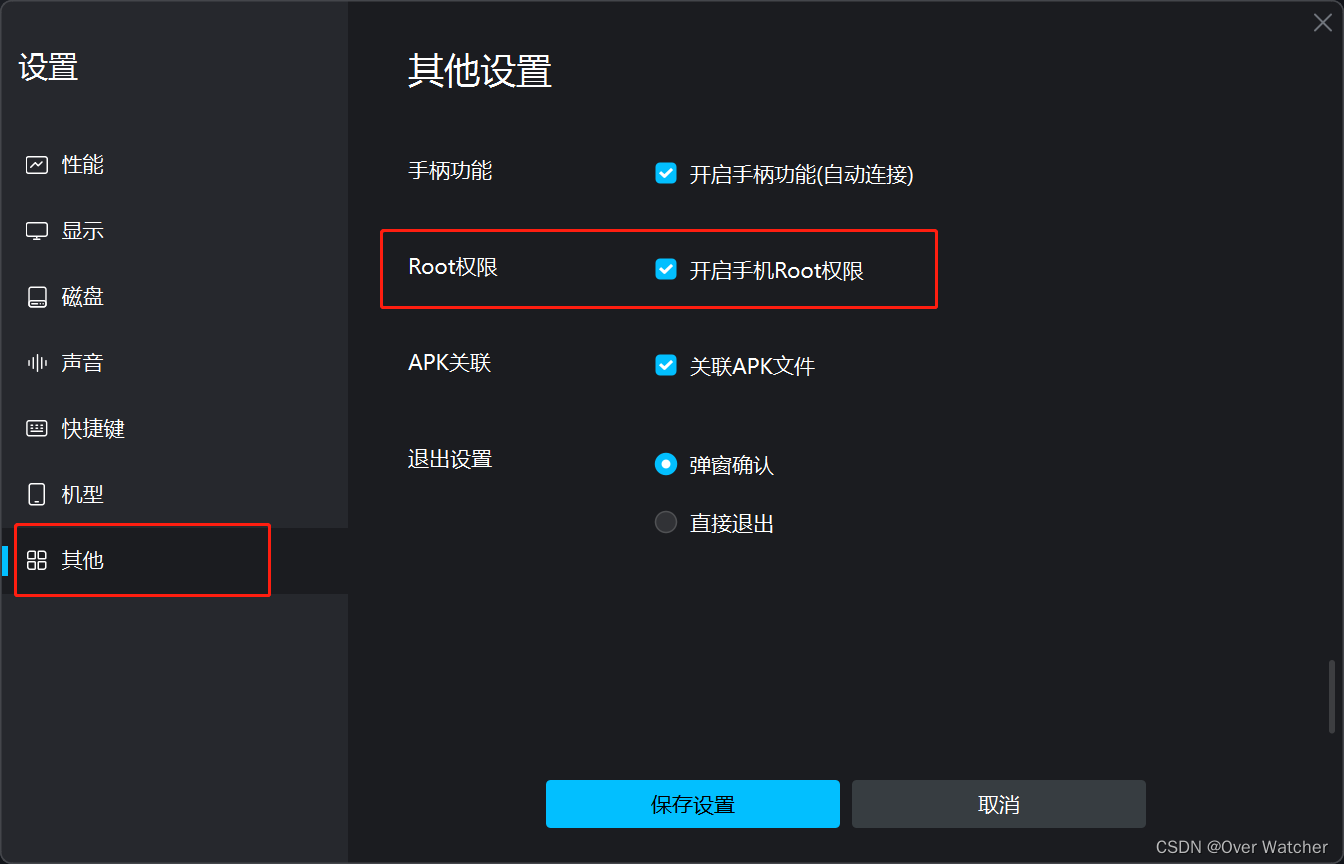
然后点击右上角设置中心

打开root权限
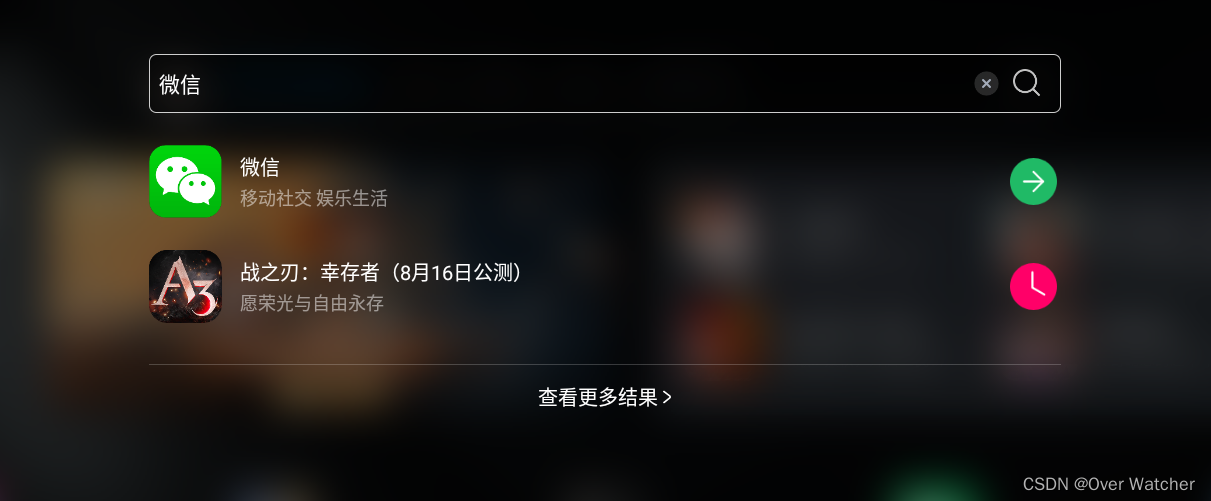
直接桌面顶部搜索栏输入微信然后下载
打开你自己的手机根据:
安卓(我->设置->聊天->聊天记录迁移和备份->迁移->迁移到另一台手机或平板->仅迁移指定聊天记录)
IOS(我->设置->通用->聊天记录迁移和备份->迁移->迁移到另一台手机或平板->仅迁移指定聊天记录)
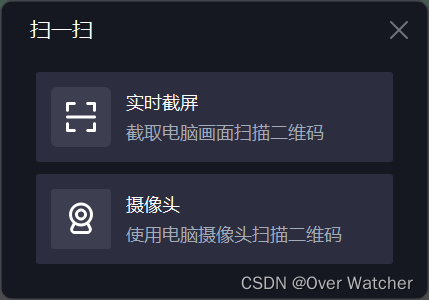
转移聊天记录,然后你的手机上会出现一个二维码
接下来打开你模拟器的微信扫一扫功能,然后扫刚才那个码就可以把聊天记录传到模拟器里了
传输完之后,下载Root Explorer(以下简称RE),老样子直接在搜索栏搜,如果搜不到的话打开内置浏览器上网上下一个也可以

然后打开你的RE,应该长下面这样
根据
从根目录/下开始,路径为:/data/data/com.tencent.mm/MicroMsg/<xxx>/EnMicroMsg.db,其中,<xxx>为一数字字母组成的字符串,因微信号不同而不同,EnMicroMsg.db就是我们的数据库文件了。
然后长按这个文件复制
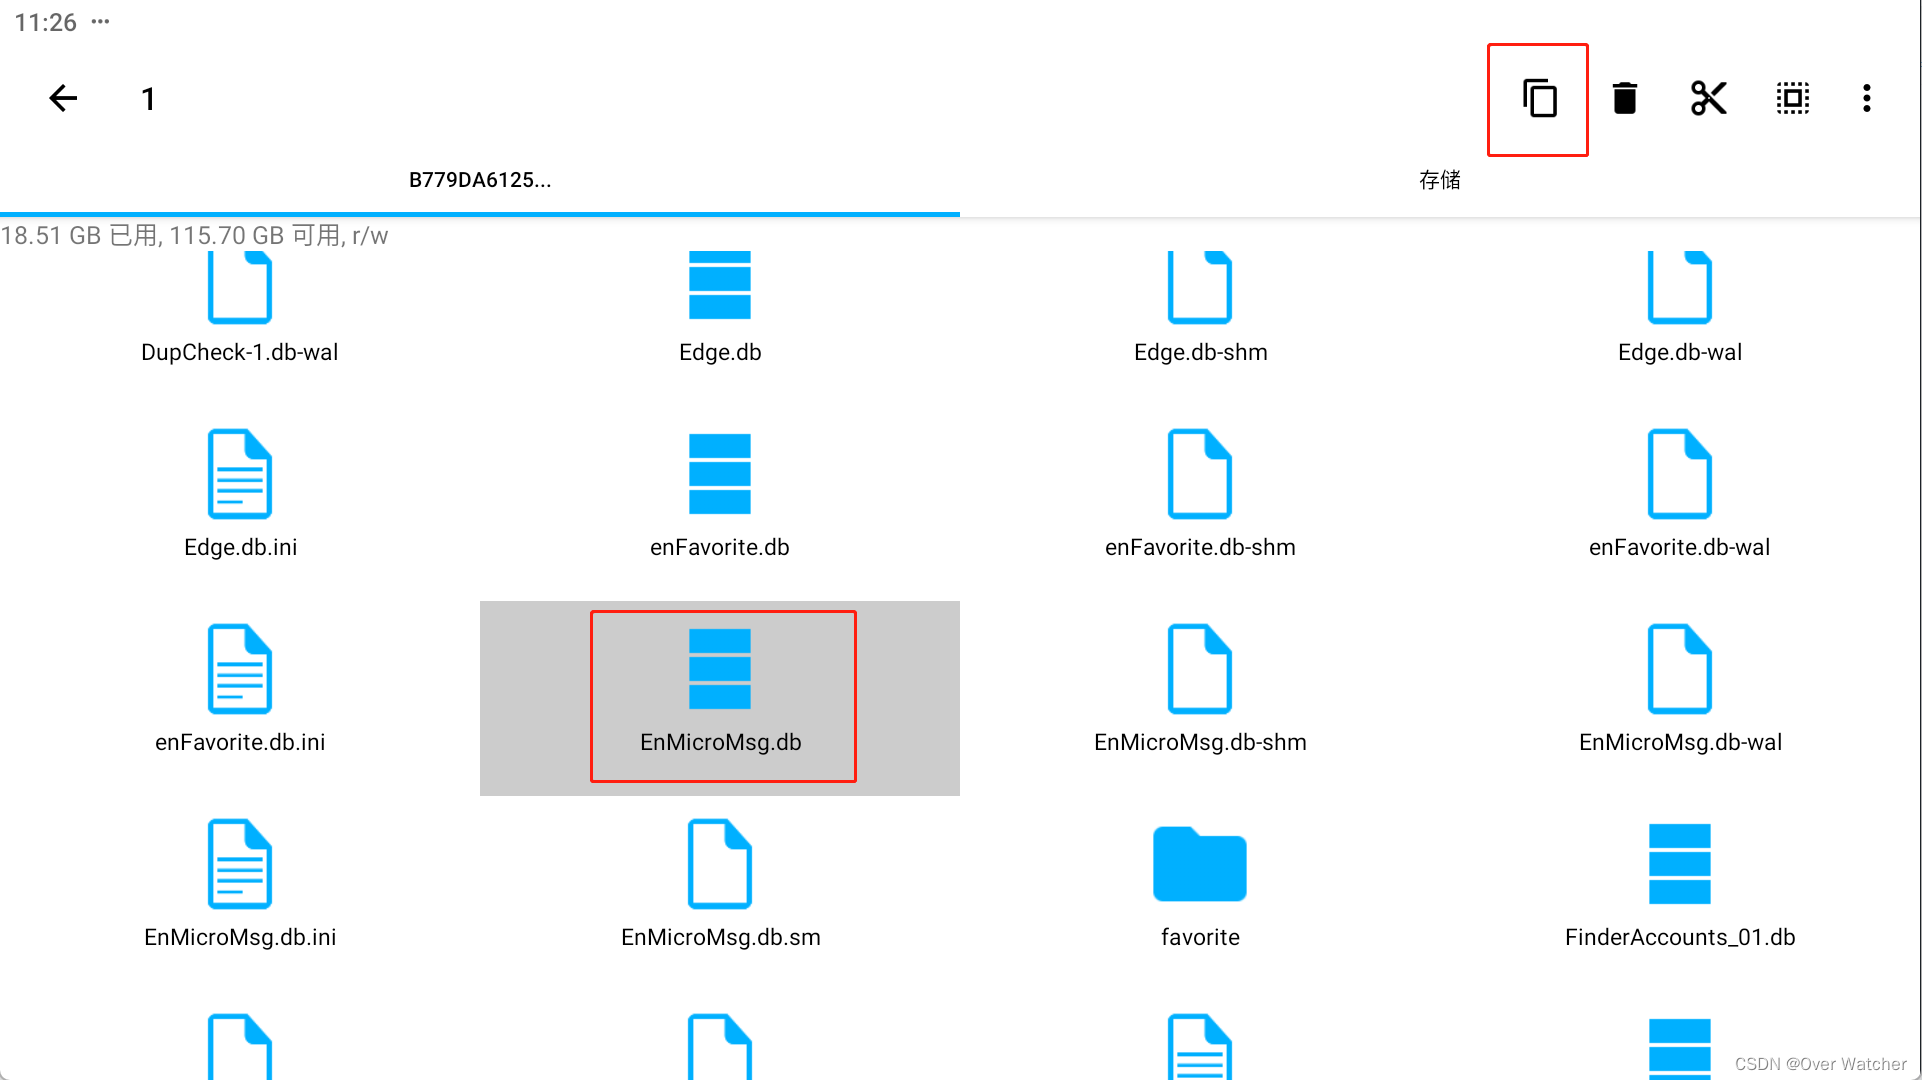
然后粘贴到你的存储里的这个文件夹里
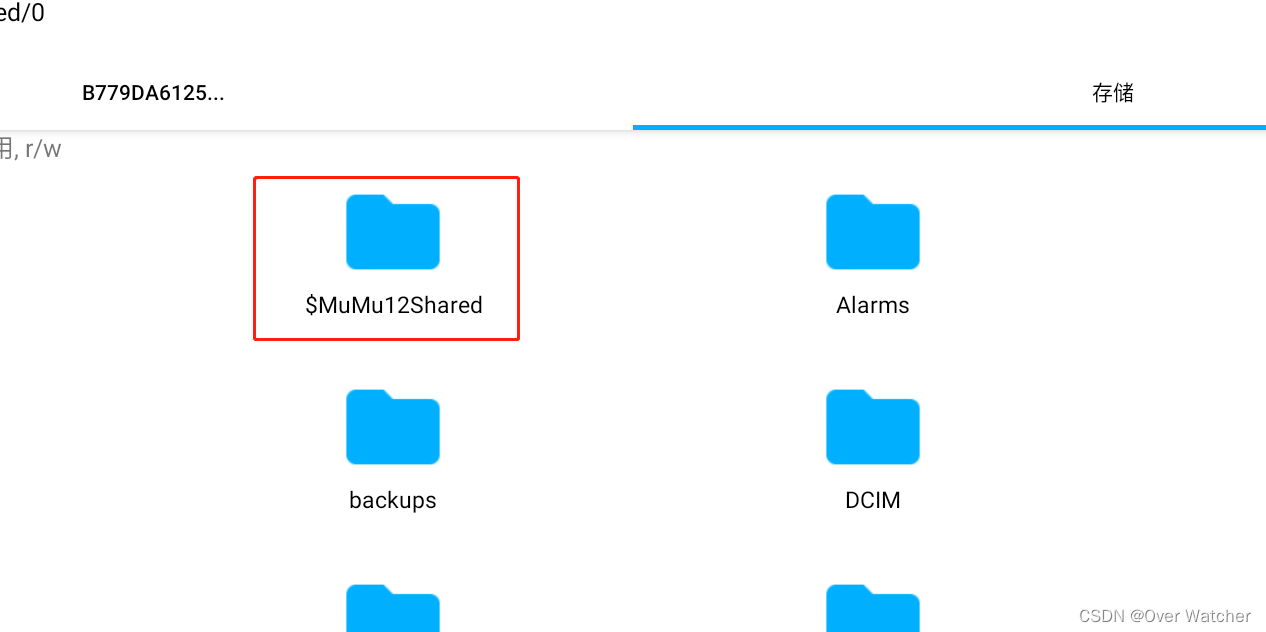
这样你应该就能在你自己的电脑里的文档中的MUMU共享文件夹中看到你的文件

2. 解密文件
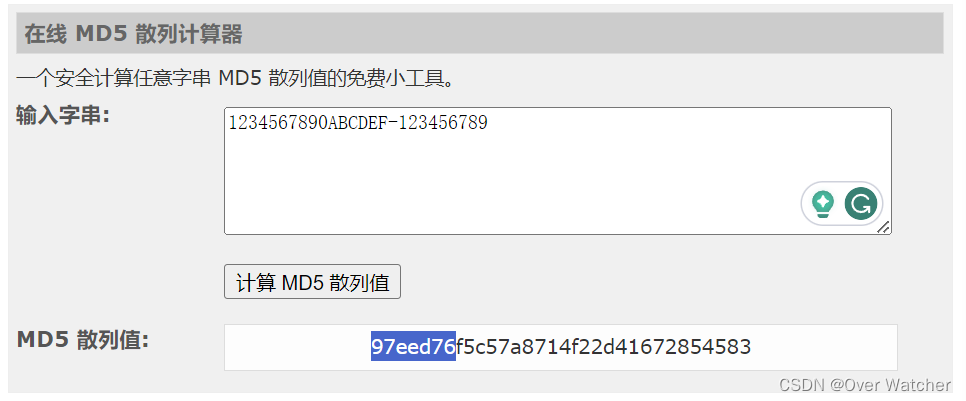
微信对该数据库文件进行了加密,加密规则是:先对IMEI和UIN进行拼接,然后利用MD5算法对拼接后的字符串进行转换,转换后的前7位字符为密码。
由于我们使用的是模拟器,所以IMEI为:1234567890ABCDEF
UIN是微信的用户信息号,你可以在模拟器中的RE根据以下路径找到:/data/data/com.tencent.mm/shared_prefs,然后直接用RE打开其中的system_config_prefs.xml,找到其中name为default_uin的标签所对应的value的值,就是UIN。
至此,我们已经拿到了IMEI和UIN的信息,打开这个网站MD5散列计算器然后把你的IMEI和UIN输入进去(UIN我乱输的,你们就输入你们的UIN就好) ,如果你的UIN前面有“-”或者“+”一定要输进去!!!然后得到的散列值前7位即为密钥
得到了密钥和文件我们还需要SQLcipher去访问里面的内容,下面是下载链接
链接:https://pan.baidu.com/s/1_eh6VxCu-CPfzXDVK7GueA
提取码:3szk
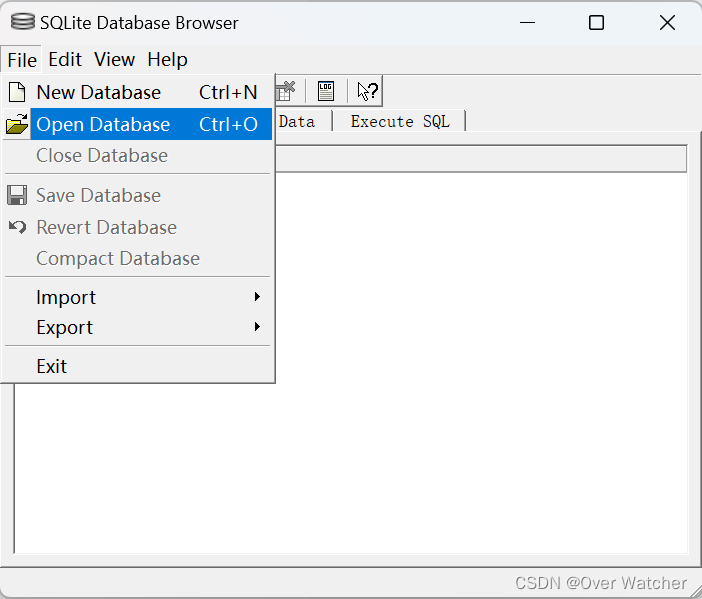
打开SQLcipher,然后右上角Open Database,然后选中EnMicroMsg.db文件
输入刚才散列值的前7位

然后就打开了
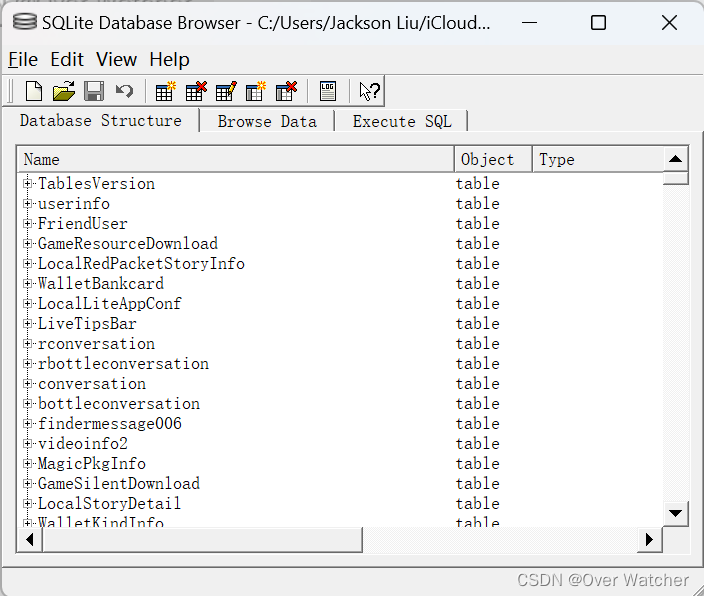
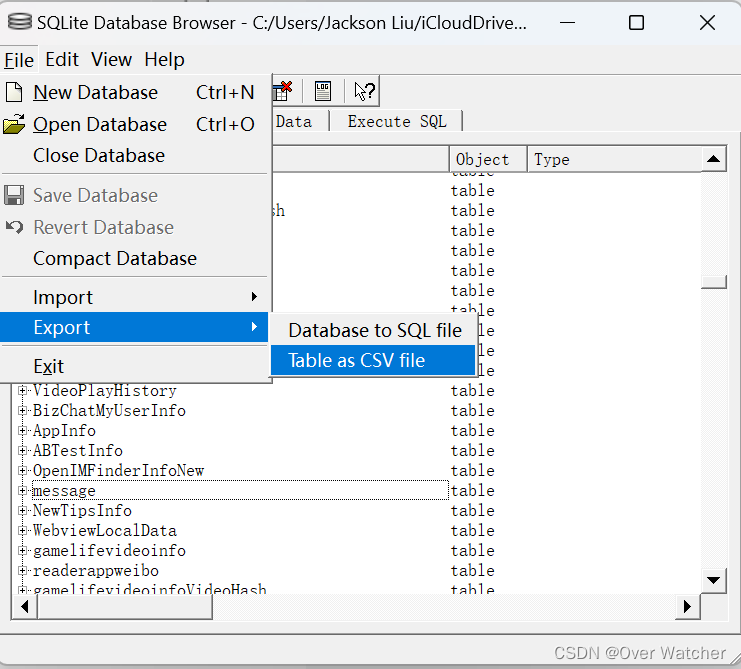
找到"message"那个文件,然后导出为CSV文件
使用记事本打开“message.csv”文件并另存为 txt文件,并改为UTF-8编码!!!

3. 制作词云
以下代码需要四个文件:
“chat_records.txt” 也就是我们刚才导出的那个文件,改成这个名字即可
“stopwords.txt” 可以从这里获取StopWords
“mywords.txt” 直接新建一个空白的txt文件就行
“picture.jpg” 这个是设定你的词云是什么形状的,一般来说只要是轮廓清晰就可以,这边提供一个模板,直接截图保存使用就可

以下就是完整代码,把上述文件和代码放在一个目录下,缺什么包直接“pip install + 包的名字”就可以了。
# coding: utf-8
import jieba
import re
import pandas as pd
import matplotlib.pyplot as plt
from wordcloud import WordCloud, ImageColorGenerator
from imageio import imread

def load_file_segment():
    # Load the text file and segment words
    jieba.load_userdict(r"E:\Programming Project\Python\WordCloud\mywords.txt")
    # Load our own dictionary
    with open(r"E:\Programming Project\Python\WordCloud\chat_records.txt",'r',encoding='utf-8') as f:
        # Open the file
        content = f.read()
        # Read the file content

    # Retain Chinese content
    content = re.sub(r'[^\u4e00-\u9fa5]', '', content)

    segs = jieba.cut(content)
    # Segment the whole text
    segment = [seg for seg in segs if 2 <= len(seg) <= 5 and seg != '\r\n']
    # Add results to list if the length of the segmented word is between 2-5, and is not a newline character
    return segment

def get_words_count_dict():
    segment = load_file_segment()
    # Get the segmented result
    df = pd.DataFrame({'segment':segment})
    # Convert segmented array to pandas DataFrame
    stopwords = pd.read_csv(r"E:\Programming Project\Python\WordCloud\stopwords.txt", index_col=False, quoting=3, sep="\t", names=['stopword'], encoding="utf-8")
    # Load stop words
    df = df[~df.segment.isin(stopwords.stopword)]
    # Exclude stop words
    words_count = df.groupby('segment')['segment'].size().reset_index(name='count')
    # Group by word, calculate the count of each word
    words_count = words_count.reset_index().sort_values(by="count",ascending=False)
    # Reset index to retain segment field and sort in descending order of count
    return words_count

words_count = get_words_count_dict()
# Get word count

bimg = imread(r'E:\Programming Project\Python\WordCloud\picture.jpg')
# Read the template image for word cloud generation

wordcloud = WordCloud(width=1080,
                     height=1080,
                     background_color='white',
                     mask=bimg,
                     font_path='simhei.ttf',
                     max_words=10000,
                     scale=10
                     )
# Get WordCloud object, set the background color, image, font of the word cloud

# If your background color is transparent, replace above two lines with these two
# bimg = imread('ai.png')
# wordcloud = WordCloud(background_color=None, mode='RGBA', mask=bimg, font_path='simhei.ttf')

words = words_count.set_index("segment").to_dict()
# Convert words and frequencies to dictionary
wordcloud = wordcloud.fit_words(words["count"])
# Map the words and frequencies to the WordCloud object
bimgColors = ImageColorGenerator(bimg)
# Generate colors
plt.axis("off")
# Turn off the axes
plt.imshow(wordcloud.recolor(color_func=bimgColors))
# Apply colors
plt.show()
总结
这是一个相对比较简单的词云生成,具体想改参数可以参考代码里的注释,如果有任何问题欢迎在评论区讨论。