这里实现注册中心的有好几种:Consul、Zookeeper和我们将要说的Netflix Eureka;
这里的区别和选择就不说了,大家可以看看:Eureka的工作原理以及它与ZooKeeper的区别和Eureka与ZooKeeper 的比较(转)
这里我们只是用Consul和Netflix Eureka来实现注册中心这个功能。
那么什么叫做springBoot呢?为什么要用它,他有什么优缺点?这里有篇文章大家可以看一下:
不过这里多说点,可能我们在用Netflix Eureka和Consul的时候pom文件中加入jar的时候会提示你这个jar包已经Misssing;这是为什么?
这里就需要用到一个<dependencyManagement>标签
<dependencyManagement>
   <dependencies>
       <dependency>
           <groupId>org.springframework.cloud</groupId>
           <artifactId>spring-cloud-dependencies</artifactId>
           <version>Dalston.SR3</version>
           <type>pom</type>
           <scope>import</scope>
       </dependency>
   </dependencies>
</dependencyManagement>
加入这一句就没有问题了,那么它是什么作用呢?
其实<dependencyManagement>就是对jar包版本进行管理,
例如我们加入的
		<dependency>
		   <groupId>org.springframework.cloud</groupId>
		   <artifactId>spring-cloud-starter-eureka-server</artifactId>
		</dependency>
我们没有指定版本号,那么他就会去 <dependencyManagement>中找,使用它的版本作为自己的版本;但是这里如果你指定了版本号,那么他就不会去找了,就会使用自己的版本号;
还有一点,我们自己在做测试的时候,我们的pom文件还是加入国内镜像比较好,这儿样下载jar也快,而且也避免一些不能下载的jar包,在</build>下加上下面这句:
<repositories>
	<repository>
		<id>public</id>
		<name>aliyun nexus</name>
		<url>http://maven.aliyun.com/nexus/content/groups/public/</url>
		<releases>
			<enabled>true</enabled>
		</releases>
	</repository>
</repositories>
<pluginRepositories>
	<pluginRepository>
		<id>public</id>
		<name>aliyun nexus</name>
		<url>http://maven.aliyun.com/nexus/content/groups/public/</url>
		<releases>
			<enabled>true</enabled>
		</releases>
		<snapshots>
			<enabled>false</enabled>
		</snapshots>
	</pluginRepository>
</pluginRepositories>
好了,我们到这里的就可以去看一下我们今天要做的事情了;
首先,我们是要创建一个springBoot,用它作为注册中心,我们通过file中的new创建:
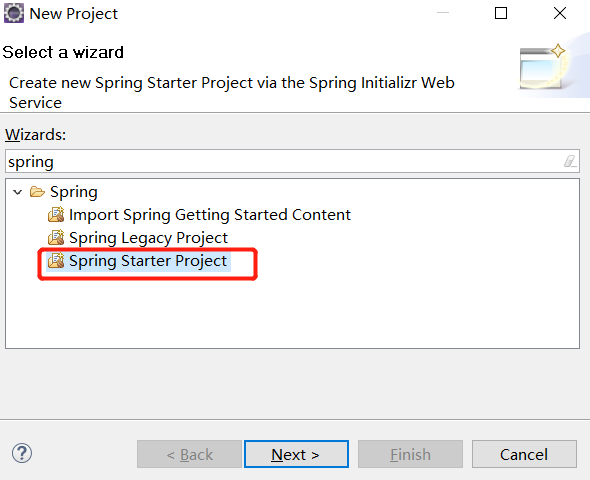
这里我本人用的是eclipse,也可以用idea其实都差不多;
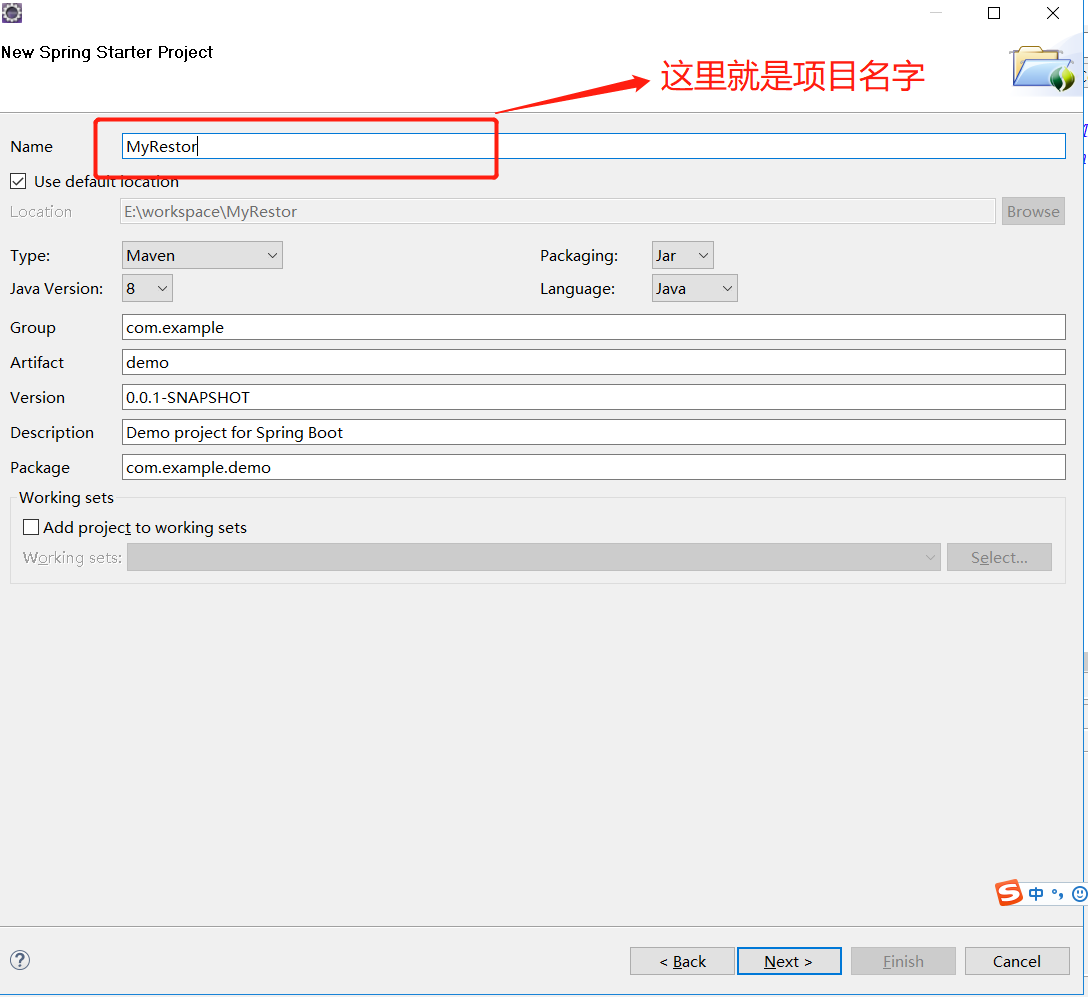
然后一直nest,后面有版本号,自己根据自己的需要可以选择,最后finish就创建成功了;
创建成功后,打开pom文件,加入下面的配置:
	<dependency>
            <groupId>org.springframework.boot</groupId>
            <artifactId>spring-boot-starter-web</artifactId>
        </dependency>

	<dependency>
             <groupId>org.springframework.cloud</groupId>
	     <artifactId>spring-cloud-starter-eureka-server</artifactId>
	</dependency>
这样我们需要的jar包已经够用了;
然后我们在主程序中加入@EnableEurekaServer;使用它就可以让应用变为Eureka服务器;
@SpringBootApplication
@EnableEurekaServer
public class MyRestorApplication {

	public static void main(String[] args) {
		SpringApplication.run(MyRestorApplication.class, args);
	}
}
然后我们去修改一下application.properties文件:
spring.application.name=eureka-server
server.port=1001

eureka.instance.hostname=localhost
eureka.client.register-with-eureka=false
eureka.client.fetch-registry=false
这里的第一行是起的名字,第二行是端口号,第三行是当前实例主机的名称;第四行false表示不向注册中心注册自己;最后一行表示不从Eureka Server获取信息;
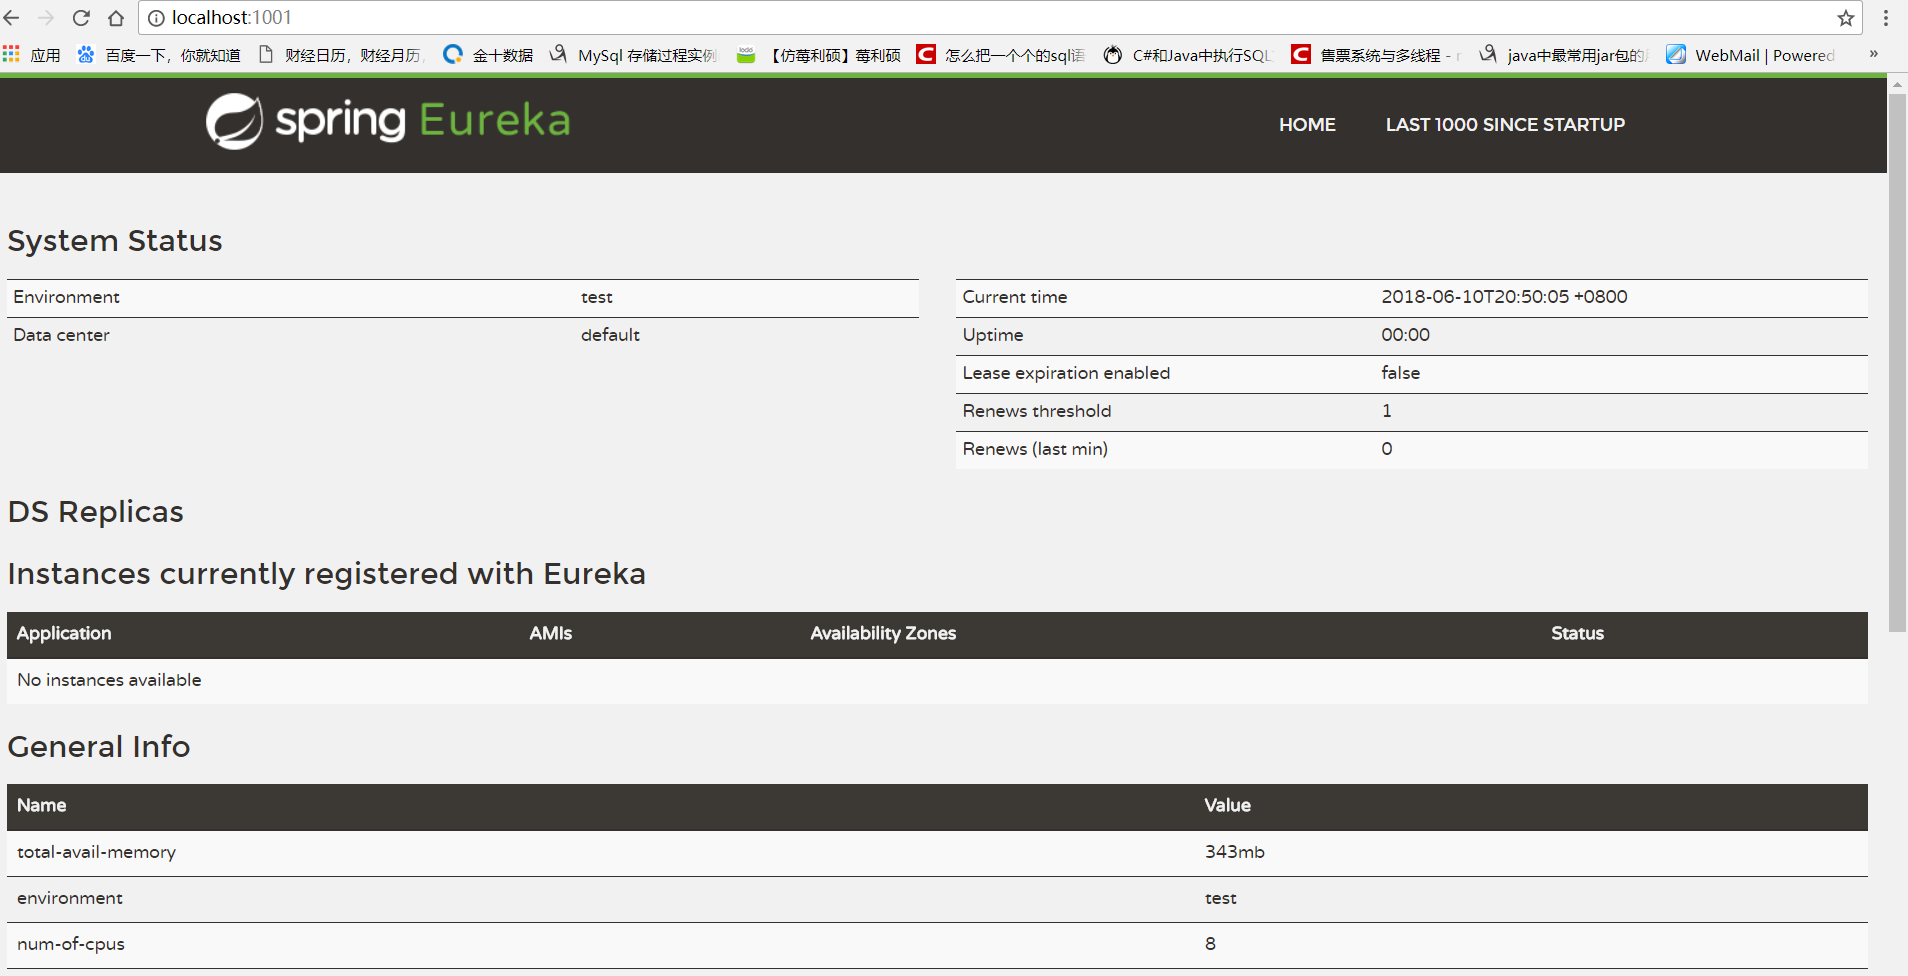
这样我们的注册中心就创建完成了,是不是很快,很简单,那我们来启东看一下:
没有问题,不过现在还没有生产者,那么接下来我们来创建个生产者:
我们也是用和刚才一样的pom文件,
创建过程都会一样的,我们需要修改的就是application.properties文件:
spring.application.name=eureka-client
server.port=2001
eureka.client.serviceUrl.defaultZone=http://localhost:1001/eureka/
第一行是生产者的名字,第二行是端口号,第三行就是要发布的注册中心。
然后修改主程序,这里加的注解就是@EnableDiscoveryClient了,这里还有一个@EnableEurekaClient注解,后面的那个注解只能用于Netflix Eureka注册中心,而我们这里要用两种方式的注册中心,还有consul,所以我们选择了第一种,这样到时候我们改动的代码就比较少了;
@SpringBootApplication
@EnableDiscoveryClient
public class MyClientApplication {

	public static void main(String[] args) {
		SpringApplication.run(MyClientApplication.class, args);
	}
}
然后为了后面的测试,我们创建一个controller类,并创建一个方法:
@RestController
public class UserController {
	    @Autowired
	    private DiscoveryClient client;

	    @RequestMapping(value = "/hello", method = RequestMethod.GET)
	    public String index() {
	        return "Hello World";
	    }
}
我们在这里创建了hello方法,用于测试后面的消费者;到这里,我们的生产者已经完成了,是不是也很简单,启动起来看一下:
启动后访问:http://localhost:1001/
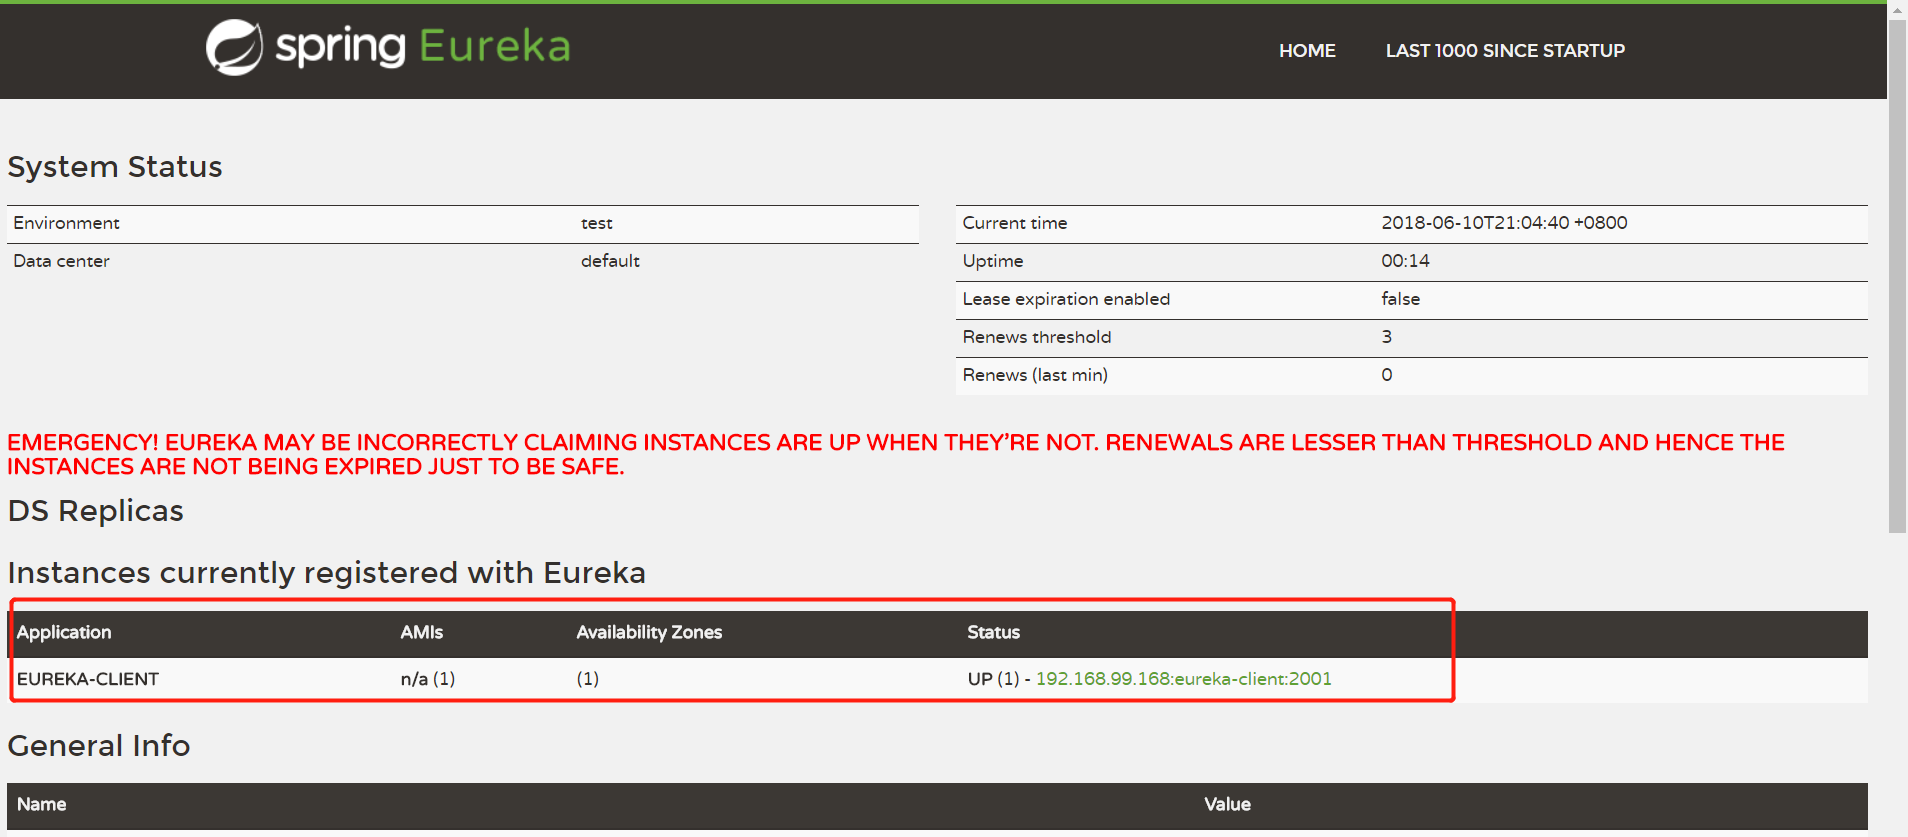
我们能够看到,已经注册进来了;
到这里,我们的注册中心和生产者已经创建完成了,那么现在来创建消费者;
这里的消费者创建有三种,一种是基础的消费者;一种是Ribbon;最后一种是feign;常用的是feign;今天这里就只说一下用基础的方法来创建:
这里的pom文件也不需要修改,我们修改一下application.properties文件:
spring.application.name=eureka-consumer
server.port=2002

eureka.client.serviceUrl.defaultZone=http://localhost:1001/eureka/
这里这三行就不说了,一看就知道;
然后我们来修改一下主程序:
@SpringBootApplication
@EnableDiscoveryClient
public class MyConsumerApplication {

	@Bean
	public RestTemplate restTemplate() {
		return new RestTemplate();
	}

	public static void main(String[] args) {
		SpringApplication.run(MyConsumerApplication.class, args);
	}
}
然后我们来创建一个controller
@RestController
public class ConsumerController {
    @Autowired
    LoadBalancerClient loadBalancerClient;
    @Autowired
    RestTemplate restTemplate;
    @GetMapping("/consumer")
    public String dc() {
        ServiceInstance serviceInstance = loadBalancerClient.choose("eureka-client");
        String url = "http://" + serviceInstance.getHost() + ":" + serviceInstance.getPort() + "/hello";
        return restTemplate.getForObject(url, String.class);
    }
}
这里的choose方法里面封装了一种选择服务的算法;然后我们来测试下;
访问:http://localhost:2002/consumer
可以看到我们已经取得了返回值;到这里我们的工作完成;