vue创建一个登录界面
(1)创建登录界面和主页
打开搭建好的vue项目,在components文件夹下面新建一个Main.vue和Login.vue文件。目录情况如下:
|-------src
| |-- components
| | |-- Main.vue
| | |-- Login.vue
| |-- router
| | |-- index.js
| |-- main.js
| |-- App.vue
|------- index.html
(2)配置路由
vue中页面跳转配置可以用路由实现,对/src/router/index.js配置如下:
import Vue from 'vue'
import Router from 'vue-router'
import Login from '@/components/Login'
import Main from '@/components/Main'

Vue.use(Router)

export default new Router({


  routes: [
    {


      path: '/',
      name: 'Login',
      component: Login,
      meta:{


        keepalive:false
      }
    },
    {


      path: '/Main',
      name: 'Main',
      component: Main,
      meta:{


        keepalive:true
      }
    }
  ]
})
(3)配置main.js
/src/main.js
// The Vue build version to load with the `import` command
// (runtime-only or standalone) has been set in webpack.base.conf with an alias.
import Vue from 'vue'
import ElementUI from 'element-ui'
import 'element-ui/lib/theme-chalk/index.css'

import App from './App'
import router from './router'

Vue.config.productionTip = false;

Vue.use(ElementUI)

/* eslint-disable no-new */
var app = new Vue({


  el: '#app',
  /* 创建和挂载根实例 */
  router,
  components: {

     App },
  template: '<App/>'
})
(4)配置App.vue
在配置App.vue时,由于系统页面布局使用了Element UI 的侧边栏布局,登录页面则不需要侧边栏布局,所以在App.vue中采用keep-alive结合$route.meta来实现这个功能。
keep-alive是Vue提供的一个抽象组件,用来对组件进行缓存,从而节省性能,在页面渲染完毕后不会被渲染成一个DOM元素。$route.meta则可以选择让需要的页面才展示。
如下代码中对el-header和router-view用keep-alive进行了包裹,结合步骤(2)中路由组件配置时设置keepalive属性。
/src/App.vue
<template>
  <div id="app">
    <el-container v-if="$route.meta.keepalive">
      <el-header class="header">
        <keep-alive>
          <v_Header></v_Header>
        </keep-alive>
      </el-header>
      <el-container>
        <el-aside style="width:200px; height:600px">
          <keep-alive>
            <v_leftmenu></v_leftmenu>
          </keep-alive>
        </el-aside>
        <el-container>
          <el-main>
            <keep-alive>
              <router-view></router-view>
            </keep-alive>
          </el-main>
          <el-footer style=" padding-left: 0px;padding-right: 0px;">
            <v_footer></v_footer>
          </el-footer>
        </el-container>
      </el-container>
    </el-container>
    <router-view v-if="!$route.meta.keepalive"></router-view>
  </div>
</template>

<script>
import LeftMenu from "./components/LeftMenu"
import Header from "./components/Header"
import  Footer from './components/Footer'

export default {


  name: 'App',
  components: {


    'v_Header': Header,
    'v_leftmenu': LeftMenu,
    'v_footer': Footer
  }
}
</script>

<style>
  #app {


    font-family: 'Avenir', Helvetica, Arial, sans-serif;
    -webkit-font-smoothing: antialiased;
    -moz-osx-font-smoothing: grayscale;
    text-align: center;
    color: #2c3e50;
  }
  .header{


    line-height: 60px;
    background-color: #545c64;
    text-color: white;
  }
</style>
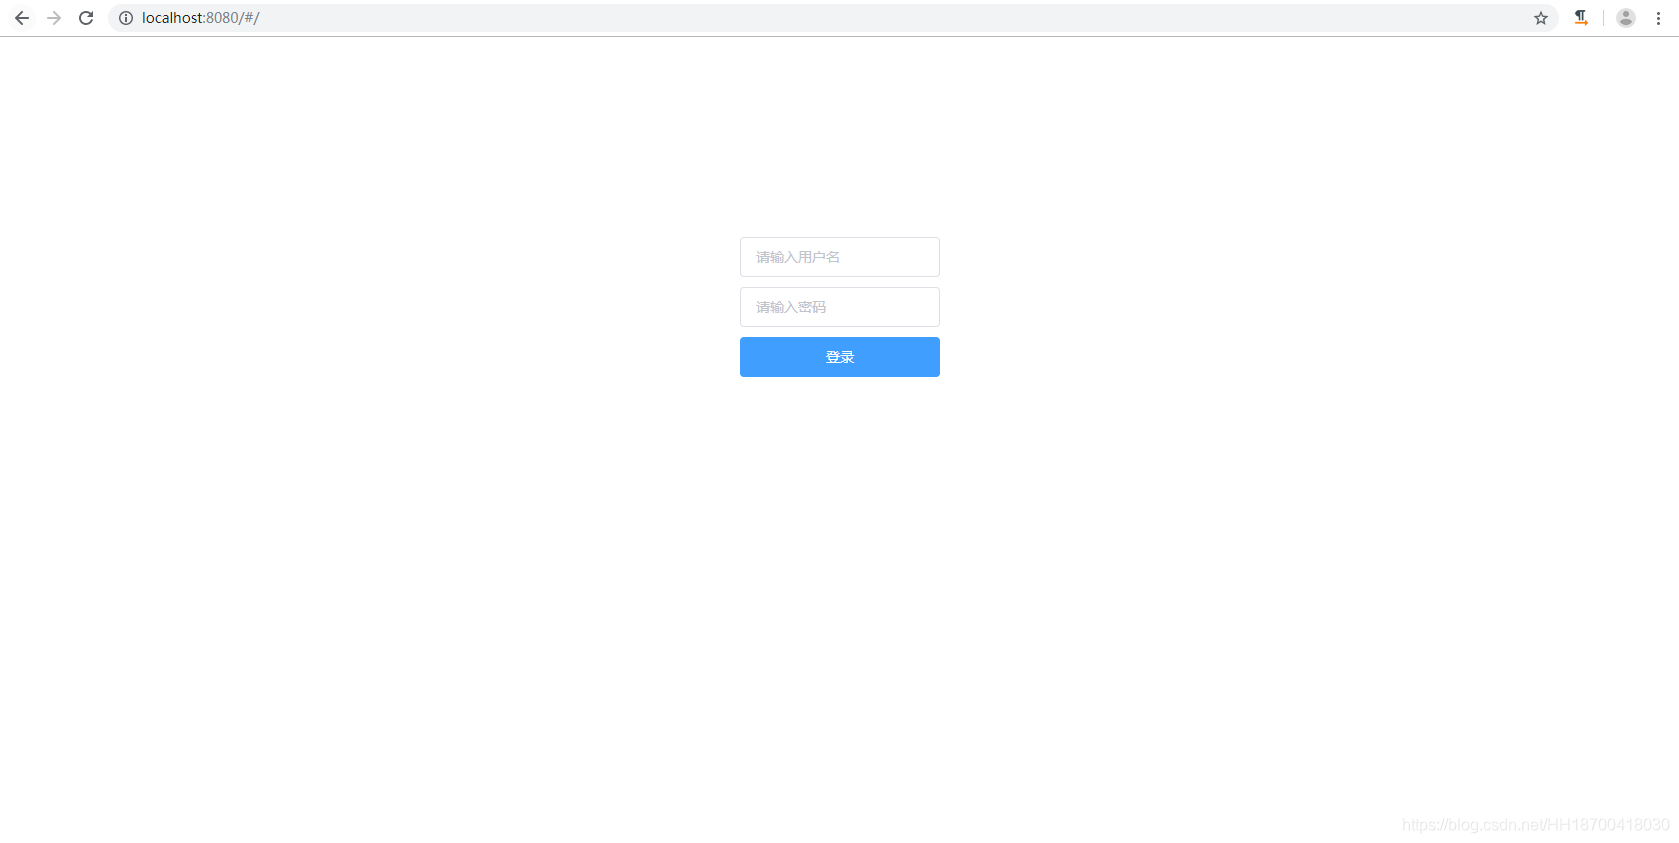
没有设置keep-alive的登录界面如下图所示:
(5)登录页面
/src/components/Login.vue
<template>
  <div class="login">
    <div>
      <el-input placeholder="请输入用户名" v-model="name" clearable class="input_style"></el-input>
      <span v-if="error.name" class="err-msg">{

    {

    error.name}}</span>
    </div>
    <div>
      <el-input placeholder="请输入密码" v-model="pwd" show-password class="input_style"></el-input>
      <span v-if="error.pwd" class="err-msg">{

    {

    error.pwd}}</span>
    </div>
    <div>
      <el-button type="primary" @click="login" class="login_style">登录</el-button>
    </div>
  </div>
</template>

<script>
  export default {


    name: "Login",
    data(){


      return {


        name: '',
        pwd : '',
        error : {


          name: '',
          pwd : ''
        }
      }
    },
    methods:{


      login(){


        const {

     name, pwd, $router} = this
        this.$router.push({


          name: "Main",
          params: {


            username: this.name
          }
        });
      }
    }
  }
</script>

<style>
  .login{


    margin-top: 200px;
  }
  .input_style{


    width: 200px;
    margin-bottom: 10px;
  }
  .login_style{


    width: 200px;
  }
</style>
本登录页面实现了简单的跳转功能,尚未对输入的用户名和密码进行判断,后续会完善~
(6)主页面
/src/components/Main.vue
<template>
  <div class="main">
    <h1>{

    {

     msg }}</h1>
  </div>
</template>

<script>
  export default {


    data () {


      return {


        msg: 'Welcome to the main vue '
      }
    }
  }
</script>

<style>
  .main {


    font-size: 30px;
    color: #000000;
  }
</style>
到这儿,一个简单的登录功能算是完成了,在命令台输入:npm run dev

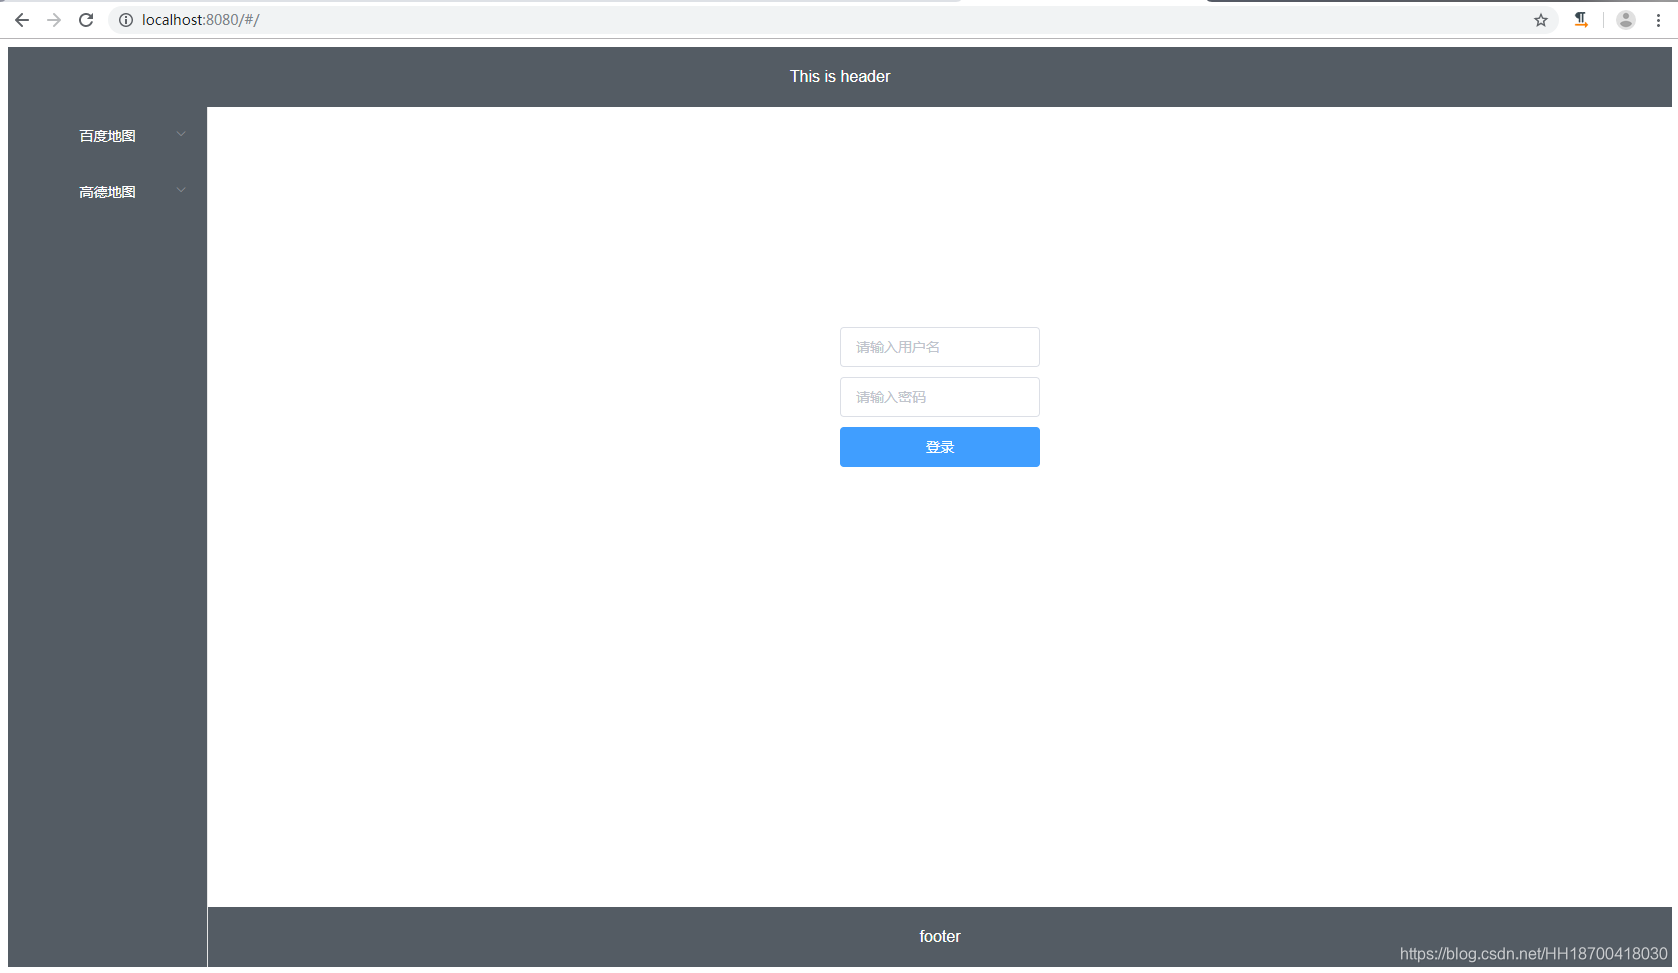
浏览器输入 http://localhost:8080,进入登陆页面:
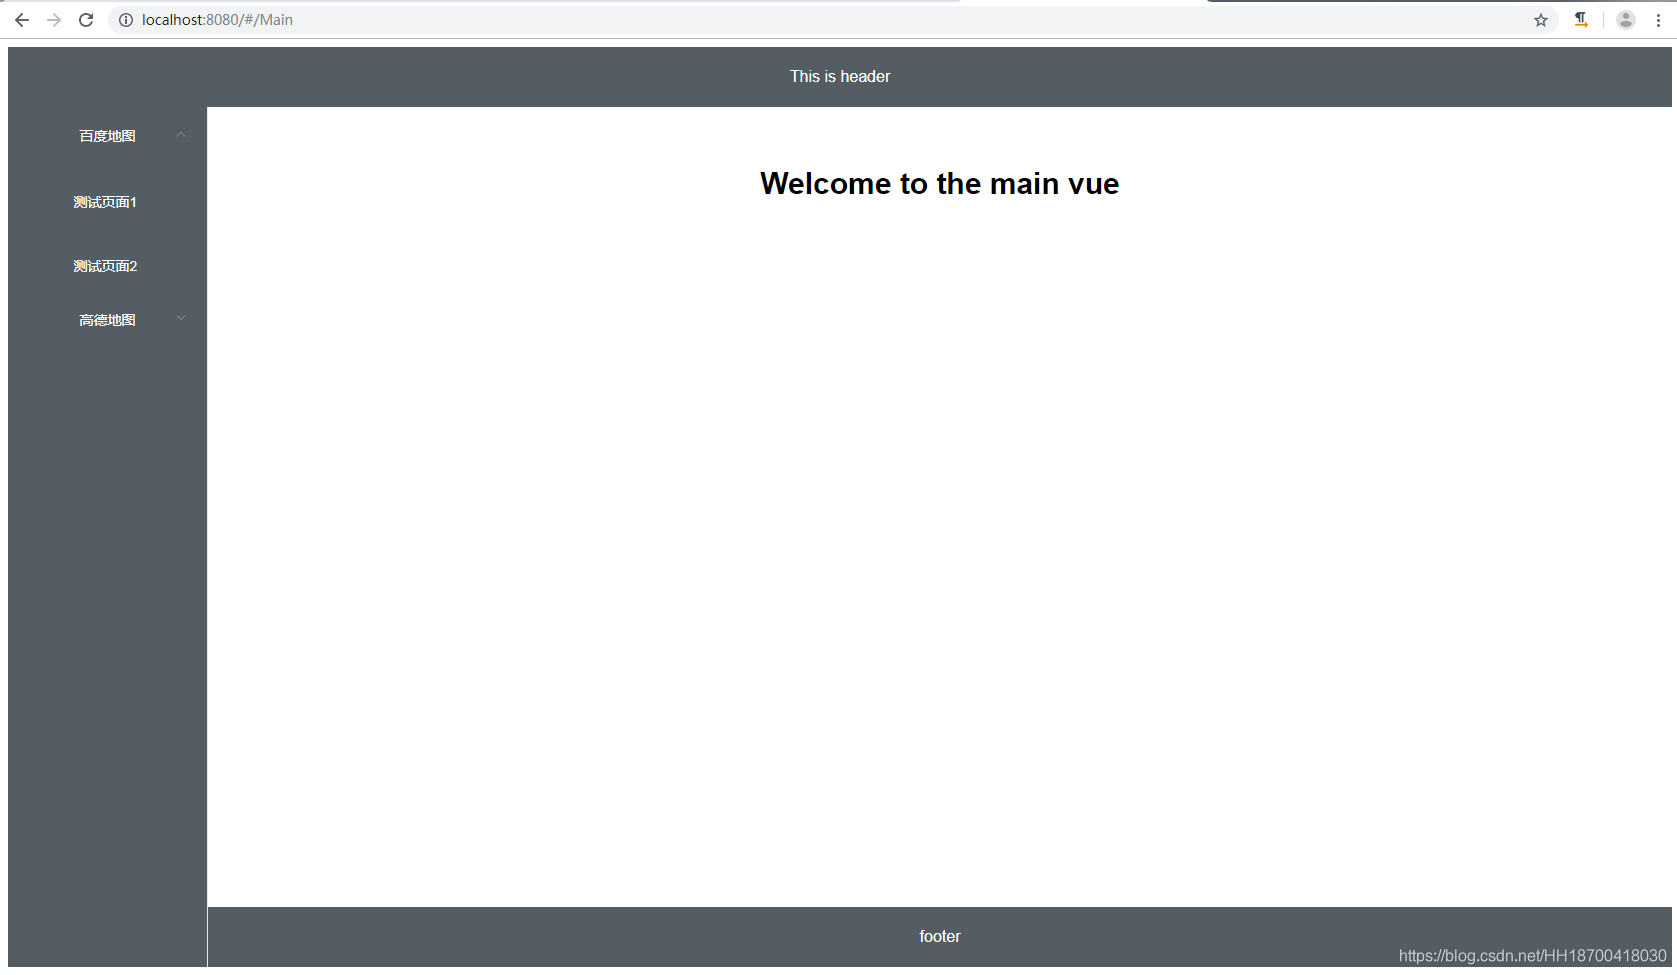
点击“登录”按钮跳转到主页面:
用到的组件
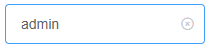
输入框使用了Element UI 组件的input控件:
“用户名”输入框使用可清空样式:
“密码”输入框使用密码样式:
“登录”按钮使用了按钮样式:

参考链接
https://www.cnblogs.com/coderWj/p/8639420.html
https://www.cnblogs.com/Smiled/p/7613965.html