要求:电脑上装有idea,git环境,jdk8(至少jdk8,配置好环境变量)
首先从rocketmq的github地址拉取源码: https://github.com/apache/rocketmq.git
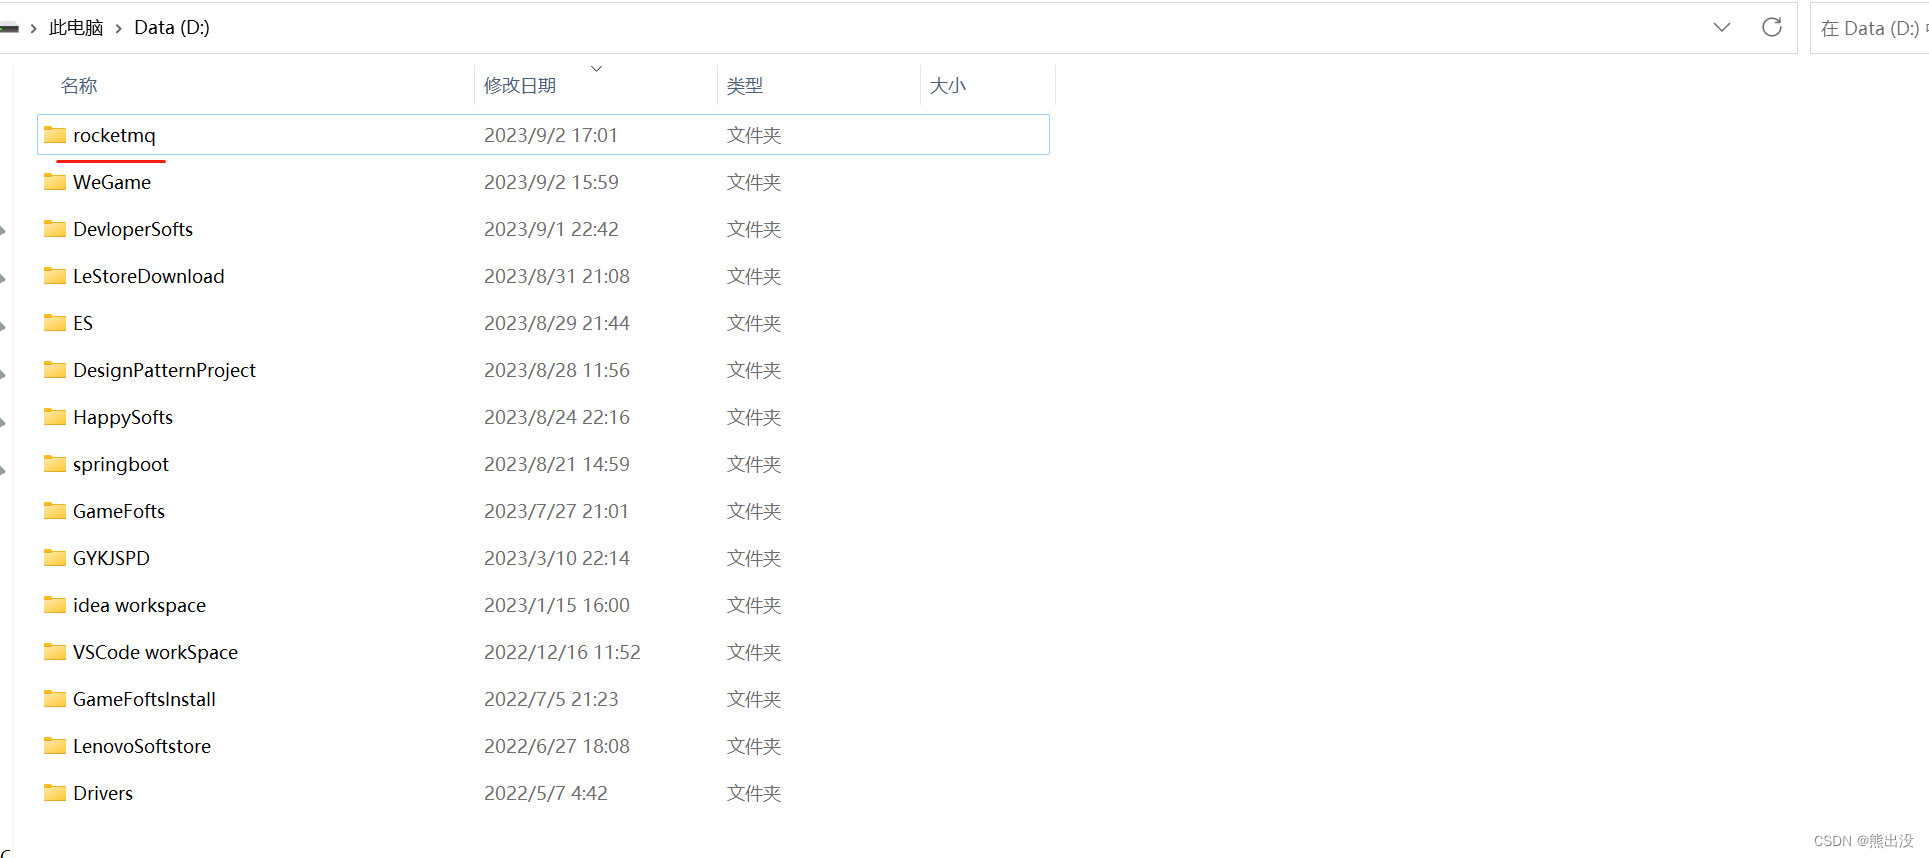
在这里我放到了D盘
然后用idea工具打开如下

执行maven的clean命令
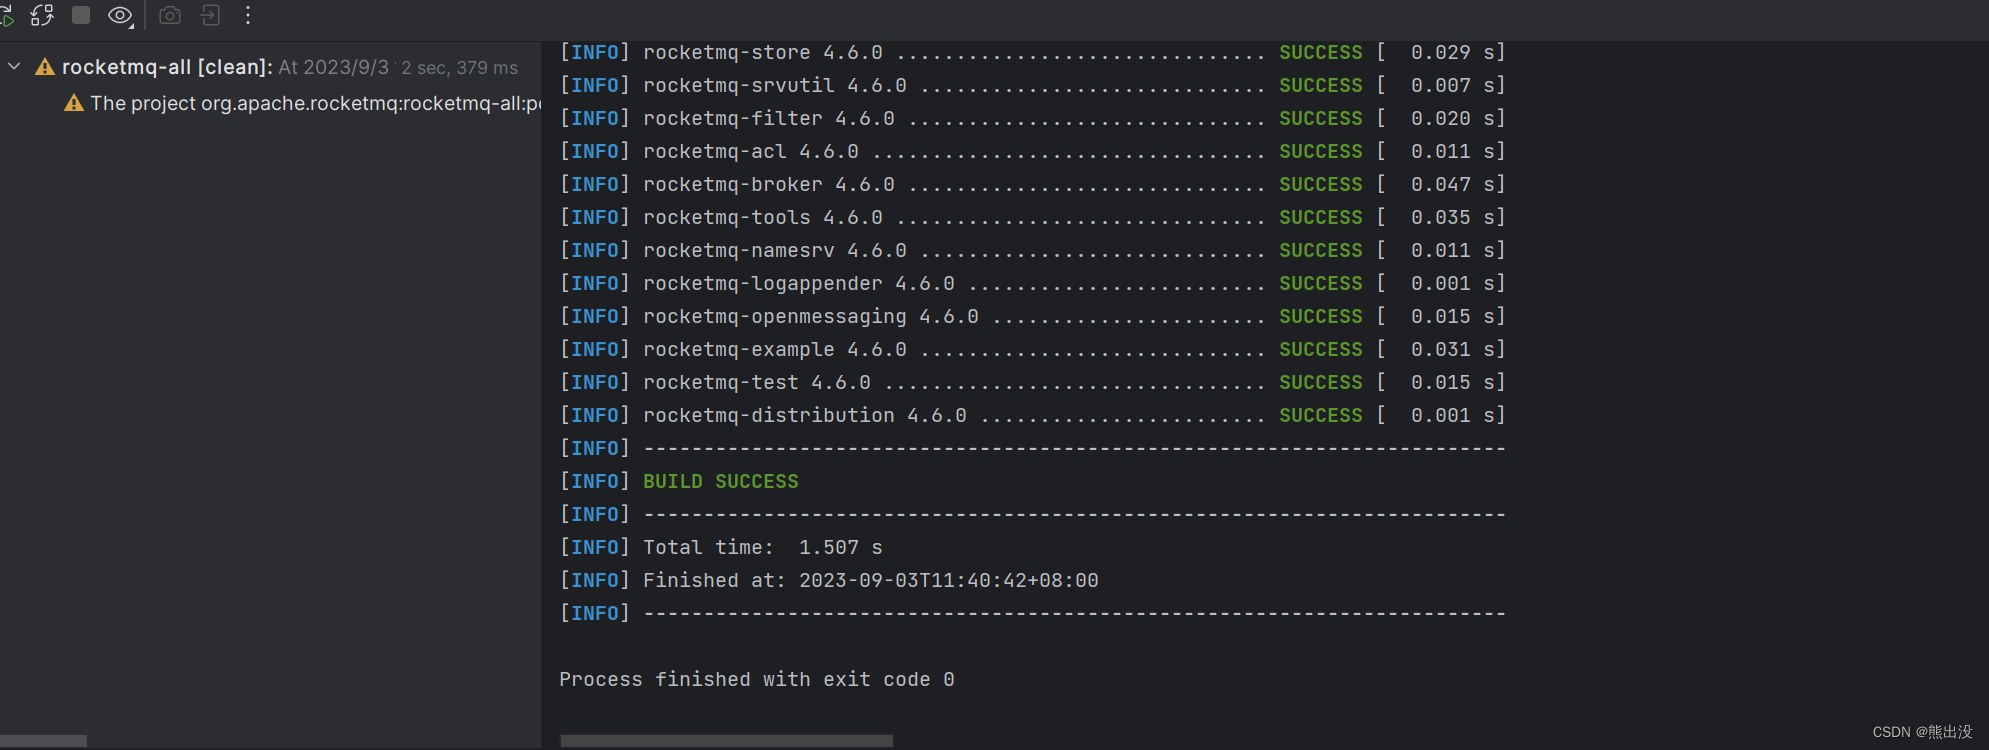
install命令可不执行,执行会报错 (某些测试类报错)
下面展示如何使用idea调试rocketmq源码
分别找到namesrv下的 NamesrvStartup 类,和broker下的 BrokerStartup类,分别点击启动一次,会失败先不用管。
下图右上角会出现相应启动记录:

点击Edit Configurations ,首先编辑NamesrvStartup,设置Enviroment variables

然后点击BrokerStartup设置program arguments和 Enviroment variables
 在RocketMq运行主目录中创建conf、logs文件夹 ,store文件如果没有也需要创建

从RocketMq distribution部署目录中找到broker.conf、logback_broker.xml、logback_namesrv.xml

复制到新建的conf文件夹下

修改broker.conf内容如下:
# Licensed to the Apache Software Foundation (ASF) under one or more
# contributor license agreements. See the NOTICE file distributed with
# this work for additional information regarding copyright ownership.
# The ASF licenses this file to You under the Apache License, Version 2.0
# (the "License"); you may not use this file except in compliance with
# the License. You may obtain a copy of the License at
#
# http://www.apache.org/licenses/LICENSE-2.0
#
# Unless required by applicable law or agreed to in writing, software
# distributed under the License is distributed on an "AS IS" BASIS,
# WITHOUT WARRANTIES OR CONDITIONS OF ANY KIND, either express or implied.
# See the License for the specific language governing permissions and
# limitations under the License.brokerClusterName = DefaultCluster
brokerName = broker-a
brokerId = 0
namesrvAddr = 127.0.0.1:9876
deleteWhen = 04
fileReservedTime = 48
brokerRole = ASYNC_MASTER
flushDiskType = ASYNC_FLUSH
#存储路径
storePathRootDir = D:\\rocketmq\\store
#CommitLog存储路径
storeCommitLog = D:\\rocketmq\\store\\commitlog
# 消息队列存储路径
storePathConsumeQueue = D:\\rocketmq\\store\\consumequeue
# 消息索引存储
storePathIndex = D:\\rocketmq\\store\\index
#checkpoint 文件存储路径
storeCheckpoint = D:\\rocketmq\\store\\checkpoint
#abort 文件存储路径
abortFile = D:\\rocketmq\\store\\abort
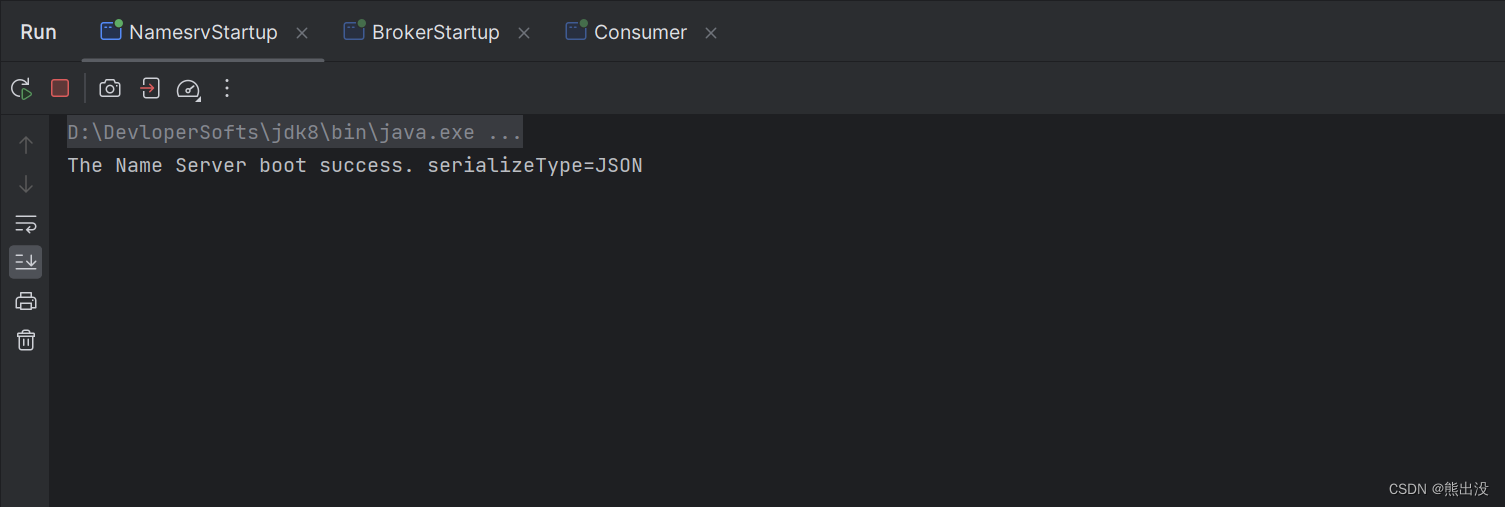
然后再启动
NamesrvStartup 出现下图信息,说明启动成功
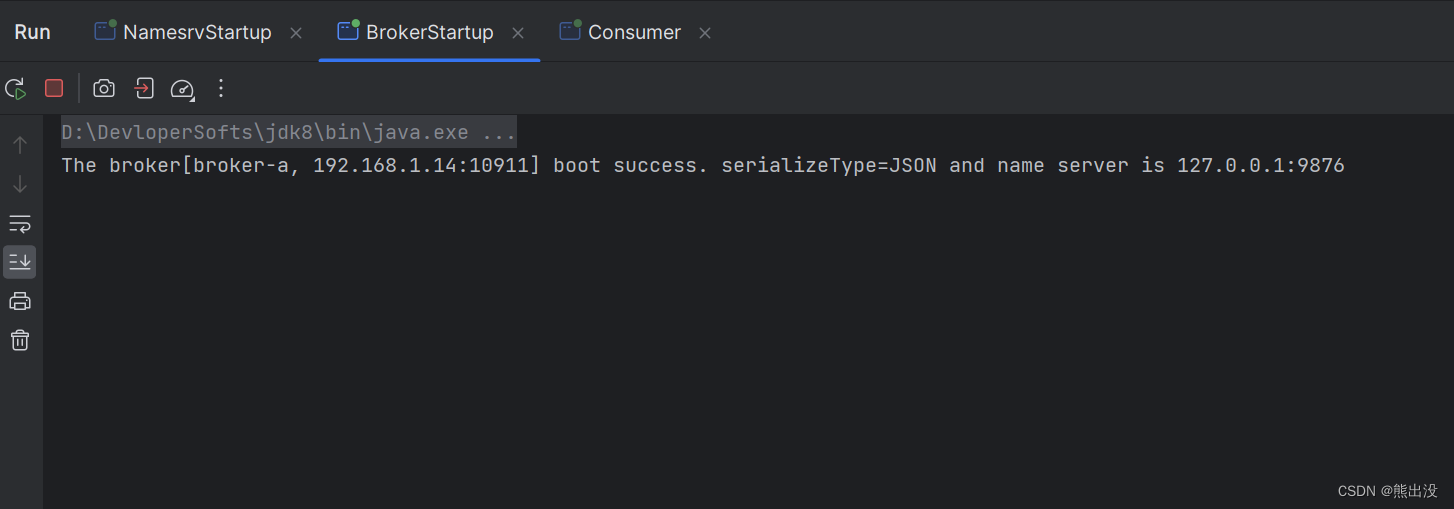
BrokerStartup 出现下图信息,说明启动成功
下面使用RocketMq提供的实例验证消息发送与消息消费
修改 org.apache.rocketmq.example.quickstart.Producer

点击启动生产10条消息,主题为topicHulei,控制台如下:

再修改
org.apache.rocketmq.example.quickstart.Consumer
订阅主题

点击启动如下:
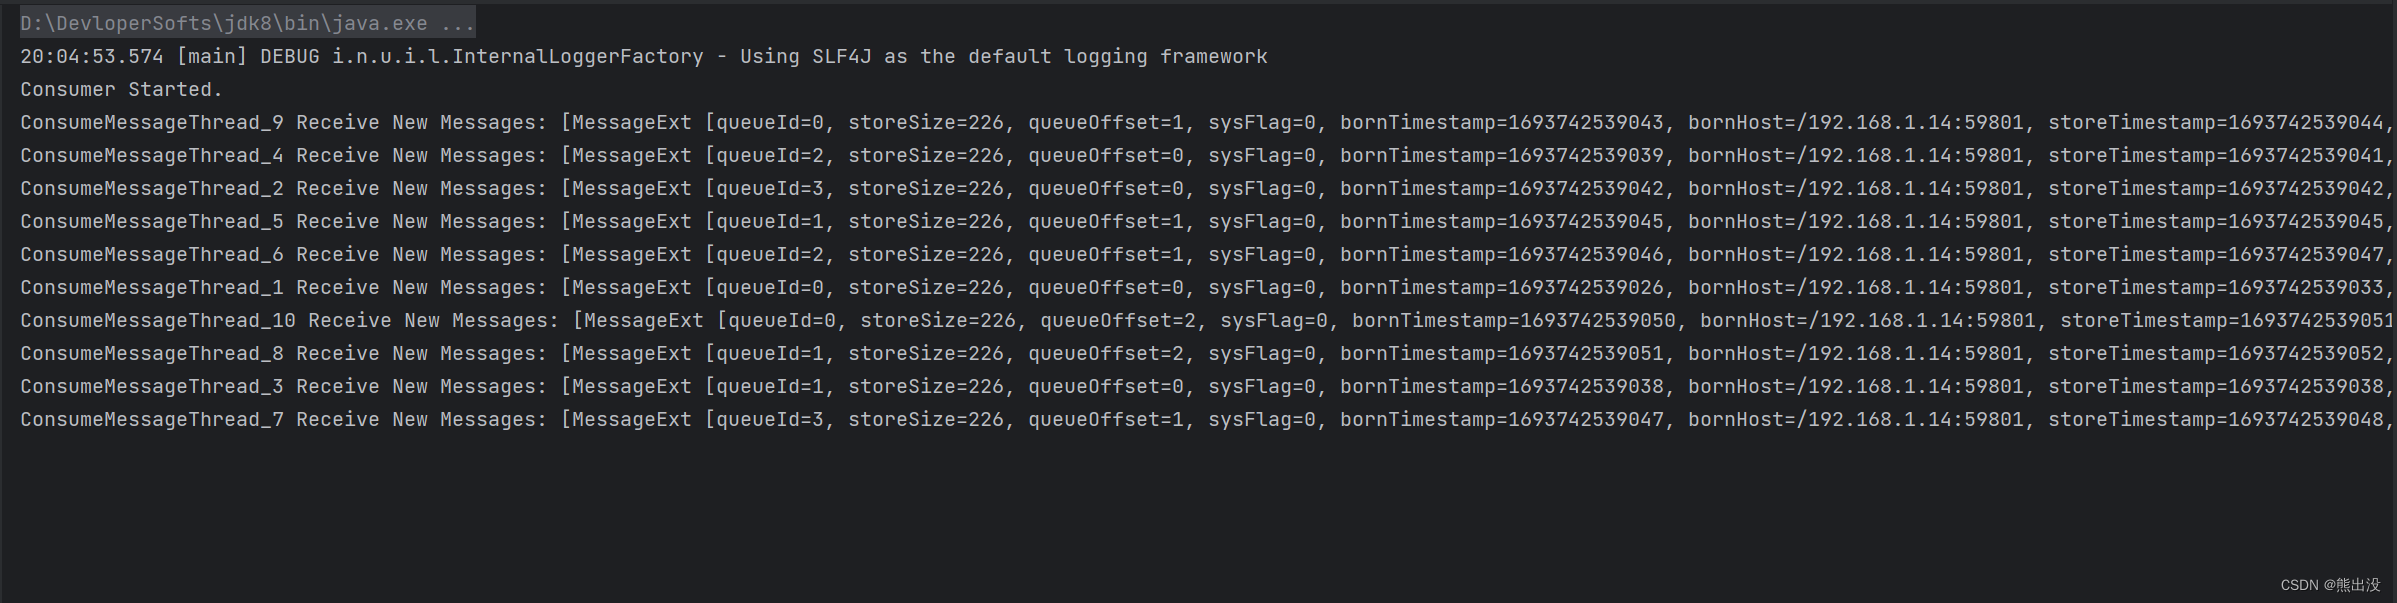
消费了10条信息
至此消息发送与消息消费都成功,RocketMq调试环境已搭建好。