目录
最终效果
先看下最终实现的效果
接下来,我们就从创建项目开始,一步一步实现这个效果
1 创建项目
- D盘Project文件夹下新建一个文件夹vite-vue-bmw,鼠标右键点击新建的文件夹,使用vscode打开
- 在vscode中使用快捷键Ctrl+Shift+~打开终端,在终端中使用vite构建工具创建项目,输入
pnpm create vite bmw-app --template vue创建项目 - 创建成功后,在终端中输入cd bmw-app进入文件夹
- 输入pnpm i 安装依赖包
- 安装完成后,输入pnpm run div 启动项目,打开浏览器,可以看到系统默认的页面,说明项目环境搭建成功
2 安装插件
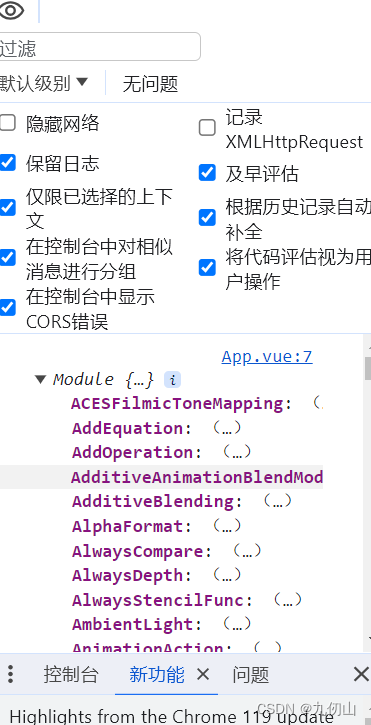
在控制终端中输入pnpm i three安装threejs插件,安装完成后,我们可以通过在App.vue中使用import引入threejs,然后通过控制台打印的方式验证threejs是否安装成功
引用代码如下:在script标签中添加如下代码
<script setup>
import * as THREE from 'three'//导入three.js核心库
console.log(THREE)
</script>
刷新浏览器,打开开发者工具,可以看到控制台已经输出了Module对象,说明threejs已经正确安装,可以在项目中使用了
3 编写代码
3.1 准备工作
- 删除vite构建工具为我们自动创建的代码,清空App.vue中的style标签样式
- 清空style.css中的样式,设置如下像素
*{ margin: 0; padding: 0; list-style: none; } - 删除vite构建工具为我们创建的components文件夹下的HelloWorld.vue文件
3.2 代码编写
3.2.1 在template标签中构建html页面
- 在components文件夹下新建CarView.vue文件
- 在CarView.vue文件的template标签中创建HTML标签,构建HTML页面
- 在template标签中创建一个div,设置id为scene,作为threejs的容器
<template> <div id="scene"></div> </template> - 创建5个div标签,作为车辆颜色选择的按钮使用,代码如下
<template>
  <div id="scene"></div>
  <div class="car-color">
    <div class="color1">
      <div class="color-white" @click="setCarColor('#c0c0c0')">
      </div>
      <span>亮银色</span>
    </div>
    <div class="color1">
      <div class="color-blank" @click="setCarColor('#222')">
      </div>
      <span>星际黑</span>
    </div>
    <div class="color1">
      <div class="color-red" @click="setCarColor('#ff0000')">
      </div>
      <span>中国红</span>
    </div>
    <div class="color1">
      <div class="color-green" @click="setCarColor('#9dc209')">
      </div>
      <span>苹果绿</span>
    </div>
    <div class="color1">
      <div class="color-blue" @click="setCarColor('#2443e2')">
      </div>
      <span>雪邦蓝</span>
    </div>
  </div>
</template>
在template标签中定义了5中颜色,使用一个div设置外观样式为圆形显示,在其下方添加一个span标签,显示该颜色的名称,同时在圆形div上绑定click事件,调用setCarColor函数,并将该div的颜色代码作为参数传递给setCarColor函数。
3.2.2 在style标签中构建页面样式文件
这里不多说,不理解的小伙伴赶紧去补下CSS的相关知识,代码如下
<style scoped>
.car-color {


  /* 设置这个div居中显示 */
  margin: 0 auto;
  position:fixed;
  bottom: 50px;
  left: 30%;
  width: 40%;
  height: 100px;
  display: flex;
  justify-content:space-around;
  align-items: center;
}
.color1 {


  display: flex;
  flex-direction: column;
  justify-content: center;
  align-items: center;
}

.color1 div {


  width: 80px;
  height: 80px;
  border-radius: 80px;
  cursor: pointer;
  box-shadow: 0px 10px 20px rgba(0, 0, 0, 0.3);
}
.color-white {


  background-color: #c0c0c0;
}
.color-blank {


  background-color: #222;
}
.color-red {


  background-color: #FF0000;
}
.color-green {


  background-color: #9dc209;
}
.color-blue {


  background-color: #2443e2;
}
span{


  margin-top: 5px;
}
</style>
3.2.3 在script标签中编写js代码
- 在script标签中引入threejs
import * as THREE from 'three' - 这里我们选择的车辆模型是gltf格式的文件,因此,我们需要引入threejs为我们提供的GLTFLoader加载器
import { GLTFLoader } from 'three/examples/jsm/loaders/GLTFLoader' - 由于我们需要对车辆进行鼠标旋转缩放控制,因此我们需要引入threejs为我们提供的OrbitControls控制器
import { OrbitControls } from 'three/examples/jsm/controls/OrbitControls' - 引入vue的生命周期onMounted
import { onMounted } from 'vue' - 创建一个init函数,用于初始化threejs设置
const init = () => {} - 在init函数中创建场景,并设置场景的背景颜色
// 初始化场景 const scene = new THREE.Scene() // 设置场景背景色为白色 scene.background = new THREE.Color(0xcccccc) scene.environment = new THREE.Color(0xcccccc); - 在场景中添加地面
// 在场景中添加地面 const floorGeometry = new THREE.PlaneGeometry(20, 20) const material = new THREE.MeshPhysicalMaterial({ side: THREE.DoubleSide, color: 0xffffff, metalness: 0, roughness: 0.1 }) // 设置地面透明 material.transparent = false const floorMesh = new THREE.Mesh(floorGeometry, material) floorMesh.rotation.x = Math.PI / 2 floorMesh.position.setY(-0.385) scene.add(floorMesh) - 创建相机,并设置相机位置
const camera = new THREE.PerspectiveCamera(20,window.innerWidth / window.innerHeight,0.1,100) camera.position.set(9.5,0.5,0.5) - 创建环境光、自然光、聚光灯等光照效果
// 设置环境光 scene.add(new THREE.AmbientLight(0xffffff, 0.5)) // 添加球光源 const hesLight = new THREE.HemisphereLight(0xffffff,0x444444) hesLight.intensity = 0.6 scene.add(hesLight) // 自然光 const dirLight = new THREE.DirectionalLight() dirLight.position.set(0,0,15) scene.add(dirLight) const dirLight2 = new THREE.DirectionalLight() dirLight2.position.set(0,0,-15) scene.add(dirLight2) const dirLight3 = new THREE.DirectionalLight() dirLight3.position.set(15,0,0) scene.add(dirLight3) const dirLight4 = new THREE.DirectionalLight() dirLight4.position.set(-15,0,0) scene.add(dirLight4) const dirLight5 = new THREE.DirectionalLight() dirLight5.position.set(0,15,0) scene.add(dirLight5) const dirLight6 = new THREE.DirectionalLight() dirLight6.position.set(0,-15,0) scene.add(dirLight6) const dirLight7 = new THREE.DirectionalLight() dirLight7.position.set(5,15,5) scene.add(dirLight7) const dirLight8 = new THREE.DirectionalLight() dirLight8.position.set(-5,-15,-5) scene.add(dirLight8) // 聚光灯 const sportLight = new THREE.SpotLight(0xffffff,0.8) sportLight.angle = Math.PI / 8; //散射角度,跟水平线的夹角 sportLight.penumbra = 0.1; // 聚光锥的半影衰减百分比 sportLight.decay = 2; // 纵向:沿着光照距离的衰减量。 sportLight.distance = 10; sportLight.shadow.radius = 10; // 阴影映射宽度,阴影映射高度 sportLight.shadow.mapSize.set(512, 512); sportLight.position.set(0, 15, 0); // 光照射的方向 sportLight.target.position.set(0, 0, 0); sportLight.castShadow = true; scene.add(sportLight); - 使用GLTFLoader加载glb模型
// 使用GLTFLoader加载glb模型 const loader = new GLTFLoader() loader.load( '/model/scene.gltf', //加载模型的url地址 (gltf) => { let model = gltf.scene model.traverse(obj => { if (obj.isMesh) { // console.log(obj) } if (obj.isMesh && obj.name.includes('glass')) { obj.material = glassMaterial } else if (obj.isMesh && obj.name.includes('carpaint') ) { obj.material = bodyMaterial } else if (obj.isMesh && obj.name.includes('rim')){ // 更换轮毂 obj.material = rimMaterial } else if (obj.isMesh && obj.name.includes('chrome')){ } else if (obj.isMesh && obj.name.includes('tire')){ // console.log(obj) } else if (obj.isMesh && obj.name.includes('Material')){ // console.log(obj) } else if (obj.isMesh && obj.name.includes('brakedisk')){ // 刹车盘 // console.log(obj) }else if (obj.isMesh && obj.name.includes('black')){ // 车架 // console.log(obj) }else if (obj.isMesh && obj.name.includes('mattemetal')){ // console.log(obj) }else if (obj.isMesh && obj.name.includes('mirror')){ // console.log(obj) }else if (obj.isMesh && obj.name.includes('interior')){ // 车辆内部 // console.log(obj) }else if (obj.isMesh && obj.name.includes('white')){ // BMW车标白色 // console.log(obj) }else if (obj.isMesh && obj.name.includes('blue')){ // BMW车标蓝色 // console.log(obj) }else if (obj.isMesh && obj.name.includes('RootNode')){ // BMW车标蓝色 // console.log(obj) } else { // console.log(obj) } }) toSceneCenter(model) scene.add(model) }, undefined, (error) => console.error(error) ) // 设置物体的位置为坐标原点(0,0,0) function toSceneCenter(object) { object.position.set(0, -0.28, 0) } // 添加物体阴影 scene.traverse(function (child) { if (child instanceof THREE.Mesh) child.castShadow = true; }); - 创建渲染器
// 创建渲染器 const renderer = new THREE.WebGLRenderer({ antialias:true})//设置抗锯齿 //设置屏幕像素比 renderer.setPixelRatio(window.devicePixelRatio) //解决加载gltf格式模型纹理贴图和原图不一样问题 renderer.outputColorSpace = THREE.SRGBColorSpace renderer.setSize(window.innerWidth, window.innerHeight) document.getElementById('scene').appendChild(renderer.domElement) - 添加控制器
// 添加控制器 const controls = new OrbitControls(camera, renderer.domElement) controls.enableDamping = true controls.dampingFactor = 0.25 controls.enableZoom = true controls.maxDistance = 9 controls.minDistance = 6 controls.minPolarAngle = 0 controls.maxPolarAngle = 60 / 360 * 2 * Math.PI - 渲染循环
// 渲染循环 const animate = function () { controls.update() requestAnimationFrame(animate) renderer.render(scene, camera) } animate() - 要修改车辆外观颜色,我们需要先定义车辆材质,这里我们定义三个材质,分别是车辆的金属材质、玻璃材质和轮毂材质
- 定义金属材质
// 金属材质 let bodyMaterial = new THREE.MeshPhysicalMaterial({ color: "#c0c0c0", metalness: 1, roughness: 0.5, clearcoat: 1.0, clearcoatRoughness: 0.03, }) - 定义玻璃材质
// 玻璃材质 let glassMaterial = new THREE.MeshPhysicalMaterial({ color: "#ffffff", metalness: 0.25, roughness: 0, transparent: true, transmission: 1.0 }); - 定义轮毂材质
// 轮毂材质 const rimMaterial = new THREE.MeshPhysicalMaterial({ color: "#ffffff", metalness: 1, roughness: 0.5, clearcoat: 1.0, clearcoatRoughness: 0.03 }) - 设置鼠标点击事件
const setCarColor = val => { bodyMaterial.color.set(val) } - 在App.vue中引入CarView.vue组件,并在template标签中调用CarView
<template>
  <CarView></CarView>
</template>
<script setup>
import CarView from './components/CarView.vue';
</script>
<style scoped>
</style>
设置完成后,刷新浏览器,看效果如下:
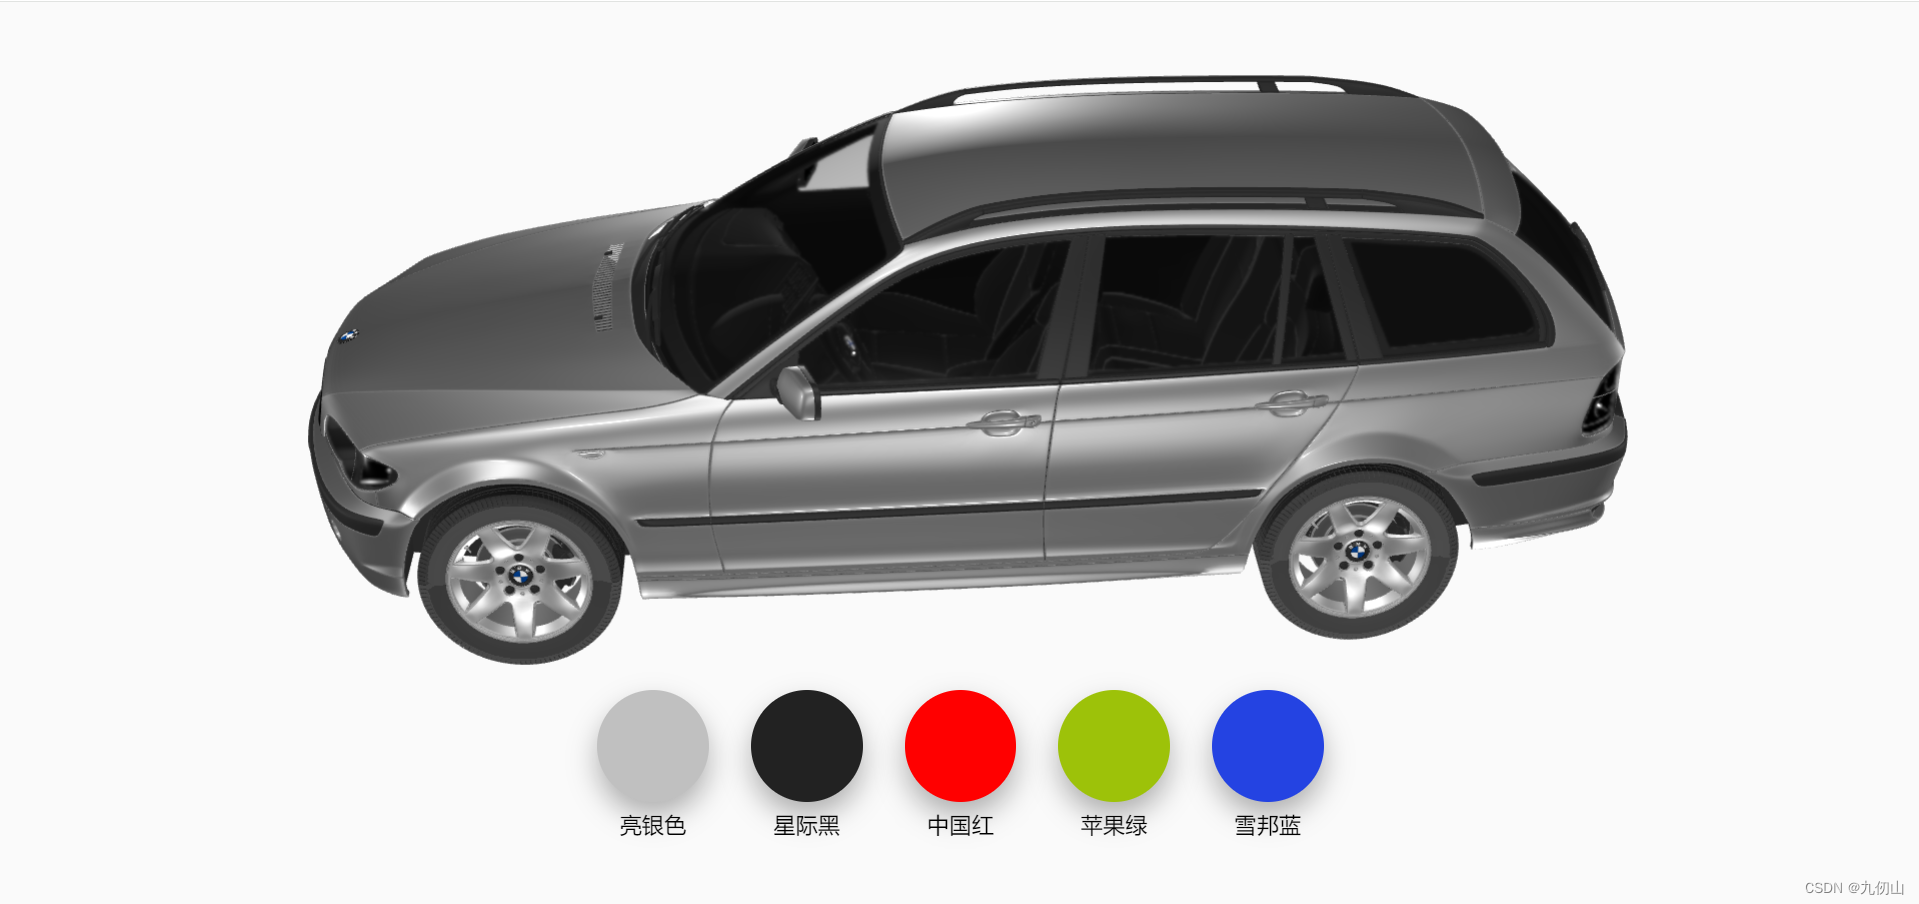
点选下方圆形的颜色div,可以看到车辆颜色跟着进行改变,鼠标左键点选车辆并上下左右移动可以旋转车辆。通过鼠标滚轮可以放大缩小车辆。
最终实现的效果如下
至此,我们给车辆换肤的效果已经完成了,由于是项目实战,涉及到vue和threejs中基础的知识就不过细讲解了,不了解的小伙伴可以看我之前的博客,里面涉及的内容之前都有讲到过。
ok,我们threejs项目实战的第一个项目就实现了,小伙伴们有疑问的评论区留言,喜欢的小伙伴点赞关注+收藏哦!