1、查看系统版本(不同的系统查看命令不一样,此处为银河麒麟V10系统)
[root@localhost~]# cat /etc/os-release
NAME=“Kylin Linux Advanced Server”
VERSION=“V10 (Sword)”
ID=“kylin”
VERSION_ID=“V10”
PRETTY_NAME=“Kylin Linux Advanced Server V10 (Sword)”
ANSI_COLOR=“0;31”
2、yum安装vnc-server
[root@localhost ~]# yum -y install tigervnc-server
3、复制配置文件模板,并编辑配置文件
[root@localhost ~]# cp /lib/systemd/system/[email protected] /etc/systemd/system/vncserver@:1.service
[root@localhost ~]# cd /etc/systemd/system/
[root@localhost system]# cat vncserver@:1.service
[Unit]
Description=Remote desktop service (VNC)
After=syslog.target network.target
[Service]
Type=forking
WorkingDirectory=/root
User=root
Group=root
PIDFile=/root/.vnc/%H%1.pid
ExecStartPre=/bin/sh -c ‘/usr/bin/vncserver -kill :1 > /dev/null 2>&1 || :’
ExecStart=/usr/bin/vncserver -autokill :1
ExecStop=/usr/bin/vncserver -kill :1
Restart=on-success
RestartSec=15
[Install]
WantedBy=multi-user.target
4、创建VNC登录密码
[root@localhost system]# vncpasswd
Password:
Verify:
Would you like to enter a view-only password (y/n)? n
5、重载systemctl配置,启动vnc服务
[root@localhost system]# systemctl daemon-reload
[root@localhost system]# systemctl start vncserver@:1.service
[root@localhost system]# systemctl enable vncserver@:1.service
[root@localhost system]# systemctl status vncserver@:1.service
6、查看VNC服务端口
[root@localhost ~]# netstat -lntp | grep vnc
tcp 0 0 0.0.0.0:5901 0.0.0.0:* LISTEN 6191/Xvnc
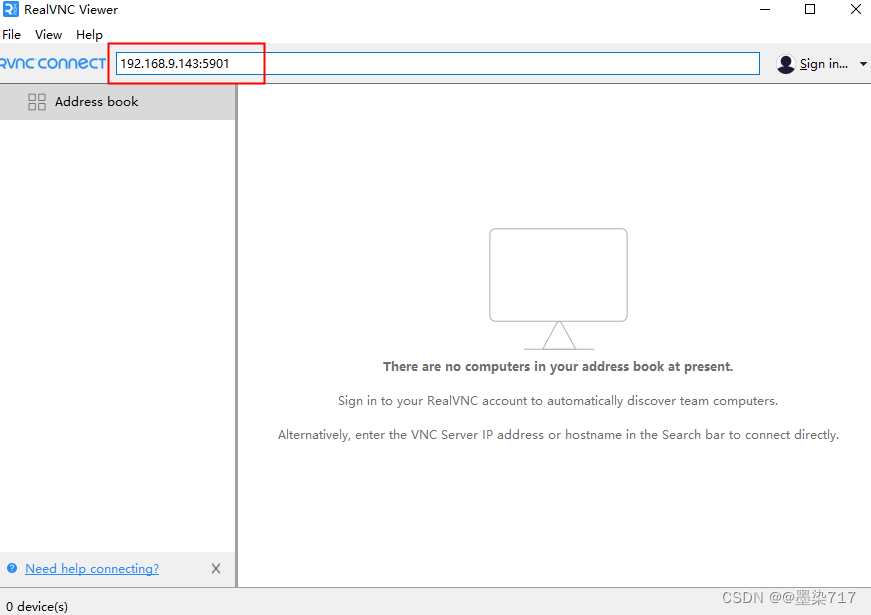
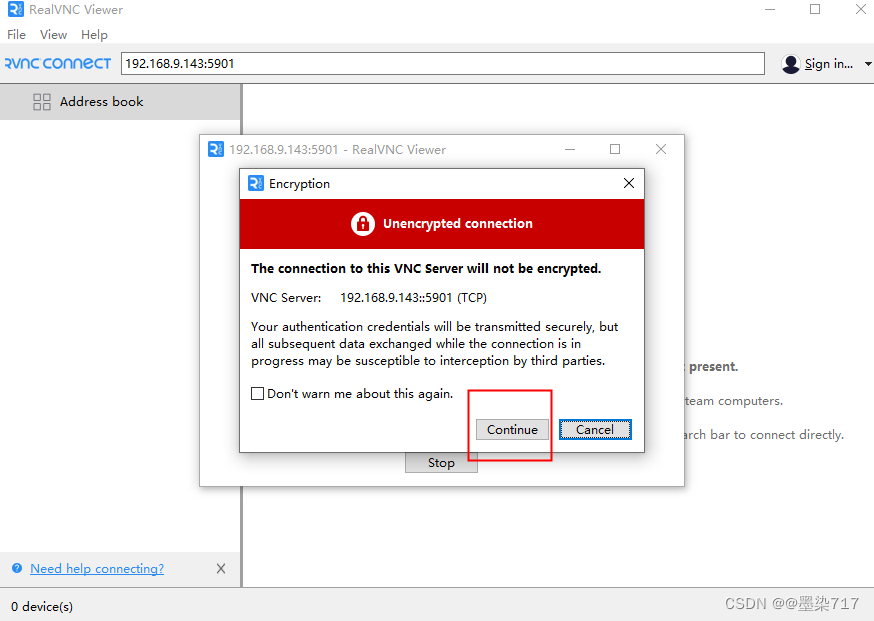
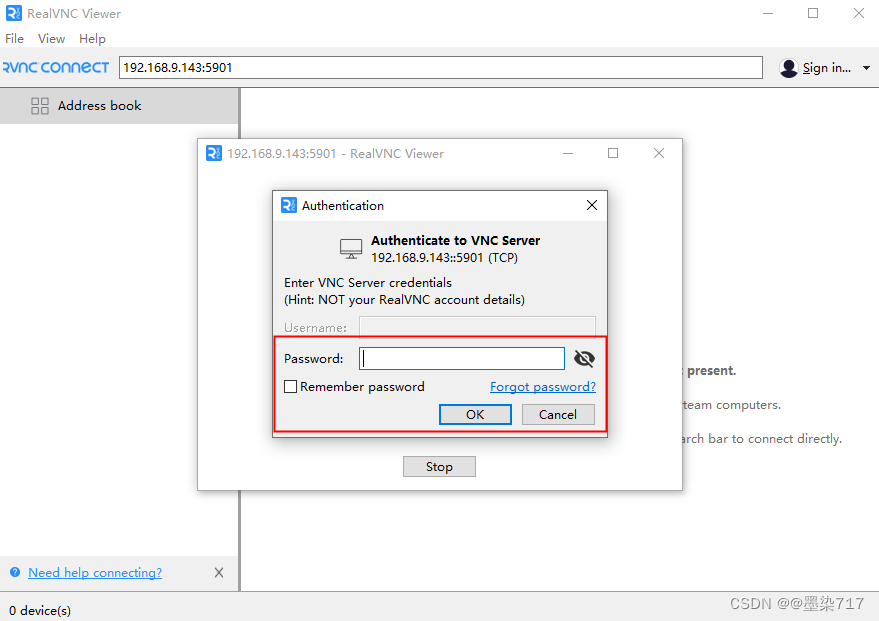
tcp6 0 0 :::5901 :::* LISTEN 6191/Xvnc 7、vnc客户端连接
下载vnc客户端,新建连接,连接方式为IP:PORT方式,最后输入vnc的密码就可以连上了