前一篇文章介绍了在CentOS 7环境下安装SVN 1.9.7,但是这样安装的SVN只能使用SVN客户端进行访问,无法在浏览器中打开,需要安装WebDAV(Web-based Distributed Authoring and Versioning)。Apache的mod_dav_svn和mod_authz_svn两个模块,是用于连接Subversion和Apache的模块,使得客户端可以使用Http扩展协议WebDAV/DeltaV对SVN进行访问和验证。我们首先使用yum命令安装这两个模块
yum install -y mod_dav_svn执行这条命令后如果Apache Server没有安装,会一并安装,安装完后如下图所示
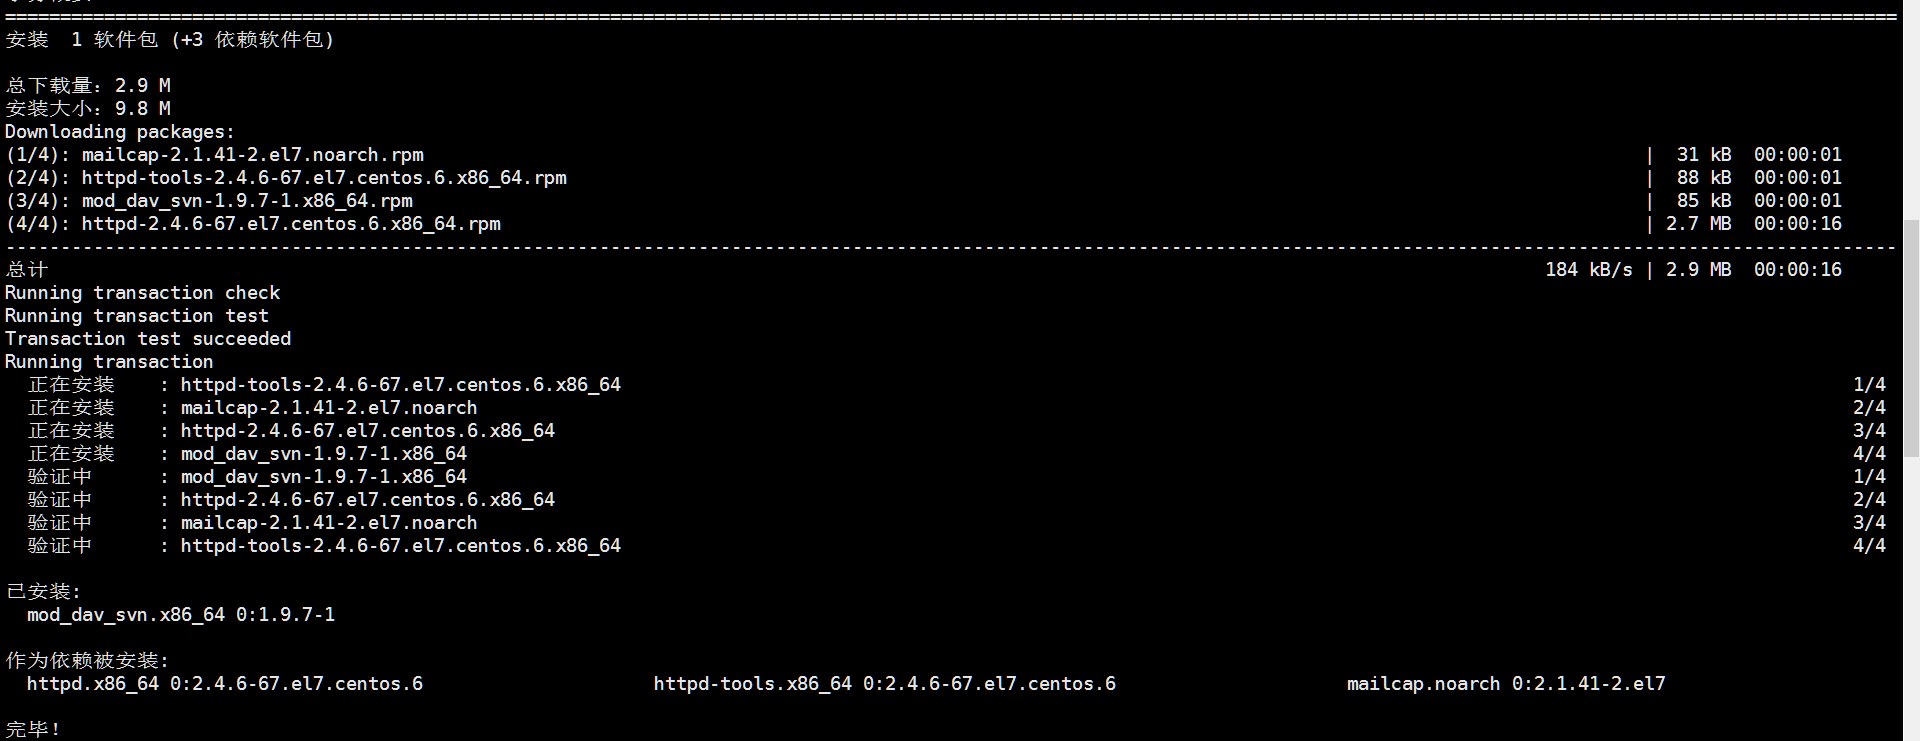
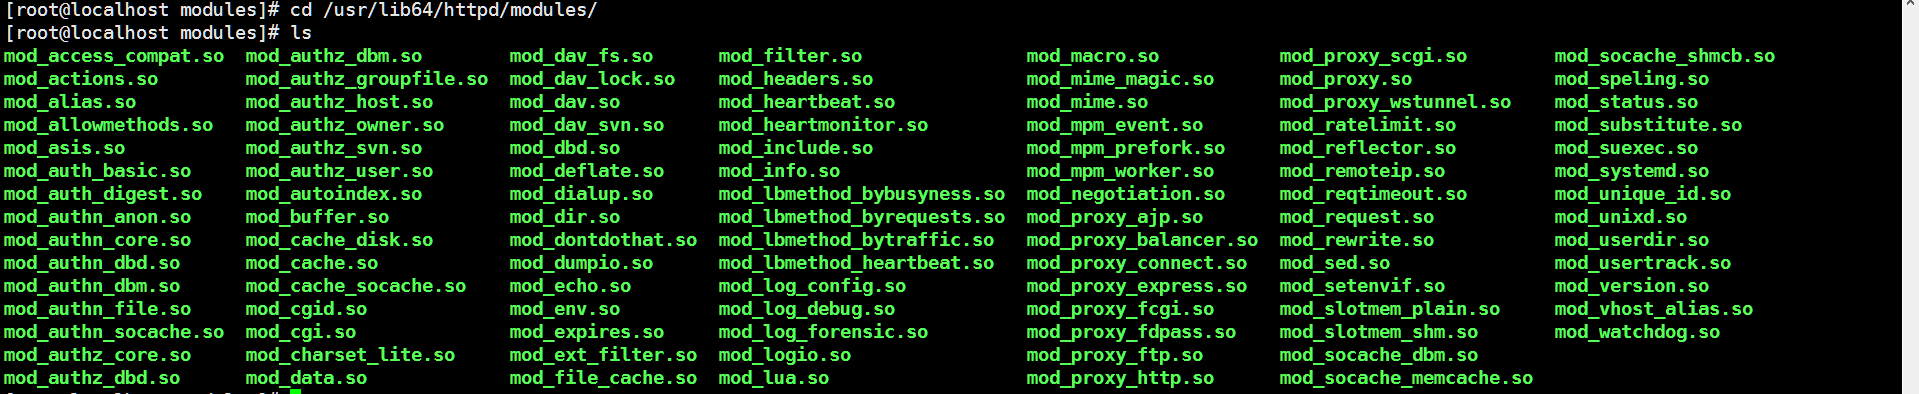
安装完成后mod_dav_svn.so和mod_authz_svn.so两个模块文件被安装到/usr/lib64/httpd/modules目录下
编辑/etc/httpd/conf.d/subversion.conf文件,设置SVN的Http路径名,Repository指向以及用户验证文件的路径。
# WANdisco Subversion Configuration
# For more information on HTTPD configuration options for Subversion please see:
# http://svnbook.red-bean.com/nightly/en/svn.serverconfig.httpd.html
# Please remember that when using webdav HTTPD needs read and write access your repositories.

# Needed to do Subversion Apache server.
LoadModule dav_svn_module     modules/mod_dav_svn.so
# Only needed if you decide to do "per-directory" access control.
LoadModule authz_svn_module   modules/mod_authz_svn.so

<Location /rootSvn>
  DAV svn
  SVNPath /opt/svnRepos/
  AuthType Basic
  AuthName "Please input auth user's name"
  AuthzSVNAccessFile /opt/svnRepos/conf/authz
  AuthUserFile /opt/svnRepos/conf/http_passwd
  Require valid-user
</Location>
这里我为SVN的WebDAV形式访问设置了rootSvn的根路径,指向我们之前创建的/opt/svnRepos这个repository,authz文件仍然使用/opt/svnRepos/conf目录下的authz文件,而用户验证文件使用conf目录下的http_passwd文件,这个文件现在还没有,我们接下来会创建,AuthType为Basic,表明使用用户名/密码方式验证。
执行下面的命令为svnuser1创建Http访问验证所需的http_passwd文件
htpasswd -c /opt/svnRepos/conf/http_passwd svnuser1如果http_passwd文件中已经有用户,-c参数就不需要了,否则会覆盖已有的用户。
在提示输入密码时,输入与conf/passwd文件中一致的密码

重启Apache服务
systemctl restart httpd.service开放80端口访问
firewall-cmd --permanent --add-port=80/tcp
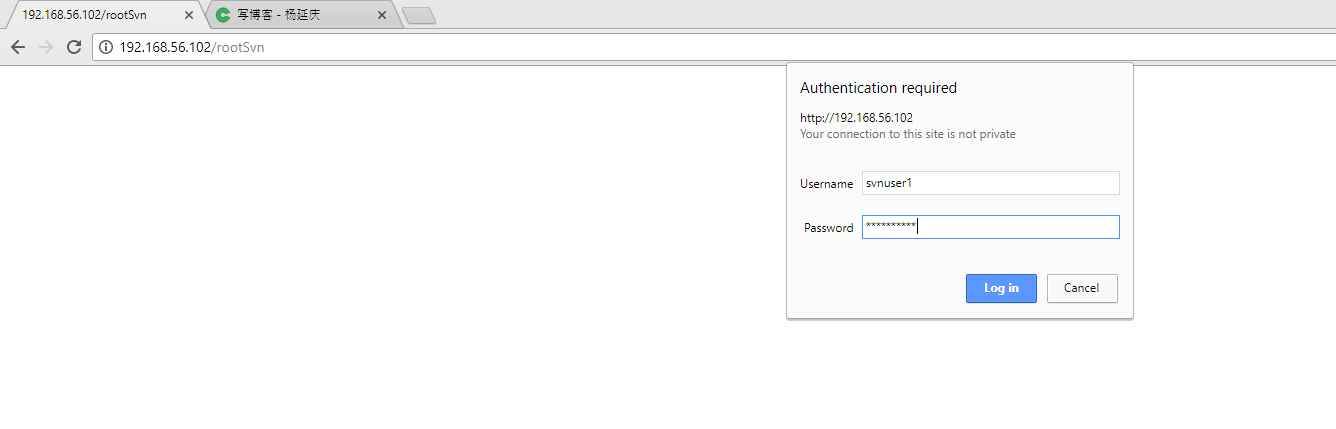
systemctl restart firewalld.service在浏览器里访问http://192.168.56.102/rootSvn,要求输入用户名/密码验证,输入svnuser1用户名和密码
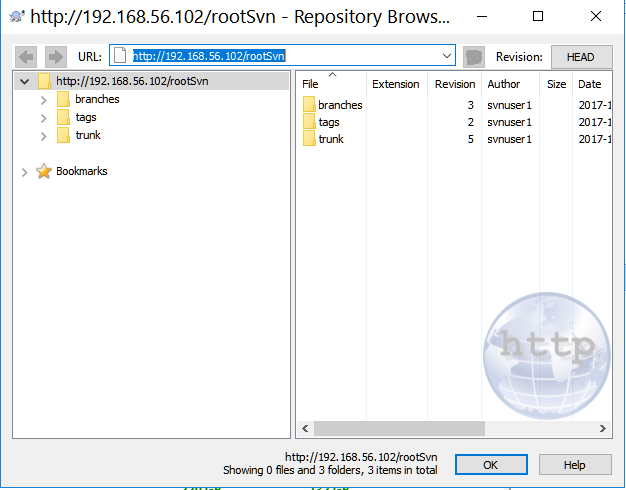
验证成功后,显示SVN的根目录

使用TortoiseSVN客户端访问Http地址时如下图所示
但是接下来创建子文件夹时会抛出Permission Denied的错误,这是因为/opt/svnRepos文件夹的所有者是svn,但使用WebDAV方式访问这个目录的用户是启动了Apache Server的apache用户,它对这个文件夹没有写权限,所以显示权限不够的错误,我们需要为这个文件夹添加其他用户的读写权限,执行下面的命令
chmod 766 -R /opt/svnRepos这以后再通过SVN客户端,就可以创建子文件夹了
如果我们要使用https方式访问SVN,需要安装Apache的mod_ssl组件和openssl
yum install -y mod_ssl openssl安装完成后先创建ssl访问需要的密钥和证书
首先创建密钥key文件
cd /etc/pki/tls/private

openssl genrsa -out svnKey.key 1024
再生成证书签名请求文件
openssl req -new -key svnKey.key -out svnCsr.csr最后生成用密钥key签名的证书文件
cd /etc/pki/tls/certs

openssl x509 -req -days 365 -in /etc/pki/tls/private/svnCsr.csr -signkey /etc/pki/tls/private/svnKey.key -out svnCrt.crt
接下来我们将在Apache中使用密钥key和证书文件。
修改/etc/httpd/conf.d/ssl.conf文件,添加以下两行,使用上面生成的密钥key文件和证书文件。
SSLCertificateFile /etc/pki/tls/certs/svnCrt.crt

SSLCertificateKeyFile /etc/pki/tls/private/svnKey.key
在修改ssl.conf文件时,我们还把SSL侦听的端口号从默认的443端口改为了8888端口。
Listen 0.0.0.0:8888 https

<VirtualHost _default_:8888>
需要说明的是很多文章中介绍修改Apache的SSL端口号为非443端口时,只介绍了修改ssl.conf中
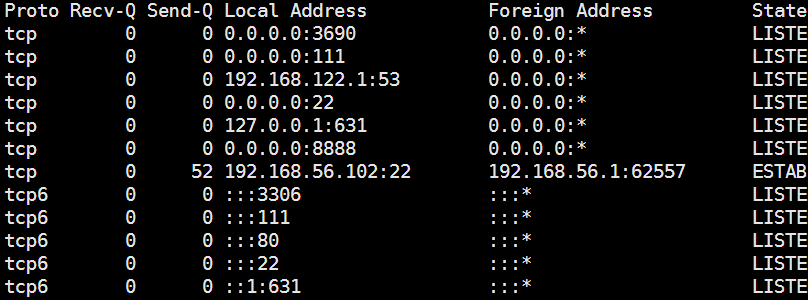
Listen [非443端口号]这种方式,但是在CentOS 7环境下,修改后的端口号会使用ipv6协议,通过netstat命令查看系统端口号时,将发现8888端口使用tcp6协议(ipv6协议),而不是tcp协议(ipv4协议),这样从页面或者使用curl命令访问非443端口时,都会出现无法访问的情况,如果想保证非443的ssl端口能正常访问,需要把它绑定到ipv4协议上,即像上面我设置的形式。
接下来修改/etc/httpd/conf/httpd.conf文件,添加以下语句
SSLRequireSSL

添加完成后重启Apache Server,开放8888端口,使用https://192.168.56.102/rootSvn访问SVN服务器(如下图所示)
