1、搭建项目
- 1、安装node
- 2、设置全局安装路径
npm config set cache "D:\app\nodejs\node_cache"
npm config set prefix "D:\app\nodejs\node_global"- 3、设置环境变量(我的电脑右键属性->高级系统设置->环境变量),Path:在末尾添加
;d:\app\nodejs\node_global- 4、国内安装环境差,安装淘宝npm镜像:http://npm.taobao.org/
npm install -g cnpm --registry=https://registry.npm.taobao.org- 5、安装git,然后配置git
git config --global user.name "John Doe"
git config --global user.email johndoe@ example.com- 6、安装vue-cli
npm install -g vue-cli- 7、初始化项目
vue init webpack ue-example- 8、初始化项目后,就可以开发啦
npm run dev2、编写ueditor组件
- 1、引入 ue 文件夹至 static 目录下,在 src/main.js 中引入文件
import '../static/ueditor/ueditor.config'
import '../static/ueditor/ueditor.all'
import '../static/ueditor/lang/zh-cn/zh-cn'
import '../static/ueditor/ueditor.parse'- 2、在 static/ueditor/ueditor.config.js 中 var URL = window.UEDITOR_HOME_URL || getUEBasePath(); 之前添加
    window.UEDITOR_HOME_URL = '/static/ueditor/';// 获取 css 有用到
var URL = window.UEDITOR_HOME_URL || getUEBasePath();- 3、在 components 文件夹下添加 UE.vue 文件
<template>
  <div>
    <script :id="id" type="text/plain"></script>
  </div>
</template>
<script>
  export default {
    name: 'UE',
    data () {
      return {
        editor: null
      }
    },
    props: {
      id: { // 唯一识别码,必须
        type: String,
        required: true
      },
      defaultMsg: { // 初始化内容
        type: String,
        default: ''
      },
      config: { // ue配置对象,如有需要可以提供由父组件传入
        type: Object
      }
    },
    watch: {
      defaultMsg: function(newText) { // 有可能数据是异步获得晚于 ueditor ready,避免导致初始化失败
        if(this.editor && this.editor.isReady) { // 确保 ueditor 已初始化完毕
          var newContent = this.editor.getContent()
          if(newText !== newContent) {
            this.editor.setContent(newText)
          }
        }
      }
    },
    mounted () {
      var that = this
      var configObj = { initialFrameHeight: 300, initialFrameWidth: 400 }
      function extend (to, _from) {
        for (var key in _from) {
          if(_from.hasOwnProperty(key)) {
            to[key] = _from[key]
          }
        }
        return to
      }
      extend(configObj, this.config || {}) //简单扩展配置
      this.editor = window.UE.getEditor(this.id, configObj) // 初始化UE
      this.editor.addListener('ready', function () {
        that.defaultMsg && that.editor.setContent(that.defaultMsg) // 初始化内容
      })
      this.editor.addListener('contentChange', function () {
        var newContent = that.editor.getContent()
        if(that.defaultMsg !== newContent) {
          that.$emit('contentChanged', newContent) // 内容改变及时更新父组件
        }
      })
    },
    destroyed () {
      this.editor.destroy()
    }
  }
</script>- 4、在 components/HelloWordl.vue 中使用 UE
<template>
<div class="hello">
<h1>{{msg}}</h1>
<div style="width: 400px; margin: 0 auto;">
<UE :default-msg="msg" id="editor" @contentChanged="contentChange"></UE>
</div>
<h2>Essential Links</h2>
...
</div>
</template>
<script>
import UE from './UE.vue' // 引入组件
export default {
name: 'HelloWorld',
components: { UE }, // 注入组件
data () {
return {
msg: 'Welcome to Your Vue.js App'
}
},
methods: {
contentChange (val) { // 改变父组件数据
this.msg = val
}
}
}
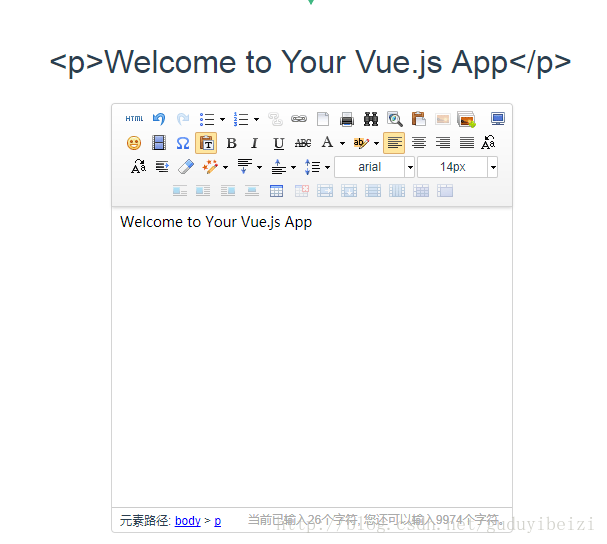
</script>效果图: