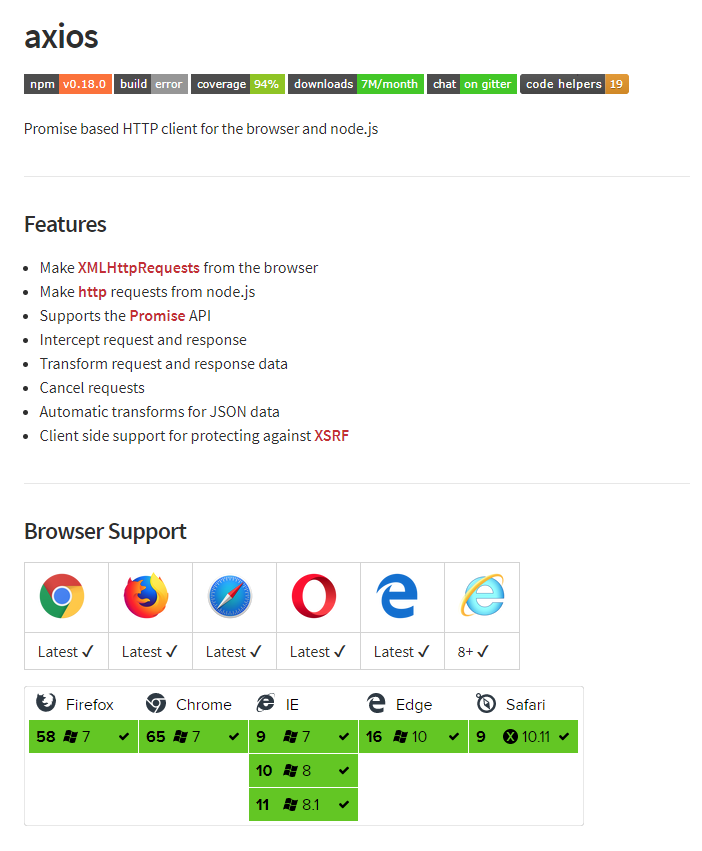
在vue的项目中以前是使用vue-resource来请求数据,随着vue2的使用官方推荐使用axios,首先看看npm给出的axios定义以及兼容性:
在使用之前需要安装axios,在项目的根目录下打开命令窗口输入一下代码安装axios:
npm install axiosget方式使用:
axios.get('/user?ID=12345')
  .then(function (response) {
    console.log(response);
  })
  .catch(function (error) {
    console.log(error);
  });
post方式使用:
axios.post('/user', {
    firstName: 'Fred',
    lastName: 'Flintstone'
  })
  .then(function (response) {
    console.log(response);
  })
  .catch(function (error) {
    console.log(error);
  });
post方式我在使用的过程中遇到了点小问题,就是后台一直拿不到我传递的数据,后来通过一下方法解决:
var params = new URLSearchParams();
    params.append('activityId', this.activityId);
    axios.post(this.HOST + '/enterReceivePage',params).then(res => {
        var obj = JSON.parse(res.data);
        this.hbinfo = obj.data;
    })
就是需要将传递的参数通过urlsearchparams传递后台才能接受,后台使用的是java开发的api。
配置的方式:
axios({
  method: 'post',
  url: '/user/12345',
  data: {
    firstName: 'Fred',
    lastName: 'Flintstone'
  }
});
axios({
method:'get',
url:'/user',
})
.then(function(response) {
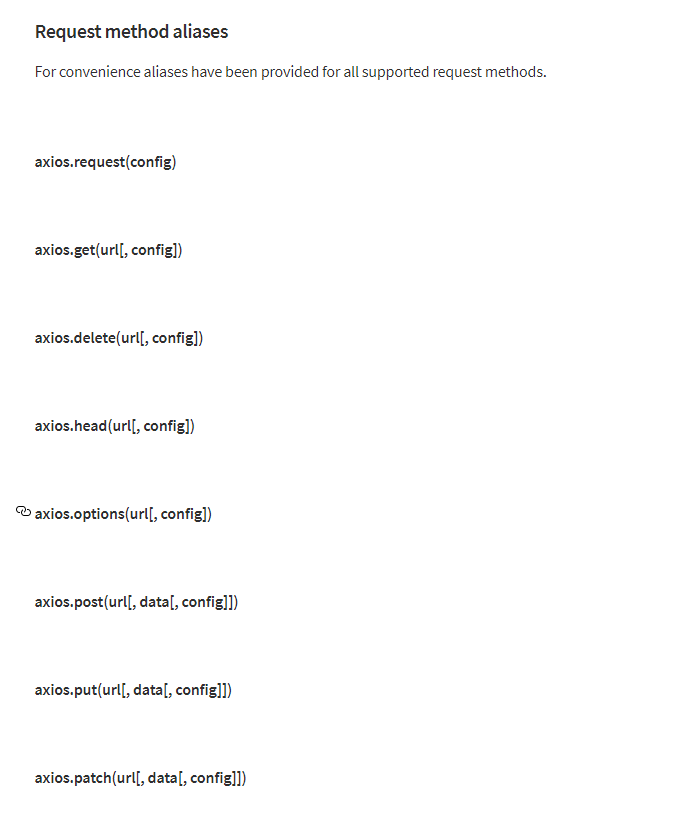
});还有很多restful api常用的方式如下:
请求的配置选项如下:
{
  // 请求地址
  url: '/user',

  // 请求方法
  method: 'get', // default

  // 基本路径
  baseURL: 'https://base.com/api/',

  // `transformRequest` allows changes to the request data before it is sent to the server
  // This is only applicable for request methods 'PUT', 'POST', and 'PATCH'
  // The last function in the array must return a string or an instance of Buffer, ArrayBuffer,
  // FormData or Stream
  // You may modify the headers object.
  transformRequest: [function (data, headers) {
    // Do whatever you want to transform the data

    return data;
  }],

  // `transformResponse` allows changes to the response data to be made before
  // it is passed to then/catch
  transformResponse: [function (data) {
    // Do whatever you want to transform the data

    return data;
  }],

  // 请求头
  headers: {'X-Requested-With': 'XMLHttpRequest'},

  // 请求参数
  // 必须是一个对象或者URLSearchParams对象
  params: {
    ID: 12345
  },

  // 参数序列化
  paramsSerializer: function(params) {
    return Qs.stringify(params, {arrayFormat: 'brackets'})
  },

  // 需要发送的请求体信息
  // 针对'PUT', 'POST', 'PATCH'几个方法
  data: {
    firstName: 'Fred'
  },

  // 链接超时时间
  timeout: 1000,

  // 是否允许跨站设置缓存
  withCredentials: false, // default

  // `adapter` allows custom handling of requests which makes testing easier.
  // Return a promise and supply a valid response (see lib/adapters/README.md).
  adapter: function (config) {
    /* ... */
  },

  // `auth` indicates that HTTP Basic auth should be used, and supplies credentials.
  // This will set an `Authorization` header, overwriting any existing
  // `Authorization` custom headers you have set using `headers`.
  auth: {
    username: 'janedoe',
    password: 's00pers3cret'
  },

  // 响应的数据类型
  responseType: 'json', // default

  // `xsrfCookieName` is the name of the cookie to use as a value for xsrf token
  xsrfCookieName: 'XSRF-TOKEN', // default

  // `xsrfHeaderName` is the name of the http header that carries the xsrf token value
  xsrfHeaderName: 'X-XSRF-TOKEN', // default

  // `onUploadProgress` allows handling of progress events for uploads
  onUploadProgress: function (progressEvent) {
    // Do whatever you want with the native progress event
  },

  // `onDownloadProgress` allows handling of progress events for downloads
  onDownloadProgress: function (progressEvent) {
    // Do whatever you want with the native progress event
  },

  // `maxContentLength` defines the max size of the http response content allowed
  maxContentLength: 2000,

  // `validateStatus` defines whether to resolve or reject the promise for a given
  // HTTP response status code. If `validateStatus` returns `true` (or is set to `null`
  // or `undefined`), the promise will be resolved; otherwise, the promise will be
  // rejected.
  validateStatus: function (status) {
    return status >= 200 && status < 300; // default
  },

  // `maxRedirects` defines the maximum number of redirects to follow in node.js.
  // If set to 0, no redirects will be followed.
  maxRedirects: 5, // default

  // `socketPath` defines a UNIX Socket to be used in node.js.
  // e.g. '/var/run/docker.sock' to send requests to the docker daemon.
  // Only either `socketPath` or `proxy` can be specified.
  // If both are specified, `socketPath` is used.
  socketPath: null, // default

  // `httpAgent` and `httpsAgent` define a custom agent to be used when performing http
  // and https requests, respectively, in node.js. This allows options to be added like
  // `keepAlive` that are not enabled by default.
  httpAgent: new http.Agent({ keepAlive: true }),
  httpsAgent: new https.Agent({ keepAlive: true }),

  // 'proxy' defines the hostname and port of the proxy server
  // Use `false` to disable proxies, ignoring environment variables.
  // `auth` indicates that HTTP Basic auth should be used to connect to the proxy, and
  // supplies credentials.
  // This will set an `Proxy-Authorization` header, overwriting any existing
  // `Proxy-Authorization` custom headers you have set using `headers`.
  proxy: {
    host: '127.0.0.1',
    port: 9000,
    auth: {
      username: 'mikeymike',
      password: 'rapunz3l'
    }
  },

  // `cancelToken` specifies a cancel token that can be used to cancel the request
  // (see Cancellation section below for details)
  cancelToken: new CancelToken(function (cancel) {
  })
}
常用的几个已经用中文标示,其他的根据自己的实际情况取舍。
响应的数据格式:
{
  // 服务器返回的数据
  data: {},

  // HTTP status code
  status: 200,

  // `statusText` is the HTTP status message from the server response
  statusText: 'OK',

  // 响应头信息
  headers: {},

  // `config` is the config that was provided to `axios` for the request
  config: {},

  // `request` is the request that generated this response
  // It is the last ClientRequest instance in node.js (in redirects)
  // and an XMLHttpRequest instance the browser
  request: {}
}
有了这些基本知识后现在就来封装axios:
首先需要安装axios和qs两个库:
npm install axios
npm install qs
新建api.js文件,整体代码如下:
import axios from 'axios'
import qs from 'qs'

const fetch = (
    url,
    params = {},
    options
) => {
    let _options = Object.assign({
        method: 'post',
        withCredentials: true
    }, options)

    let [ _params, _data ] = _options.method === 'get' ? [ params, ''] : [ '', params]

    return axios({
            method: _options.method,
            url: url,
            params: _params,
            data: qs.stringify(_data),
            withCredentials: _options.withCredentials
        })
        .then(res => {
            let _res = res.data
            return _res
        })
        .catch(e => {
          return e
        })
}

export default fetch
目前只是一些简单配置,可以根据自己的项目来增减相应的配置选项。
使用如下:
import axios from 'api'
axios(this.HOST+'/Index/searchCus',{token:sessionStorage.token,phone:this.phone},{method:'post'})
        .then(res => {
          console.log(res)
});好了到此就封装完成了,以后所有的项目就可以使用这个api文件了,记住使用前需要在项目根目录安装axios和qs两个库才能正常使用。
如果觉得有帮助请我吃个糖吧!