创建springboot工程,并在入口内添加@Scheduleing注解,开启任务调度功能
@EnableScheduling
@SpringBootApplication
public class ScheduleingApplication {
public static void main(String[] args) {
SpringApplication.run(ScheduleingApplication.class, args);
}
}
创建定时任务类
@Component
public class ScheduleTask {
private static final Logger log = LoggerFactory.getLogger(ScheduleTask.class);
private static final SimpleDateFormat dateFormat = new SimpleDateFormat("HH:mm:ss");
private static final long ONE_HOURS = 60 * 60 * 1000;
private static final long ONE_DAY = 60 * 60 * 1000 *24;
private static final long FIVE_SECONDS = 5000;
@Scheduled(fixedRate = FIVE_SECONDS)
public void scheduledTask() {
log.info("The time is now {}", dateFormat.format(new Date()));
}
@Scheduled(fixedRate = ONE_DAY)
public void scheduledTask1() {
log.info("我是一个每间隔一天执行一次的调度任务");
}
@Scheduled(fixedDelay = ONE_HOURS)
public void scheduledTask2() {
log.info("我是一个每间隔一天执行一次的调度任务");
}
}
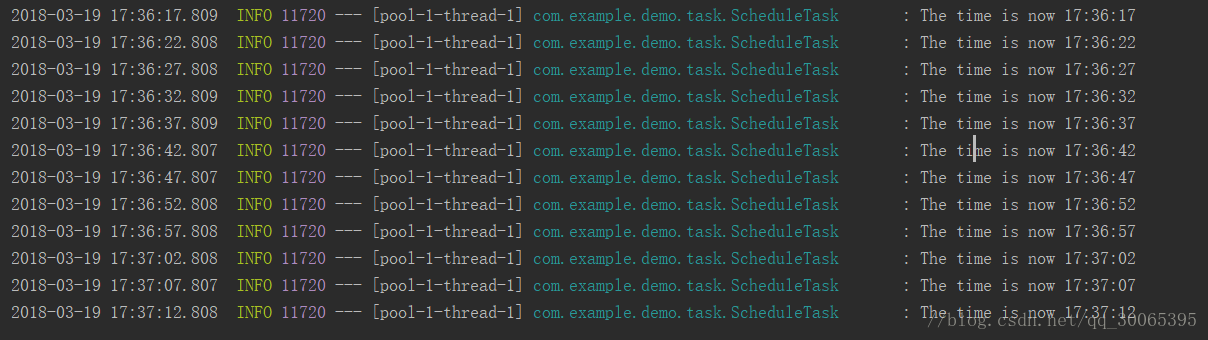
测试
小结
- 1.入口内添加@Scheduleing注解。
- 2.在定时方法上加@Scheduled注解。