python为主:
js基础语法
jsDOM
jsBOM
jQuery框架****
Bootstrap框架****
今日内容:
1.css的定位
background-position: -20px -40px;
(1)相对定位
如果仅仅对当前盒子设置相对定位,那么它与原来的盒子没有任何变化、
只有一个作用:父相子绝
不要使用相对定位来做压盖现象


<!DOCTYPE html>
<html>
<head>
    <title></title>
    <style type="text/css" media="screen">

        div{
            width: 200px;
            height: 200px;

        }
        .box1{
            background-color: red;
        }
        .box2{
            background-color: green;
            position: relative;
            top: 200px;
            left: 0px;
        }
        .box3{
            background-color: blue;
        }

    </style>
</head>
<body>

    <div class="box1">

    </div>
    <div class="box2">

    </div>
    <div class="box3">

    </div>

</body>
</html>
效果:
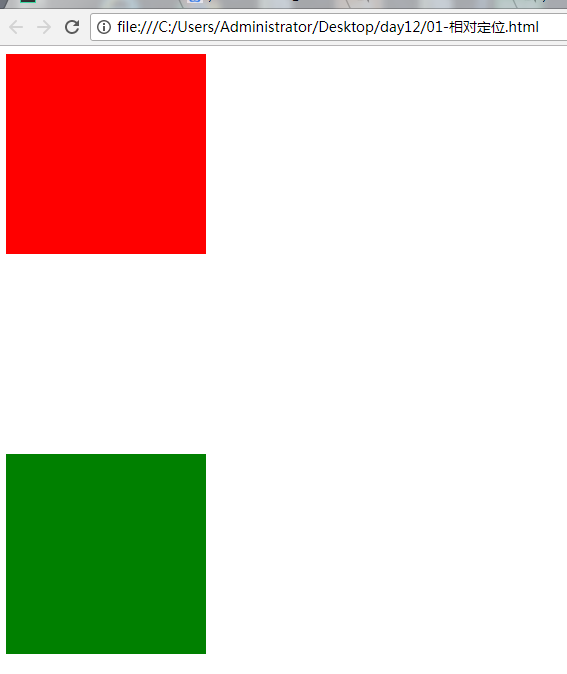
二种现象:
1.不脱标
2.形影分离老家留坑(恶心)
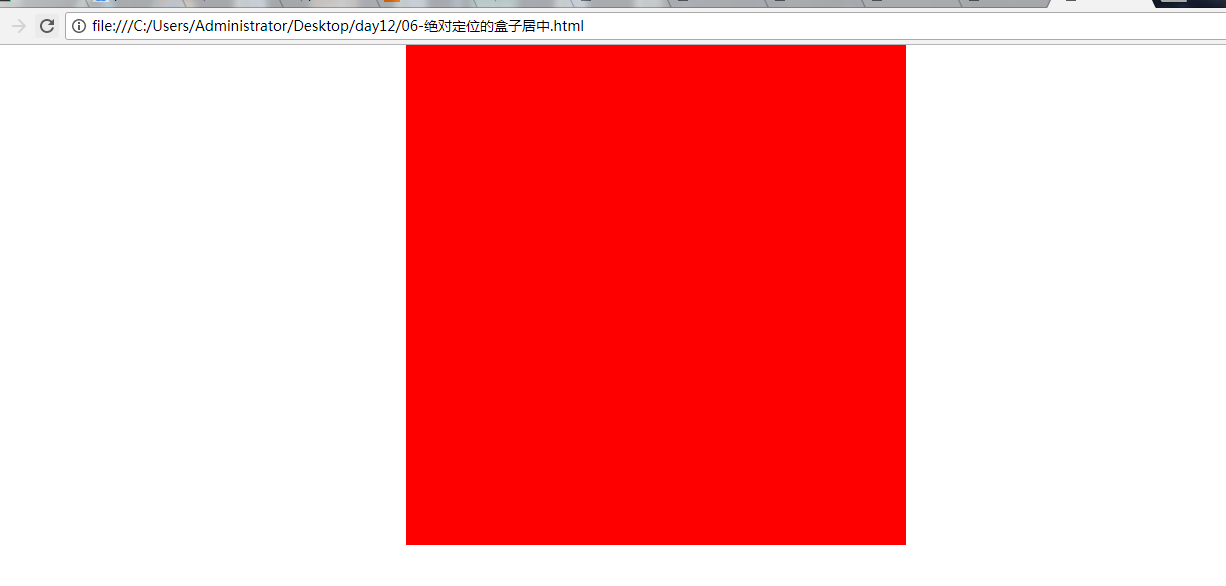
(2)绝对定位
现象:
1.设置绝对定位的盒子,脱离标准流
参考点:
一、单独一个绝对定位的盒子
1.当我使用top属性描述的时候 是以页面的左上角(跟浏览器的左上角区分)为参考点来调整位置
2.当我使用bottom属性描述的时候。是以首屏页面左下角为参考点来调整位置。(爱立信)
二、以父辈盒子作为参考点
1.父辈元素设置相对定位,子元素设置绝对定位,那么会以父辈元素左上角为参考点,这个父辈元素不一定是爸爸,它也可以是爷爷,曾爷爷。
2.如果父亲设置了定位,那么以父亲为参考点。那么如果父亲没有设置定位,那么以父辈元素设置定位的为参考点
3.不仅仅是父相子绝,父绝子绝 ,父固子绝,都是以父辈元素为参考点
注意了:父绝子绝,没有实战意义,做站的时候不会出现父绝子绝。因为绝对定位脱离标准流,影响页面的布局。相反‘父相子绝’在我们页面布局中,是常用的布局方案。因为父亲设置相对定位,不脱离标准流,子元素设置绝对定位,仅仅的是在当前父辈元素内调整该元素的位置。
还要注意,绝对定位的盒子无视父辈的padding
设置绝对定位之后,margin:0 auto;不起任何作用,如果想让绝对定位的盒子居中。当做公式记下来 设置子元素绝对定位,然后left:50%; margin-left等于元素宽度的一半,实现绝对定位盒子居中
<!DOCTYPE html>
<html>
<head>
    <title></title>
    <style type="text/css" media="screen">
        *{
            padding: 0;
            margin: 0;
        }

        .father{
            width: 500px;
            height: 500px;
            background-color: green;
            position: relative;
            top: 50px;
            left: 100px;

        }
        .father2{
            width: 300px;
            height: 300px;
            background-color: yellow;
            margin-left: 30px;
            position: relative;
            padding: 30px;

        }
        .box1{
            width: 200px;
            height: 200px;
            background-color: red;
            position: absolute;
            top: 30px;
            left: 40px;
        }

    </style>
</head>
<body style="height: 2000px">

    <div class="father">
        <div class="father2">


            <div class="box1">

            </div>
        </div>

    </div>

</body>
</html>
效果:

<!DOCTYPE html>
<html>
<head>
<title></title>
<style type="text/css" media="screen">
*{
padding: 0;
margin: 0;
}
input,button{
outline: none;
border: 0;
}
.search{
width: 296px;
height: 48px;
margin: 100px auto;
}
.search form{
position: relative;
}
.search input[type='text']{
width: 223px;
height: 48px;
font-size: 14px;
border: 1px solid #e0e0e0;
padding: 0 5px;
position: absolute;
}
.search span{
font-size: 12px;
background-color: #eee;
padding: 0 5px;
position: absolute;
top: 0;
right: 0;
}
.search span.t{
top: 20px;
right: 162px;
z-index: 2;
}
.search span.s{
top: 20px;
right: 82px;
z-index: 1;
}
.search input[type='submit']{
height: 48px;
width: 50px;
border: 1px solid #e0e0e0;
background: #fff;
position: absolute;
right: 12px;
top: 0px;
}
</style>
</head>
<body>
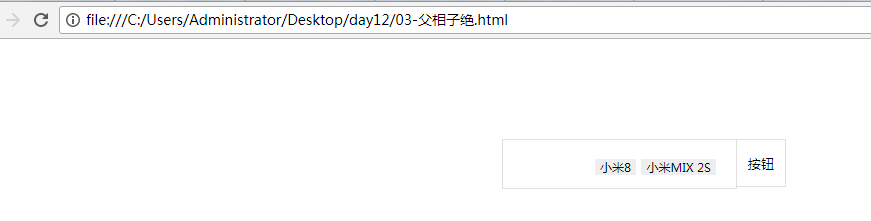
<div class="search">
<form>
<input type="text" name=""><input type="submit" value="按钮">
<span class="t">小米8</span>
<span class="s">小米MIX 2S</span>
</form>
</div>
</body>
</html>
效果:
<!DOCTYPE html>
<html>
<head>
<title></title>
<style type="text/css" media="screen">
.box{
width: 100%;
height: 657px;
border: 1px solid red;
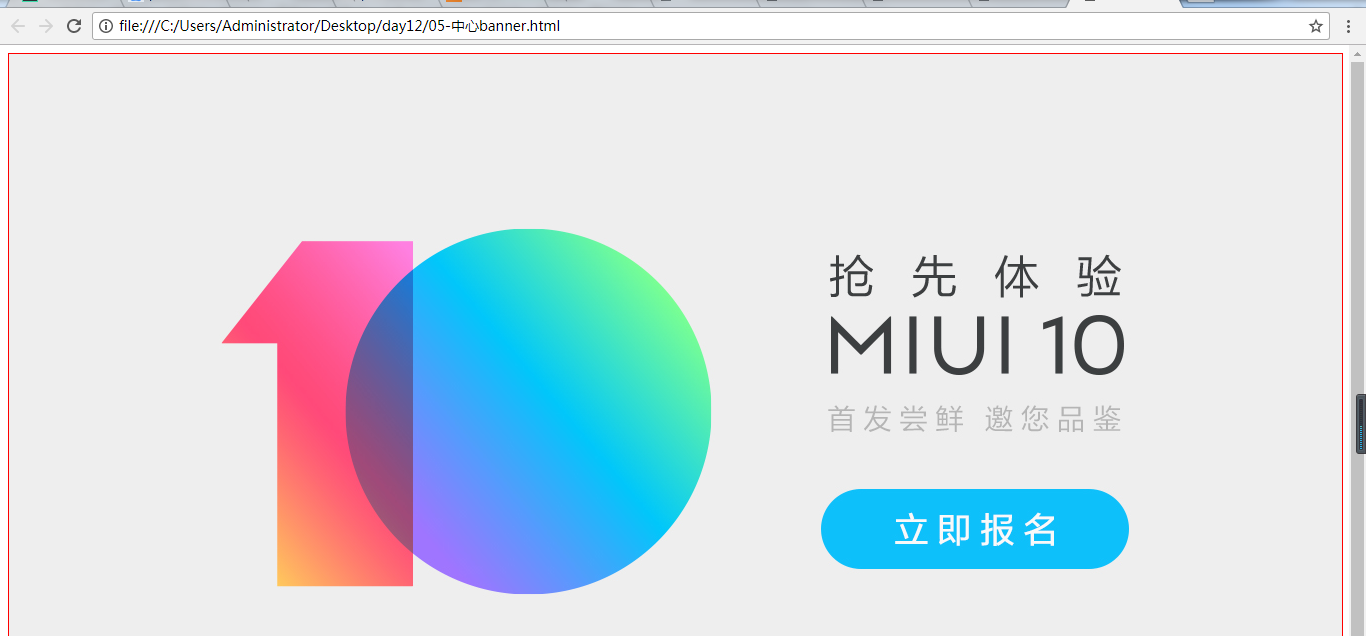
/*left center bottom
left center bottom
*/
background: url(./1.jpg) no-repeat center top;
}
</style>
</head>
<body>
<div class="box">
</div>
</body>
</html>
效果:(原来这是张大图,左右还有,定位到中间了)
<!DOCTYPE html>
<html>
<head>
    <title></title>
    <style type="text/css" media="screen">
        *{
            padding: 0;
            margin: 0;
        }
        .father1{
            position: relative;
            z-index: 5;
        }
        .father2{
            position: relative;
            z-index: 4;
        }

        .box{
            width: 500px;
            height: 500px;
            background-color: red;

            position: absolute;
            left: 50%;
            margin-left: -250px;
            z-index: 20;
        }
        .box2{
            width: 300px;
            height: 300px;
            background-color: green;
            position: absolute;
            left: 50%;
            margin-left: -150px;
            z-index: 1000000;
        }
        /*z-index*/
    </style>
</head>
<body>
    <!-- <div class="t" style="width: 1000px;height: 200px;background-color: yellow;"> -->

    <!-- </div> -->
    <div class="father1">
        <div class="box">

        </div>

    </div>

    <div class="father2">
        <div class="box2">

        </div>
    </div>


</body>
</html>
效果:
<!DOCTYPE html>
<html>
<head>
    <title></title>
    <style type="text/css" media="screen">
        .cart{
            width: 100px;
            height: 50px;
            background-color: #000;
            position: relative;
            margin: 100px auto;
            cursor: pointer;
        }
        .cart-info{
            position: absolute;
            width: 300px;
            height: 100px;
            background-color: red;
            top: 50px;
            left: -200px;
            display: none;
        }
        .cart:hover .cart-info{
            display: block;
            background-color: green;
        }
    </style>
</head>
<body>

    <div class="cart">
        <span class="cart-info"></span>
    </div>

</body>
</html>
效果:
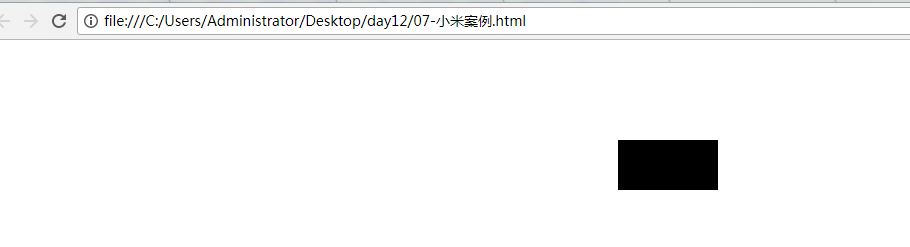
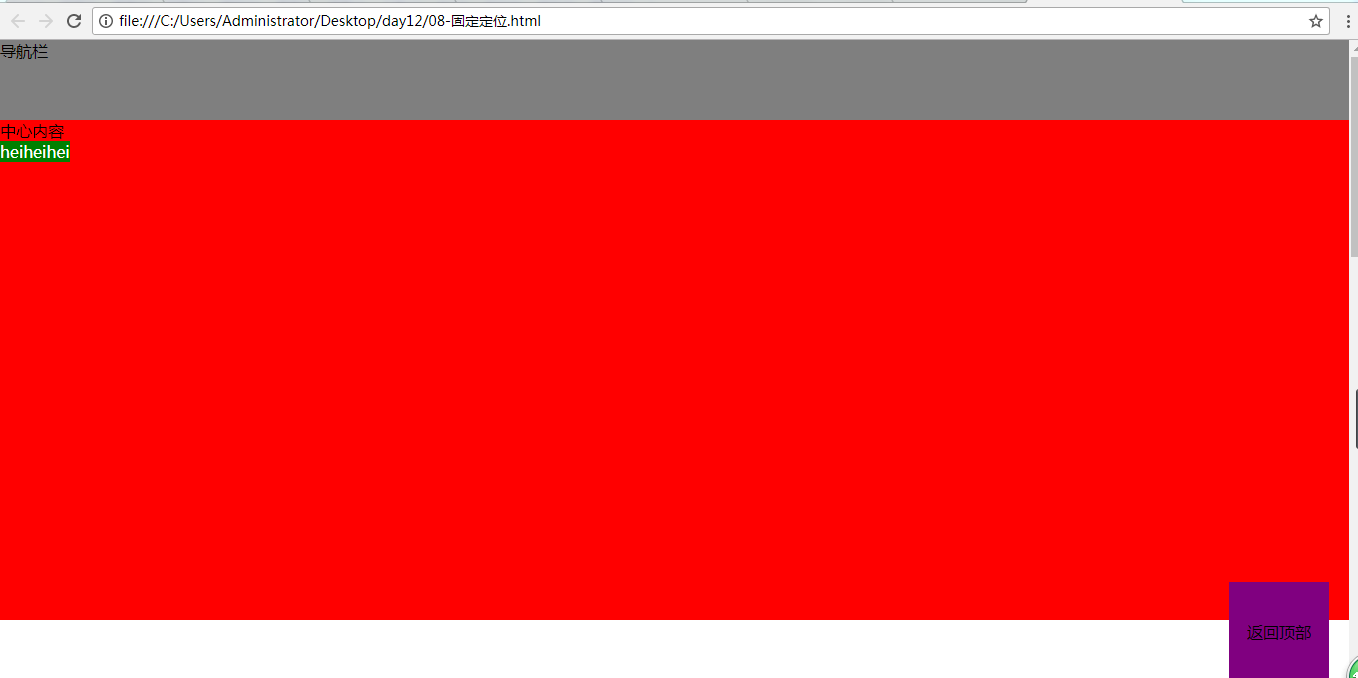
(3)固定定位
<!DOCTYPE html>
<html>
<head>
    <title></title>
    <style type="text/css" media="screen">
        *{
            padding: 0;
            margin: 0;
        }
        body{
            padding-top: 80px;
        }
        .head{
            width: 100%;
            height: 80px;
            background-color: rgba(0,0,0,.5);
            position: fixed;
            top: 0;
            left: 0;
            z-index: 99999;


        }
        .wrapper{
            width: 100%;
            height: 500px;
            background-color: red;

        }
        .top{
            width: 100px;
            height: 100px;
            background-color: purple;
            position: fixed;
            bottom: 20px;
            right: 20px;
            line-height: 100px;
            text-align: center;
        }

    </style>
</head>
<body style="height: 2000px;">

    <div class="head">
        导航栏
    </div>
    <div class="wrapper">
        中心内容

        <p style="position: absolute; color: #fff;background-color: green;"> heiheihei</p>
    </div>

    <div class="top">
        返回顶部
    </div>
    <script src="https://cdn.bootcss.com/jquery/3.3.1/jquery.min.js" type="text/javascript" charset="utf-8"></script>

    <script type="text/javascript">

        $('.top').click(function(){
            $('html,body').animate({
                scrollTop:'200px'
            },2000);

        });


    </script>

</body>
</html>
效果:
2.z-index
1.z-index 值表示谁压着谁,数值大的压盖住数值小的,
2.只有定位了的元素,才能有z-index,也就是说,不管相对定位,绝对定位,固定定位,都可以使用z-index,而浮动元素不能使用z-index
3.z-index值没有单位,就是一个正整数,默认的z-index值为0如果大家都没有z-index值,或者z-index值一样,那么谁写在HTML后面,谁在上面压着别人,定位了元素,永远压住没有定位的元素。
4.从父现象:父亲怂了,儿子再牛逼也没用
css的重要知识点:
(1)每个标签 span==> 1.display属性 none|inline|inline-block|block 2.浮动 3.绝对定位
(2)浮动原理:为了实现并排
清除浮动三种方式:
1.给父盒子设置固定高度
2.给父元素设置类clearfix,伪元素清除法
.clearfix:after{
content:'.',
clear:both;
display:block;
visibility:hidden;
height: 0;
}
3.overflow:hidden(小心点)
(3)定位:
相对定位:不脱标 position:relative;
作用:1.做父相子绝的参考 2.微调元素
参考点:以原来的自身的位置进行定位
绝对定位:脱标 position: absolute
作用:1.父相子绝,页面排版布局 2.压盖现象
参考点:
1个盒子:以页面左上角
父子盒子:以父辈元素左上角为参考点
固定定位:position: fixed;
1.脱标 2.固定导航栏 3.小广告
body{
padding-top: 80px;
}
.head{
width: 100%;
height: 80px;
background-color: rgba(0,0,0,.5);
position: fixed;
top: 0;
left: 0;
z-index: 99999;
}
(4)z-index的用法
js:JavaScript
<!DOCTYPE html>
<html>
<head>
    <title></title>
</head>
<body>

    <!-- <script type="text/javascript" src="./index.js"></script> -->

    <script type="text/javascript">

        /*
        var a = '2';
        var b = 3;
        var c = 4;
        console.log(window);
        console.log(window.a);
        */
        /*
        普通函数
        console.log(add(1,2));
        function add(x,y){
            return x+y;
        };
        */

        // 函数对象

        /*
        var add = function(x,y) {
            console.log(x+y);
        };
        add(5,6);
        */

        // var a  = 2;
        // var b = '3';
        // console.log(a+b);

        // var a = prompt('今天是什么天气?');
  //       console.log(a);

          // console.log(a);
          // var a;
          // a = 10;
          // console.log(typeof(a));


        // def add(x,y):
        //     return x+y
        // add(1,2)


        //全局对象 window


        /*
        var name = '张三';

        var age  = 18;

        var str =  name+"今年"+age+"岁了";
        console.log(str);
        */

        // es6的语法 模板字符串`` ${}
        // var name = '张三';

        // var age  = 18;
        // console.log(`${name}今年${age}岁了`);

        // document.write(`<h1>${name}</h1>`);


        /*
        var a = "哈哈哈";
        var b = 2;
        console.log(a-b);

        console.log(parseInt("2018你真帅!!"));

        var a = parseInt(5.8 + 4.7);
         console.log(a);

         var a1 = 5/0;
        console.log(a1);

        // NaN:number  Infinity:number

        var d1;
        //表示变量未定义
        console.log( d1);


        var x1 = 3;
        var x2 = ++x1;
        console.log(x1);//4
        console.log(x2);//3
        */


        var x = 5;
        console.log(x==='5');

        var a1 = '1';
        var a2 = '2';
        console.log(a1+a2) //12

        var n1 = 122;
        var str1 = String(n1);
        console.log(typeof str1);

        var  stringNum = '1233.33yudasdiusaudsaugd';
        var num2 =  Number(stringNum);
        console.log(num2);

        console.log(parseInt(stringNum))
        console.log(parseFloat(stringNum));


        var b4 = Infinity; //true


        //都是为false、
        var b5 = NaN;

        var b6; //undefined
        var b7 = null;

        // 非0既真
        console.log(Boolean(b7));

    </script>

</body>
</html>
1.ECMAScript5基础语法
es1 2 4 5
es5: 没有类的概念(伪面向对象)
es6:
es7
es8
print()
console.log();
nodejs npm install jquery --save
import ooo from 'xxx'
ooo.find()
python pip3 install
from xxx import ooo
(1)声明变量 var
(2)String Number boolean undefine
(3) Array Math
toNumber()
toString()
<!DOCTYPE html>
<html>
<head>
<title></title>
</head>
<body>
<script>
// if (1) {
// console.log('哈哈哈')
// }else if(){
// };
// console.log(2222);
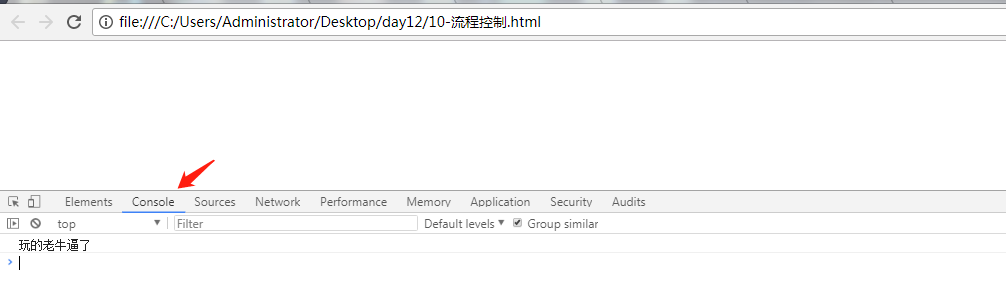
var gameScore = 'better';
switch(gameScore){
//case表示一个条件 满足这个条件就会走进来 遇到break跳出。break终止循环。如果某个条件中不写 break,那么直到该程序遇到下一个break停止
case 'good':
console.log('玩的很好')
//break表示退出
break;
case 'better':
console.log('玩的老牛逼了')
break;
case 'best':
console.log('恭喜你 吃鸡成功')
break;
default:
console.log('很遗憾')
}
// //不管有没有满足while中的条件do里面的代码都会走一次
// var i = 3;//初始化循环变量
// do{
// console.log(i)
// i++;//更新循环条件
// }while (i<10) //判断循环条件
// for(var i = 0;i < 10;i++){
// console.log(i);
// }
// for(var i=1;i<=3;i++){
// for(var j=0;j<6;j++){
// document.write('*')
// }
// document.write('<br>')
// }
</script>
</body>
</html>
效果:
<!DOCTYPE html>
<html>
<head>
    <title></title>
</head>
<body>
    <script>


        // //不管有没有满足while中的条件do里面的代码都会走一次
         var i = 3;//初始化循环变量
         do{

             console.log(i)
             i++;//更新循环条件

         }while (i<10) //判断循环条件
    </script>

</body>
</html>
效果:

         for(var i = 0;i < 10;i++){
             console.log(i);
         }

结果为:
0
1
2
3
4
5
6
7
8
9
二、jsDOM
Document Object Model
(1)获取DOM的三种方式:
var oDiv = document.getElementById('box');
//获取的是集合,跟数组不同,它没有数组的方法
var oDiv = document.getElementsByTagName('div')[0];
var oDiv = document.getElementsByClassName('box')[0];
<!DOCTYPE html>
<html>
<head>
<title></title>
</head>
<body>
<script>
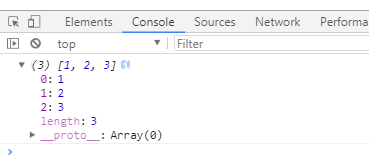
var arr = [1,2,3];
console.log(arr);
</script>
</body>
</html>
效果:
<!DOCTYPE html>
<html>
<head>
    <title></title>
</head>
<body>
    <script>
         // 构造函数的方式创建(造对象)
         var arr = [1,2,3];
         var arr2 = new Array();
         arr2.push(10);
         console.log(arr2.concat(arr));
    </script>

</body>
</html>
效果:

<!DOCTYPE html>
<html>
<head>
    <title></title>
</head>
<body>
    <script>
          var arr = ['张三','李四','王文','赵六'];
         arr.pop();
         console.log(arr);//["张三", "李四","王文"]

    </script>

</body>
</html>
<!DOCTYPE html>
<html>
<head>
    <title></title>
</head>
<body>
    <script>
           var num = 132.32522;
         var newNum = num.toFixed(2)
         console.log(newNum)

    </script>

</body>
</html>
效果:

<!DOCTYPE html>
<html>
<head>
    <title></title>
</head>
<body>
    <script>
           var myDate = new Date();
         console.log(myDate.getDate());
         console.log(myDate.getMonth()+1);
         console.log(myDate.getFullYear());
         console.log(myDate.getDay());
    </script>

</body>
</html>
效果:

<!DOCTYPE html>
<html>
<head>
    <title></title>
</head>
<body>
    <script>
           var myDate = new Date();
          console.log(myDate.toLocaleString());
    </script>

</body>
</html>

效果:
2018/7/13 上午12:26:56
<!DOCTYPE html>
<html>
<head>
    <title></title>
</head>
<body>
    <script>
//            100~600 min+Math.randowm()*(max-min)公式背过
         console.log(Math.floor(100+Math.random()*500));
    </script>

</body>
</html>

结果:107
<!DOCTYPE html>
<html>
<head>
    <title></title>
</head>
<body>
    <script>
                function add() {
            //body...
            console.log(arguments);
//             console.log(arguments[1]);
//             arguments.push(888);
            for(var i=0;i<arguments.length;i++){
                console.log(arguments[i]);
            }


        };

        add('1',2,3);
        console.log(window);
        console.log(document);
        console.log(document.documentElement);
        console.log(document.body);
    </script>

</body>
</html>
效果:

(2)设置style样式
oDiv.style.width
oDiv.style.height
oDiv.style.marginLeft
.......只要是css中的属性都能通过style对象点出来,所有的css中类似margin-left,都要写成驼峰,marginLeft
(3)设置标签中的属性
console.log(oDiv.id);getter方法 获取id的属性值
oDiv.id= '123';setter方法 设置id的属性值
除了id,还有class,使用className,title
<!DOCTYPE html>
<html>
<head>
    <title></title>
    <style>
        .box1{
            width: 200px;
            height: 200px;
            background-color: red;
            /**/
        }
        .active{
            background-color: yellow;
        }

    </style>

</head>
<body>

    <div id="box" class="box1">

    </div>

    <img src="./xinyuan.jpg" alt="女优" title='黑' id="nv">
    <!-- <img src="./xinyuan.jpg" alt="女优" title='黑'> -->

    <button class="btn">切换</button>
    <script>
        //js中入口函数
        //当文档和图片都加载完成之后 入口函数才调用
        window.onload = function() {
            console.log(111);
            var oDiv = document.getElementById('box');
            console.dir(oDiv);
            console.log(oDiv.id);
            console.log(oDiv.className);


            var isRed = true;
            oDiv.onclick = function() {
                // if (isRed) {
                //     console.log(oDiv.style);
                //     oDiv.style.backgroundColor = 'green';
                //     oDiv.style.width = '300px';
                //     isRed = false;
                // }else{
                //     oDiv.style.backgroundColor = 'red';
                //     oDiv.style.width = '200px';
                //     isRed = true;
                // }


                oDiv.className  += ' active';


            };

        var oImg = document.getElementsByTagName('img')[0];
        console.log(oImg);

        var oBtn = document.getElementsByClassName('btn')[0];


        oBtn.onclick = function() {


                // 点语法  setter和getter语法

                oImg.src = './1.jpg';
                console.log(oImg.id);

                oImg.id = 'lv';
                // oImg.alt=
                // oImg.className
                // oImg.title


        }


        };

    </script>


</body>
</html>
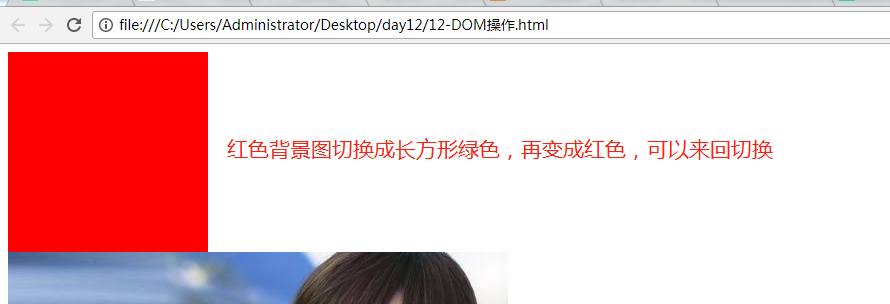
效果:DOM操作

<!DOCTYPE html>
<html>
<head>
    <title></title>
    <style>
        .box1{
            width: 200px;
            height: 200px;
            background-color: red;
            /**/
        }
        .active{
            background-color: yellow;
        }

    </style>

</head>
<body>

    <div id="box" class="box1">

    </div>

    <img src="./xinyuan.jpg" alt="女优" title='黑' id="nv">
    <!-- <img src="./xinyuan.jpg" alt="女优" title='黑'> -->

    <button class="btn">切换</button>
    <script>
        //js中入口函数
        //当文档和图片都加载完成之后 入口函数才调用
        window.onload = function() {
            console.log(111);
            var oDiv = document.getElementById('box');
            console.dir(oDiv);
            console.log(oDiv.id);
            console.log(oDiv.className);


            var isRed = true;
            oDiv.onclick = function() {
                 if (isRed) {
                    console.log(oDiv.style);
                     oDiv.style.backgroundColor = 'green';
                    oDiv.style.width = '300px';
                     isRed = false;
                 }else{
                    oDiv.style.backgroundColor = 'red';
                     oDiv.style.width = '200px';
                     isRed = true;
                 }


                oDiv.className  += ' active';


            };

        var oImg = document.getElementsByTagName('img')[0];
        console.log(oImg);

        var oBtn = document.getElementsByClassName('btn')[0];


        oBtn.onclick = function() {


                // 点语法  setter和getter语法

                oImg.src = './1.jpg';
                console.log(oImg.id);

                oImg.id = 'lv';
                // oImg.alt=
                // oImg.className
                // oImg.title


        }


        };

    </script>


</body>
</html>
效果: