智能手机的迅速普及,大大的丰富了我们的娱乐生活。现在大家都喜欢晚上睡觉前玩会儿手机,但是应用的日间模式往往亮度太大,对眼睛有较为严重的伤害。因此,如今的应用往往开发了 日间和夜间 两种模式供用户切换使用,那日间和夜间模式切换究竟是怎样实现的呢?
在文字类的App上面基本上都会涉及到夜间模式、就是能够根据不同的设定、呈现不同风格的界面给用户、而且晚上看着不伤眼睛、实现方式也就是所谓的换肤(主题切换)、对于夜间模式的实现网上流传了很多种方式、这里先分享一个方法给大家、通过设置背景为透明的方法、降低屏幕的亮度与色度。
夜间模式代码
|
1
2
3
4
5
6
7
8
9
10
11
12
13
14
15
16
17
18
|
public
void
night() {
WindowManager.LayoutParams params =
new
WindowManager.LayoutParams(
LayoutParams.MATCH_PARENT, LayoutParams.MATCH_PARENT,
LayoutParams.TYPE_APPLICATION,
WindowManager.LayoutParams.FLAG_NOT_TOUCHABLE
| WindowManager.LayoutParams.FLAG_NOT_FOCUSABLE,
PixelFormat.TRANSLUCENT);
params.gravity=Gravity.BOTTOM;
params.y=
10
;
if
(myView==
null
){
myView=
new
TextView(
this
);
myView.setBackgroundColor(
0x80000000
);
}
mWindowManager.addView(myView, params);
Editor edit = skinSp.edit();
edit.putString(
"skin"
, NIGHT);
edit.commit();
}
|
白天模式
|
1
2
3
4
5
6
7
8
|
public
void
day(){
if
(myView!=
null
){
mWindowManager.removeView(myView);
Editor edit = skinSp.edit();
edit.putString(
"skin"
, DAY);
edit.commit();
}
}
|
下面通过实例操作来详细展示如何进行Android主题切换中的白天/夜间模式。
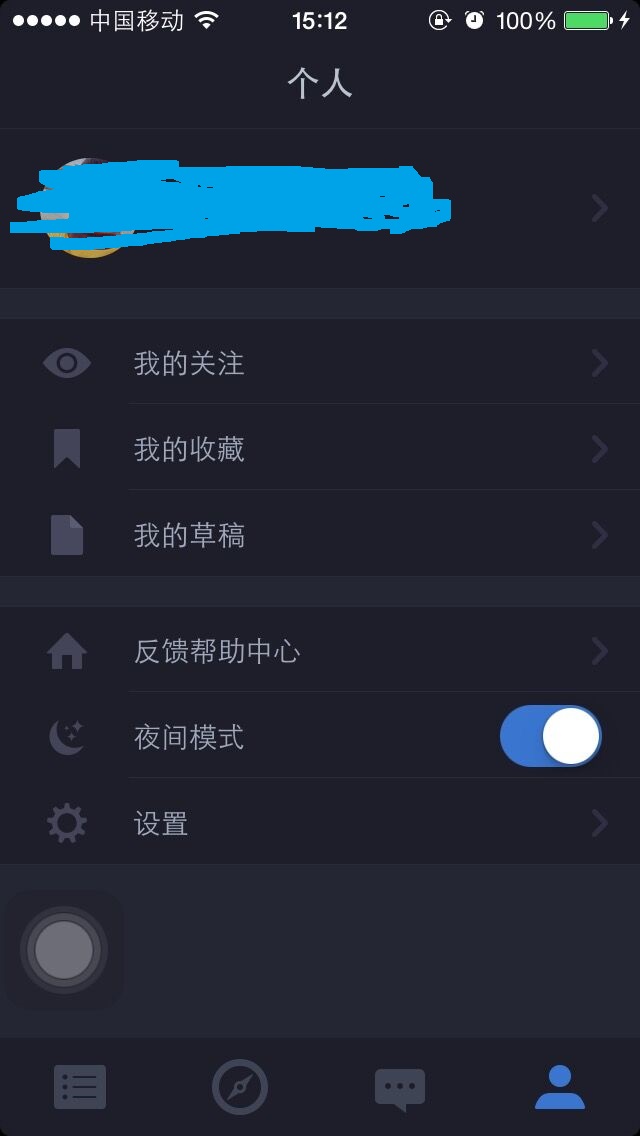
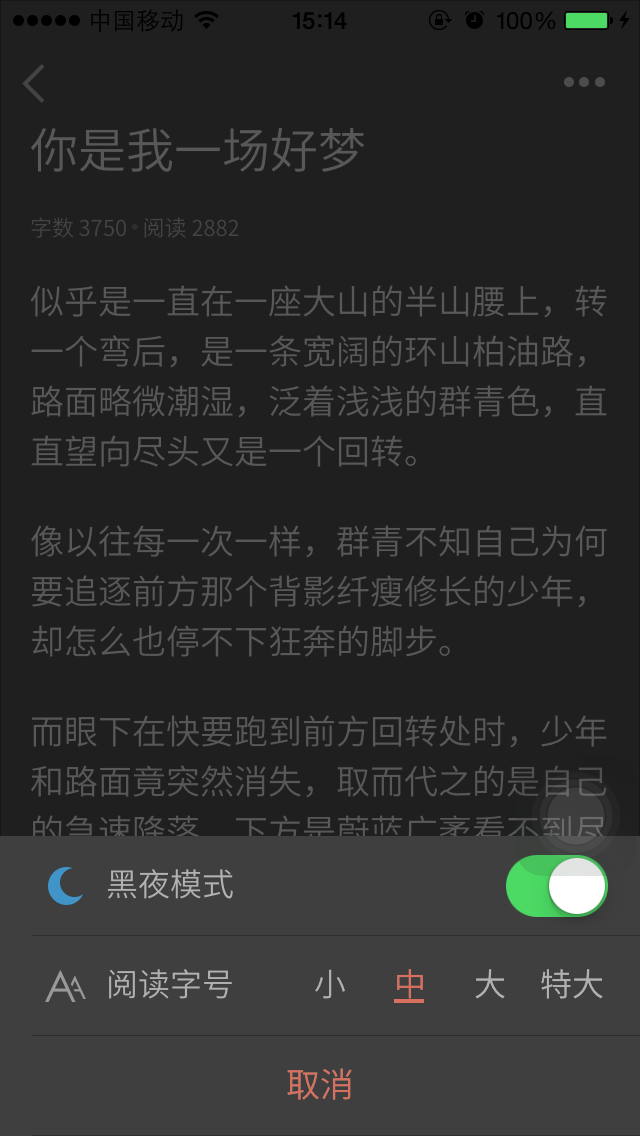
上述两幅图片,正是两款App的夜间模式效果,所以,依据这个功能,来看看切换主题到底是怎么实现的(当然现在github有好多PluginTheme开源插件,很多时候可以使用这些插件,不过我并不想讲怎么用那些插件,正所谓会用轮子还不如会造轮子)。
关于更换主题和换肤
这里提到是做换主题功能,当然与之类似的就是换肤,换肤现在比较流行的是采用插件化动态加载技术来实现的,这样可以起到热插拔作用,需要皮肤时候用户自主的在网上下载便是了,不用皮肤时便删了皮肤插件包而不会影响宿主App的功能,这样就不必把一大堆皮肤图片放在本地而增加apk的大小,关于用插件化实现换肤功能这仅仅是插件化技术的冰山一角,关于插件化技术更多的作用,可以看看360前两天开源的 DroidPlugin插件框架、OpenAltas框架、还有主席的DL框架。
好了,言归正传,现在我们需要实现的是主题切换功能,关于主题切换其实是切换整个App的颜色风格、排版风格、字体风格等,其中并不会有过多的图片资源的切换,如有过多的图片的更换那就是换肤的功能了。
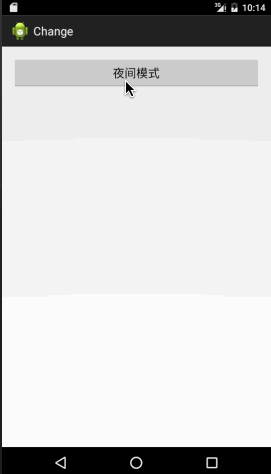
现在我们要实现夜间/白天模式的切换功能,如下效果图:
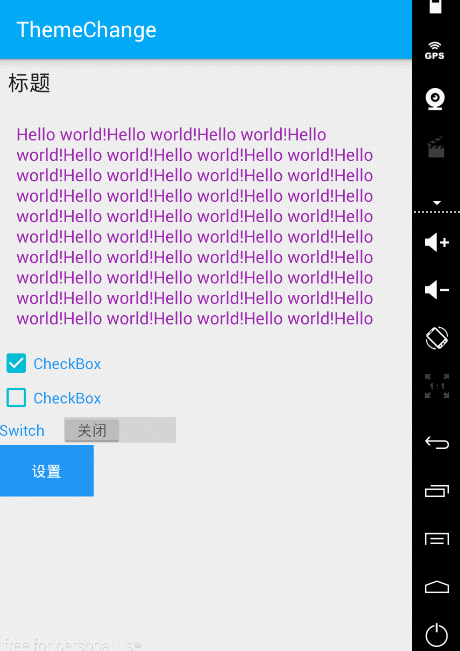
可以看到上面的效果正是夜间和白天两种模式的切换功能,切换至夜间模式时整个App的背景色、字体颜色、按钮颜色、标题栏颜色等全部需要切为夜间模式的颜色,当切回白天模式又切回原来的颜色,来看看怎么做的?
实现主题切换
首先就是需要在app中准备两套主题:
白天主题
|
1
2
3
4
5
6
7
8
9
10
11
12
13
14
15
16
17
18
19
20
21
22
23
24
25
26
27
28
29
30
31
32
|
<resources>
<style name=
"DayTheme"
parent=
"Theme.AppCompat.Light.DarkActionBar"
>
<!-- Customize your theme here. -->
<item name=
"colorPrimary"
>#03A9F4</item>
<item name=
"android:textColorPrimary"
>#ffffff</item>
<item name=
"android:windowBackground"
>
@color
/background_material_light</item>
<item name=
"colorAccent"
>#00BCD4</item>
<item name=
"colorControlNormal"
>#00BCD4</item>
<item name=
"titleStyle"
>
@style
/DayTitleStyle</item>
<item name=
"contentStyle"
>
@style
/DayContentStyle</item>
<item name=
"buttonBg"
>#2196F3</item>
<item name=
"buttonTextColor"
>#ffffff</item>
<item name=
"checkTextColor"
>#2196F3</item>
<item name=
"switchTextColor"
>#2196F3</item>
</style>
<style name=
"DayTitleStyle"
>
<item name=
"android:textColor"
>#
212121
</item>
<item name=
"android:textSize"
>20sp</item>
<item name=
"android:layout_margin"
>8dp</item>
</style>
<style name=
"DayContentStyle"
>
<item name=
"android:textColor"
>#9C27B0</item>
<item name=
"android:textSize"
>16sp</item>
<item name=
"android:layout_margin"
>16dp</item>
<item name=
"android:maxLines"
>
10
</item>
</style>
</resources>
|
夜间主题
|
1
2
3
4
5
6
7
8
9
10
11
12
13
14
15
16
17
18
19
20
21
22
23
24
25
26
27
28
29
30
31
32
|
<resources>
<style name=
"NightTheme"
parent=
"Theme.AppCompat.Light.DarkActionBar"
>
<!-- Customize your theme here. -->
<item name=
"colorPrimary"
>#00796B</item>
<item name=
"android:textColorPrimary"
>#
212121
</item>
<item name=
"android:windowBackground"
>
@color
/background_material_dark</item>
<item name=
"colorAccent"
>#00796B</item>
<item name=
"colorControlNormal"
>#
212121
</item>
<item name=
"titleStyle"
>
@style
/NightTitleStyle</item>
<item name=
"contentStyle"
>
@style
/NightContentStyle</item>
<item name=
"buttonBg"
>#00796B</item>
<item name=
"buttonTextColor"
>#9E9E9E</item>
<item name=
"checkTextColor"
>#
212121
</item>
<item name=
"switchTextColor"
>#
212121
</item>
</style>
<style name=
"NightTitleStyle"
>
<item name=
"android:textColor"
>#
212121
</item>
<item name=
"android:textSize"
>20sp</item>
<item name=
"android:layout_margin"
>8dp</item>
</style>
<style name=
"NightContentStyle"
>
<item name=
"android:textColor"
>#
212121
</item>
<item name=
"android:textSize"
>16sp</item>
<item name=
"android:layout_margin"
>16dp</item>
<item name=
"android:maxLines"
>
10
</item>
</style>
</resources>
|
上面这两套主题中,各个属性定义完全一模一样,不一样的只是属性的值,其中在DayTheme和NightTheme的style中有这么一段代码:
|
1
2
3
4
5
6
|
<item name=
"titleStyle"
>
@style
/DayTitleStyle</item>
<item name=
"contentStyle"
>
@style
/DayContentStyle</item>
<item name=
"buttonBg"
>#2196F3</item>
<item name=
"buttonTextColor"
>#ffffff</item>
<item name=
"checkTextColor"
>#2196F3</item>
<item name=
"switchTextColor"
>#2196F3</item>
|
正常情况下style中是不存在这些属性的,它们这些是自定义属性,主要是用来控制某些控件或者布局的属性,它们的定义在attr文件中:
|
1
2
3
4
5
6
7
8
9
|
<?xml version=
"1.0"
encoding=
"utf-8"
?>
<resources>
<attr name=
"contentStyle"
format=
"reference"
/>
<attr name=
"titleStyle"
format=
"reference"
/>
<attr name=
"buttonBg"
format=
"reference|color"
/>
<attr name=
"buttonTextColor"
format=
"reference|color"
/>
<attr name=
"checkTextColor"
format=
"reference|color"
/>
<attr name=
"switchTextColor"
format=
"reference|color"
/>
</resources>
|
然后在布局中引用即可:
|
1
2
3
4
5
6
7
8
9
10
11
12
13
14
15
16
17
18
19
20
21
22
23
24
25
26
27
28
29
30
31
32
33
34
35
36
37
38
39
40
41
42
43
44
45
46
|
<LinearLayout xmlns:android=
"http://schemas.android.com/apk/res/android"
android:layout_width=
"match_parent"
android:layout_height=
"match_parent"
android:orientation=
"vertical"
tools:context=
".MainActivity"
>
<TextView
style=
"?attr/titleStyle"
android:layout_width=
"wrap_content"
android:layout_height=
"wrap_content"
android:text=
"@string/title"
/>
<TextView
style=
"?attr/contentStyle"
android:layout_width=
"wrap_content"
android:layout_height=
"wrap_content"
android:text=
"@string/hello_world"
/>
<CheckBox
android:layout_width=
"wrap_content"
android:layout_height=
"wrap_content"
android:text=
"CheckBox"
android:textColor=
"?attr/checkTextColor"
/>
<CheckBox
android:layout_width=
"wrap_content"
android:layout_height=
"wrap_content"
android:text=
"CheckBox"
android:textColor=
"?attr/checkTextColor"
/>
<Switch
android:layout_width=
"wrap_content"
android:layout_height=
"wrap_content"
android:text=
"Switch"
android:textColor=
"?attr/switchTextColor"
/>
<Button
android:id=
"@+id/btn_setting"
android:layout_width=
"wrap_content"
android:layout_height=
"wrap_content"
android:text=
"设置"
android:background=
"?attr/buttonBg"
android:textColor=
"?attr/buttonTextColor"
/>
</LinearLayout>
|
最后在整个App主题的style中使用它们就ok了。这样做有什么好处呢?我们都知道App设置主题时候都是设置一个style,而App中某些控件或者布局的背景或者style样式需要和整个主题样式不同时,这时候可以通过设置个自定义属性,通过在App的style中给与自定义属性不同的值来达到目的。
切换主题
好了,有了两套主题了,接下来是通过代码来进行控制主题间的切换了,控制主题的切换其实就是通过setTheme(R.style.*);来设置不同的style从而达到界面风格的变换,不过这个方法setTheme()只在setContentView()方法前设置才有效,所以如果你想在其它地方调用这个方法来切换主题那是肯定不行的,所以这里有两个难点?
1、怎么处理当前的设置界面在切换主题后同时切换主题风格
2、怎么处理之前已经打开的界面让他们切换主题风格
这里我给出的答案是:
1、在当前切换主题的设置界面使用Activity.recreate()方法,该方法的作用就是当当前Activity的配置发生变化时,调用这个方法可以把当前Activity实例销毁并重新创建出一个Activity实例。如此可见通过这个方法可以很容易的解决问题一,因为它会重新创建一个新的Activity实例。
2、这里我使用的方法是通过设置Intent的Flag来达到更新之前Activity的效果,通过设置mIntent.setFlags(Intent.FLAG_ACTIVITY_NEW_TASK | Intent.FLAG_ACTIVITY_CLEAR_TASK);让它清除之前的Activity再创建一个新的Activity,这样当返回之前的界面就可以更新主题了。【注】如果有多个界面可以通过设置主界面MainActivity的launchMode为singleTask,在返回主界面时候清除其它界面来更新主题
对于上面的方法(如有更好的方法欢迎告知,万分感谢!)
代码实现
最后再贴下代码:
通过一个主题设置工具类设置主题,在每个Activity的setContentView()方法之前设置主题:
设置主题工具类:
|
1
2
3
4
5
6
7
8
|
public
class
ThemeChangeUtil {
public
static
boolean
isChange =
false
;
public
static
void
changeTheme(Activity activity){
if
(isChange){
activity.setTheme(R.style.NightTheme);
}
}
}
|
设置界面:
|
1
2
3
4
5
6
7
8
9
10
11
12
13
14
15
16
17
18
19
20
21
22
23
24
25
26
27
28
29
30
|
public
class
ChangeTheme
extends
AppCompatActivity {
@Override
protected
void
onCreate(Bundle savedInstanceState) {
ThemeChangeUtil.changeTheme(
this
);
super
.onCreate(savedInstanceState);
setContentView(R.layout.activity_change);
Button mChangeBtn = (Button) findViewById(R.id.btn_change);
mChangeBtn.setOnClickListener(
new
View.OnClickListener() {
@Override
public
void
onClick(View v) {
if
(ThemeChangeUtil.isChange) {
ThemeChangeUtil.isChange =
false
;
}
else
{
ThemeChangeUtil.isChange =
true
;
}
ChangeTheme.
this
.recreate();
//重新创建当前Activity实例
}
});
}
@Override
public
void
onBackPressed() {
super
.onBackPressed();
Intent mIntent =
new
Intent(
this
, MainActivity.
class
);
mIntent.setFlags(Intent.FLAG_ACTIVITY_NEW_TASK | Intent.FLAG_ACTIVITY_CLEAR_TASK);
startActivity(mIntent);
finish();
}
}
|
主界面:
|
1
2
3
4
5
6
7
8
9
10
11
12
13
14
15
16
|
public
class
MainActivity
extends
AppCompatActivity {
@Override
protected
void
onCreate(Bundle savedInstanceState) {
ThemeChangeUtil.changeTheme(
this
);
super
.onCreate(savedInstanceState);
setContentView(R.layout.activity_main);
Button mSettingBtn = (Button) findViewById(R.id.btn_setting);
mSettingBtn.setOnClickListener(
new
View.OnClickListener() {
@Override
public
void
onClick(View v) {
MainActivity.
this
.startActivity(
new
Intent(MainActivity.
this
, ChangeTheme.
class
));
}
});
}
}
|
以上就是Android主题切换中的白天/夜间模式的详细过程及代码,一开始先给大家简单的展示了代码,而后详细的介绍过程及代码,需要的朋友参考。