参考:https://blog.csdn.net/qq_18809079/article/details/78768985
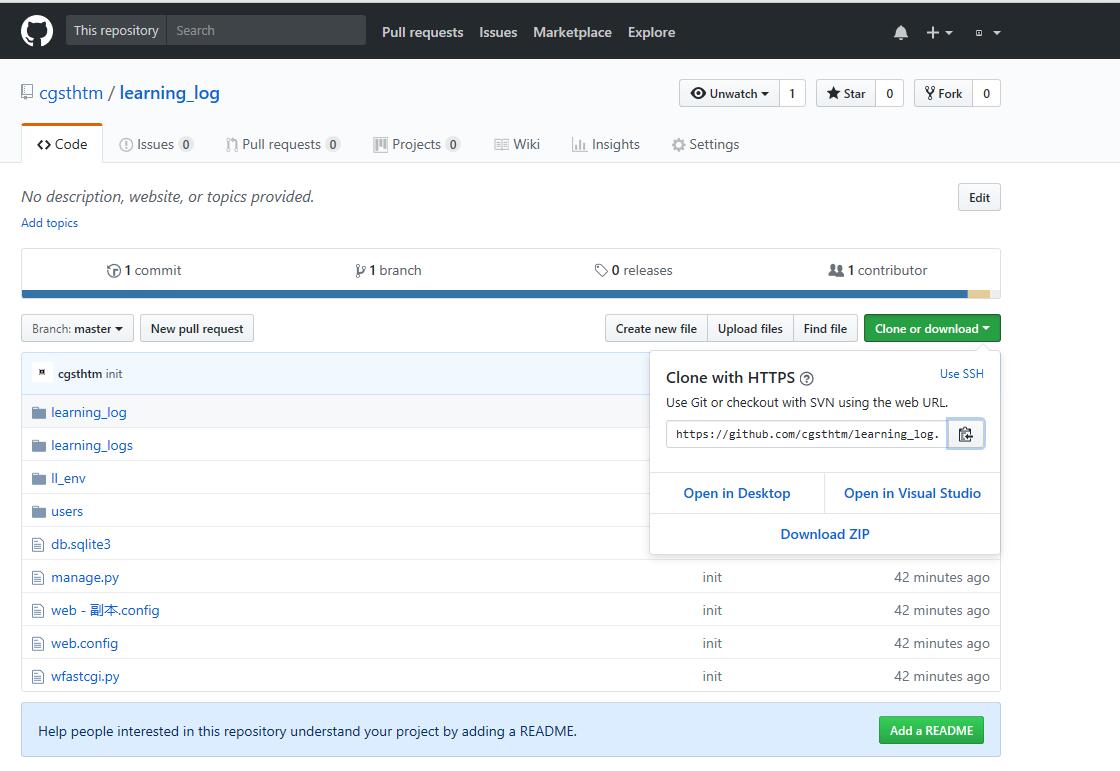
1.将本地Django项目push到github上

2.创建pythonanywhere账户创建Files
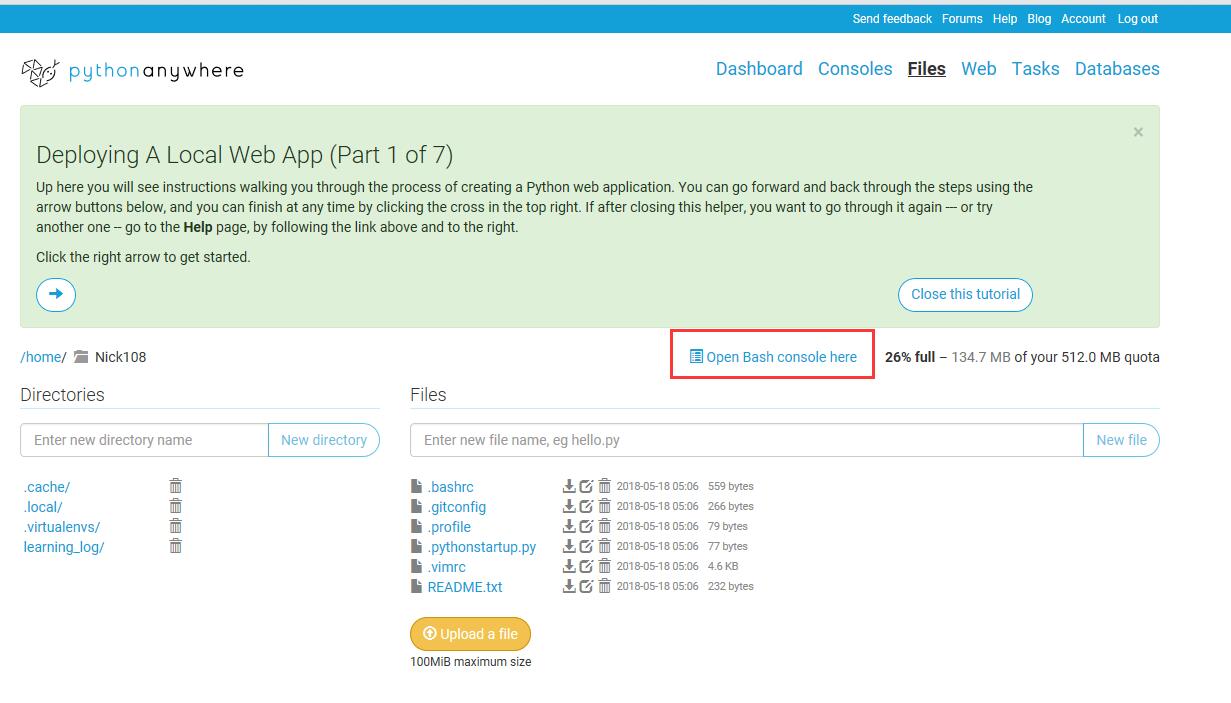
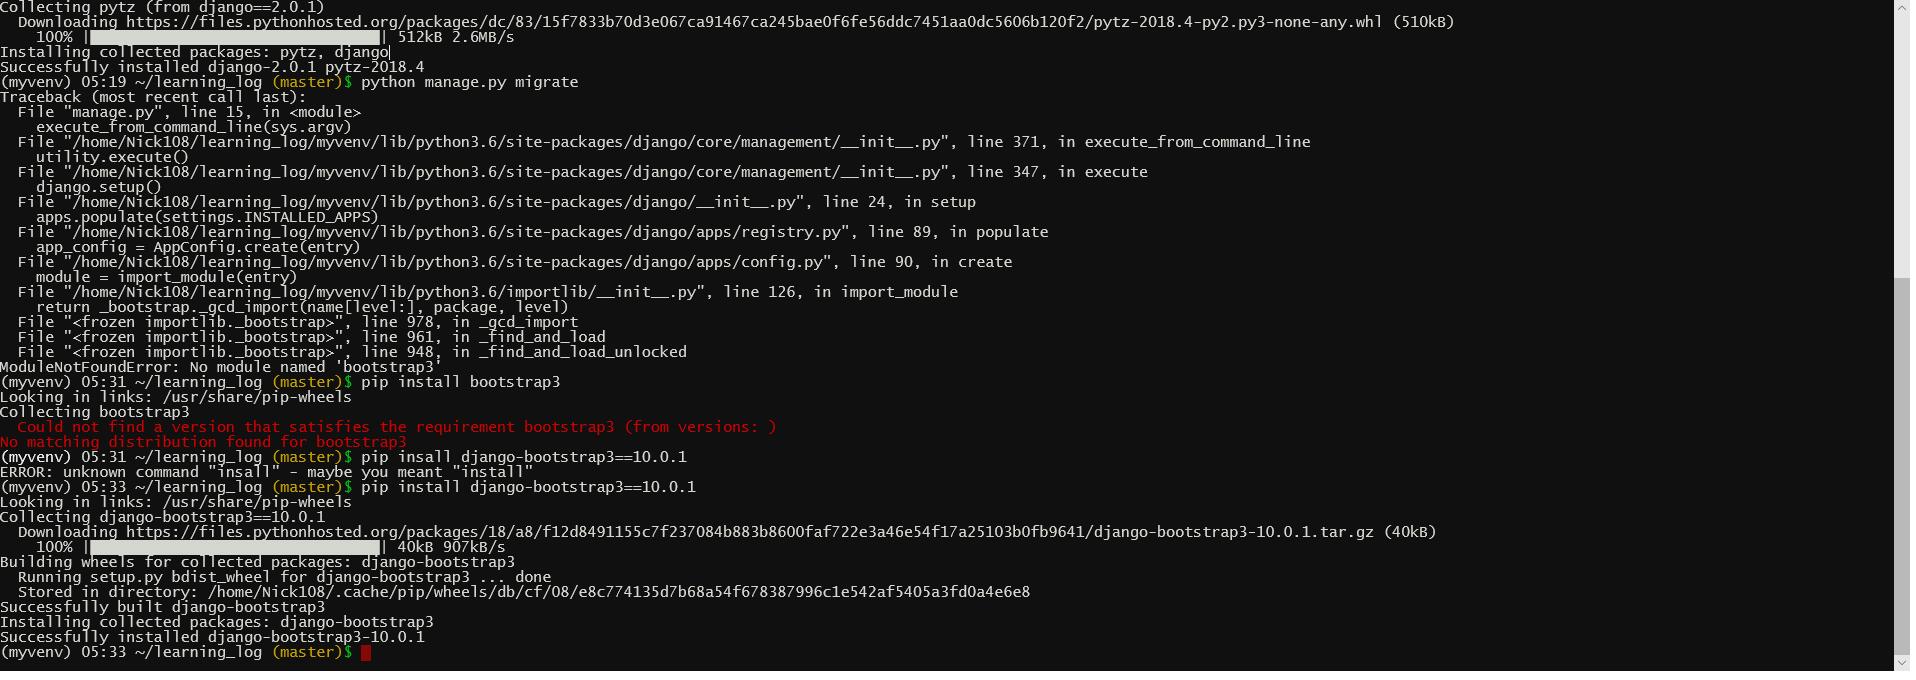
使用PythonAnyWhere的Bash从Github克隆项目并创建virtual environment,在虚拟环境中pip安装所需的模块,这里我安装了django 2.0.1和django-bootstrap3 10.0.1

3.在PythonAnyWhere中创建web apps
到这里,我们的Django项目已经在PythonAnyWhere上了,虚拟环境也准备好了,此时就可以将它作为Web App发布了!在PythonAnyWhere里,点击 “Web”选项卡 -> 点击 “Add a new web app”
-> 确认域名 -> 选择manual configuration(注意不是选择“Django”哦) -> 选择Python3.6(我本地就是3.6版本的python) -> 点击Next以最终完成向导。
-> 确认域名 -> 选择manual configuration(注意不是选择“Django”哦) -> 选择Python3.6(我本地就是3.6版本的python) -> 点击Next以最终完成向导。
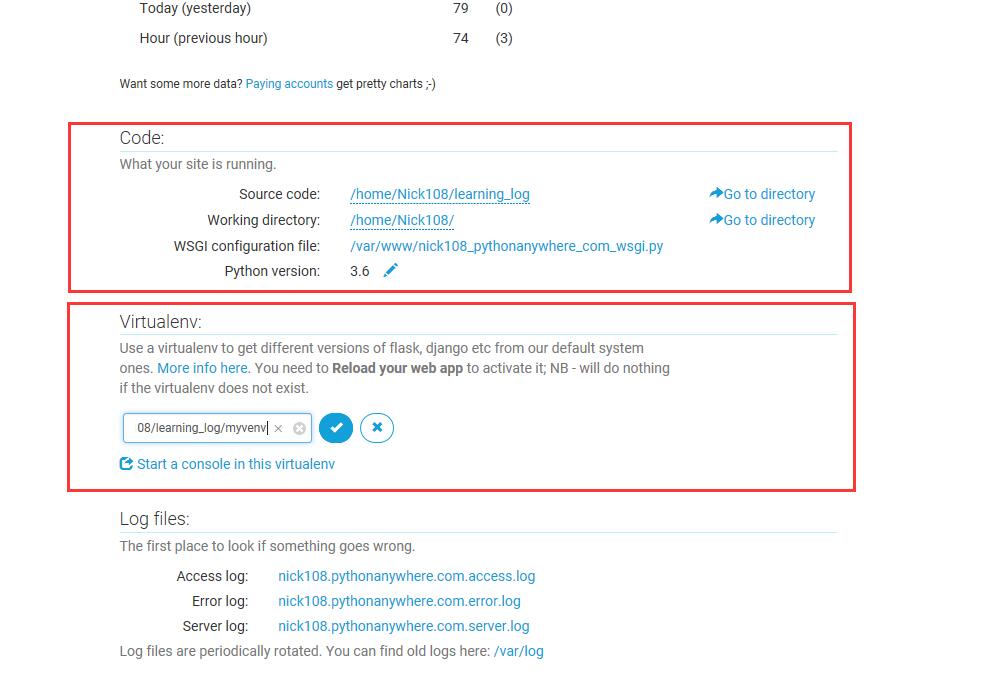
4.配置web app虚拟环境及工作目录
源码:/home/Nick108/learning_log 为第二步从github克隆的项目learning_log
工作目录:/home/Nick108
虚拟环境:/home/Nick108/learning_log/myvenv 为第二步创建的虚拟环境目录
5.配置PythonAnyWhere中的WSGI.py文件
import os
import sys

path = '/home/<你的PythonAnyWhere用户名>/my-first-blog'  # 在这里使用你自己的用户名和GitHub项目的名字。
if path not in sys.path:
    sys.path.append(path)

os.environ['DJANGO_SETTINGS_MODULE'] = 'mysite.settings' # 在这里mysite请用settings所在文件夹名,我用的是和GitHub仓库名一样的名字
from django.core.wsgi import get_wsgi_application
from django.contrib.staticfiles.handlers import StaticFilesHandler
application = StaticFilesHandler(get_wsgi_application())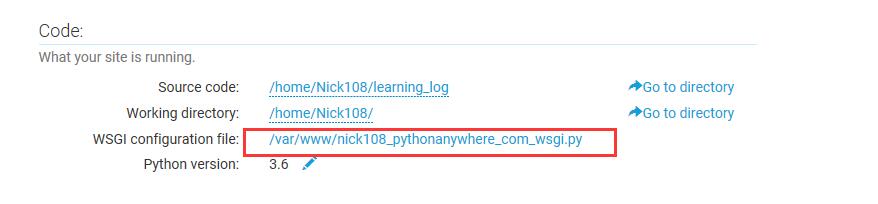

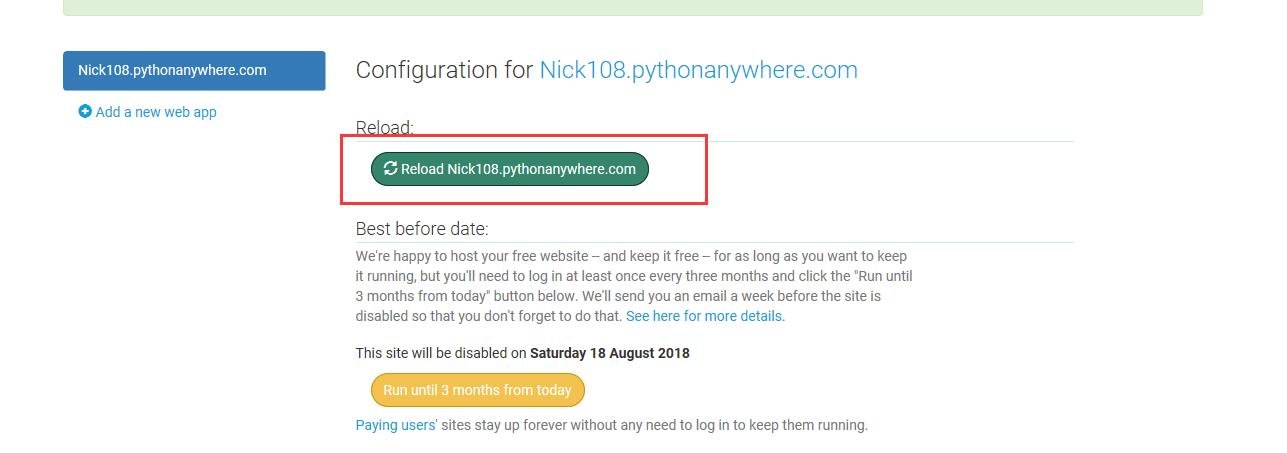
6.Reload配置好的web app
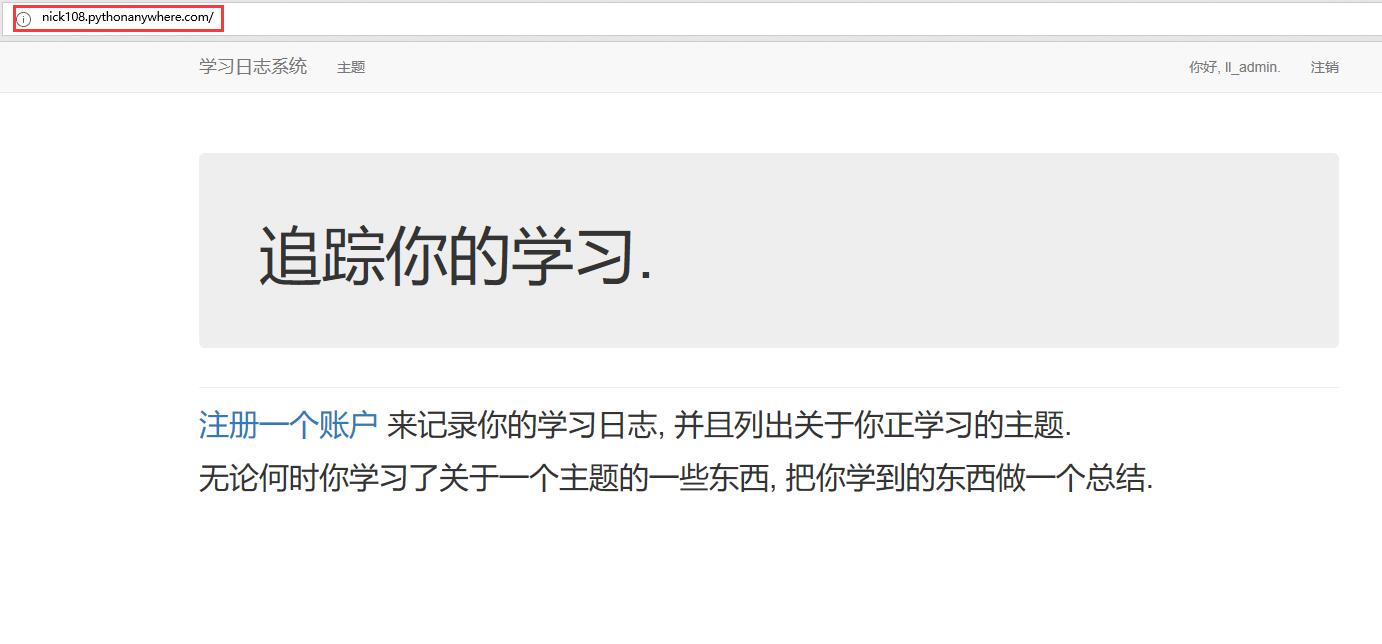
7.浏览