1.创建工程时选择Visual C++>Win32,创建的工程名称为Test。之后在工程引导中选择DLL和空工程即可。创建完成之后添加新类。此处命名为Test。点击保存后,设置BuildSetting为Release和x64(对应win64,如果是32为就X86)生成项目,拿到Project/x64/Release下的dll文件。
2.将lib dll文件和对应的include文件考到指定目录中 通常为项目的Plugins/ThirdParty/Win64 (可自定义,比如放在Source下)
3. 添加到工程中 代码如
PublicAdditionalLibraries.Add(lib目录 + lib文件名);//加载第三方静态库.lib
PublicIncludePaths.Add(lib头文件目录);
使用时 在使用的代码中直接#include 头文件即可 (有的时候编译会报两个链接错误 重新编译一下就好了)
4. 使用dll库 代码如下
需要现在.build.cs中配置
PublicDelayLoadDLLs.Add(dll目录 + dll文件名);
RuntimeDependencies.Add(new RuntimeDependency(dll目录 + dll文件名));
如果该dll有依赖的dll 需要将依赖的dll放在 binariesPath 相应的平台下 并调用上面的代码加载进来
5. dll调用
调用的方法如下:
假设dll函数原型 int add(int a, int b)
则调用代码中
typedef int(*AddFunc)(int a, int b);
AddFunc tempFunc;
void* pDllHandler = FPlatformProcess::GetDllHandle(*dll路径);
if (pDllHandler)
{
FString funcName = "add";
tempFunc = (AddFunc)FPlatformProcess::GetDllExport(pDllHandler, *funcName);
check(tempFunc);
int c = tempFunc(2, 3);
}
注意:
1.链接静态库和动态库不同的是,静态链接属于工程在编译期间做的事情,因此这块需要通过cs脚本完成,而dll动态链接库的加载是运行期的事,因此需要在cpp文件中执行。
2.生成库时设置Release和x64(对应win64,如果是32位就X86)。
3.有的dll加载不了里面的函数,解决:
①编写库文件时加上
//判断如果是C++编译器
#ifdef __cplusplus
extern "C"
{
#endif
namespace WindowsOperate
{
class Common
{
public:
static __declspec(dllexport) double TestAdd(double &a, double& _b);
};
}
#ifdef __cplusplus
}
#endif
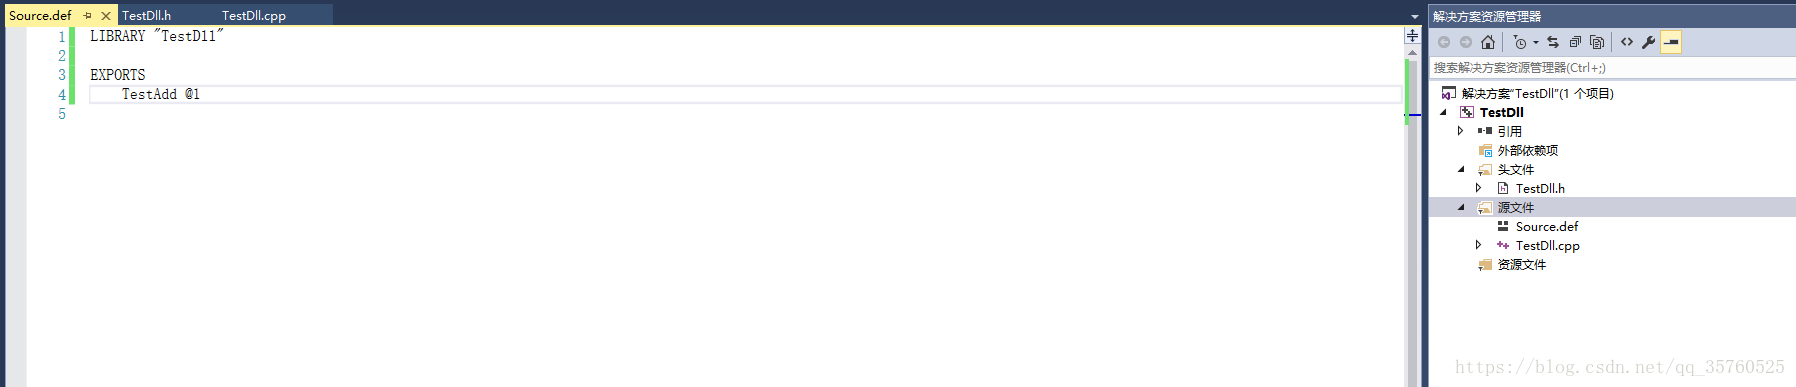
②编写库文件时另外在源文件中加上.def模块定义文件再编译,
LIBRARY "TestDll"
EXPORTS
TestAdd @1
TestAdd2 @2
如图:
代码示例(UE4):
TestDll.build.cs:
public class TestDll : ModuleRules
{
public TestDll(TargetInfo Target)
{
Type = ModuleType.External;
//添加库的头文件
PublicIncludePaths.AddRange(
new string[] {
"Win64/include"
// ... add public include paths required here ...
}
);
PrivateIncludePaths.AddRange(
new string[] {
"Win64/include"
// ... add other private include paths required here ...
}
);
string VedioIncludePath = ModuleDirectory + "/Win64/include/";
PublicSystemIncludePaths.Add(VedioIncludePath);
//添加库的lib
string LibPath = Path.Combine(ThirdPartyPath + "/TestDll/Win64/lib/", "TestDll.lib");
PublicLibraryPaths.Add(LibPath);
PublicAdditionalLibraries.Add(LibPath);
//添加运行时库的Dll
string DllPath = Path.Combine(ThirdPartyPath + "/TestDll/Win64/dll/", "TestDll.dll");
PublicDelayLoadDLLs.Add("TestDll.dll");
RuntimeDependencies.Add(new RuntimeDependency(DllPath));
}
private string ThirdPartyPath
{
get { return Path.GetFullPath(Path.Combine(ModuleDirectory, "../../ThirdParty/")); }
}
}
cpp:
typedef double(*_dllFun_Add)(double &a, double& _b);
_dllFun_Add t_fun;
void* PdfDllHandle;
FString dllpath = FPaths::GameSourceDir() + "ThirdParty/TestDll/Win64/dll/TestDll.dll";
PdfDllHandle = FPlatformProcess::GetDllHandle(*dllpath);
if (PdfDllHandle!=NULL)
{
FString funName = "TestAdd";
t_fun = (_dllFun_Add)FPlatformProcess::GetDllExport(PdfDllHandle, *funName);
if (t_fun!=NULL)
{
double a1 = 1.2f;
double a2 = 1.3f;
double a3 = t_fun(a1, a2);
}
}
//参考链接,android
http://www.zhimengzhe.com/bianchengjiaocheng/cbiancheng/204955.html
//调用dll并提供蓝图接口(和wiki的一样)
https://blog.csdn.net/baidu_27276201/article/details/75675836?locationNum=2&fps=1