目录
上一篇文章做好了关于laravel ORM 的基础工作,本篇文章将建立起一个简单的后台。(具体的登录机制未做具体表述,下篇文章详细讲述)
路由文件分离
当前后端的路由添加了很多的时候,前后端路由写在一起就非常的杂乱,
这个时候适当分离前后端路由配置文件时一个不错的选择。
找到 RouteServiceProvider
该文件属于provider服务容器的一部分,在这里注册路由机制。
根据已有的 web 写法 仿写出 admin后台的路由。
此处添加了kwi.php 为 后端路由的配置文件。
并设置了后台所有路由前缀为 Kawhi 1: 。
namespace App\Providers;

use Illuminate\Support\Facades\Route;
use Illuminate\Foundation\Support\Providers\RouteServiceProvider as ServiceProvider;

class RouteServiceProvider extends ServiceProvider
{
    /**
     * This namespace is applied to your controller routes.
     *
     * In addition, it is set as the URL generator's root namespace.
     *
     * @var string
     */
    protected $namespace = 'App\Http\Controllers';

    protected $AdminNameSpace = 'App\Http\Controllers\Admin';

    /**
     * Define your route model bindings, pattern filters, etc.
     *
     * @return void
     */
    public function boot()
    {
        //

        parent::boot();
    }

    /**
     * Define the routes for the application.
     *
     * @return void
     */
    public function map()
    {
        $this->mapApiRoutes();

        $this->mapWebRoutes();

        $this->mapAdminRoutes();

        //
    }

    /**
     * Define the "web" routes for the application.
     *
     * These routes all receive session state, CSRF protection, etc.
     *
     * @return void
     */
    protected function mapWebRoutes()
    {
        Route::middleware('web')
             ->namespace($this->namespace)
             ->group(base_path('routes/web.php'));
    }

    /**
     * Define the "api" routes for the application.
     *
     * These routes are typically stateless.
     *
     * @return void
     */
    protected function mapApiRoutes()
    {
        Route::prefix('api')
             ->middleware('api')
             ->namespace($this->namespace)
             ->group(base_path('routes/api.php'));
    }
    /**
     * Define the "api" routes for the application.
     *
     * These routes are typically stateless.
     *
     * @return void
     */
    protected function mapAdminRoutes()
    {
        Route::prefix('Kawhi')
             ->middleware('web')
             ->namespace($this->AdminNameSpace)
             ->group(base_path('routes/kwi.php'));
    }
}
路由文件编写
路由的编写,最好是根据具体业务名称进行命名,而不是随意命名。养成良好的命名规范还是非常有必要的。
Route::group([],function () {
    Route::get('login',['as' => 'admin.login','uses' => 'AuthController@login']);//登录
    Route::post('login',['as' => 'admin.dologin','uses' => 'AuthController@doLogin']);//执行登录
    Route::get('logout',['as' => 'admin.logout','uses' => 'AuthController@logout']);//退出登录

    Route::get('404',['as' => 'admin.error.404','uses' => 'ErrorController@error404Action']);//404
    Route::get('500',['as' => 'admin.error.500','uses' => 'ErrorController@error500Action']);//500

});
Route::group(['middleware' =>  ['adminAuthenticate']], function () {
    Route::get('/','AdminIndexController@index','admin.index');
    // Route::resource();
});
控制器的创建
根据自己编写的路由去添加控制器文件。
对每一个自己编写的函数添加注释,即使是最简单的注释也要养成良好的习惯。
命名空间根据自己刚才在 provider 里设置的要保持一致。
test.domain.com/Kawhi 测试路径便是指向到如下的控制器
namespace App\Http\Controllers\Admin;

use App\Http\Controllers\Admin\BaseController;
use Illuminate\Http\Request;

class AdminIndexController extends  BaseController
{
    protected $request;

    public function __construct(Request $request)
    {
        $this->request = $request;
    }
    /**
     * 后台
     * */
    public function index(){
        return view('Admin.index');
    }
导入样式文件
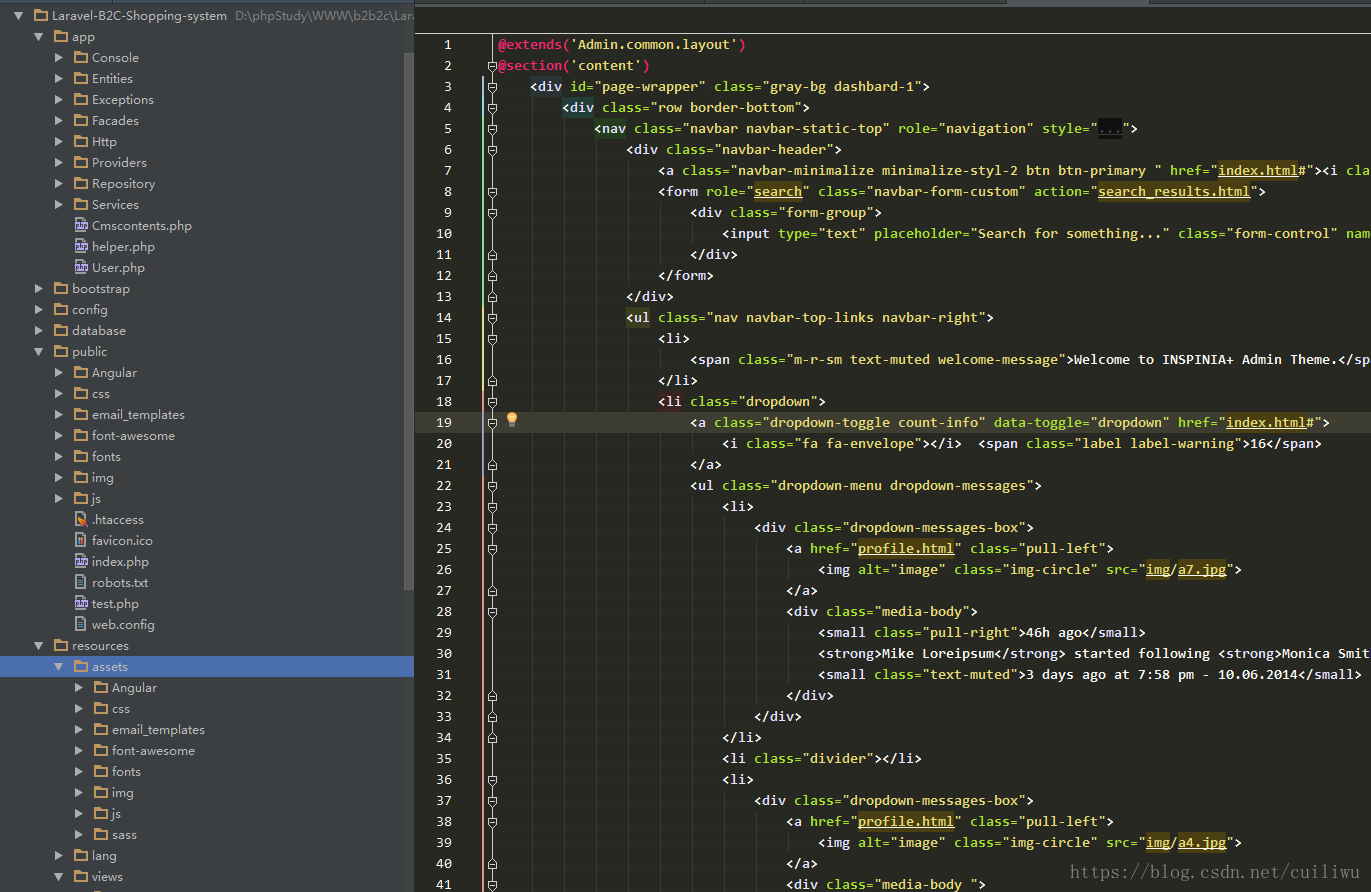
在资源共享的互联上找到了 inspire_admin 这个原创 Bootstrap 后台样式。
把样式文件导入到public下,这里是最后执行的地方。(还没搞明白怎么在resource 下 添加,然后编译自己更新到这里)
资源文件的位置都在这里了。
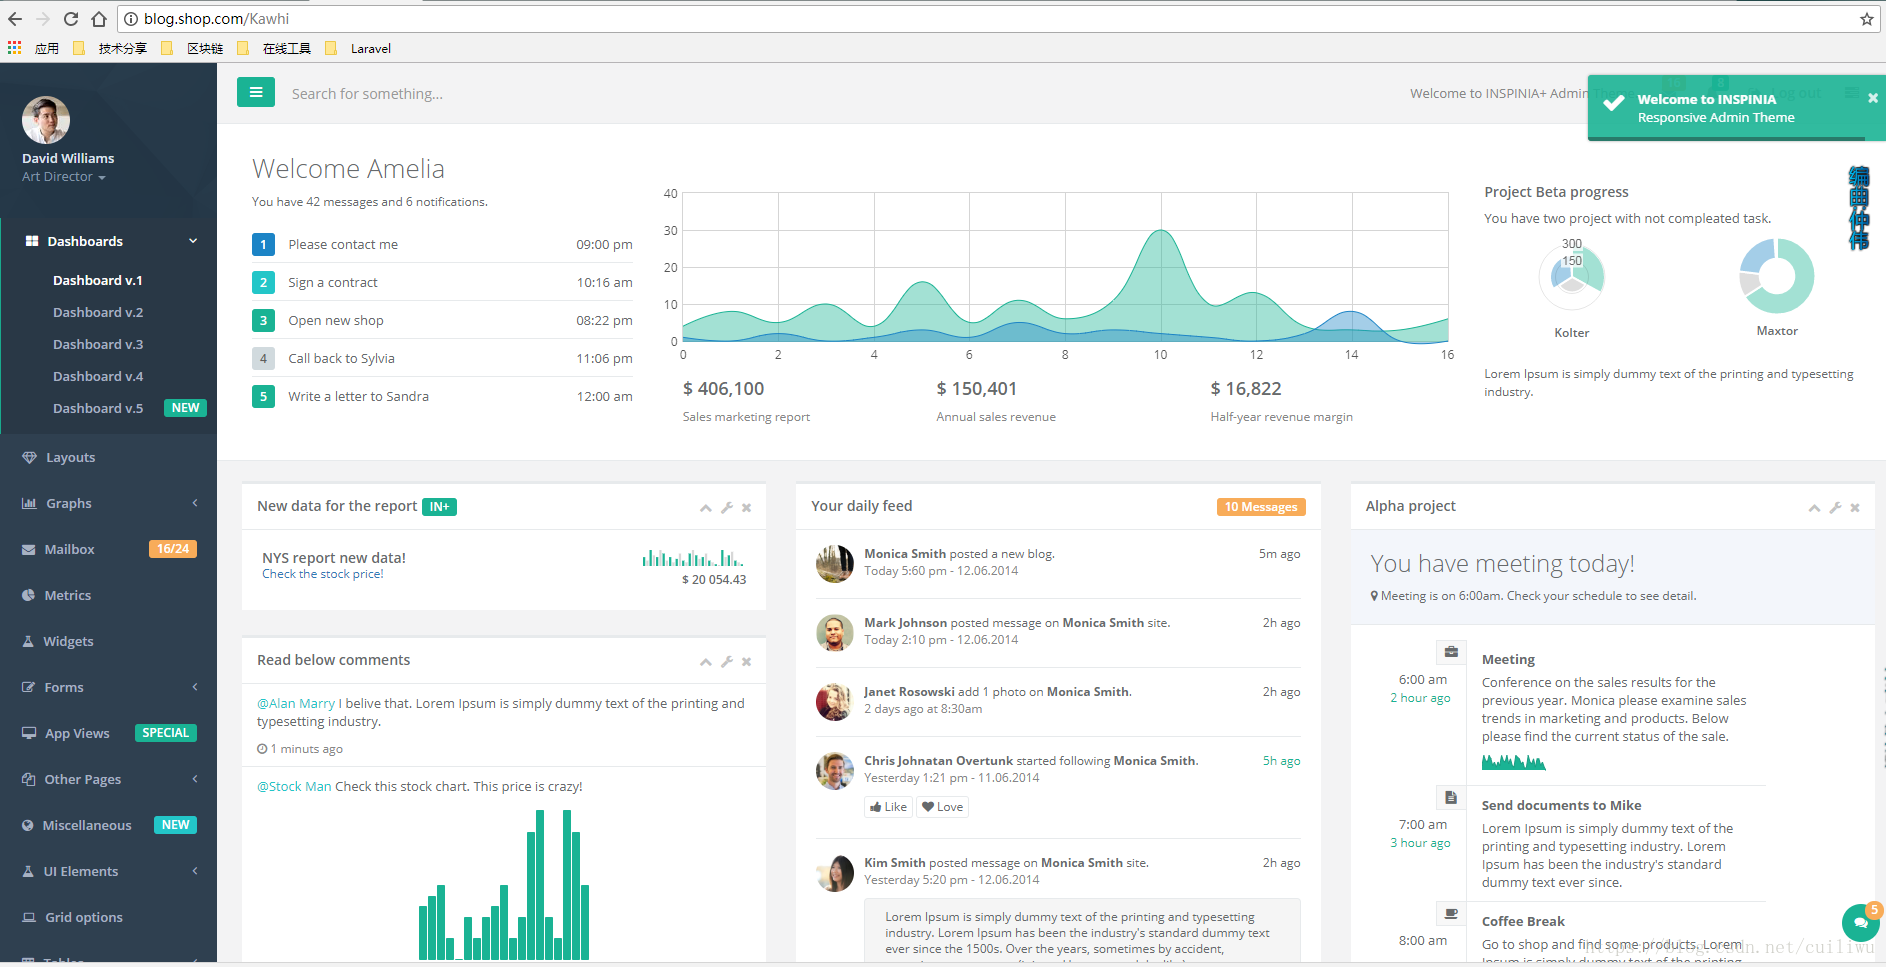
这是展示的效果。
- 博主较喜欢的一个NBA球员 卡哇伊[科怀·莱昂纳德],各位看官可以随意设置自己喜欢的前缀。非商业用途,取名随意。 ↩