安装pillow
pip install pillow
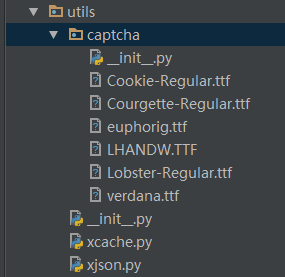
在utils下新建python package命名为captcha
把需要需要用到的字体放在captcha下
编辑captcha.__init__.py, 生成验证码


import random
import string
# Image:一个画布
# ImageDraw:一个画笔
# ImageFont:画笔的字体

# pip install pillow
from PIL import Image, ImageDraw, ImageFont


class Captcha(object):
    # 生成几位数的验证码
    number = 4
    # 验证码图片的高度和宽度
    size = (100, 30)
    # 验证码字体大小
    fontsize = 25
    #加入干扰线条数
    line_number = 2

    #构建一个验证码源文本
    SOURCE = list(string.ascii_letters)
    for index in range(0, 10):
        SOURCE.append(str(index))

    #用来绘制干扰线
    @classmethod
    def __gene_line(cls, draw, width, height):
        begin = (random.randint(0, width), random.randint(0, height))
        end = (random.randint(0, width), random.randint(0, height))
        draw.line([begin, end], fill=cls.__gene_random_color(), width=2)

    # 用来绘制干扰点
    @classmethod
    def __gene_points(cls, draw, point_chance, width, height):
        chance = min(100, max(0, int(point_chance))) #大小限制在[0, 100]
        for w in range(width):
            for h in range(height):
                tmp = random.randint(0, 100)
                if tmp > 100 - chance:
                    draw.point((w, h), fill=cls.__gene_random_color())

    # 生成随机的颜色
    @classmethod
    def __gene_random_color(cls, start=0, end=255):
        random.seed()
        return (random.randint(start, end),random.randint(start, end), random.randint(start, end))

    # 随机选择一个字体
    @classmethod
    def __gene_random_font(cls):
        fonts = [
            'Courgette-Regular.ttf',
            'LHANDW.TTF',
            'Lobster-Regular.ttf',
            'verdana.ttf'
        ]
        font = random.choice(fonts)
        return 'utils/captcha/' + font

    # 用来随机生成一个字符串
    @classmethod
    def gene_text(cls, number):
        #num是生成验证码的位数
        return ''.join(random.sample(cls.SOURCE, number))

    # 生成验证码
    @classmethod
    def gene_graph_captcha(cls):
        #验证码图片的高和宽
        width, height = cls.size
        #创建图片
        image = Image.new('RGBA', (width,height),cls.__gene_random_color(0, 100))
        #验证码的字体
        font = ImageFont.truetype(cls.__gene_random_font(), cls.fontsize)
        #创建画笔
        draw = ImageDraw.Draw(image)
        #生成字符串
        text = cls.gene_text(cls.number)
        #获取字体尺寸
        font_width, font_height = font.getsize(text)
        #填充字符串
        draw.text(((width - font_width) / 2, (height - font_height) / 2), text, font=font,
                  fill=cls.__gene_random_color(150, 255))
        #绘制干扰线
        for x in range(0, cls.line_number):
            cls.__gene_line(draw, width, height)
        #绘制噪点
        cls.__gene_points(draw, 10, width, height)
        return (text, image)
把验证码的视图放到公共的视图里面。common.views.py
from flask import Blueprint, make_response
from utils.captcha import Captcha
from io import BytesIO

bp = Blueprint('common', __name__, url_prefix='/common')

@bp.route('/')
def index():
    return 'common index'


@bp.route('/captcha/')
def graph_captcha():
    text, image = Captcha.gene_graph_captcha()
    out = BytesIO()
    image.save(out, 'png')
    out.seek(0)
    resp = make_response(out.read())
    resp.content_type = 'image/png'
    return resp
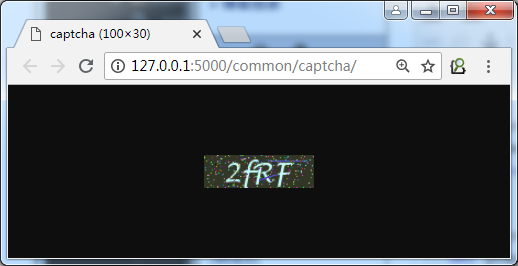
访问http://127.0.0.1:5000/common/captcha/