一般来说,用opencv调用摄像头是很方便的,但是当需要将画面显示在我们的GUI界面中则需要将格式转换下,话不多说直接贴代码。
以下为打开摄像头部分的代码,原理是利用QT中的QTimer,本次程序设定时间为每20ms结束时启动该函数,需要在构造函数中将事件和定时器连接起来。
QTimer timer = new QTimer;
connect(timer, SIGNAL(timeout()), this, SLOT(opencam()));//时间到后启动opencam时间
void QtGuiApplication7::opencam()
{
//cap->open(0);
if (!cap->isOpened())
{
cap->open(0);
};
cap->read(frame);
//imshow("strat", immm);
cvtColor(frame, srcmat2, CV_BGR2RGB);
cvtColor(frame, gray, CV_BGR2GRAY);
//sobel 边缘检测
Sobel(gray, dst_x, gray.depth(), 1, 0);
Sobel(gray, dst_y, gray.depth(), 0, 1);
convertScaleAbs(dst_x, dst_x);
convertScaleAbs(dst_y, dst_y);
addWeighted(dst_x, 0.5, dst_y, 0.5, 0, dst);
//imshow("dst", dst);
//原始图像的显示
QImage img = QImage((const unsigned char*)srcmat2.data, // uchar* data
srcmat2.cols, srcmat2.rows, srcmat2.step, QImage::Format_RGB888);//格式转换
int a = ui.label->width();
int b = ui.label->height();
QImage ime = img.scaled(a, b);//自定义缩放
ui.label->setPixmap(QPixmap::fromImage(ime));
ui.label->show();
//处理后图像的显示
QImage img_2 = QImage((const unsigned char*)dst.data, // uchar* data
dst.cols, dst.rows, dst.step, QImage::Format_Grayscale8);
int a2 = ui.label_2->width();
int b2 = ui.label_2->height();
QImage imgg = img_2.scaled(a2, b2);
ui.label_2->setPixmap(QPixmap::fromImage(imgg));
ui.label_2->show();
timer->start(20);//启动计时器
};本次测试中加了个简单的sobel边缘提取的处理,以下为测试结果图。
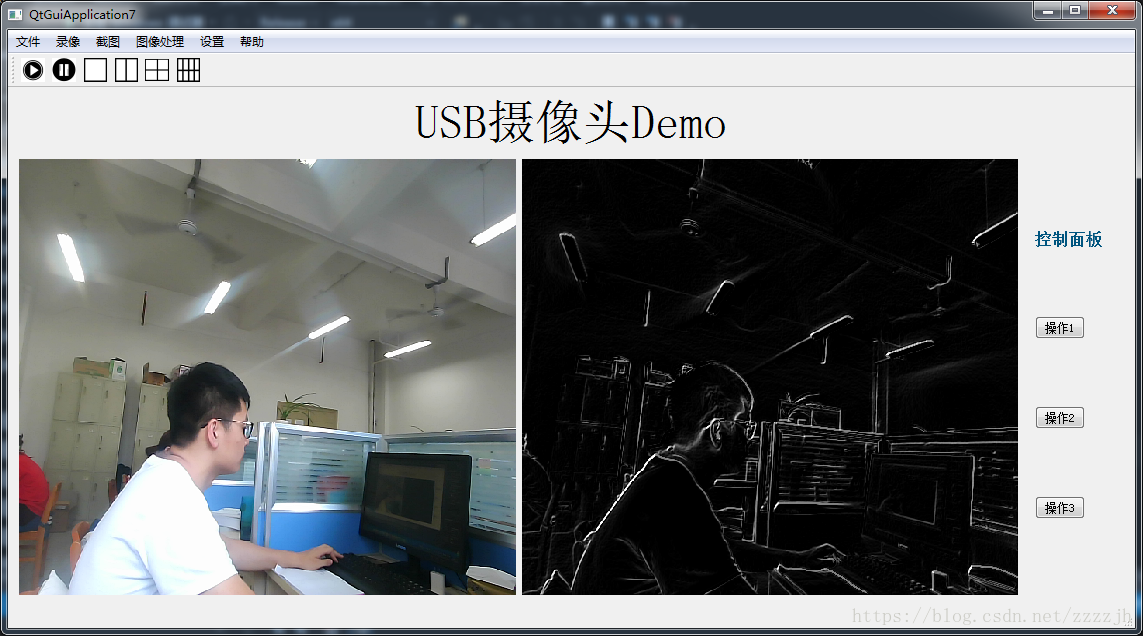
总结:Qt+OpenCV显示摄像头画面的核心还是在数据类型的转换和定时器的使用。