一 新建Spring Boot项目
利用Maven新建Spring Boot项目后,生成的项目的根包目录下会有一个artifactId+Application命令规则的入口类。如下图所示:
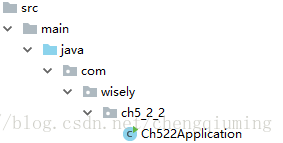
二 添加测试控制器
为了演示简单,直接将控制器放在主类中。
package com.wisely.ch5_2_2;

import org.springframework.beans.factory.annotation.Value;
import org.springframework.boot.SpringApplication;
import org.springframework.boot.autoconfigure.SpringBootApplication;
import org.springframework.web.bind.annotation.RequestMapping;
import org.springframework.web.bind.annotation.RestController;

@RestController
@SpringBootApplication  //主要目的是开启自动配置
public class Ch522Application {


    @RequestMapping("/")
    String index() {
        return "Hello Spring Boot";

    }

    //作为项目启动入口
    public static void main(String[] args) {
        SpringApplication.run(Ch522Application.class, args);
    }
}
三 编写pom.xml编写
<?xml version="1.0" encoding="UTF-8"?>
<project xmlns="http://maven.apache.org/POM/4.0.0" xmlns:xsi="http://www.w3.org/2001/XMLSchema-instance"
    xsi:schemaLocation="http://maven.apache.org/POM/4.0.0http://maven.apache.org/xsd/maven-4.0.0.xsd">
    <modelVersion>4.0.0</modelVersion>

    <groupId>com.wisely</groupId>
    <artifactId>ch5_2_2</artifactId>
    <version>0.0.1-SNAPSHOT</version>
    <packaging>jar</packaging>

    <name>ch5_2_2</name>
    <description>Spring Boot Setup Demo</description>

    <parent>
        <groupId>org.springframework.boot</groupId>
        <artifactId>spring-boot-starter-parent</artifactId>
        <version>1.3.7.RELEASE</version>
        <relativePath/> <!-- lookup parent from repository -->
    </parent>

    <properties>
        <project.build.sourceEncoding>UTF-8</project.build.sourceEncoding>
        <java.version>1.8</java.version>
    </properties>

    <dependencies>
        <dependency>
            <groupId>org.springframework.boot</groupId>
            <artifactId>spring-boot-starter-web</artifactId>
        </dependency>
    </dependencies>

    <build>
        <plugins>
            <plugin>
                <groupId>org.springframework.boot</groupId>
                <artifactId>spring-boot-maven-plugin</artifactId>
            </plugin>
        </plugins>
    </build>

</project>
四 编写配置文件
#web访问端口
server.port=9090
五 编译和测试
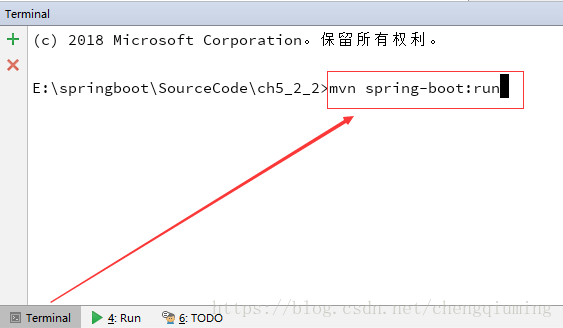
1 编译
方式一:

方式二:
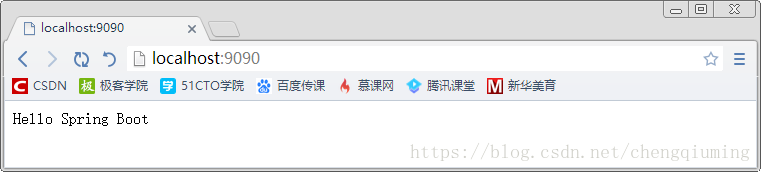
2 测试
访问http://localhost:9090