最近在做SSM(SpringMVC+Shiro+MyBatis)整合的一个项目,对于shiro的配置不是特别熟练,于是想要写下来,加深一下印象。在有SpringMVC+MyBatis配置的基础上整合shiro:
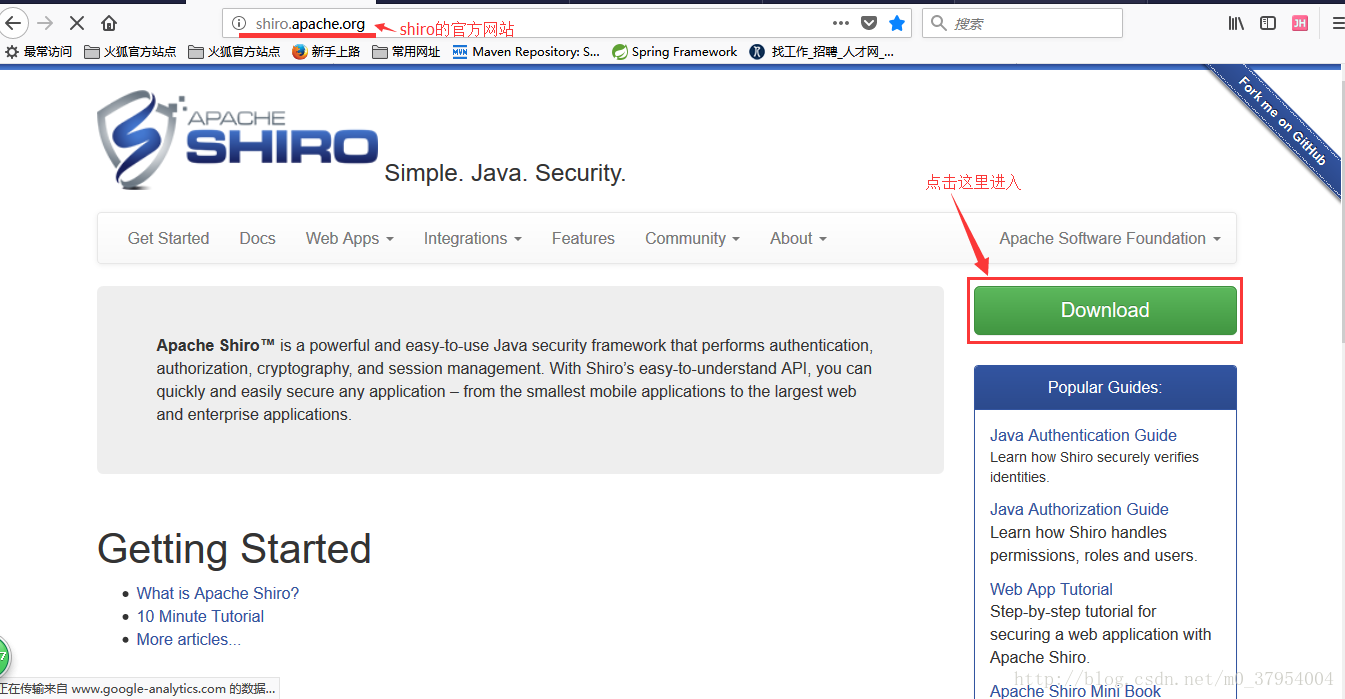
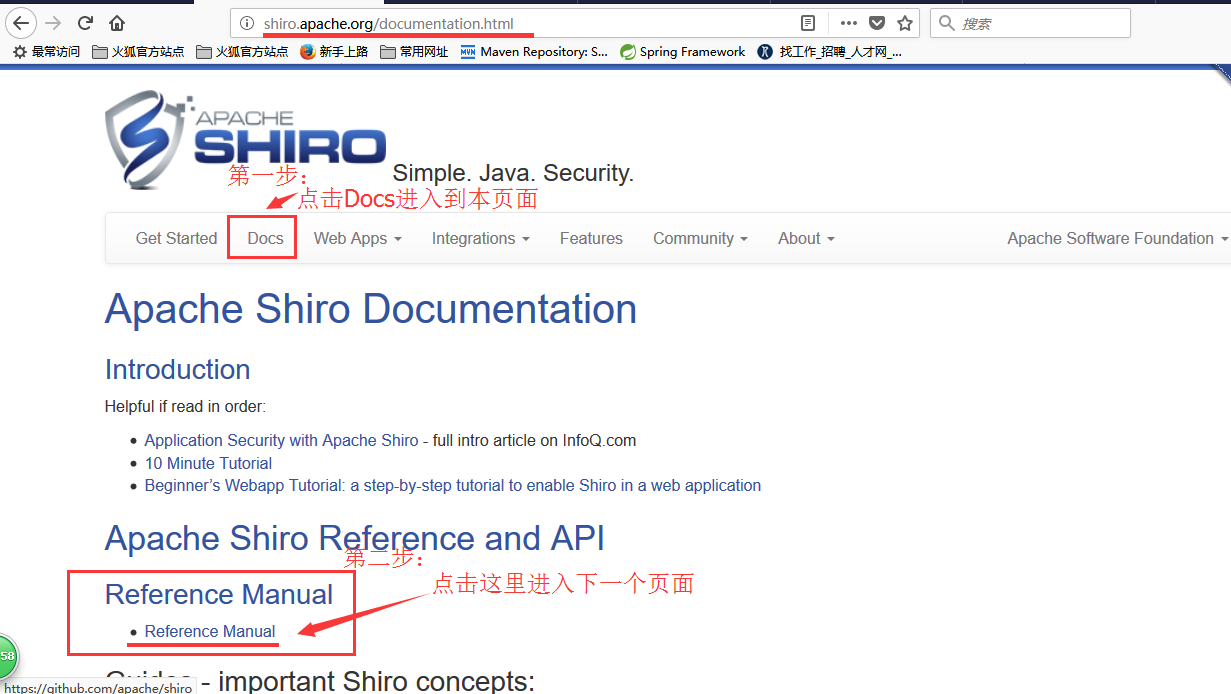
首先进入shiro的官方网站(http://shiro.apache.org/),如下图所示(图中有提示下一步怎么操作):
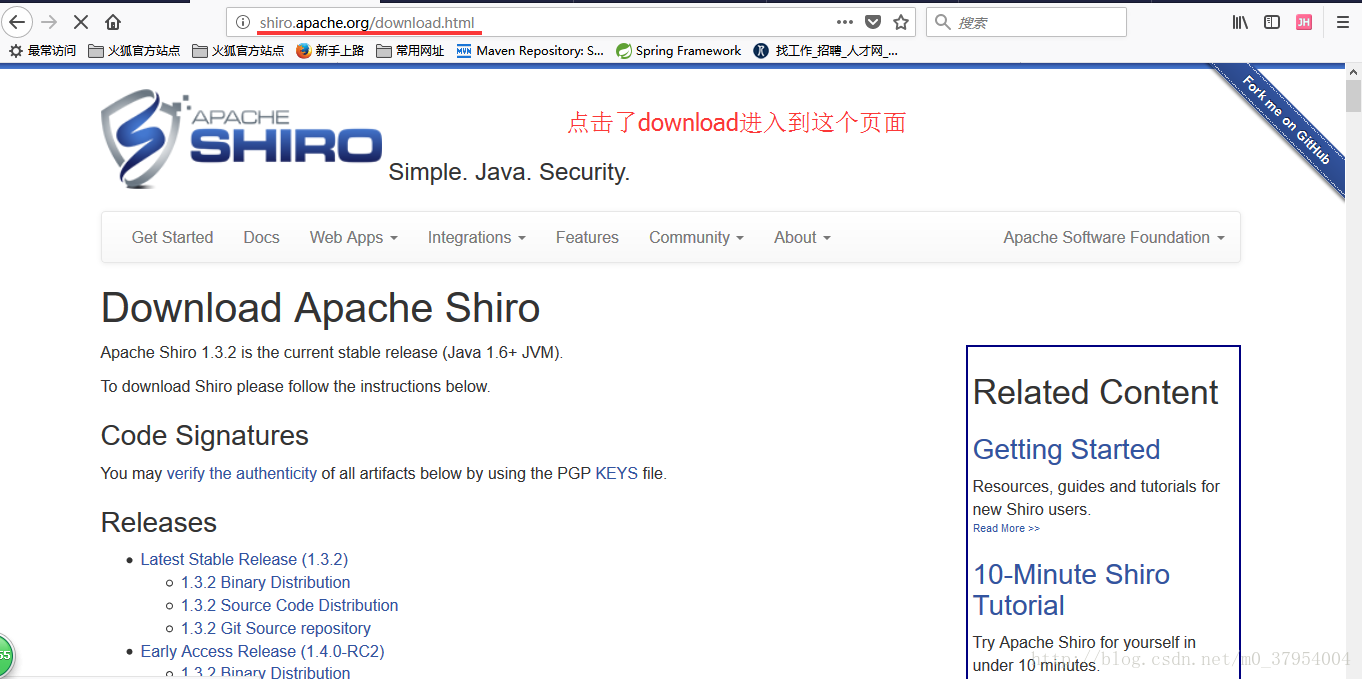
点击Download进入到下面这个页面:
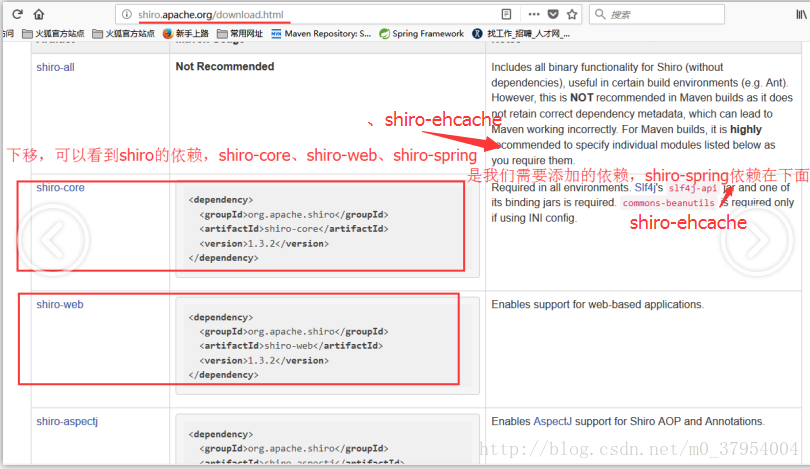
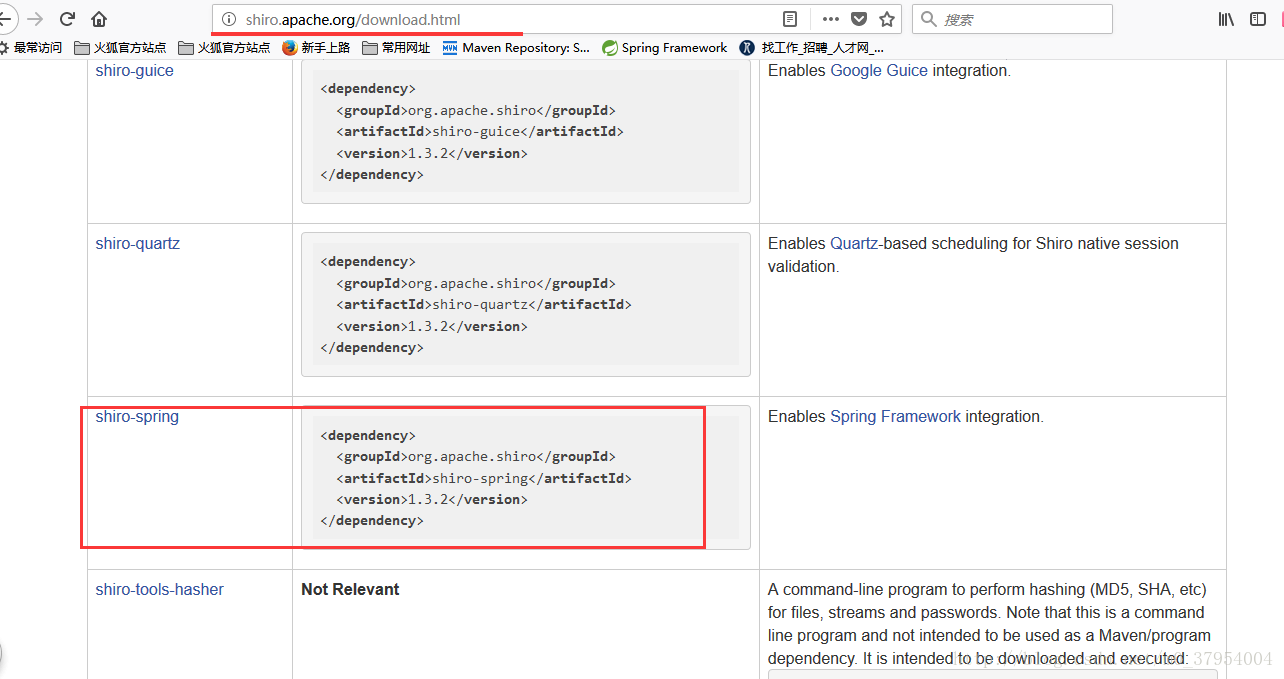
向下拖动,可以看到shiro的相关依赖,添加四个依赖到(pom.xml)中:分别是shiro-core、shiro-spring、shiro-web、shiro-ehcache,

这里我把我的依赖给弄下来(pom.xml):
<!-- Shiro -->
			<dependency>
				<groupId>org.apache.shiro</groupId>
				<artifactId>shiro-core</artifactId>
				<version>1.3.2</version>
			</dependency>

			<dependency>
				<groupId>org.apache.shiro</groupId>
				<artifactId>shiro-web</artifactId>
				<version>1.3.2</version>
			</dependency>

			<dependency>
				<groupId>org.apache.shiro</groupId>
				<artifactId>shiro-spring</artifactId>
				<version>1.3.2</version>
			</dependency>

			<dependency>
				<groupId>org.apache.shiro</groupId>
				<artifactId>shiro-ehcache</artifactId>
				<version>1.3.2</version>
			</dependency>
添加完依赖之后,开始配置:
依次如图所示,找到有配置信息的页面:
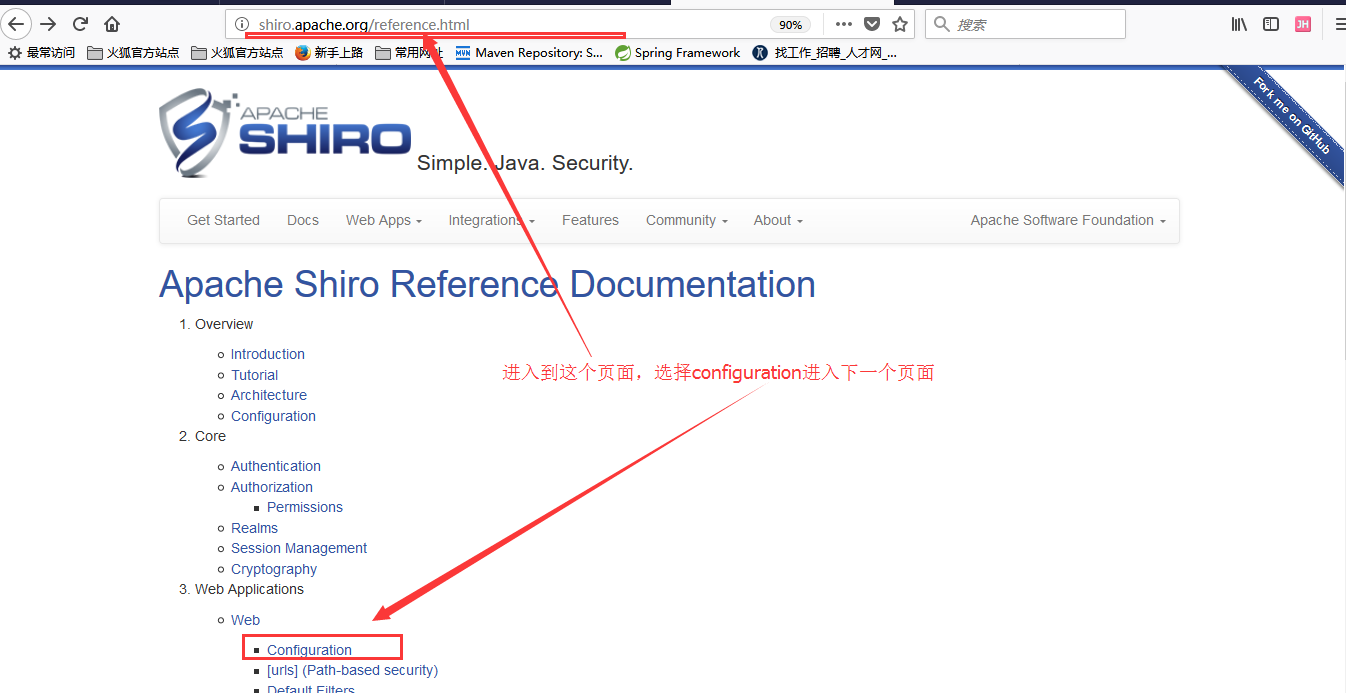
进入到配置文件(Web-configuration):

点击上图指示的地方,进入到下一个页面:
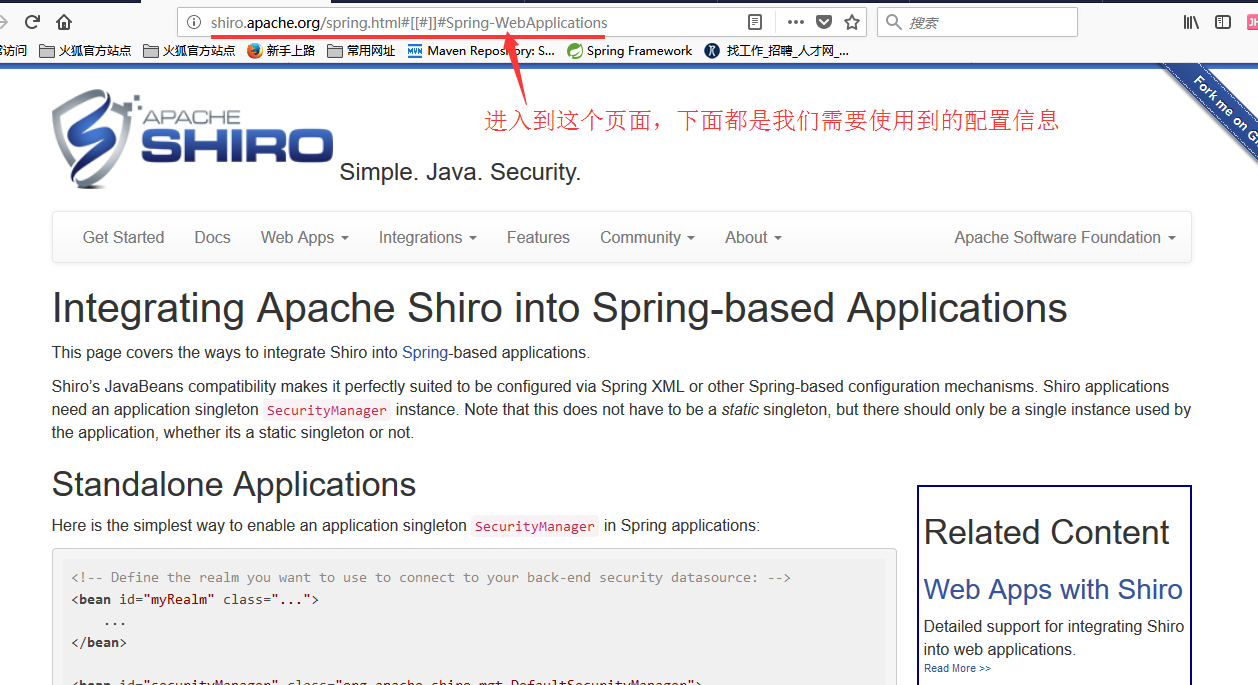
进入到这里,可以开始配置了:
如图中所示,配置文件:

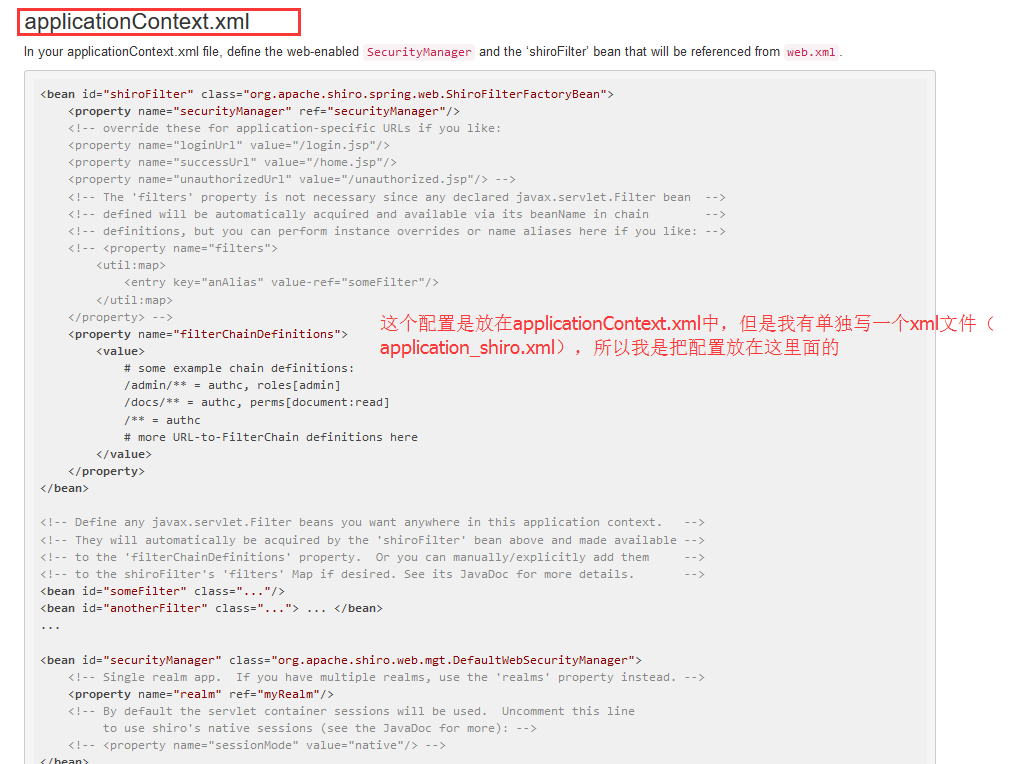
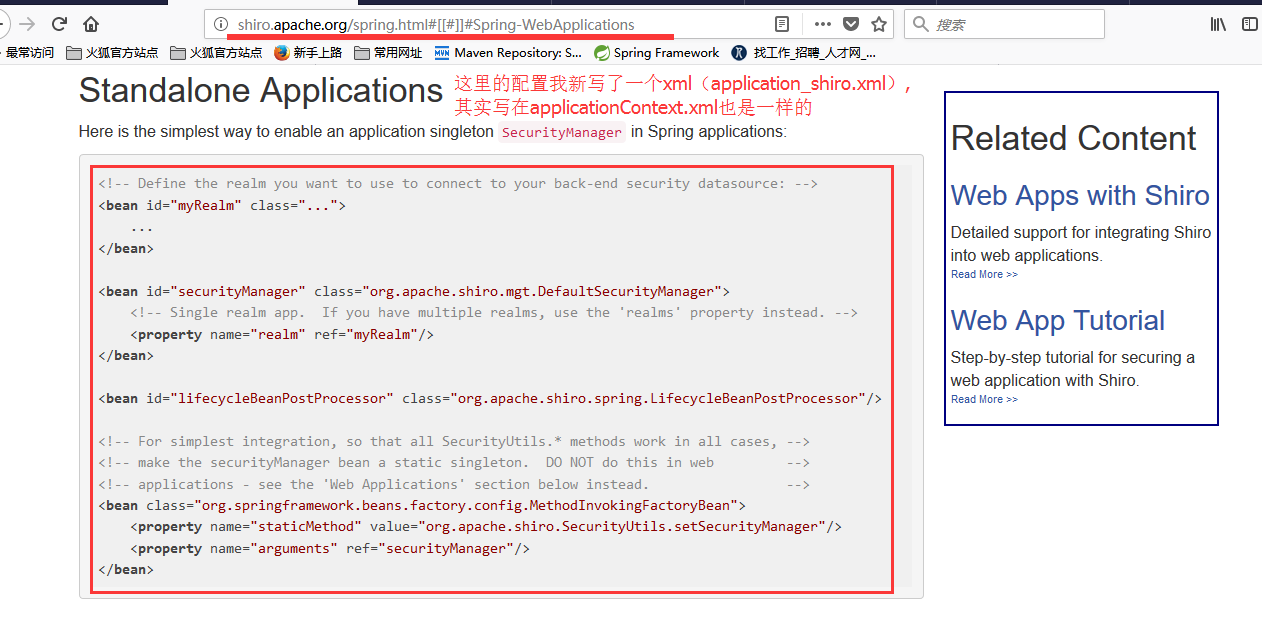
我现在我把我配置的信息给复制过来,方便大家直接复制:
这是applicationContext.xml里的配置,但是我是将有关shiro的配置单独放在一个xml文件中(application_shiro.xml),我个人觉得这样更容易区分:
<?xml version="1.0" encoding="UTF-8"?>
<beans xmlns="http://www.springframework.org/schema/beans"
	xmlns:xsi="http://www.w3.org/2001/XMLSchema-instance"
	xsi:schemaLocation="http://www.springframework.org/schema/beans http://www.springframework.org/schema/beans/spring-beans.xsd">
	<!--第一步:直接配置一个 securityManager -->

	<bean id="securityManager" class="org.apache.shiro.web.mgt.DefaultWebSecurityManager">


<!--刚配置时,先把这条注释掉,等后面写了MyRealm.java时,再把它的注释去掉,因为如果没有去掉就会在
tomcat开启时报一个错误 -->

<!--<property name="realm" ref="myRealm" /> -->

</bean>
<bean id="lifecycleBeanPostProcessor" class="org.apache.shiro.spring.LifecycleBeanPostProcessor" />
<!-- 第三步:把请求路径拦截之后的处理 -->
<bean id="shiroFilter" class="org.apache.shiro.spring.web.ShiroFilterFactoryBean">
<!--shiro整个的处理,都由securityManger指定和决定 -->
<property name="securityManager" ref="securityManager" />
<!-- loginUrl==>如果登录成功,跳转到哪个页面,或者执行哪个请求 -->
<property name="loginUrl" value="/login.jsp" />
<!-- 验证通过执行的请求或者跳转 -->
<property name="successUrl" value="/home.jsp" />
<!-- 验证不通过执行的请求或者跳转 -->
<property name="unauthorizedUrl" value="/unauthorized.jsp" />
<!-- 具体的拦截路径和拦截的方式和角色和权限的范围 -->
<property name="filterChainDefinitions">
<value>
</value>
</property>
</bean>
</beans>

接着配置web.xml:
<!-- 第二步:服务器启动时,加载shiro的配置文件
  -->
  <filter>
    <filter-name>shiroFilter</filter-name>
    <filter-class>org.springframework.web.filter.DelegatingFilterProxy</filter-class>
    <init-param>
        <param-name>targetFilterLifecycle</param-name>
        <param-value>true</param-value>
    </init-param>
</filter>
<!-- 拦截所有的请求路径 -->
<filter-mapping>
    <filter-name>shiroFilter</filter-name>
    <url-pattern>/*</url-pattern>
</filter-mapping>
<!-- 还有一个地方要注意,因为我是单独把shiro写在一个xml文件中,新加了一个文件,所以要添加路径 -->
<context-param>
  	<param-name>contextConfigLocation</param-name>
  	<param-value>
  		classpath:applicationContext.xml
  		classpath:application_shiro.xml
  	</param-value>
  </context-param>
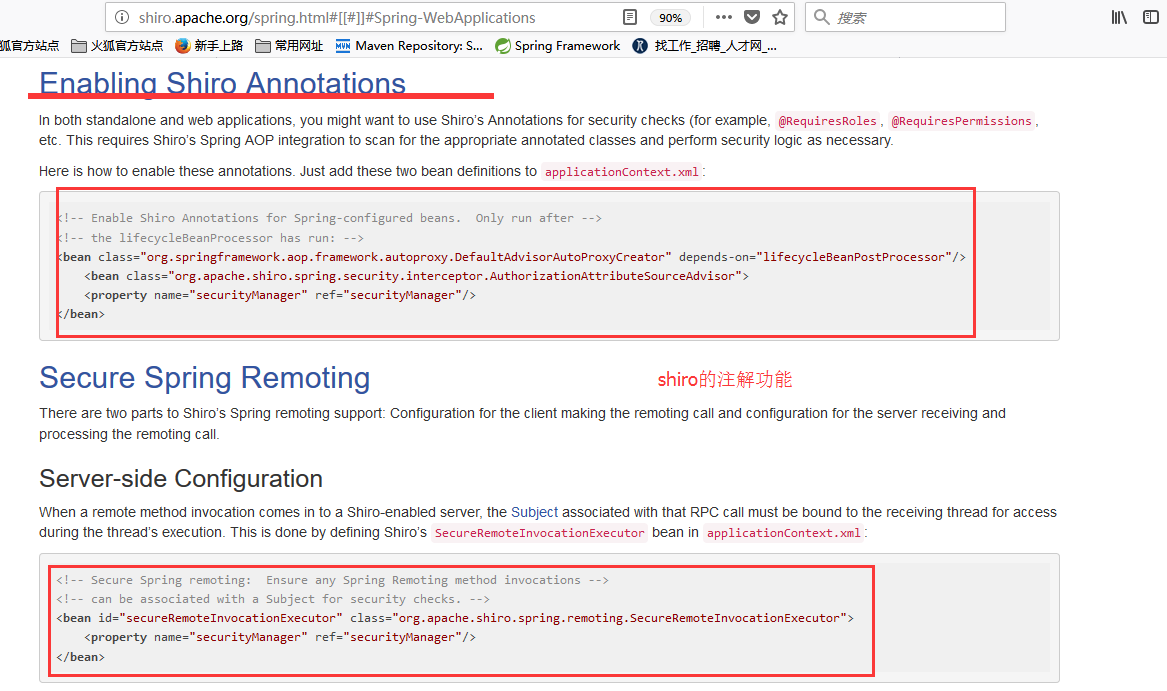
<!-- 配置启用Shiro的注解功能 -->
	<bean class="org.springframework.aop.framework.autoproxy.DefaultAdvisorAutoProxyCreator"
		depends-on="lifecycleBeanPostProcessor">
		<property name="proxyTargetClass" value="true"></property>
	</bean>

    <bean class="org.apache.shiro.spring.security.interceptor.AuthorizationAttributeSourceAdvisor">
	    <property name="securityManager" ref="securityManager"/>
	</bean>
然后开启
配置文件完成,开启tomcat,成功开启 (出现如图所示的红线部分,说明配置shiro成功):

配置成功后,可以开始写代码了。