springboot快速搭建web项目,无需繁琐xml配置,热部署,无需重启服务器,简单部署只需打jar包即可,有很多的优点!
刚接触到springboot花费了好几个小时,撸完一个又一个的配置坑,最终实现从数据库成功读取数据展示到页面!
希望对你能有所帮助!
首先搭建springboot环境,eclipse需要用到 spring-tool-suite 插件
1,首先插件安装
- 官网下载 https://spring.io/tools/sts/
- Eclipse市场下载:Help->Eclicpse Marketplace 搜索 spring-tool-suite 安装即可
2,安装完之后显示

或者查看菜单栏显示

出现这个说明安装成功
3,创建工程
首先Java,maven 环境是准备好的。
- 第一步

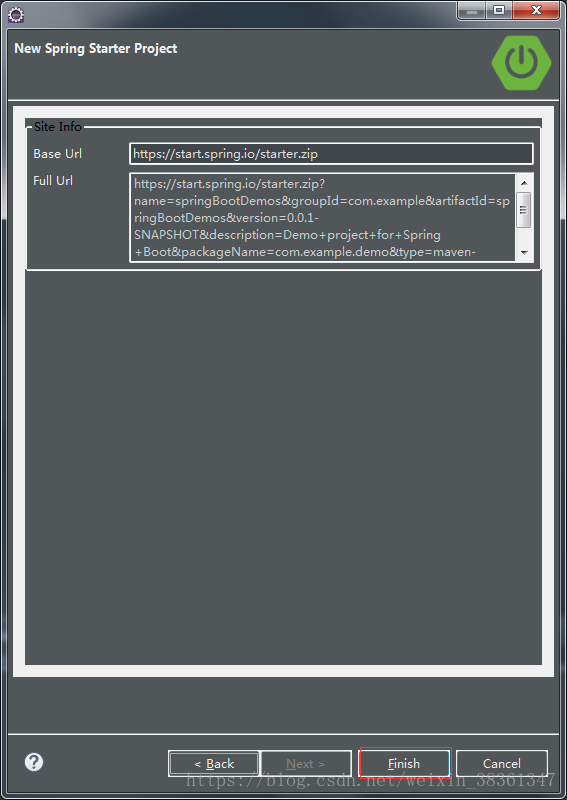
- 第二步 项目命名,Java版本,包等

- 第三步 选择web,然后下一步,这里选择的springboot版本是2.1.0(根据个人环境选择)

- 第四步 finish即可
创建完成的项目结构

右键运行SpringBootDemosApplication 方法,显示如下则内容说明项目搭建成功。
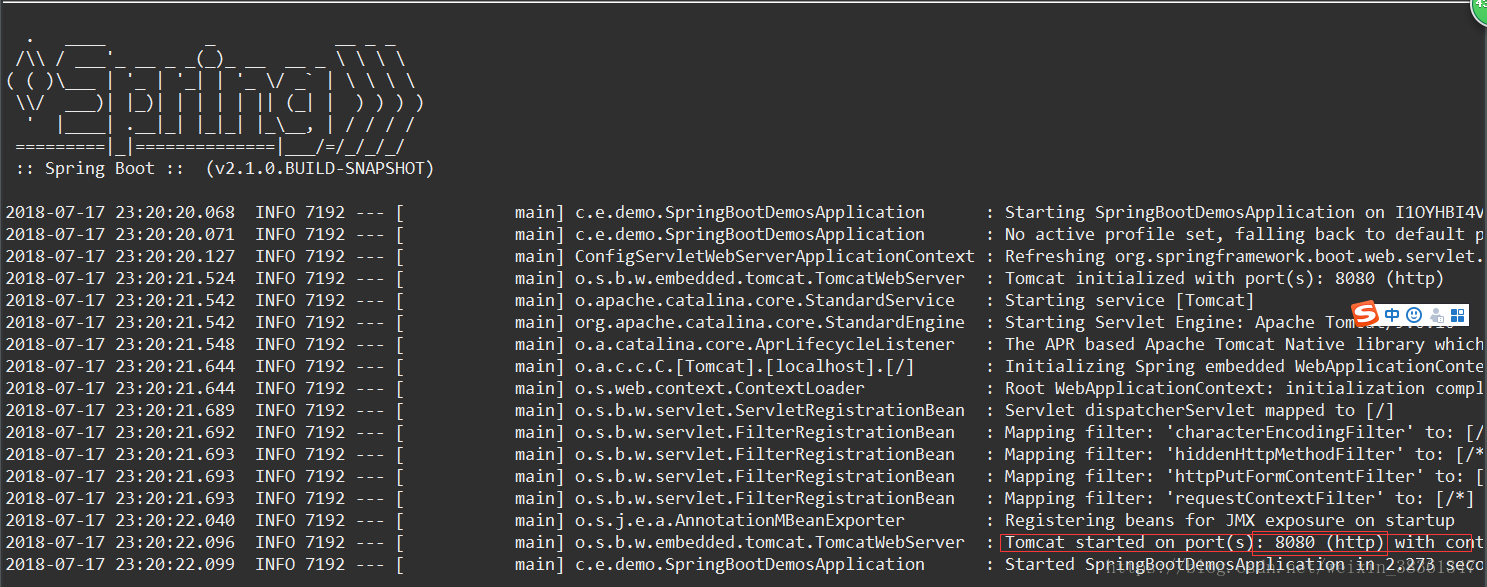
默认tomcat端口为8080
这里写一个简单的实例,运用一下springboot框架。
所有的Java代码必须跟主程序同级或者在主程序所在包下
首先写个测试方法,随便测是一些数据。
首先需要在pom文件里添加一些依赖
- 这里依赖是下文中例子用到的依赖
<dependencies>
<!-- Spring Boot -->
<dependency>
<groupId>org.springframework.boot</groupId>
<artifactId>spring-boot-starter-web</artifactId>
</dependency>
<dependency>
<groupId>org.springframework.boot</groupId>
<artifactId>spring-boot-starter-test</artifactId>
<scope>test</scope>
</dependency><!-- MyBatis -->
<dependency>
<groupId>org.mybatis.spring.boot</groupId>
<artifactId>mybatis-spring-boot-starter</artifactId>
<version>1.3.0</version>
</dependency><!--启动时启动内置tomcat -->
<dependency>
<groupId>org.springframework.boot</groupId>
<artifactId>spring-boot-starter-tomcat</artifactId>
</dependency><!--对Jsp支持 -->
<!-- <dependency>
<groupId>org.apache.tomcat.embed</groupId>
<artifactId>tomcat-embed-jasper</artifactId>
</dependency> -->
<dependency>
<groupId>org.apache.tomcat.embed</groupId>
<artifactId>tomcat-embed-jasper</artifactId>
<scope>provided</scope>
</dependency>
<!-- 支持jstl -->
<dependency>
<groupId>javax.servlet</groupId>
<artifactId>jstl</artifactId>
<version>1.2</version>
</dependency><!-- MySql驱动 -->
<dependency>
<groupId>mysql</groupId>
<artifactId>mysql-connector-java</artifactId>
<version>5.1.21</version>
</dependency>
<dependency>
<groupId>org.springframework.boot</groupId>
<artifactId>spring-boot-devtools</artifactId>
<optional>true</optional> <!-- 这个需要为 true 热部署才有效 -->
</dependency>
</dependencies>
新建test测试
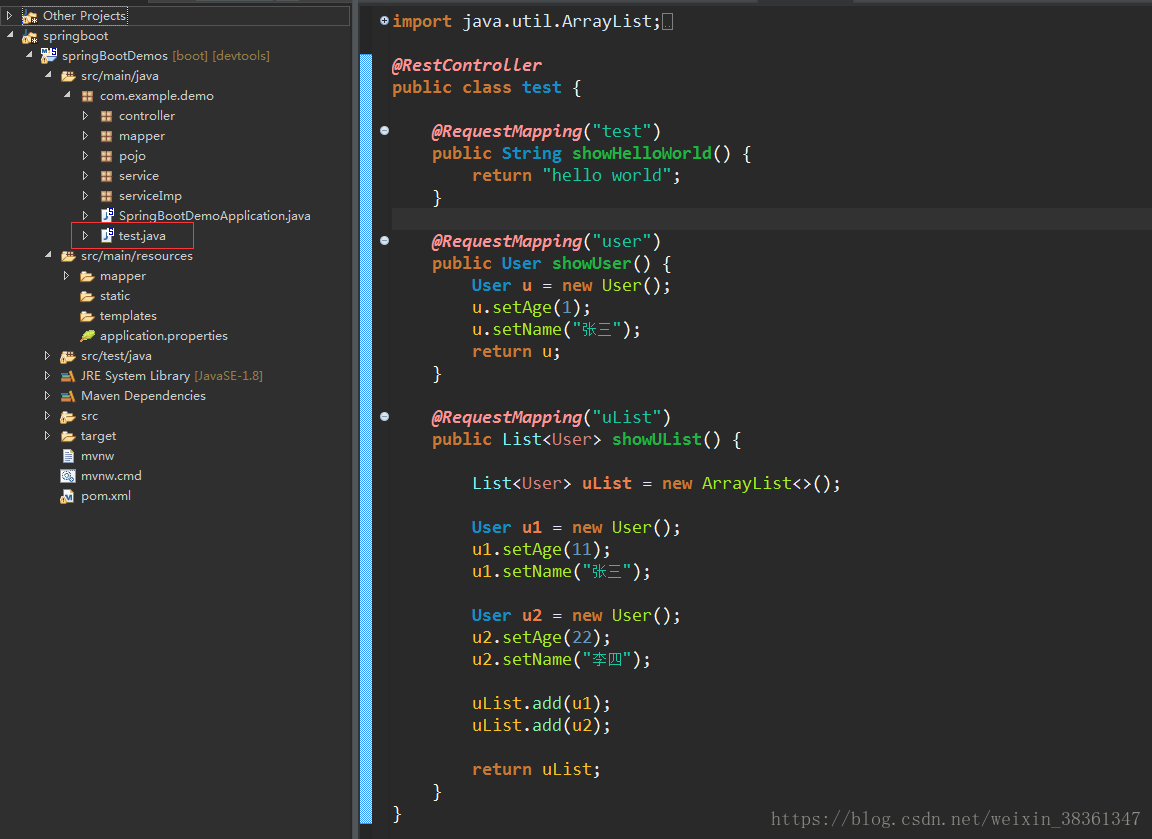
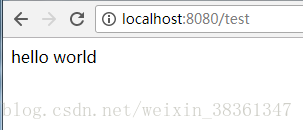
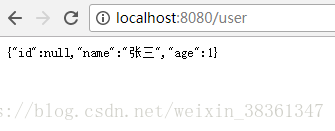
返回字符串,list,对象,启动项目后,页面显示如下:

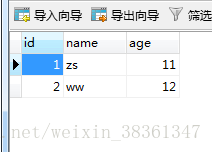
连接数据库例子:
新建pojo,dao,service,controller以及mybatis xml文件映射,jsp页面

- pojo
public class User {
private Long id;
private String name;
private int age;
public Long getId() {
return id;
}public void setId(Long id) {
this.id = id;
}public String getName() {
return name;
}public void setName(String name) {
this.name = name;
}public int getAge() {
return age;
}public void setAge(int age) {
this.age = age;
}}
dao
public interface userMapper {
public List<User> findAll();
}
service
public interface userService {public List<User> findAll();
}
service实现类
@Service
public class userServiceImp implements userService {@Autowired
private userMapper userMapper;
@Override
public List<User> findAll() {
// TODO Auto-generated method stub
return userMapper.findAll();
}}
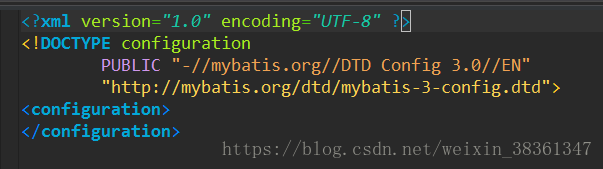
mybatis配置文件
实体类mapper.xml
<mapper namespace="com.example.demo.mapper.userMapper">
<resultMap id="userVoResultMap" type="com.example.demo.pojo.User">
<id column="id" property="id" jdbcType="BIGINT"/>
<result column="name" property="name" jdbcType="VARCHAR"/>
<result column="age" property="age" jdbcType="VARCHAR"/>
</resultMap>
<select id="findAll" resultMap="userVoResultMap">
SELECT id,name,age FROM user
</select>
</mapper>
jsp页面
<%@ page language="java" contentType="text/html; charset=UTF-8"
pageEncoding="UTF-8"%>
<!DOCTYPE html PUBLIC "-//W3C//DTD HTML 4.01 Transitional//EN" "http://www.w3.org/TR/html4/loose.dtd">
<html>
<head>
<meta http-equiv="Content-Type" content="text/html; charset=UTF-8">
<title>userMSG</title>
</head>
<body>
<p>userList.jsp页面</p>
${user.name}
<br>
${user.age}
</body>
</html>
userController
@RestController
public class userController {@Autowired
private userServiceImp userService;@RequestMapping("userLists")
public List<User> showUsers() {
List<User> list = userService.findAll();return list;
}@RequestMapping("showUser")
public String showUser(Model model) {
List<User> list = userService.findAll();model.addAttribute("user", list.get(0));
return "redirect:index";
}@RequestMapping("showIndex")
public ModelAndView showindex(Model model) {ModelAndView mv = new ModelAndView("userList");
List<User> list = userService.findAll();model.addAttribute("user", list.get(0));
return mv;
}
}
数据展示页面:

最重要的一个整合mybatis和springmvc application.properties文件
# 更改tomcat默认端口配置
# server.port=8181# mybatis 扫描映射文件映射,mybatis配置文件
mybatis.mapper-locations = classpath:mapper/*.xmlmybatis.config-location = classpath:mapper/config/mybatis-config.xml
# 别名
mybatis.type-aliases-package = com.example.demo.pojo
# mysql配置文件spring.datasource.url = jdbc:mysql://localhost:3306/user
spring.datasource.driver-class-name = com.mysql.jdbc.Driver
spring.datasource.username =root
spring.datasource.password=root
#jsp 配置
spring.mvc.view.prefix=/WEB-INF/jsp/
spring.mvc.view.suffix=.jsp
spring.thymeleaf.cache = false
spring.thymeleaf.enabled = false
最后记得在主方法里添加 扫描 mapper文件注解

最后附上表:

springboot中静态文件访问
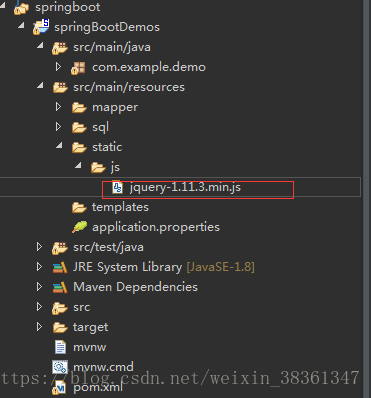
页面引用

有需要可以下载 源码下载