环境说明
服务器IP:192.168.169.50
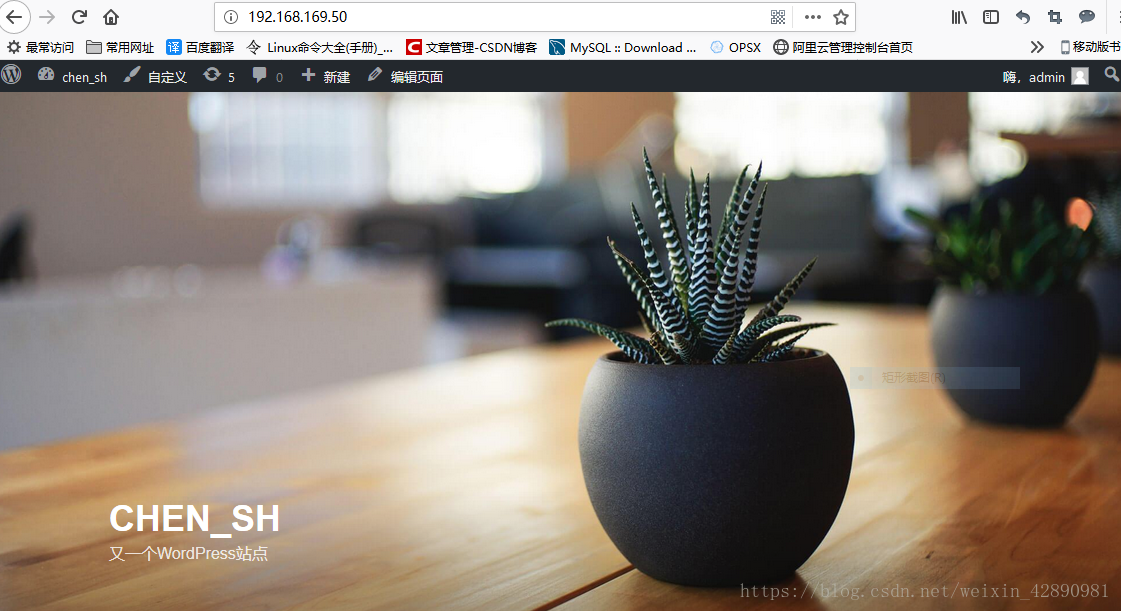
搭建wordpress ,基于lnmp 架构搭建,并实现如下图效果
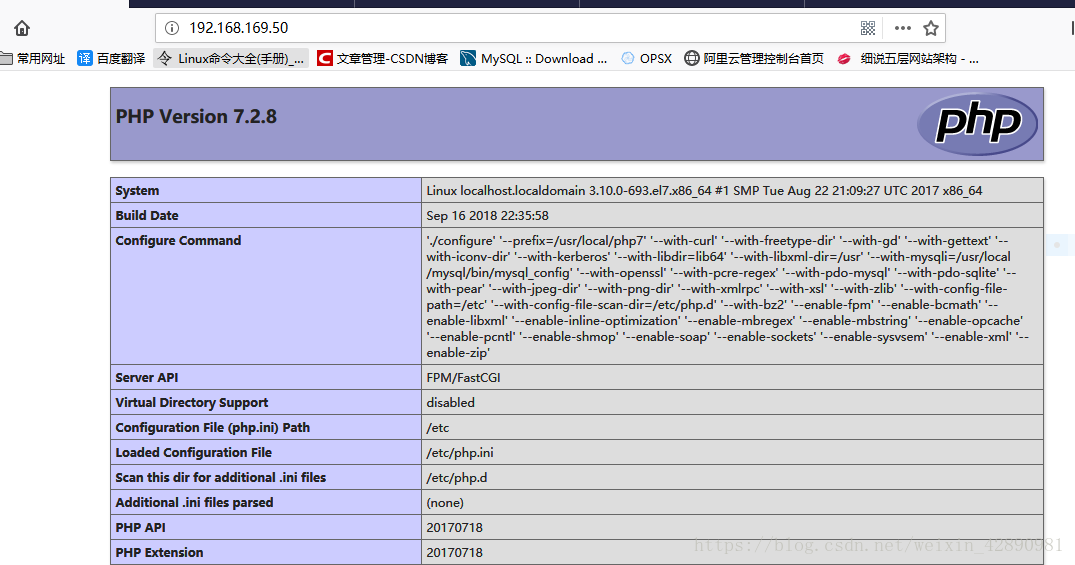
lnmp 的具体搭建可参考我的文章,注意页面信息一定到有mysql 的信息,可在页面搜索mysql
在mysql 里面创建一个用户chen并授权允许在192.168.169 网段登录
mysql> create user 'chenshuo'@'192.168.169.50' identified by 'chen'; //创建一个用户chenshuo
mysql> grant all on *.* to 'chenshuo'@'%' identified by 'chen'; //这里我设置的授权可以在任何主机登录
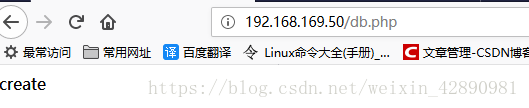
Query OK, 0 rows affected, 1 warning (0.00 sec)建立db.php ,测试mysql 远程登录
[root@localhost ~]# vim /usr/local/nginx/html/db.php
<?php
        $servername = "192.168.169.50";        //登录到mysql服务器的IP
        $username = "chenshuo";                     //登录到MySQl的用户
        $password = "chen";                      //登录到mysql的密码

        $conn= mysqli_connect($servername,$username,$password);

        if (! $conn) {
                die("connection failed: " . mysqli_connect_error());
        }
        echo "create yes";
        ?>
在浏览器查看效果
下载wordpress,(可在官网下载安装包)
[root@localhost ~]# cd /usr/src/
[root@localhost src]# unzip wordpress-4.9.4-zh_CN.zip
[root@localhost src]# ls
debug                                       nginx-1.12.0         php-7.2.8.tar.xz
kernels                                     nginx-1.12.0.tar.gz  wordpress
mysql-5.7.22-linux-glibc2.12-x86_64.tar.gz  php-7.2.8            wordpress-4.9.4-zh_CN.zip
拷贝wordpress 到 /usr/local/nginx/html/ 下面
[root@localhost src]# cp -r wordpress/ /usr/local/nginx/html/修改nginx 的主配置文件
[root@localhost src]# vim /usr/local/nginx/conf/nginx.conf
   server {
        listen       80;
        server_name  localhost;

        access_log  logs/access.log  main;
        location / {
            root   html/wordpress;          //修改这里的Url
            index  index.php index.html index.htm;
        }

        error_page   500 502 503 504  /50x.html;
        location = /50x.html {
            root   html;
        }

       location ~ \.php$ {
       root           html/wordpress;    //修改这里的url
       fastcgi_pass   127.0.0.1:9000;
       fastcgi_index  index.php;
       fastcgi_param  SCRIPT_FILENAME  $document_root$fastcgi_script_name;
       include        fastcgi_params;
        }
    }

}
检测nginx 语法,重新加载nginx配置文件
[root@localhost src]# nginx -t
nginx: the configuration file /usr/local/nginx/conf/nginx.conf syntax is ok
nginx: configuration file /usr/local/nginx/conf/nginx.conf test is successful
[root@localhost src]# nginx -s reload
在浏览器上登录nginx 服务器IP,安装wordpress,如下图所示
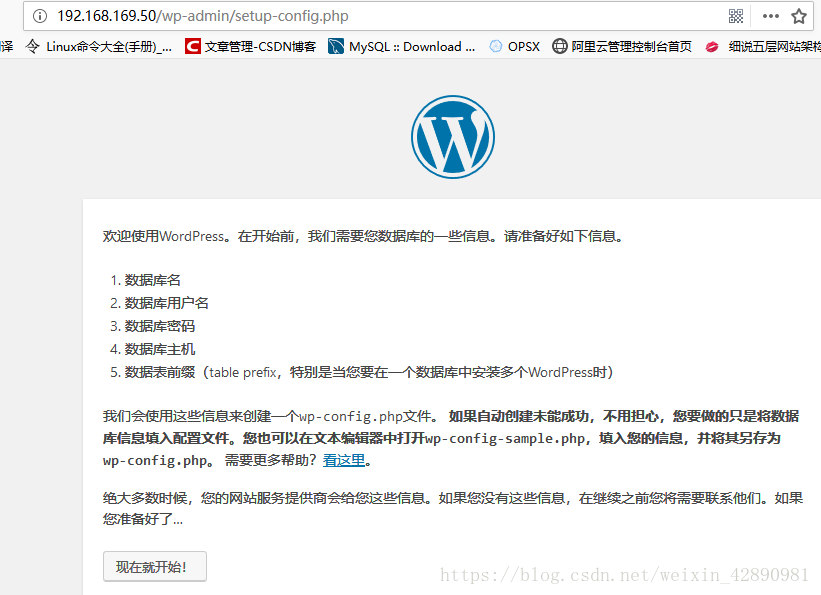
在数据库里面创建一个wordpress 库
mysql> create database wordpress;
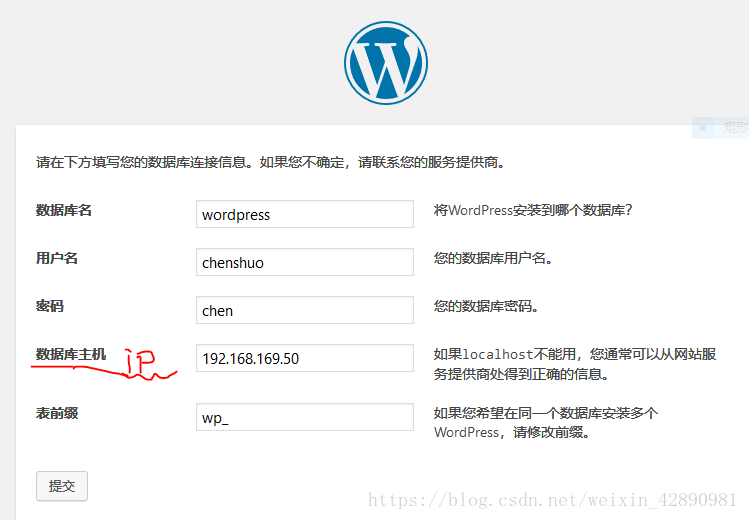
Query OK, 1 row affected (0.01 sec)也可以通过远程的方式来测试
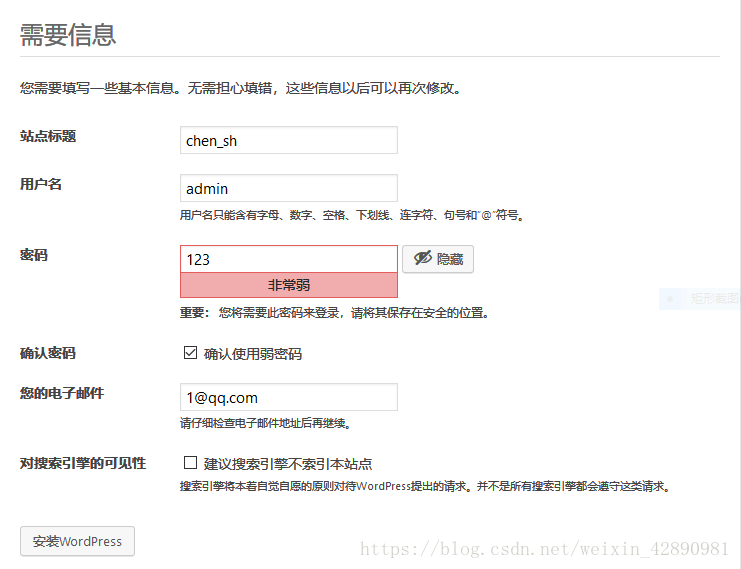
[root@localhost ~]# mysql -h 192.168.169.50 -uchenshuo -pchen安装wordpress 所填的信息
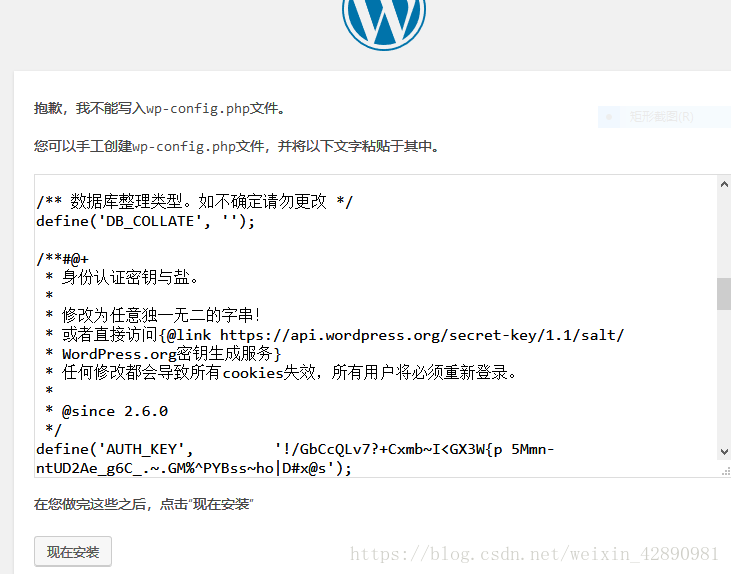
创建wp-config.php 配置文件,并复制网站上面的内容
[root@localhost ~]# vim /usr/local/nginx/html/wordpress/wp-config.php
/** 数据库整理类型。如不确定请勿更改 */
define('DB_COLLATE', '');
/**#@+
* 身份认证密钥与盐。
*
* 修改为任意独一无二的字串!
* 或者直接访问{@link https://api.wordpress.org/secret-key/1.1/salt/
* WordPress.org密钥生成服务}
* 任何修改都会导致所有cookies失效,所有用户将必须重新登录。
*
* @since 2.6.0
*/
define('AUTH_KEY', '!/GbCcQLv7?+Cxmb~I<GX3W{p 5Mmn-ntUD2Ae_g6C_.~.GM%^PYBss~ho|D#x@s');
define('SECURE_AUTH_KEY', 'Kt[hosED{ygS(JX-&non9LiKhWyZf<ZI!V(-A9(#Io`!_g2reG{{5,WfW(c$0)Dj');
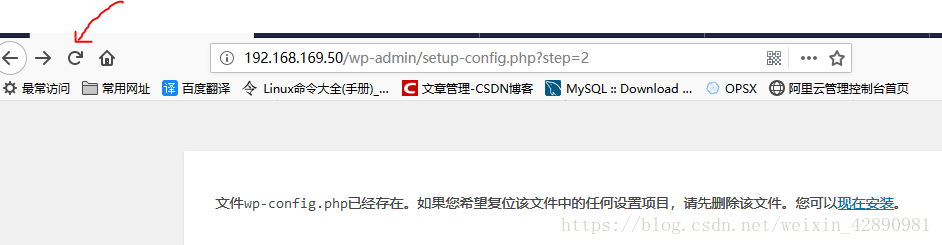
......以下省略,在网页上有全部的配置配置完以上在刷新浏览器继续安装
填写以下信息,在安装下一步
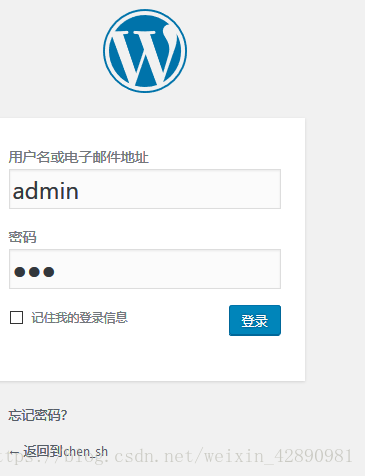
安装出现这个页面就说明成功了
修改上传照片的大小的限制,默认只允许上传2M大小的图片
[root@localhost ~]# vim  /etc/php.ini
; Maximum allowed size for uploaded files.
; http://php.net/upload-max-filesize
upload_max_filesize = 100M     //大小修改为100M
[root@localhost ~]# service php-fpm restart    //重启php-fpm
Gracefully shutting down php-fpm . done
Starting php-fpm  done
上传图片时,提示权限受到限制
正上传
5279f0d77c561.jpg 无法建立目录wp-content/uploads/2018/09。有没有上级目录的写权限?
[root@localhost ~]# cd /usr/local/nginx/html/wordpress/
[root@localhost wordpress]# chmod 777 -R wp-content/
可以查看数据库里面的信息
mysql> show databases;
+--------------------+
| Database           |
+--------------------+
| information_schema |
| mysql              |
| performance_schema |
| sys                |
| wordpress          |
+--------------------+
5 rows in set (0.06 sec)
mysql> use wordpress;
mysql> show tables;
+-----------------------+
| Tables_in_wordpress   |
+-----------------------+
| wp_commentmeta        |
| wp_comments           |
| wp_links              |
| wp_options            |
| wp_postmeta           |
| wp_posts              |
| wp_term_relationships |
| wp_term_taxonomy      |
| wp_termmeta           |
| wp_terms              |
| wp_usermeta           |
| wp_users              |
+-----------------------+
12 rows in set (0.01 sec)