一、前言
前段时间自己搭建了个WordPress的博客,用来做资源分享,主要包括视频教程,电子书,源码等一些学习资源网站地址是:http://www.98share.cn/ 当时考虑的是练练手,所以在淘宝上,随便买了个虚拟主机,200多快挺便宜的,而且还不需要备案,凑合着用,至今运行了87天了

由于买的空间是香港的,不知道是运行商的原因还是什么其他原因,有时候经常访问不了,要不就是访问起来特别慢,反正就是很不稳定,真的是一分钱一分货,所以就有了想法,想把主机换成阿里云的,然后写些文章记录下。
二、环境准备
搭建WordPress需要以下三样东西:
1.服务器
我用的是阿里云的:https://promotion.aliyun.com/ntms/act/qwbk.html?userCode=k5t3ymog
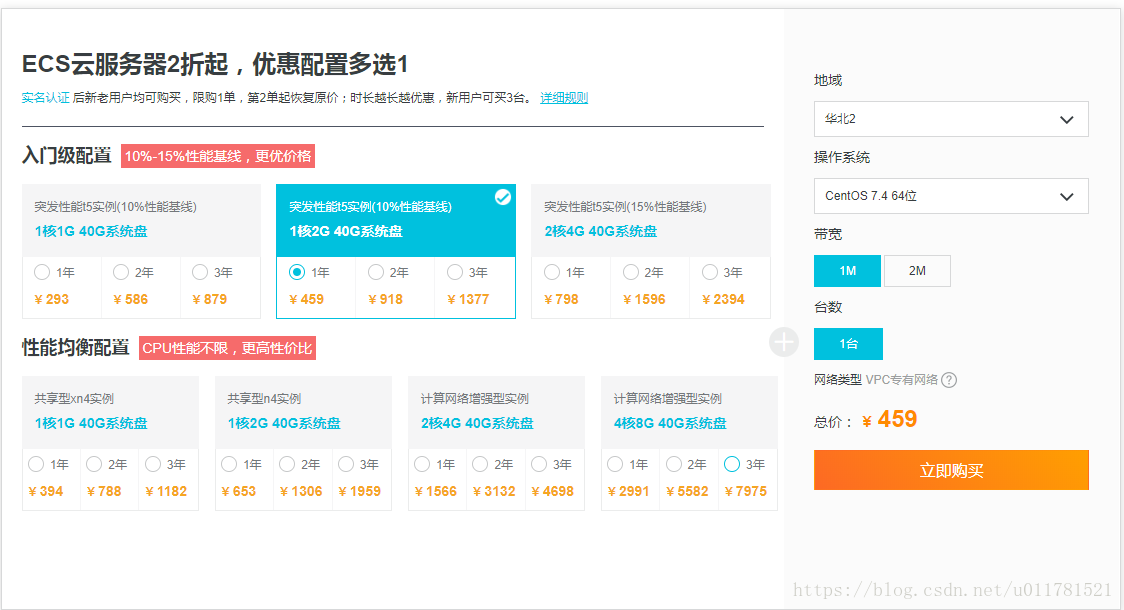
还可以,一年不到500百,买的是Centos的系统,对于一个博客,性能来说基本上够用了,由于国内的网站需要备案,所以没办法要备个案。
2.域名
也是在阿里云买的,也需要备案:https://wanwang.aliyun.com/?utm_content=se_1000110209
3.环境
这里没有用集成环境,是自己搭建的,阿里云上也有搭建的,可用直接用。
有两种环境可用
▲ LAMP和LNMP
其中的区别就是A用的是Apache,N用的是Nginx。
▲ LAMP版本如下:
Centos7+Apache2.4+php5.6+mysql5.5安装过程如下,这里采用yum方式安装。
注意:
也可以使用Nginx来处理PHP,我这里安装的Nginx版本为1.13.7,但是两者在不修改配置的情况下,不能共同存在,因为两个都是用80端口,会冲突。所以我这里用的是Nginx,没有用Apache
3.1、升级系统
由于是新买的服务器,所以需要升级所有包同时也升级软件和系统内核:
yum -y update3.2、安装Apache
▲ centos7版本
yum -y install httpd注:采用该方法安装Apache的配置文件的默认路径在/etc/httpd/conf/httpd.conf
执行完运行命令之后是看不到效果的,这时候再输入查看apache服务状态命令来查看服务是否已经启动:
查看状态:service httpd status
Apache开启服务:systemctl start httpd
Apache停止服务:systemctl stop httpd
▲ 开启apache服务
systemctl start httpd.service▲ 设置apache服务开机启动
systemctl start httpd.service▲ 开启防火墙
#开启防火墙
systemctl start firewalld
#关闭防火墙
systemctl stop firewalld.service
#防火墙状态
systemctl status firewalld
#重启防火墙
firewall-cmd --reload
#查看端口的开放情况
firewall-cmd --list-all
命令末尾的--permanent表示用久有效,不加这句的话重启后刚才开放的端口就又失效了。
▲ 开启80端口
firewall-cmd --add-service=http --permanent
firewall-cmd --add-service=https --permanent
firewall-cmd --add-port=80/tcp --permanent
▲ 访问apache
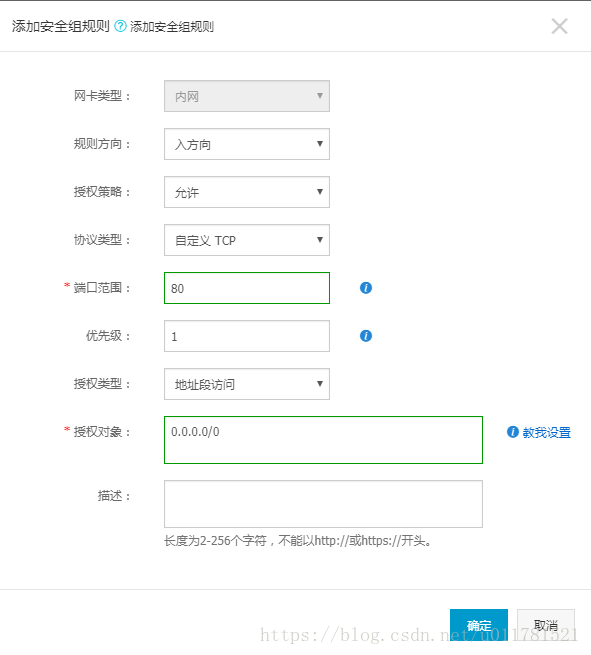
在阿里云中需要在安全组中配置对外开放80端口才能用公网IP进行访问,不然是访问不了的,配置如下
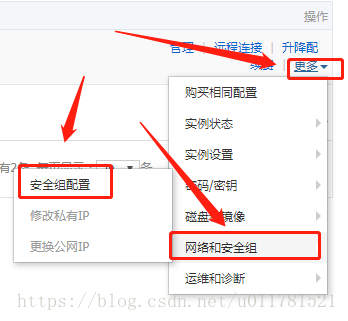
添加入站规则
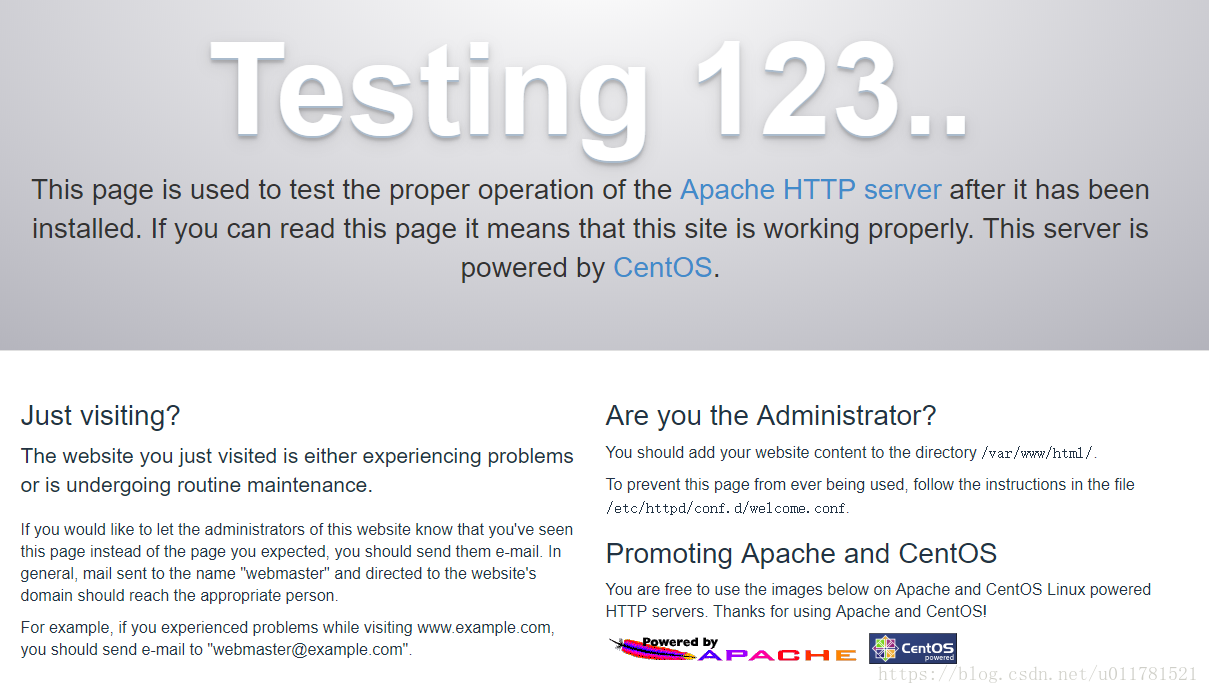
配置好之后,通过IP就可以访问了,出现如下页面就说明安装成功了
3.3、安装PHP5.6.x
yum -y install epel-release
rpm -ivh http://rpms.famillecollet.com/enterprise/remi-release-7.rpm
yum -y install --enablerepo=remi --enablerepo=remi-php56 php php-opcache php-devel php-mbstring php-mcrypt php-mysqlnd php-phpunit-PHPUnit php-pecl-xdebug php-pecl-xhprof php-gd php-redis
3.4、安装PHP-fpm
yum -y install --enablerepo=remi --enablerepo=remi-php56 php-fpm设置php-fpm开机自启
# 启动
systemctl start php-fpm.service
# 重启
systemctl restart php-fpm.service
# 查看状态
systemctl status php-fpm.service
# 设置开启启动
systemctl enable php-fpm.service
安装以下扩展
yum install php-pdo yum install php-mysql可通过以下命令进行查看
ps aux|grep php-fpm3.5、重启apache
systemctl restart httpd.service3.6、测试PHP
在/xxx/xxx/html/目录下创建info.php文件:
vim /xxx/xxx/html/info.php内容如下:
<?php phpinfo(); ?>然后,在自己电脑浏览器输入 虚拟机ip/info.php运行,会出现php的配置一些信息安装成功。
3.7、Nginx安装
▲在安装nginx前,先要安装依赖包:
yum -y install gcc gcc-c++ pcre pcre-devel zlib zlib-devel openssl-devel▲下载nginx对应的tar包
yum -y install wget
wget http://nginx.org/download/nginx-1.13.7.tar.gz
▲解压tar 包
tar zxvf nginx-1.13.7.tar.gz▲创建nginx 目录
mkdir -p /usr/local/nginx▲创建用户nginx使用的www用户
# 添加www组
groupadd www
# 创建nginx运行账户www并加入到www组,不允许www用户直接登录系统
useradd -g www www -s /bin/false
修改网站目录权限
chown -R -v www:root /xxx/xxx/html▲进入该目录下
cd nginx-1.13.7▲编译安装
./configure --user=www --group=www --prefix=/usr/local/nginxmake && make install▲操作Nginx
cd /use/local/nginx/sbin

#启动nginx
./nginx

#重新载入配置
./nginx -s reload

#重新启动Nginx
./nginx -s reopen

#停止Nginx
./nginx -s stop
注:nginx本身不能处理PHP,它只是个web服务器,当接收到请求后,如果是php请求,则发给php解释器处理,并把结果返回给客户端,nginx一般是把请求发fastcgi管理进程处理,fascgi管理进程选择cgi子进程处理结果并返回被nginx。
需要做如下处理,修改/usr/local/nginx/conf/nginx.conf配置文件,开启Nginx支撑PHP的模块
#配置nginx.conf文件
vim nginx.conf
修改如下代码
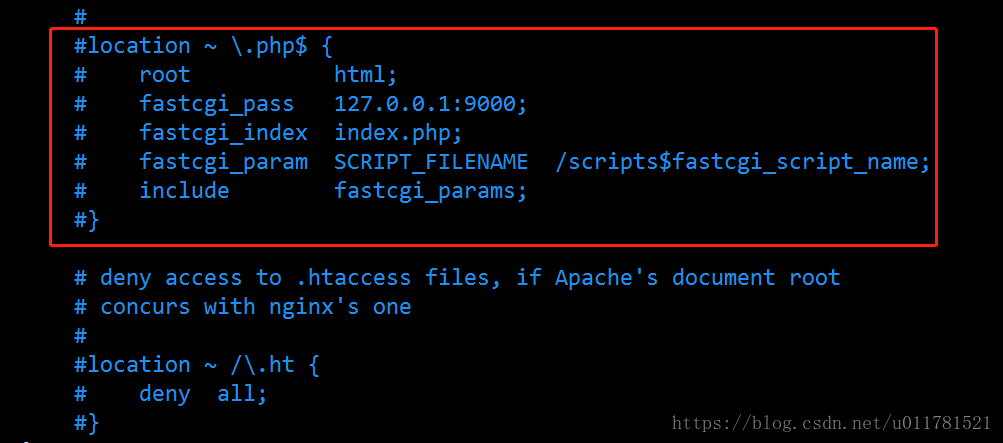
首先将注释,也就是#号去掉,接着将fastcgi_param对应的/scripts$fastcgi_script_name改成$document_root$fastcgi_script_name
location ~ \.php$ {
	root           /xxx/xxx/html;
	fastcgi_pass   127.0.0.1:9000;
	fastcgi_index  index.php;
	fastcgi_param  SCRIPT_FILENAME  $document_root$fastcgi_script_name;
	include        fastcgi_params;
}
注意:
$document_root 的参数是由root html那一行定义的,默认是在/usr/local/nginx/html/ 所以把 html换成站点根目录就正常了
保存完修改后的配置,重启一下nginx,让配置生效
[root@xxxx sbin]# ./nginx -s reload
nginx: [error] invalid PID number "" in "/usr/local/nginx/logs/nginx.pid"
如果出现上面的错误,需要在命令后面加上配置文件:
./nginx -c /usr/local/nginx/conf/nginx.conf我们就可以通过nginx来处理PHP请求了。上面用的是ip的方式来通信,在linux中,nginx服务器和php-fpm可以通过tcp socket和unix socket两种方式实现。下面修改为socket来通信:
在/tmp/目录下创建文件:
touch www.sock修改文件权限
chmod 777 www.sock
chown www:www /tmp/www.sock
修改nginx中的配置文件为:
location ~ \.php$ {
	#fastcgi_pass   127.0.0.1:9000;
	fastcgi_pass unix:/tmp/www.sock;
	fastcgi_index  index.php;
	fastcgi_param  SCRIPT_FILENAME  $document_root$fastcgi_script_name;
	include fastcgi_params;
}
将第一行修改成指定的运行用户:
user www www;修改php-fpm配置文件:
vim /etc/php-fpm.d/www.conf将其中的以下几个地方修改:
user = www
group = www

listen = /tmp/www.sock

listen.owner = www
listen.group = www
listen.mode = 0660

pm = dynamic
pm.max_children = 75
pm.start_servers = 10
pm.min_spare_servers = 5
pm.max_spare_servers = 20
pm.max_requests = 500

env[HOSTNAME] = $HOSTNAME
env[PATH] = /usr/local/bin:/usr/bin:/bin
env[TMP] = /tmp
env[TMPDIR] = /tmp
env[TEMP] = /tmp
然后重启nginx和php-fpm:
./nginx -s reload
systemctl restart php-fpm.service
就可以了。
完整配置文件如下:
user  www www;
worker_processes  1;

#error_log  logs/error.log;
#error_log  logs/error.log  notice;
#error_log  logs/error.log  info;

#pid        logs/nginx.pid;


events {
    worker_connections  1024;
}


http {
    include       mime.types;
    default_type  application/octet-stream;

    #log_format  main  '$remote_addr - $remote_user [$time_local] "$request" '
    #                  '$status $body_bytes_sent "$http_referer" '
    #                  '"$http_user_agent" "$http_x_forwarded_for"';

    #access_log  logs/access.log  main;

    sendfile        on;
    #tcp_nopush     on;

    #keepalive_timeout  0;
    keepalive_timeout  65;

    #gzip  on;

    server {
        listen       80;
        server_name  localhost;
        root /xxx/xxx/html/wordpress;

		#配置伪静态
        location / {
                if (-f $request_filename/index.html){
                        rewrite (.*) $1/index.html break;
                }
                if (-f $request_filename/index.php){
                        rewrite (.*) $1/index.php;
                }
                if (!-f $request_filename){
                        rewrite (.*) /index.php;
                }
        }

        error_page   500 502 503 504  /50x.html;

        location = /50x.html {
            root   html;
        }

		#静态资源处理
        location ~* .(jpg|gif|png|js|css|svg)$ {
                root /xxx/xxx/html/wordpress;
                if (-f $request_filename) {
                        expires max;
                        break;
                }
        }

		#PHP文件处理
        location ~ \.php$ {
            fastcgi_pass   127.0.0.1:9000;
            #fastcgi_pass unix:/tmp/www.sock;
            fastcgi_index  index.php;
            fastcgi_param  SCRIPT_FILENAME  $document_root$fastcgi_script_name;
            include fastcgi_params;
        }

    }

}
3.8、安装mysql5.7
▲ 添加源
rpm -Uvh  http://dev.mysql.com/get/mysql57-community-release-el7-9.noarch.rpm
#或者使用
wget http://dev.mysql.com/get/mysql57-community-release-el7-9.noarch.rpm
rpm -ivh mysql57-community-release-el7-9.noarch.rpm
▲ 执行以下命令进行安装:
yum -y install mysql-community-server▲ 配置mysql
MySQL 安装完成之后,在 /var/log/mysqld.log 文件中给 root 生成了一个默认密码,通过下面的方式找到root 默认密码,然后登录 MySQL 进行修改
# 启动Mysql
systemctl start mysqld
# 查找默认密码
grep 'temporary password' /var/log/mysqld.log
2018-09-21T17:01:50.048592Z 1 [Note] A temporary password is generated for root@localhost: fo8*:xxxxx(密码)
▲ 登录 MySQL
mysql -uroot -p'xxxx'修改root 默认密码:
mysql> ALTER USER 'root'@'localhost' IDENTIFIED BY 'xxxxx';
或者:
mysql> set password for 'root'@'localhost'=password('xxxxx');
注:
MySQL5.7 默认安装了密码安全检查插件(validate_password),默认密码检查策略要求密码必须包含:大小写字母、数字和特殊符号,并且长度不能少于8位。否则会提示 ERROR 1819 (HY000): Your password does not satisfy the current policy requirements 错误
▲ 开启MySQL远程访问权限允许远程连接
查看user表
mysql> use mysql;
Database changed
mysql> select host,user from user;
+--------------+------+-------------------------------------------+
| host         | user |
+--------------+------+-------------------------------------------+
| localhost    | root |
| 192.168.1.1  | root |
+--------------+------+-------------------------------------------+
2 rows in set (0.00 sec)
可以看到在user表中已创建的root用户。host字段表示登录的主机,其值可以用IP,也可用主机名,将host字段的值改为%就表示在任何客户端机器上能以root用户登录到mysql服务器,建议在开发时设为%。
update user set host = '%' where user = 'root';
FLUSH  PRIVILEGES;
这样在远端就可以通过root用户访问Mysql,本地电脑就可以通过Navicat进行连接了,这个也需要在安全组策略中进行配置对外提供3306端口,在防火墙中也需要配置相应的端口:
# firewall-cmd --zone=public --add-port=3306/tcp --permanent
success
# firewall-cmd --reload
success
到此基本环境就搭建好了。
三、安装程序
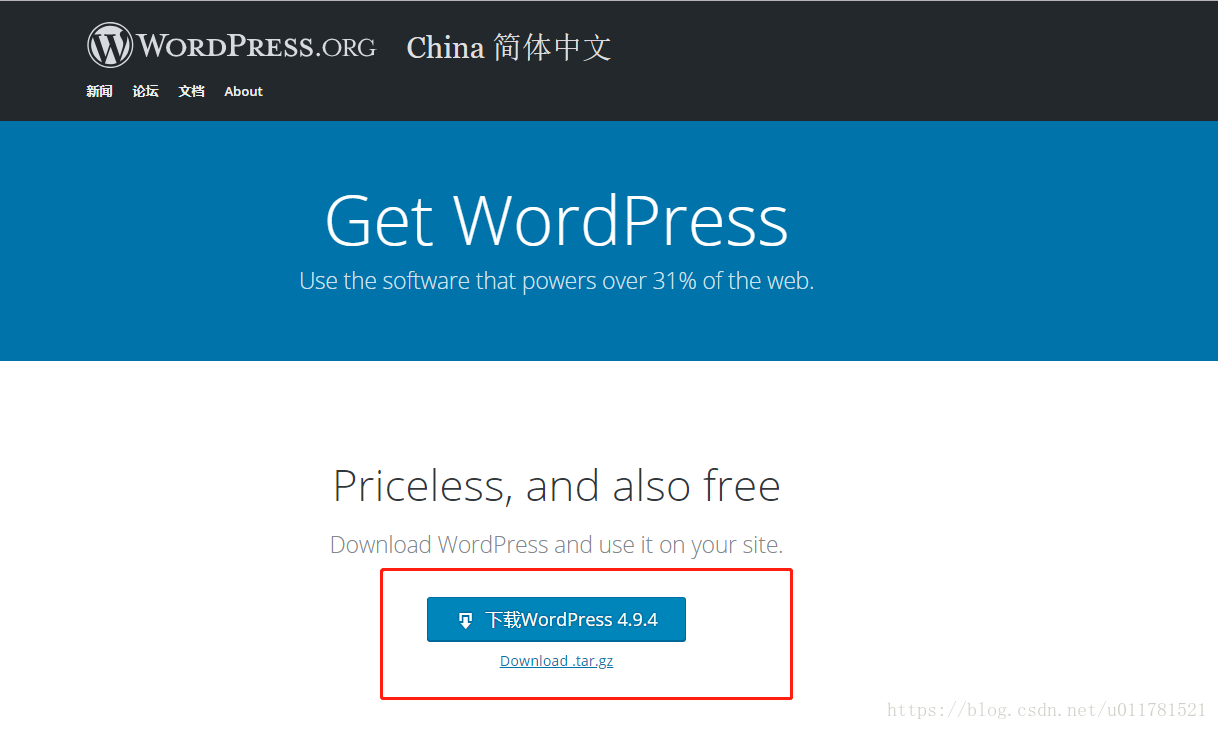
去WordPress官网下载最新的源码:https://wordpress.org/download/,我这里用的中文版的,所以去这下载:https://cn.wordpress.org/download/
下载好之后,通过FTP工具上传到服务器上去,上传之后解压
yum install -y unzip
unzip wordpress-4.9.4.zip
将wordpress中的所有文件复制到/xxx/xxx/html目录下
cp -R wordpress/* /xxx/xxx/html修改用户权限
vim /etc/passwd找到www的那一行,类似下面一行:
www:x:1000:1000::/home/:/bin/false将www的home目录改为网页服务器的根目录如:/xxx/xxx/html,并增加不让用户登录的设置,配置/xxx/xxx/html文件夹和文件权限,完美安全的权限配置为:
# 设置用户和群组
chown -R www:www /xxx/xxx/html
# 设置文件夹权限为755
find /xxx/xxx/html -type d -exec chmod 755 {} \;
# 设置文件权限为644
find /xxx/xxx/html -type f -exec chmod 644 {} \;
将wordpress目录下的wp-config-sample.php重命名为wp-config.php,修改其中的数据库连接信息:
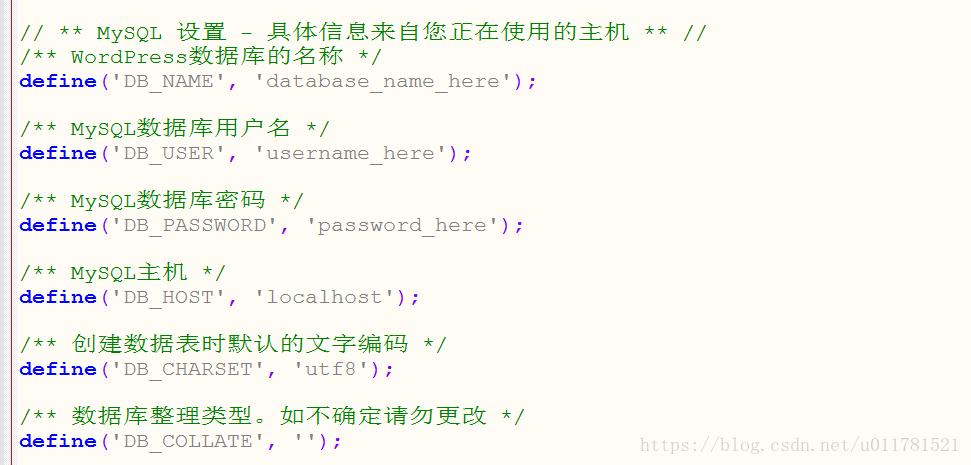
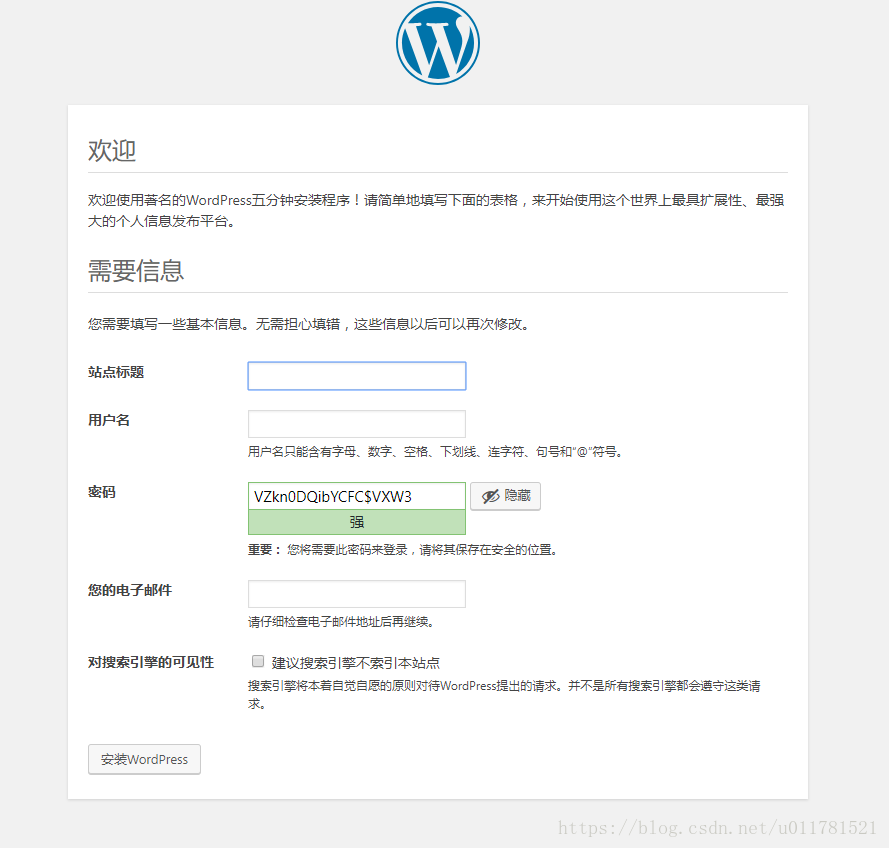
通过ip/wp-admin/install.php进行安装,效果如下
安装成功之后,进行登录ip/wp-login.php
登录成功之后,会进入后台
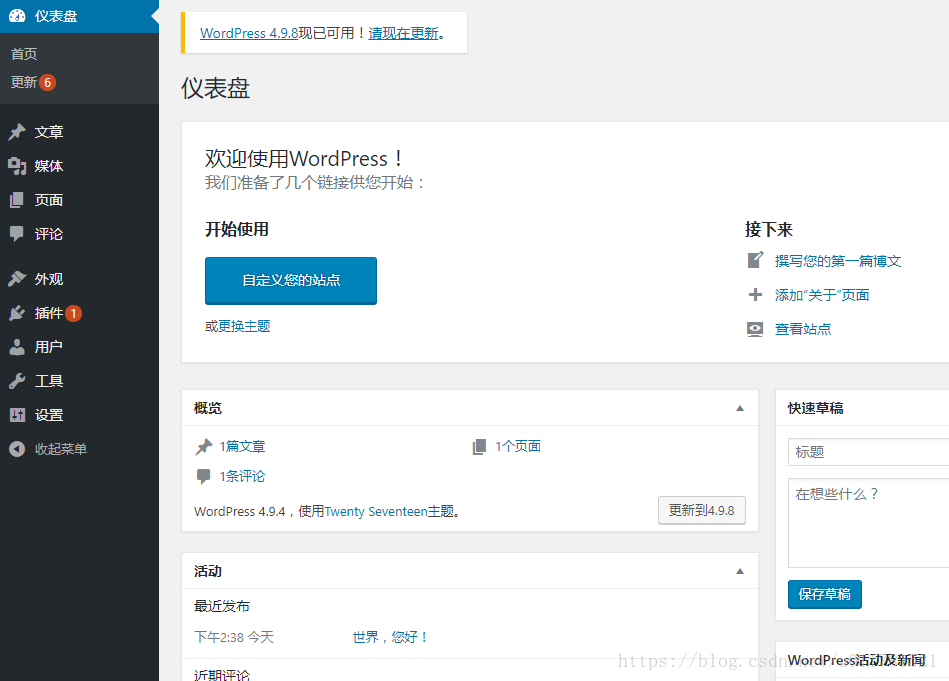
搭建成功。
注意
如果出现如下错误,需要检查下php-fpm
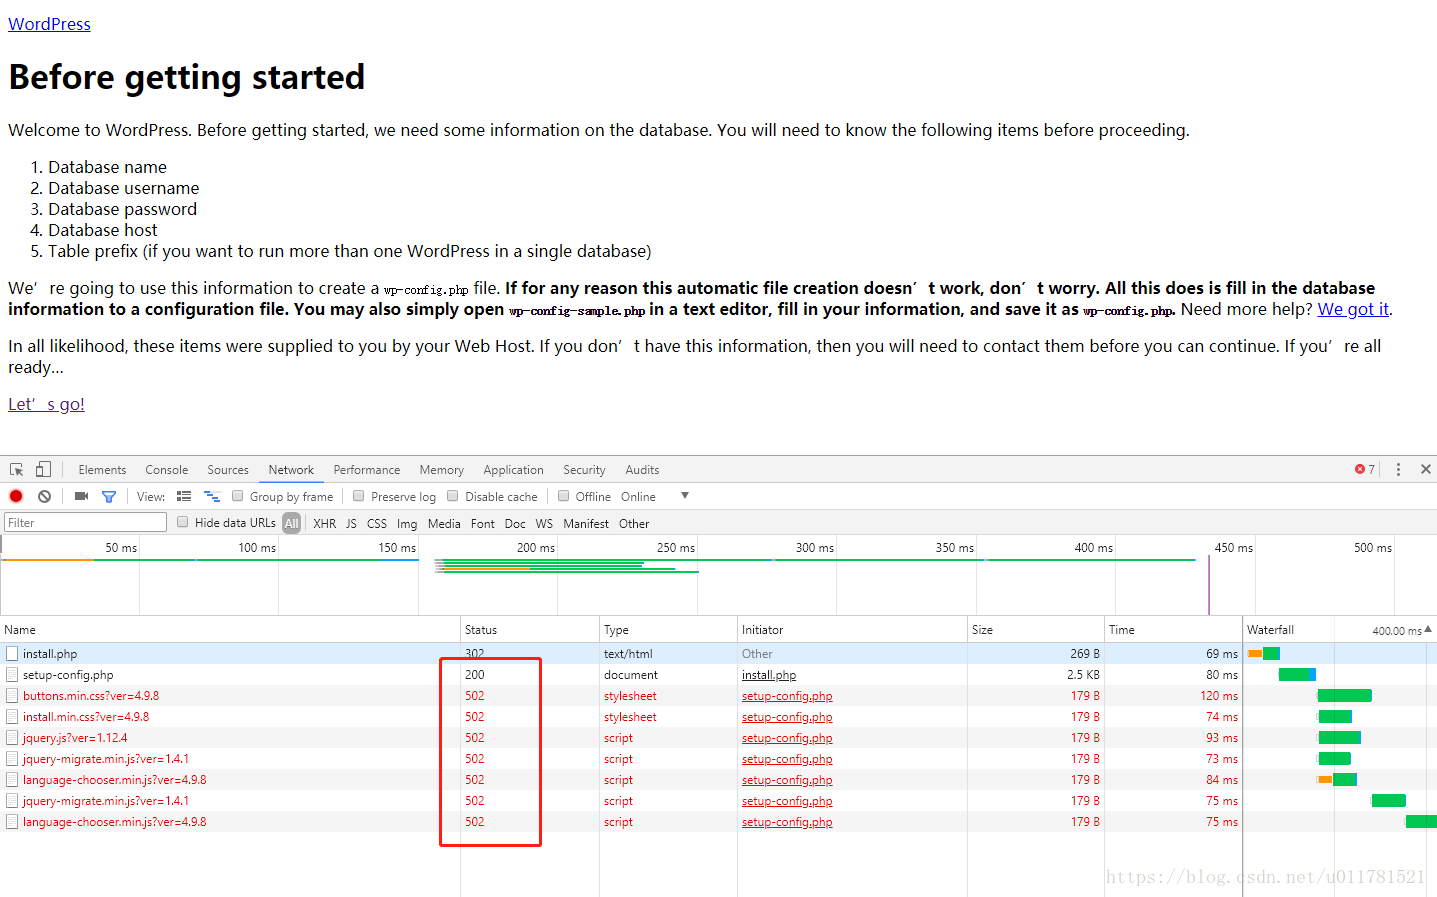
什么情况,样式全无,静态资源502错误,在网上找了下,出现这种情况的原因有可能是php-fpm引起的,查看/nginx/logs/error.log日志文件,错误如下:
2018/09/22 10:29:53 [error] 29067#0: *71200 recv() failed (104: Connection reset by peer) while reading response header from upstream, client: 127.0.0.1, server: localhost, request: "GET /wp-admin/js/language-chooser.min.js?ver=4.9.8 HTTP/1.0", upstream: "http://127.0.0.1:80/wp-admin/js/language-chooser.min.js?ver=4.9.8", host: "127.0.0.1", referrer: "http://xxxxx/wp-admin/setup-config.php"通常这个报错是表示php-fpm这个服务未启动,由于默认是配置的9000端口,执行netstat -anp|grep 9000,但执行命令查询php-fpm是running状态:
● php-fpm.service - The PHP FastCGI Process Manager
   Loaded: loaded (/usr/lib/systemd/system/php-fpm.service; enabled; vendor preset: disabled)
   Active: active (running) since Sat 2018-09-22 00:20:32 CST; 10h ago
 Main PID: 24286 (php-fpm)
   Status: "Processes active: 0, idle: 5, Requests: 104, slow: 0, Traffic: 0req/sec"
   CGroup: /system.slice/php-fpm.service
           ├─24286 php-fpm: master process (/etc/php-fpm.conf)
           ├─24287 php-fpm: pool www
           ├─24288 php-fpm: pool www
           ├─24289 php-fpm: pool www
           ├─24290 php-fpm: pool www
           └─24291 php-fpm: pool www
注意:
我在这里遇到了坑,搞了好久,出现上面的这种情况基本上,就是由于php-fpm引起的。由他的两种通信方式导致的tcp socket和unix socket。