一、Git工具的安装
1)centos系统下安装
1.1)查看环境
[root@gitlab ~]# rpm -qa centos-release
centos-release-7-4.1708.el7.centos.x86_64
[root@gitlab ~]# uname -a
Linux gitlab 3.10.0-693.el7.x86_64 #1 SMP Tue Aug 22 21:09:27 UTC 2017 x86_64 x86_64 x86_64 GNU/Linux
[root@gitlab ~]# getenforce
Disabled
[root@gitlab ~]# systemctl status firewalld.service
● firewalld.service - firewalld - dynamic firewall daemon
   Loaded: loaded (/usr/lib/systemd/system/firewalld.service; disabled; vendor preset: enabled)
   Active: inactive (dead)
     Docs: man:firewalld(1)
1.2)yum安装,yum 工具
#centos 自带git
[root@gitlab ~]# rpm -qa git
git-1.8.3.1-11.el7.x86_64

#安装方法
yum install git -y
1.3)编译安装
git工具下载:https://github.com/git/git/releases


# 安装依赖关系
yum install curl-devel expat-devel gettext-devel  openssl-devel zlib-devel
# 编译安装
tar -zxf git-2.0.0.tar.gz
cd git-2.0.0
make configure
./configure --prefix=/usr
make
make install
2)Windows下安装
过程略
2)git命令的基本使用,如显示文件,创建文件
lenvovo@LENVOVO-PC MINGW32 /e/test
$ mkdir git_test    # 创建文件夹

lenvovo@LENVOVO-PC MINGW32 /e/test
$ cd git_test/        # 进入文件夹

lenvovo@LENVOVO-PC MINGW32 /e/test/git_test
$ git init            # git 初始化,生成 .git下的隐藏文件
Initialized empty Git repository in E:/test/git_test/.git/

lenvovo@LENVOVO-PC MINGW32 /e/test/git_test (master)
$ cd .git/            # 进入隐藏文件

lenvovo@LENVOVO-PC MINGW32 /e/test/git_test/.git (GIT_DIR!)
$ ls                # 显示隐藏文件内容
config  description  HEAD  hooks/  info/  objects/  refs/

lenvovo@LENVOVO-PC MINGW32 /e/test/git_test/.git (GIT_DIR!)
$ cd ..

lenvovo@LENVOVO-PC MINGW32 /e/test/git_test (master)
$ ls -a
./  ../  .git/
lenvovo@LENVOVO-PC MINGW32 /e/test/git_test (master)
$ cat first_program.py
def sayhi(name):
    print("hello world!",name)
git init # 初始化文件
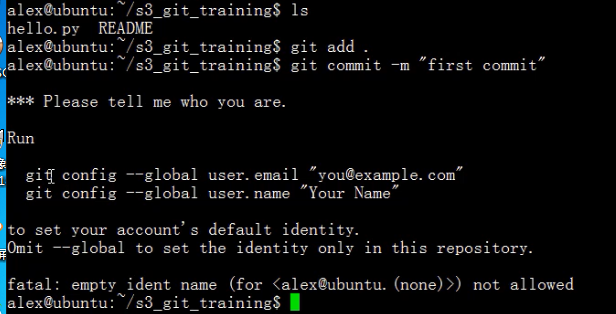
3)提交文件
lenvovo@LENVOVO-PC MINGW32 /e/test/git_test (master)
$ git add first_program.py        # 将代码放入暂存区
warning: LF will be replaced by CRLF in first_program.py.
The file will have its original line endings in your working directory.
lenvovo@LENVOVO-PC MINGW32 /e/test/git_test (master)
$ git commit    # 存入暂存区,失败,因为要表明是谁提交的代码

*** Please tell me who you are.

Run

  git config --global user.email "[email protected]"
  git config --global user.name "Your Name"

to set your account's default identity.
Omit --global to set the identity only in this repository.

fatal: unable to auto-detect email address (got 'lenvovo@LENVOVO-PC.(none)')
lenvovo@LENVOVO-PC MINGW32 /e/test/git_test (master)
$ git config --global user.email "[email protected]"    # 写邮箱名

lenvovo@LENVOVO-PC MINGW32 /e/test/git_test (master)
$ git config --global user.name "lover"                    # 写用户名
lenvovo@LENVOVO-PC MINGW32 /e/test/git_test (master)
$ git commit    # 再提交,会弹出一个文件,里面必须添加为什么要提交文件
[master (root-commit) 8323763] git test commit
 1 file changed, 2 insertions(+)
 create mode 100644 first_program.py

lenvovo@LENVOVO-PC MINGW32 /e/test/git_test (master)
$ git commit    # 再提交,显示没有内容需要提交了
On branch master
nothing to commit, working tree clean
4)修改文件回滚操作,前提是没有git add
lenvovo@LENVOVO-PC MINGW32 /e/test/git_test (master)
$ git status
On branch master
Changes not staged for commit:
  (use "git add <file>..." to update what will be committed)
  (use "git checkout -- <file>..." to discard changes in working directory)

        modified:   first_program.py

Untracked files:
  (use "git add <file>..." to include in what will be committed)

        readme

no changes added to commit (use "git add" and/or "git commit -a")

lenvovo@LENVOVO-PC MINGW32 /e/test/git_test (master)
$ cat first_program.py
def sayhi(name):
    print("Hello sb!",name)
    print('user')
    print('Second change')

lenvovo@LENVOVO-PC MINGW32 /e/test/git_test (master)
$ git checkout first_program.py

lenvovo@LENVOVO-PC MINGW32 /e/test/git_test (master)
$ cat first_program.py
def sayhi(name):
    print("Hello sb!",name)
    print('Second change')
5)命令总结
git add first_program.py        # 将文件放入暂存区
git add .                        # 提交整个目录与暂存区
git commit    # 如果失败需要要表明是谁提交的代码
    git config --global user.email "[email protected]"        # 写邮箱名
    git config --global user.name "lover"                    # 写用户名
    会弹出一个文件,里面必须添加为什么要提交文件
git commit -m "second commit test"        # 避免弹框,将为什么提交写在后面
git status    # 查看文件的状态
git checkout first_program.py            # 回滚操作,前提是没有git add,还原到上次提交时的文件

# 提交之后的回滚
git log        # 查看提交的日志
git log --pretty=oneline        # 忽略不重要的信息
git reset --hard HEAD^    # 回滚到上一次提交时
git reset --hard 8323763f7b5dfd365f593fb724346ce692bdc258    # 回滚到指定的版本号
git reset --hard 832376        # 写上前6位就可以了
# 如果关闭了命令行,找不到了版本号
git reflog        # 回滚的最后招数,所有的操作记录都显示了,可查看到版本号
二、github的使用
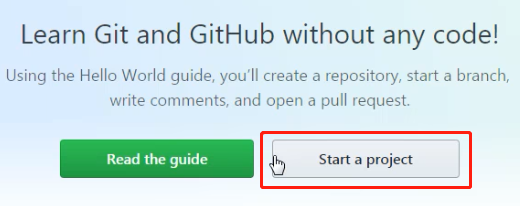
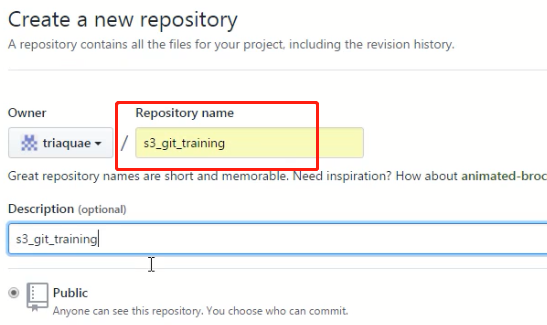
1)创建好账号后,创建项目
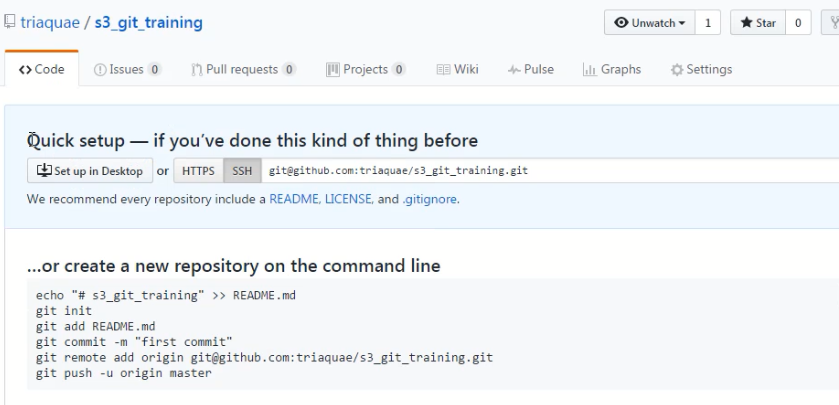
2)创建好项目后。操作提示
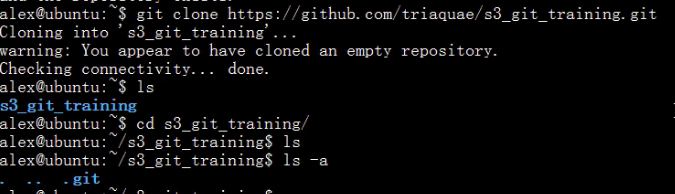
3)克隆创建的项目代码
使用https的方式
4)修改代码后上传至GitHub仓库

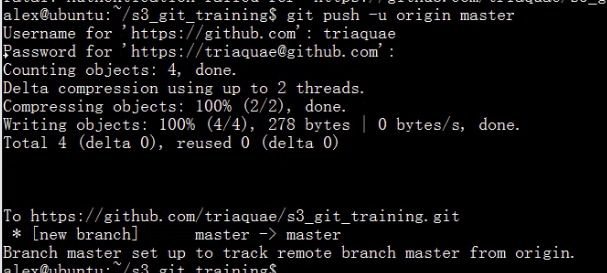
上传代码步骤总结
git clone https://github.com/xxxx/xxxxxxx    # 克隆代码到本地
修改文件之后
git add .
git commit -m "first_commit"
    git config --global user.email "[email protected]"
    git config --global user.name "you name"
git push -u origin master    # 上传至远程仓库
    输入用户名
    输入密码